



Begin with ensuring that the liquid is compatible with the machinery. Always opt for a solution specifically formulated for high-pressure systems; this guarantees the integrity of the equipment and delivers optimal results for removing dirt and grime.
Next, mix the cleaning solution according to the manufacturer’s instructions. Proper dilution is key to achieving the desired cleaning effect while preventing potential damage to surfaces. Use a measuring cup for accuracy, and avoid eyeballing quantities.
Attach the appropriate nozzle to the lance, usually the one with the widest spray pattern. This minimises the risk of damaging the surface being cleaned. After securing the nozzle, connect the detergent tank if your model includes one, or pour the mixed solution directly into the designated compartment.
Once everything is set up, turn on the unit and adjust the pressure setting. A lower pressure will help in evenly distributing the cleaning agent without splattering. Allow the solution to sit for a few minutes to break down stubborn stains, but do not let it dry out on the surface.
After the application period, rinse thoroughly with clear water, ensuring all residue is removed to prevent streaking. This final step leaves a clean, gleaming finish, showcasing the effectiveness of your selected products and equipment.
Instructions for Applying Detergent with Karcher Equipment
Begin with ensuring the device is switched off and water supply is adequately connected. Attach the appropriate detergent container to the machine. Depending on the model, this can usually be done by simply slotting the container into position until it locks securely.
Select a mild cleaning solution formulated for vehicle exteriors to avoid damaging the paint. Fill the container with the detergent and check the indicator for proper levels.
Activate the device and set it to low pressure mode. This is crucial to prevent excessive force that can harm delicate surfaces. Begin at the top of the vehicle, spraying in a left to right motion while maintaining a distance of approximately 30 cm from the surface for even coverage.
Allow the cleaning solution to sit for a few minutes to dissolve dirt and grime effectively. Avoid letting it dry out, as this can lead to residue formation. If necessary, reapply the solution to stubborn areas.
After the product has set appropriately, switch the pressure setting to a higher level if available. Use a sweeping motion to rinse off the detergent from the vehicle, ensuring all soap residues are completely removed. Pay attention to details like wheel arches and undercarriage, where dirt often accumulates.
Finally, disconnect the detergent container and store the equipment properly to ensure longevity for future cleaning activities. Regular maintenance of your equipment will enhance performance and reliability.
Selecting the Right Detergent for Your Karcher Pressure Washer
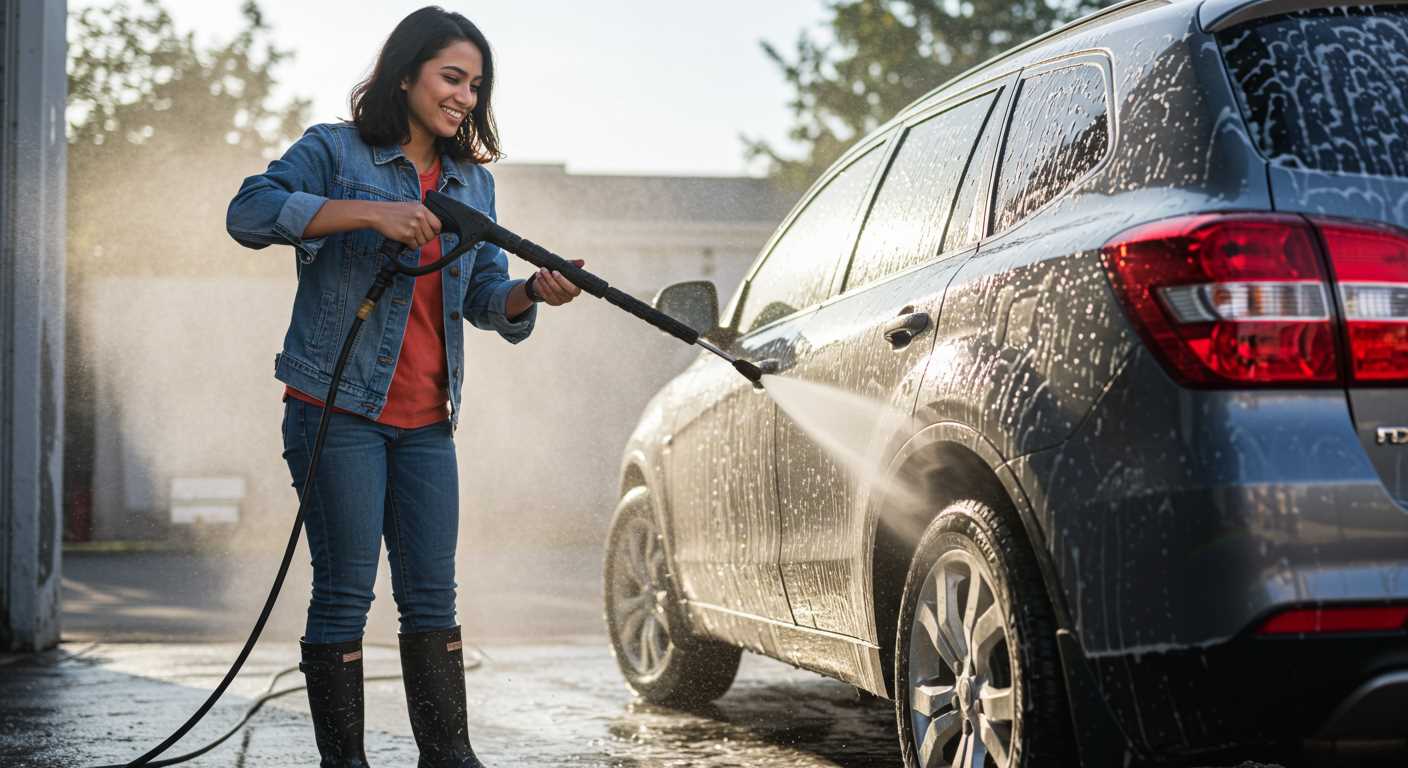
Opt for detergents specifically formulated for compatibility with your machine. Such products yield the best cleaning results without compromising device integrity.
Types of Detergents
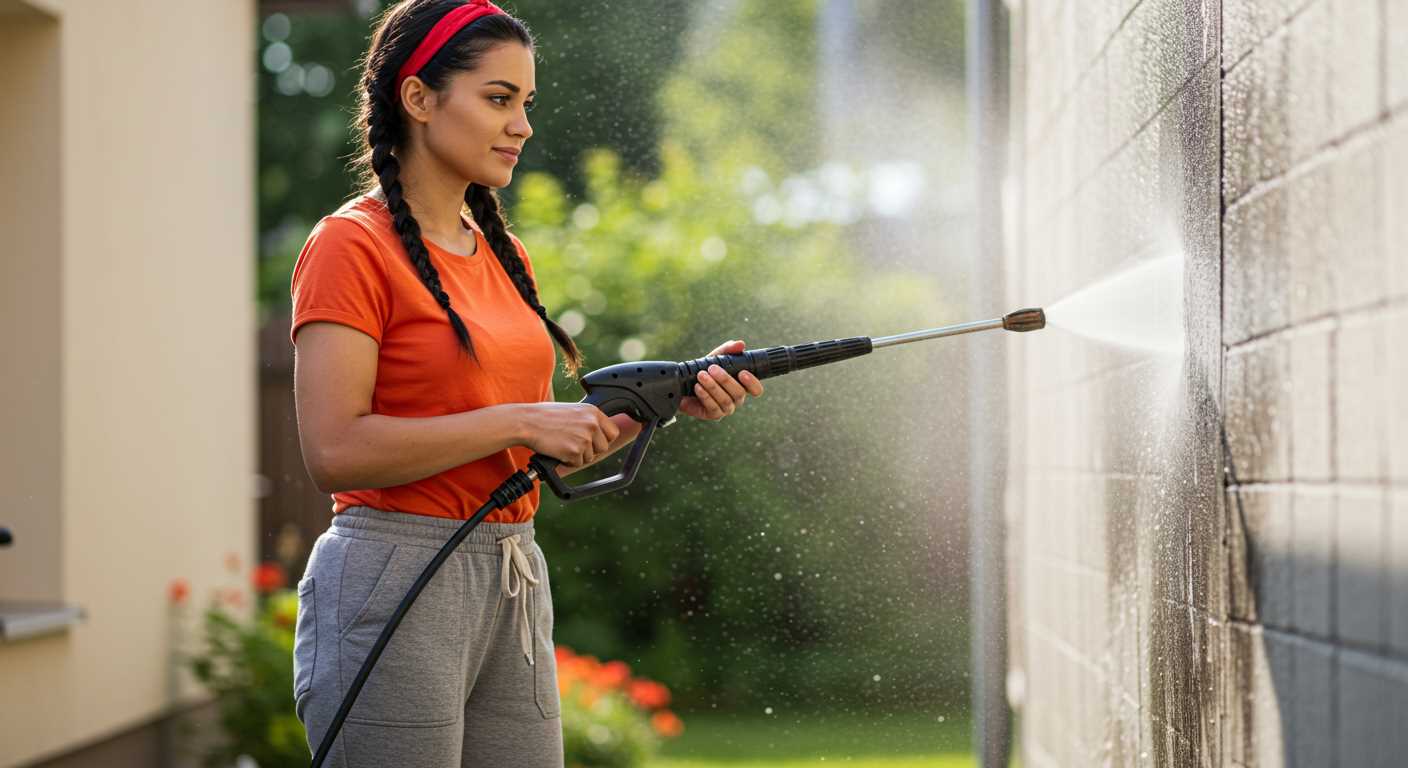
- Alkaline Cleaners: Ideal for removing oil and grease. Perfect for automotive surfaces.
- Acidic Cleaners: Effective against mineral deposits and rust stains. Use carefully on sensitive surfaces.
- Biodegradable Detergents: Environmentally friendly options that clean effectively while being gentle on nature.
- Foaming Agents: Offer enhanced adherence to surfaces, providing thorough cleaning action.
Factors to Consider
- Surface Type: Different materials may require specific formulations; check compatibility.
- Cleaning Tasks: Assess if you need a concentrated solution or a ready-to-use product based on dirt types.
- Concentration Levels: Higher concentrations may remove tough stains but might require additional rinsing.
- Manufacturer’s Recommendations: Always consult the user manual for specific product suggestions.
Choosing the right cleaning agent can make a significant difference in the upkeep of your equipment and the effectiveness of your cleaning. Prioritise quality brands that enhance the cleaning experience while ensuring longevity for your gadget.
Preparing Your Vehicle for the Washing Process
Begin with a thorough inspection of your vehicle’s exterior. Look for loose items such as antennae, ornaments, or mirrors that may become dislodged during the cleaning. Remove these items to prevent any damage.
Next, cover sensitive areas like the exhaust pipe and electrical components with plastic bags to shield them from moisture. This prevents water from entering places where it shouldn’t be and helps maintain the vehicle’s integrity.
Ensure that windows and doors are fully closed to avoid water ingress. Check the seals for wear; any damage can allow water to enter the cabin or trunk.
Inspect the tyres and wheel wells for dirt and debris. Give them a quick rinse with a hose to remove loose particles. This step reduces the risk of scratching the paintwork with grit during the main cleaning process.
Consider pre-soaking heavy grime areas like the front bumper and lower panels with a suitable cleaner. Allowing it to sit for a few minutes can help lift stubborn dirt, making the overall cleaning more effective.
Finally, take note of the weather conditions. An overcast day is preferable, as direct sunlight can cause soap and detergent to dry too quickly, leaving streaks and spots on the surface. By preparing thoroughly, the washing experience will yield better results.
Setting up your Karcher pressure washer for vehicle maintenance
First, ensure you have the right setup for optimal performance. Connect the unit to a water source, making sure the hose is securely attached. Turn on the water supply before powering the equipment to prevent damage.
Next, attach the correct nozzle for this task; generally, a wider spray pattern is preferred for vehicles. Typically, a fan or turbo nozzle in the 25 to 40-degree range works best. Ensure it clicks into place firmly.
Then, integrate a foam lance if available. This attachment allows for even coverage of detergent across surfaces, enhancing cleaning. Fill the lance with a suitable detergent, ensuring it is compatible with your device. Follow the manufacturer’s instructions regarding dilution ratios.
Once everything is connected, set the pressure to a medium level. Too high pressure can damage delicate surfaces such as paint or trims. Always start on a lower setting and adjust as necessary.
Perform a quick test spray away from your vehicle to ensure that everything functions correctly before starting on your vehicle.
| Component | Purpose |
|---|---|
| Water Source | Provides necessary flow for operation |
| Nozzle | Affects spray pattern and intensity |
| Foam Lance | Distributes detergent evenly |
| Pressure Setting | Controls force applied to surfaces |
Applying Detergent and Washing Technique for Optimal Results
Distributing the detergent uniformly is critical. Attach a foam nozzle compatible with your apparatus. Fill the detergent reservoir with the selected automotive cleaner, ensuring it is diluted as per the manufacturer’s instructions. This step enhances the cleaning process.
Technique for Effective Application
Follow these steps to maximise cleaning efficiency:
- Begin at the top of the vehicle, progressing downwards. This prevents dirt from dripping onto already cleaned surfaces.
- Maintain a distance of approximately 30 cm from the vehicle’s surface. A consistent motion will help avoid streaks.
- Apply the foam in overlapping passes, ensuring complete coverage without oversaturating any area.
Washing Phase
Once the detergent has been applied and left for a few moments to penetrate grime, it’s time to rinse. Follow these guidelines:
- Switch to a high-pressure nozzle suited for rinsing.
- Start rinsing from the top, using short bursts to remove foam and dirt.
- Pay attention to wheel arches, undercarriage and other hard-to-reach spots where dirt accumulates.
After rinsing, inspect for any residues or remaining marks, which may require a second pass with the washing detergent. This method ensures an impressive finish every time.
Rinsing and Drying Your Vehicle After Cleaning
After completing the thorough cleansing process, it’s vital to rinse off any remaining detergent and dirt. I suggest using a low-pressure jet to remove suds effectively. Begin at the top of the vehicle and work your way down, ensuring that no foam is left behind in crevices and around fixtures.
Technique for Effective Rinsing
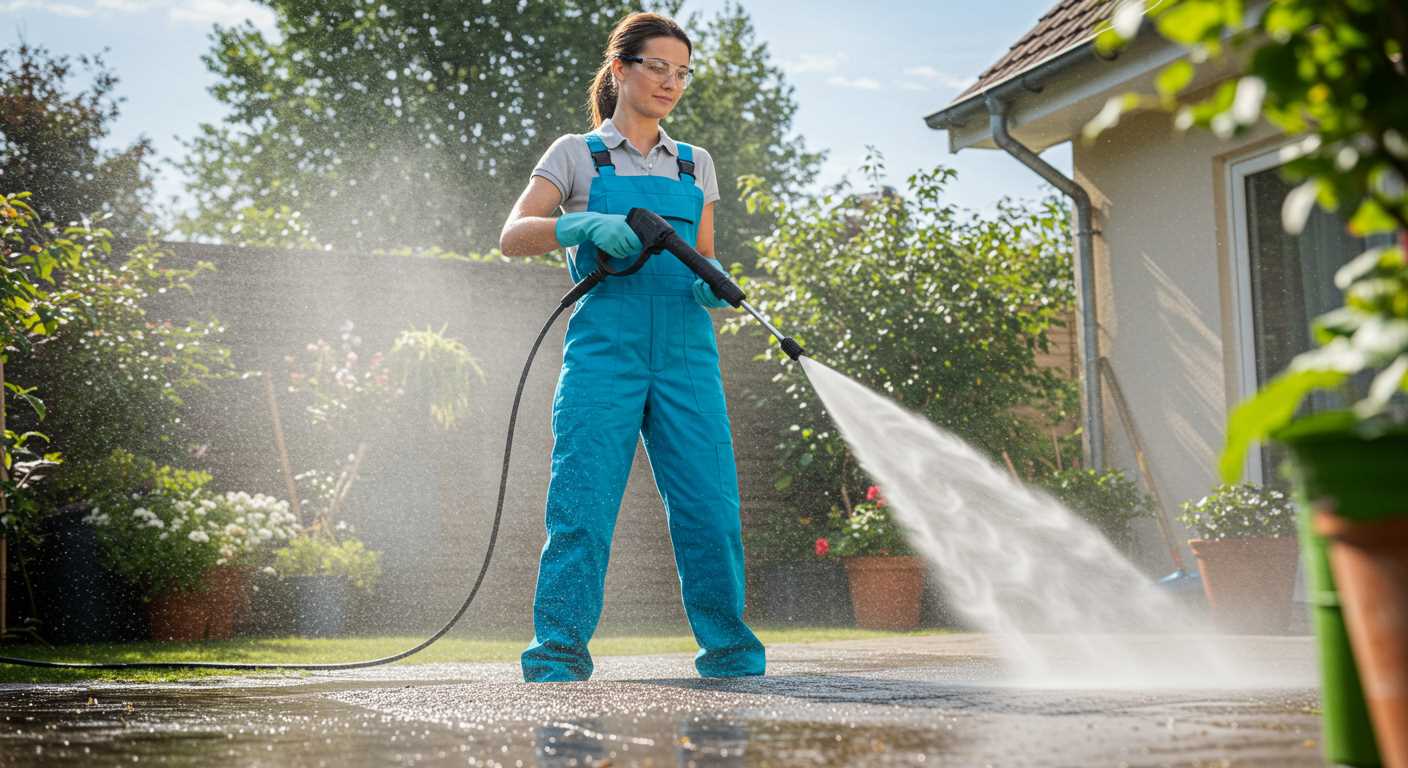
Hold the lance at an angle of around 45 degrees to the surface to prevent water spots. Make sure to cover all areas methodically. Pay particular attention to wheels and wheel arches, as grime tends to accumulate here. Once rinsing is completed, it’s beneficial to inspect for any leftover residue; a quick pass with the nozzle on these spots may be necessary.
Drying the Vehicle
For drying, I recommend using microfiber towels, as they absorb moisture without risking scratches. Start from the top, gently blotting any excess water to avoid streaks. A careful approach ensures that any remaining water doesn’t remain trapped in door seals or trims. If access to air tools is available, a blow dryer can be used for hard-to-reach areas.
Maintaining Your Karcher Pressure Washer After Vehicle Cleaning
Immediately after a cleaning session, disconnect the detergent container and rinse it thoroughly with clean water. This prevents any residue buildup that could affect future performance or compatibility with other cleaning solutions.
Next, run plain water through the system for a few minutes. This clears out any remaining soap from the pump and hoses, ensuring they are well-maintained and free from blockages.
After rinsing, inspect the nozzle and lance for clogs. If water does not flow smoothly or there are signs of obstruction, use a fine brush or needle to clear any debris. This step is crucial for maintaining the spray pattern and pressure efficiency.
Check and clean the inlet filter as well. Over time, dirt and particles can accumulate, restricting water flow. A clean filter prolongs the lifespan of your equipment and enhances its performance.
Store the device in a dry, sheltered area away from extreme temperatures. Ensure the hoses are neatly coiled without kinks, which prevents wear and damage over time. Keeping everything organized extends the durability of the equipment.
Finally, review the user manual for any specific maintenance recommendations related to your model. Proper care not only enhances functionality but also maximizes the lifespan of your unit.


