

Select a high-quality cleansing agent specifically formulated for machines to achieve optimal results. Always dilute the solution according to the manufacturer’s directions. This step is critical; overly concentrated mixtures can damage surfaces and machinery.
Ensure the application method aligns with your equipment’s capabilities. For machines equipped with a detergent tank, pour the mixture directly into the tank. If this feature is absent, utilise a foam cannon connected to the device. This method provides even coverage and enhances the cleaning process.
Before initiating the cleaning procedure, test the solution on a small, inconspicuous area. This precaution helps confirm that the cleaning agent will not adversely affect the surface being treated. After achieving desired results, remember to thoroughly rinse the areas to eliminate any residue.
In the final stages, inspect your work closely. Take advantage of your equipment’s adjustable settings to fine-tune pressure levels, ensuring that all stubborn grime is addressed without causing damage. Following these steps will yield a pristine finish, reflecting the full potential of your cleaning setup.
Selecting the Right Car Cleaning Product for Pressure Cleaners
Prioritise formulations that are specifically designed for high-pressure systems. Look for options labelled as safe for sensitive surfaces to avoid damage. Always consider pH balance; neutral pH products are ideal as they strip grime without compromising wax or sealant layers.
Check Compatibility with Your Equipment
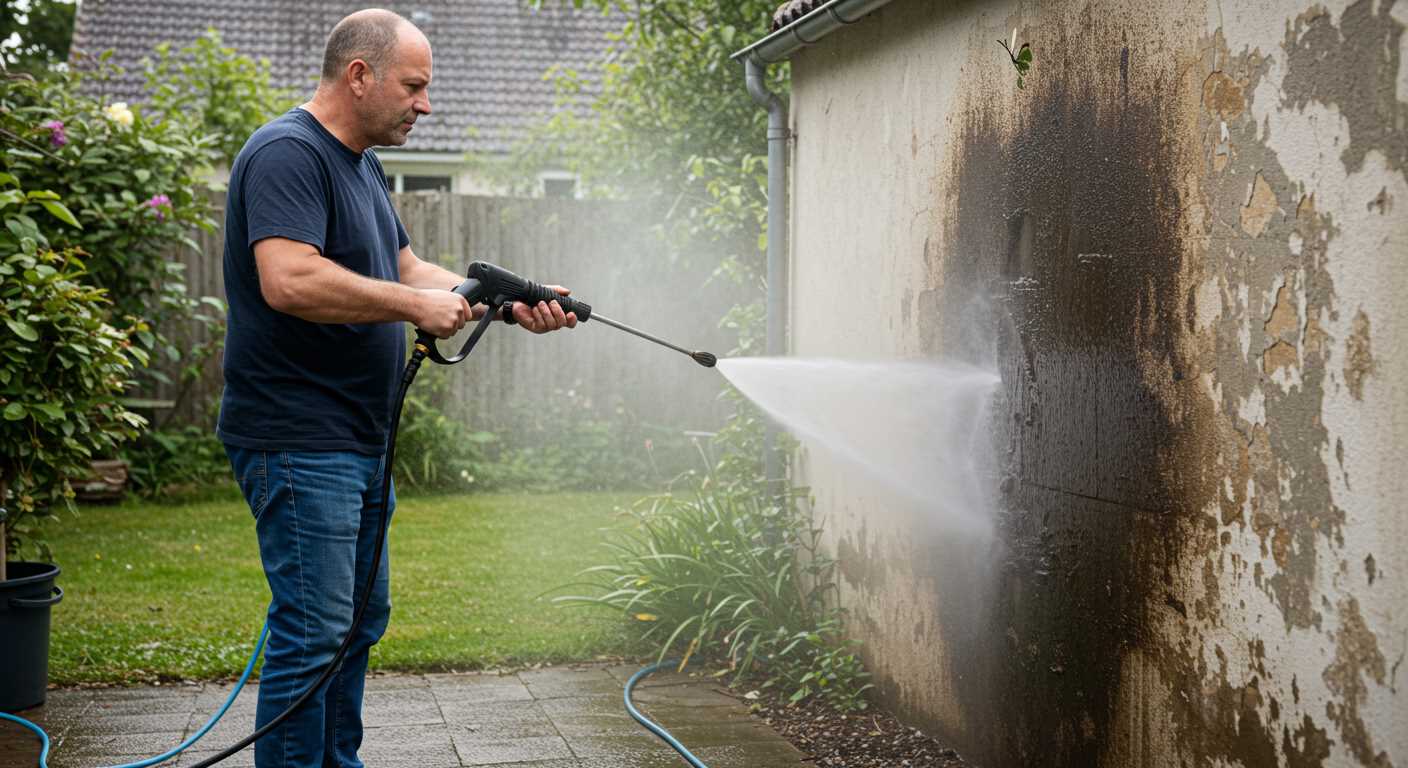
Every cleaning unit can vary in its suitability for different solutions. Consult the manufacturer’s guidelines on compatible detergents. Some models also have built-in dispensers specifically for particular types of cleaners, maximising performance.
Environmental Considerations
Opt for biodegradable cleaners that provide effective cleaning while being kind to the environment. Such products minimise ecological impact and often yield great results. They effectively eliminate contaminants without leaving harmful residues that can affect surrounding plants and wildlife.
Preparing Your Equipment for Soap Application
Before introducing any cleaning agent into your unit, ensure it’s properly set up. First, detach the spray nozzle and replace it with a low-pressure soap nozzle, typically marked in a different colour. This adjustment allows for a wider spray pattern, essential for effective application.
Next, fill the soap reservoir with the chosen cleaning solution, adhering to the manufacturer’s recommended dilution ratio. Avoid over-concentration, as it can lead to excessive foam and reduce rinsing efficiency. If your model lacks an integrated tank, a compatible soap injector can be attached to the high-pressure hose to facilitate application.
Verify that all hoses and connections are secure, as any leaks can impact pressure and distribution. Additionally, inspect filters and strainers to ensure they are clean and free of debris, as clogs can impede performance. Prior to starting, perform a brief test run without any agent to confirm everything functions correctly.
Finally, adjust the pressure setting according to surface requirements. Lower settings are recommended for delicate finishes to prevent damage while ensuring adequate cleaning capability. Proper preparation sets the stage for achieving optimal results.
Mixing car wash soap with water correctly
Use a ratio of 1:10 for the most effective dilution, mixing one part of the cleansing agent with ten parts water. This ensures sufficient cleaning power without risking damage to the surface being cleaned. For stubborn grime, increase the concentration to 1:5, but testing on a small area is advisable.
Always add the liquid to the water, not the other way around. This prevents excessive bubbling and ensures a smooth mixture. Stir gently to combine, avoiding excessive froth which can impede application.
Utilise warm water if possible to enhance the effectiveness of the solution. It helps dissolve dirt and grease more efficiently, providing a deeper clean.
Store any unused mixture in a sealed container away from direct sunlight, ensuring longevity and potency for future cleaning tasks.
Applying Soap Using the Pressure Washer’s Soap Nozzle
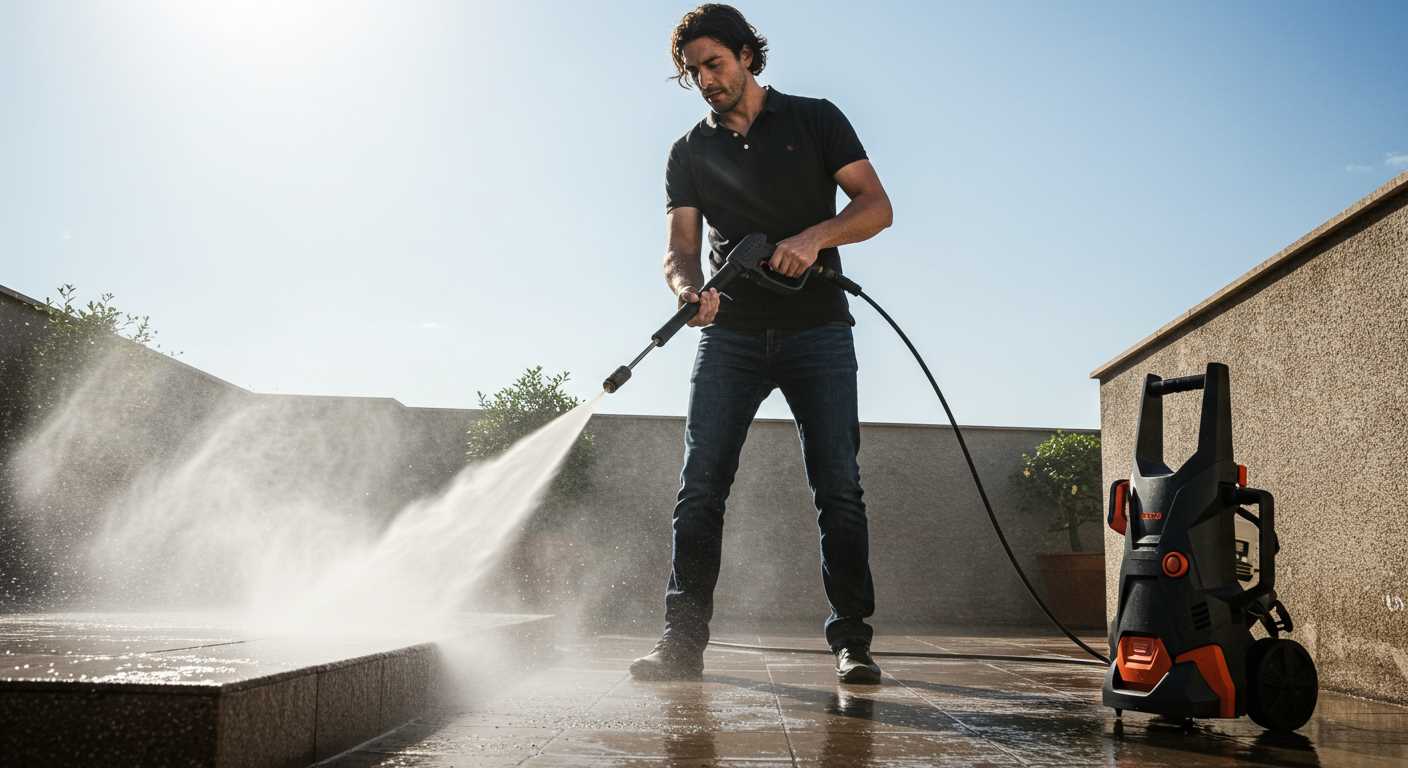
After preparing the cleaning solution and setting up the machine, choose the soap nozzle, typically identified by a wider angle. Connect it securely to the lance. This nozzle ensures a gentler spray that helps distribute the detergent evenly without risking damage to surfaces.
Begin by adjusting the pressure to a lower setting to prevent excessive force from disrupting the sudsy application. Hold the lance at an angle of approximately 45 degrees to the surface for optimal coverage. Begin spraying from the bottom and work upwards, allowing the foam to cling to dirt and grime.
Maintain a consistent distance of around 2-3 feet from the surface to achieve even results. For stubborn stains, allow the suds to sit for a few minutes but avoid letting them dry out. If areas appear neglected, reapply the solution as needed to ensure thorough cleaning.
After the desired dwell time, switch to a high-pressure nozzle to rinse away the solution, ensuring no residue is left behind. This step is critical to avoid streaks and maintain a clean finish. Complete the rinsing process by moving the wand in a controlled, sweeping motion to cover all areas evenly.
Adjusting Pressure Settings for Optimal Soap Distribution
For effective application of cleaning solution, adjusting pressure settings is critical. I recommend starting with a lower setting, typically between 1,200 to 1,500 PSI, as this helps to distribute the product evenly without causing damage to sensitive surfaces. Higher pressures can lead to streaks or even remove paint from the surface.
Here’s how to approach the adjustment:
| Surface Type | Recommended PSI Setting |
|---|---|
| Automobiles | 1,200 – 1,500 PSI |
| Motorcycles | 1,200 – 1,400 PSI |
| House Exteriors | 1,500 – 2,000 PSI |
| Concrete Driveways | 2,000 – 3,000 PSI |
After setting the desired pressure, I recommend activating the system and spraying a small test area. This ensures that the cleaning fluid is being applied adequately and the pressure is appropriate for the surface. Make fine adjustments as necessary, considering both the composition of the surface and existing contaminants. For vehicles, a wider fan tip may also enhance coverage while maintaining a low-pressure setting.
Remember to allow the cleaning solution to dwell for a few minutes before rinsing. This optimal pressure and dwell time will maximise the cleaning effectiveness without damaging the surface. Adjustments made thoughtfully can greatly improve results, making the entire process more productive.
Timing: How long to let lather sit on the vehicle’s surface
Allow the cleaning solution to dwell on the surface for approximately 5 to 10 minutes. This duration is sufficient for the formula to break down dirt and grime effectively. However, do not let it dry completely, as this may lead to streaks or residue.
Key Factors Affecting Dwell Time
- Temperature: Higher temperatures can speed up the drying process, necessitating a shorter dwell time.
- Humidity: Increased moisture in the air may prolong the effective time the cleaning agent can remain wet.
- Type of Stains: Heavy contamination may require a longer application time for optimal results.
Keep an eye on the surface. If you notice it starting to dry, rinse the area to prevent any complications. Always perform a spot test on less-visible areas if trying a new formulation to avoid adverse reactions. Adjust your timing based on the conditions for best outcomes.
Rinsing techniques for removing soap residue
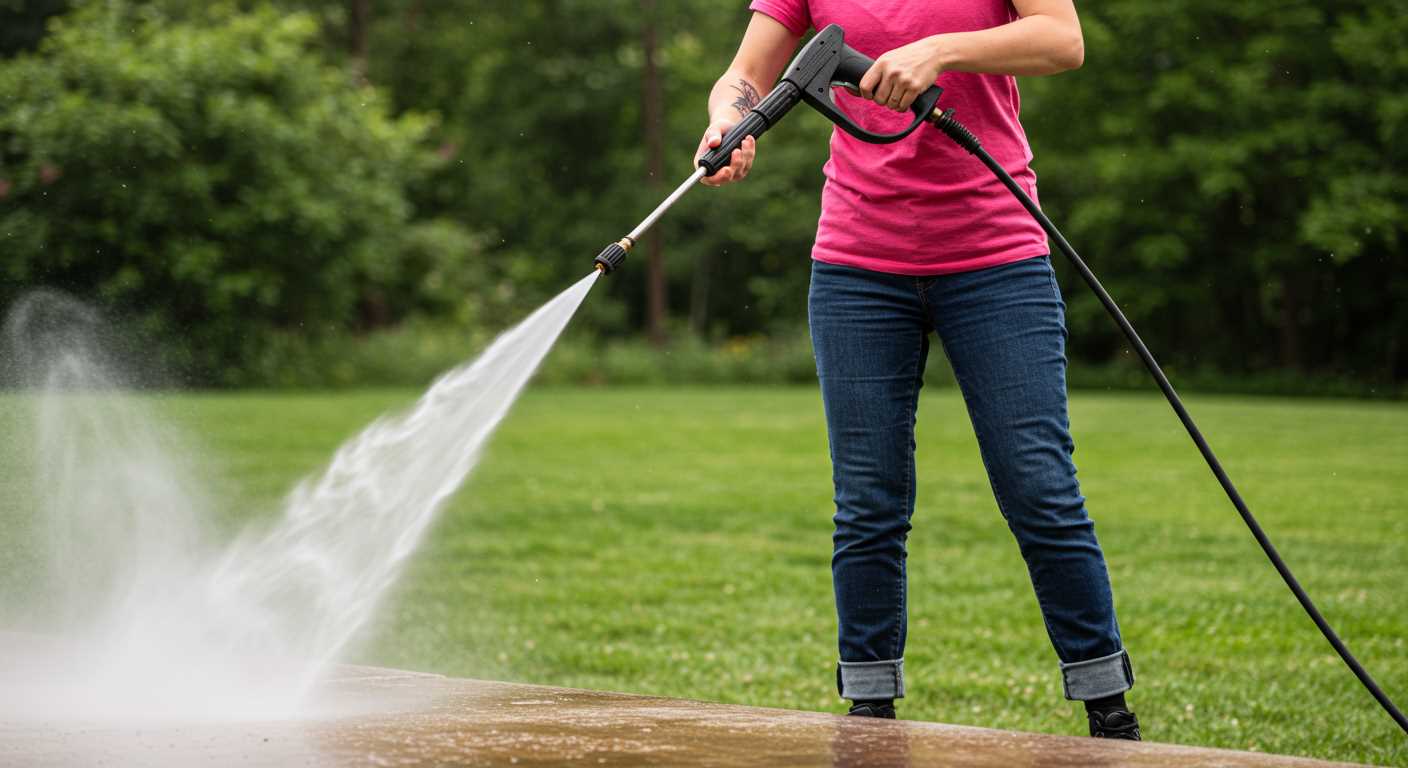
First, always rinse from top to bottom to allow any remaining suds to flow down and off the surface. This method ensures that any residue doesn’t cling to the lower areas, which are often harder to clean effectively.
Utilise a fan spray nozzle for rinsing, as it covers a larger area with a gentler flow, which helps in dislodging foam without damaging the surface beneath. Make sure to maintain a distance of about 2-3 feet from the surface to prevent concentrated water from causing streaks or residue remaining.
Consider using hot water if your equipment allows it. Warmth aids in breaking down any stubborn remnants, making the rinsing process smoother. Always test the temperature on a small, inconspicuous area to ensure it does not affect the finish of your vehicle.
Pay attention to water flow. Use a steady, consistent stream to effectively wash soap away. Avoid creating too much pressure during rinsing to prevent reapplying residue from lower areas back onto the surface.
After the first rinse, inspect the vehicle for any spots that may still have remnants. If found, direct the stream specifically at those areas for additional rinsing.
To enhance the cleaning process, follow up with a clean microfiber or chamois cloth after rinsing to ensure any fine mist or water spots are wiped away, which helps achieve a streak-free shine.
- Rinse from top to bottom.
- Use a fan spray nozzle.
- Maintain a distance of 2-3 feet.
- Consider using hot water if possible.
- Utilise a steady stream to rinse.
- Inspect for remaining soap and target those areas.
- Follow up with a microfiber cloth.
These techniques ensure a thorough removal of cleaning products, leaving behind a clean, shiny surface ready for the next step in your maintenance routine.
Maintenance Tips for Your Pressure Washer After Using Soap
Flush the system with clean water immediately after applying the detergent. This helps prevent any soap residue from clogging the internal components.
Disassemble and rinse the detergent nozzle thoroughly. Build-up can obstruct flow, reducing performance during future cleans.
Inspect the filtration system for debris. Cleaning or replacing filters ensures optimal water flow and protects the motor.
Check hoses for cracks or wear. Any damage can lead to leaks and decreased performance.
Store the equipment in a cool, dry place to prevent corrosion. Moisture can cause damage to both the motor and the pump.
Periodically tighten fittings and connections. This practice helps maintain optimal pressure and prevents unnecessary leaks.
Refer to the manufacturer’s manual for specific guidance on maintenance intervals and procedures. Following these suggestions prolongs the lifespan of your device.
Run the unit periodically, even when not in use. This helps keep internal moving parts lubricated and in good condition.


