


Before starting any task, ensure you have the right nozzle attached. Different nozzles control the spray pattern and intensity, catering to various surfaces. A zero-degree nozzle delivers a concentrated stream suitable for tough stains, while a wider spray is ideal for gentler cleaning.
Filling the tank with detergent is another important step. Select a cleaning solution compatible with your model to avoid damage. Mixing the detergent according to the manufacturer’s recommendations will enhance cleaning power and help remove grime effectively.
Adjust the angle of the spray to achieve the best results. Holding the tool at a slight angle to the surface allows the water to glide off rather than splashing back, ensuring thorough cleaning without undue effort. This technique significantly improves efficiency and keeps you in control.
Experience indicates that maintaining a safe distance from the surface is critical. Start at least two feet away and gradually move closer, especially on delicate materials. Observing the effect of the stream will help you find the ideal distance without risking damage.
Lastly, be mindful of your surroundings. Clear any obstacles and remove fragile items in the vicinity. Awareness of your environment not only protects belongings but also makes your cleaning process more efficient.
Selecting the Right Nozzle for Your Task
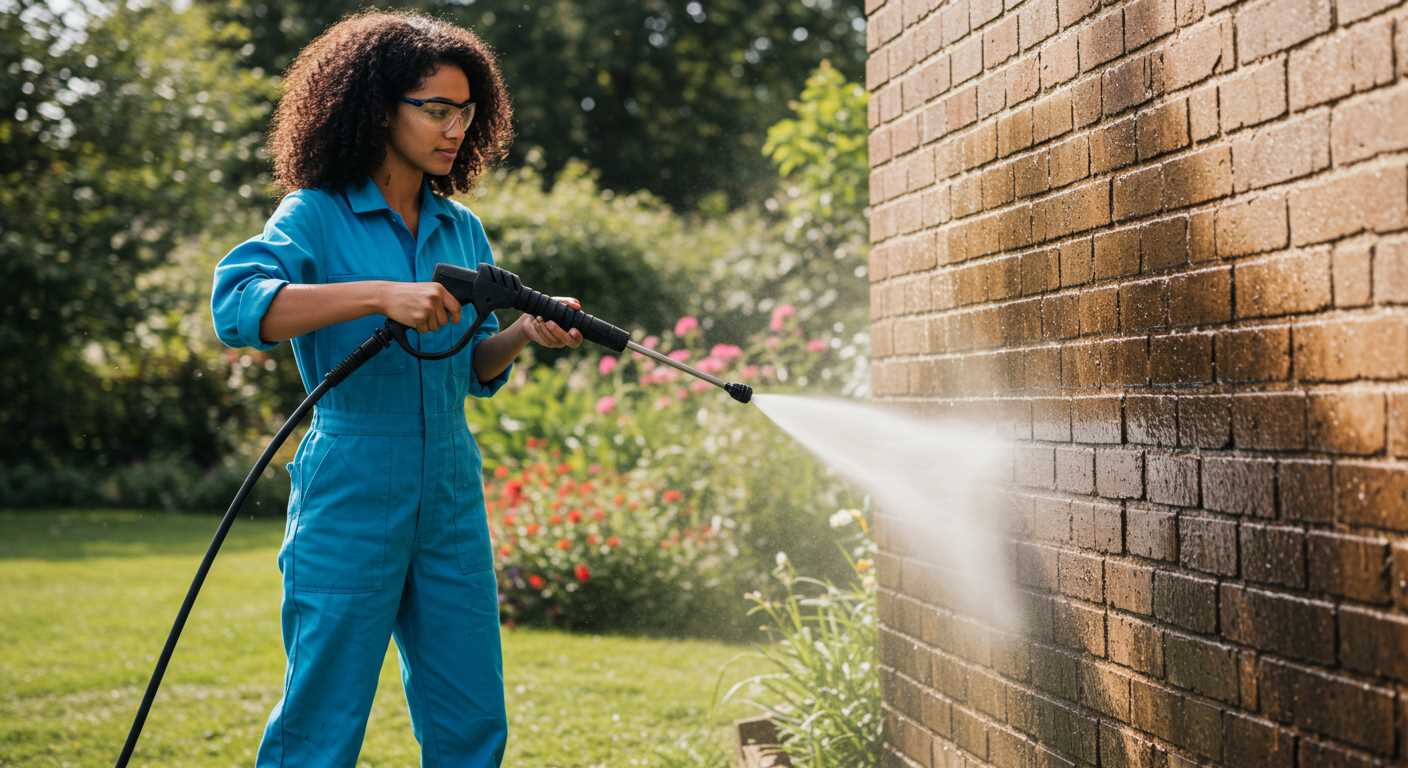
Choosing the correct nozzle is crucial for achieving optimal results. Nozzles typically feature different spray patterns and pressures, tailored for specific applications. For delicate surfaces, such as car paint, I recommend using a fan nozzle with a wider spray angle, generally around 25 degrees. This provides a gentler touch while effectively removing grime.
For tougher jobs like concrete or brick cleaning, a narrow nozzle, such as the zero-degree option, offers a concentrated and powerful stream ideal for dislodging dirt and stains. However, caution is necessary; the high pressure can damage softer materials.
A detergent nozzle, usually coloured differently, is designed to apply cleaning solutions more effectively. This nozzle is perfect for prepping surfaces before rinsing, ensuring thorough cleaning when paired with the right chemicals.
Always check compatibility with your model. Most machines come with a range of nozzles, so familiarise yourself with their properties. Keeping track of the nozzle colour coding helps in quickly selecting the appropriate type for various tasks.
Lastly, evaluate your specific needs and choose accordingly; mastering the right nozzle will significantly enhance your cleaning efficiency and results.
Preparing Your Equipment for Operation
Ensure the device is placed on a stable surface before beginning. Check the surroundings for any potential hazards, such as power lines or uneven ground.
Follow these steps to prepare effectively:
- Inspect the water source, ensuring the hose is connected securely and there are no leaks.
- Fill the tank with clean water, avoiding any contaminants that may affect performance.
- Connect the electrical cord to a suitable outlet, confirming the voltage matches the specifications provided by the manufacturer.
- Check all hoses and fittings for any signs of wear or damage, replacing any faulty components as necessary.
Pay close attention to the detergent system if applicable. Use only the recommended cleaning solutions to prevent damage:
- Mix solutions according to the guidelines provided by the manufacturer.
- Fill the detergent reservoir carefully, avoiding overfilling.
Before switching on, perform a final look-over:
- Ensure all connections are tight.
- Verify the nozzle is appropriate for the task.
Only after confirming everything is in order should you power on the unit. Start with a low-pressure setting to test functionality before adjusting to the desired intensity.
Connecting Water Supply to the Machine
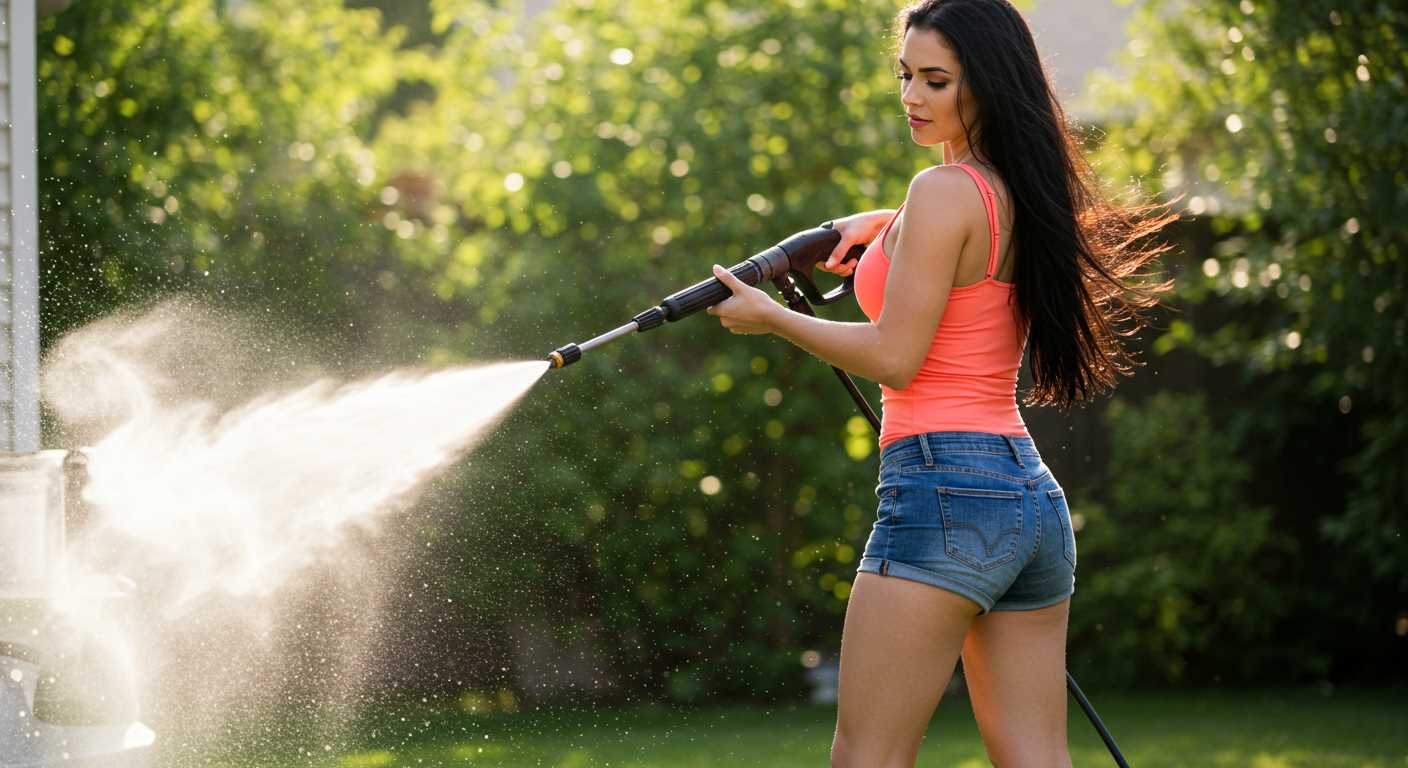
Attach the garden hose to the water inlet located at the rear of the equipment. Ensure the connection is secure to prevent leaks during operation.
Water Source Considerations
- Use a clean water supply, free from debris and sediment. This prevents clogs and maintains performance.
- Check the hose length. Standard garden hoses up to 25 metres work well; longer hoses may reduce water flow.
- Make sure the water pressure is between 20 to 100 PSI, as excessively high pressure can damage internal components.
Preparing the Hose
- Inspect the hose for any kinks, cracks, or leaks before connection. Damaged hoses can hinder functionality.
- Utilise a hose reel or organizer to prevent tangles, ensuring efficient water flow and easy access.
- If using a quick-connect system, ensure all fittings are compatible and lock securely into place to avoid unexpected disconnections.
Finally, open the water supply valve fully to allow for optimal flow. You should hear water filling the system, indicating it’s ready for action. Test for leaks at all connections before starting the cleaning process.
Understanding Pressure Settings and Adjustments
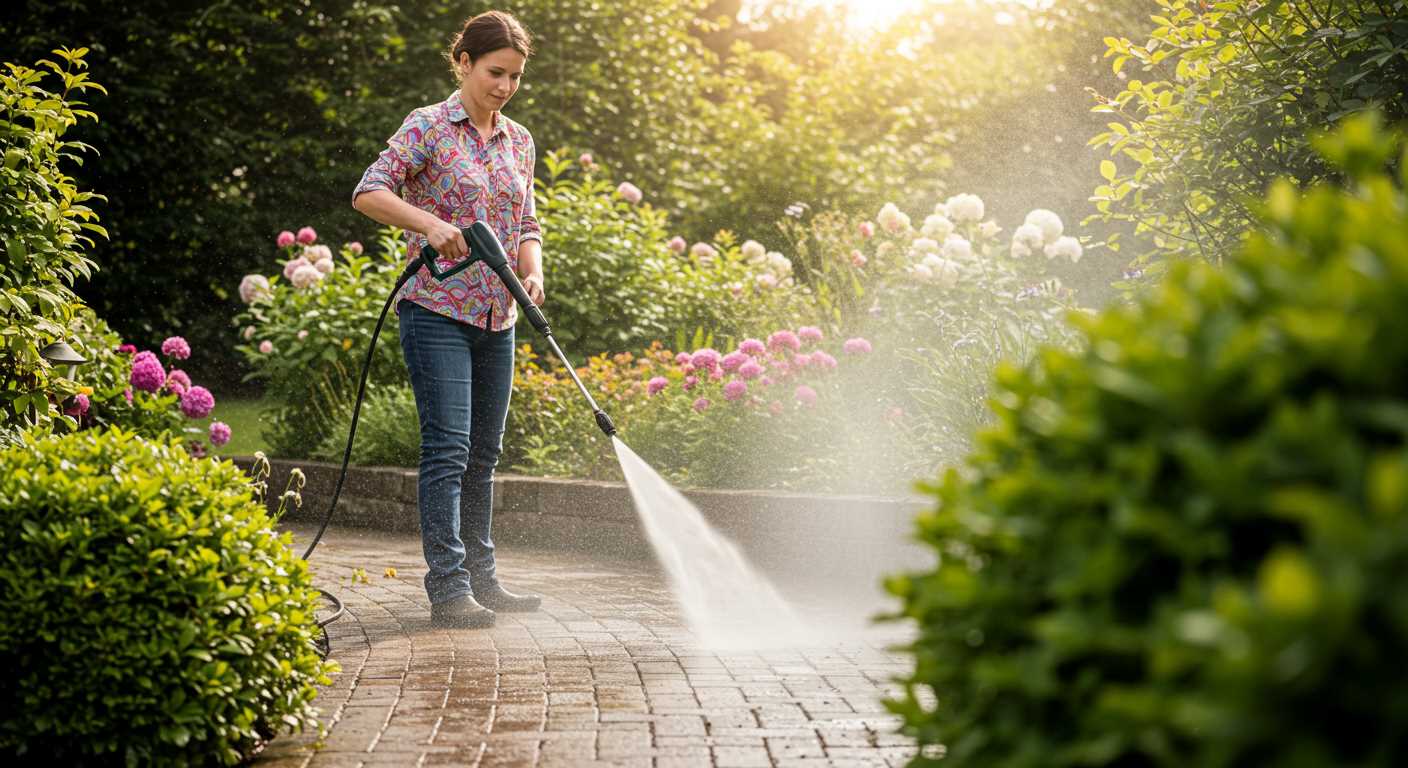
Start with a pressure regulation between 1500 to 2000 PSI for most household tasks. Adjust the settings based on the surface type: lower for delicate materials like wood, and higher for concrete or brick.
Check the machine’s manual to locate the pressure adjustment mechanism, usually found near the trigger gun. Many models feature a dial or lever that allows for easy changes during operation.
For stubborn stains, gradually increase the pressure. Test on a small, inconspicuous area to ensure no damage occurs. Decrease the pressure if any surface markings appear.
Keep in mind that temperature setting can also change the cleaning power. Using hot water can enhance detergents’ effectiveness, especially on grease and oil. Consult the manual to see if your device supports this feature.
Pay attention to the flow rate alongside PSI. Higher flow rates provide better rinsing capabilities, ensuring that dirt and detergent rinse away effectively. Adjust both parameters according to your specific cleaning tasks for optimal results.
When switching between settings, allow the machine to stabilise a moment before proceeding with your task to ensure consistent performance. This practice not only protects the equipment but also guarantees a thorough clean.
Maintaining Proper Distance During Cleaning
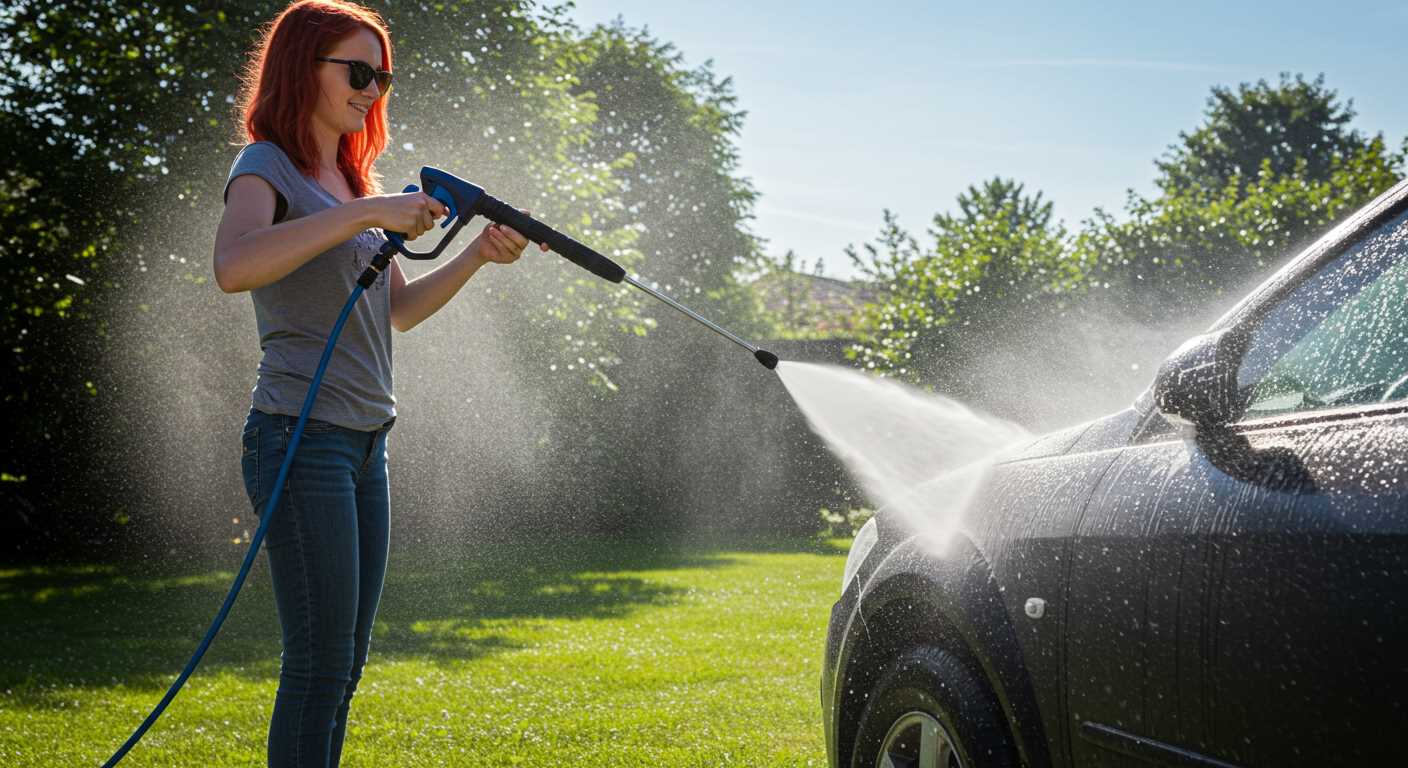
For optimal results while cleaning, I recommend maintaining a distance of 30 to 60 centimetres from the surface. This range allows for effective dirt removal without causing damage. The exact distance will depend on the type of surface and the nozzle in use.
Begin with a further distance and gradually move closer while observing the impact. If you notice any surface damage or the paint lifting, increase the distance immediately. For tougher stains, holding the sprayer closer might be necessary, but always err on the side of caution.
Here’s a quick reference table to help determine the appropriate distance based on the surface and nozzle:
| Surface Type | Nozzle Type | Recommended Distance (cm) |
|---|---|---|
| Concrete Driveway | 0° (Red) | 30-45 |
| Wood Deck | 25° (Green) | 45-60 |
| Vehicle | 40° (White) | 60-90 |
| Brick Exterior | 15° (Yellow) | 45-60 |
| Glass Windows | 40° (White) | 100+ |
Always start with a wider distance, especially on delicate surfaces like wood or glass. Adjust only when necessary, ensuring that cleaning is effective yet safe for your materials.
Techniques for Different Surfaces and Materials
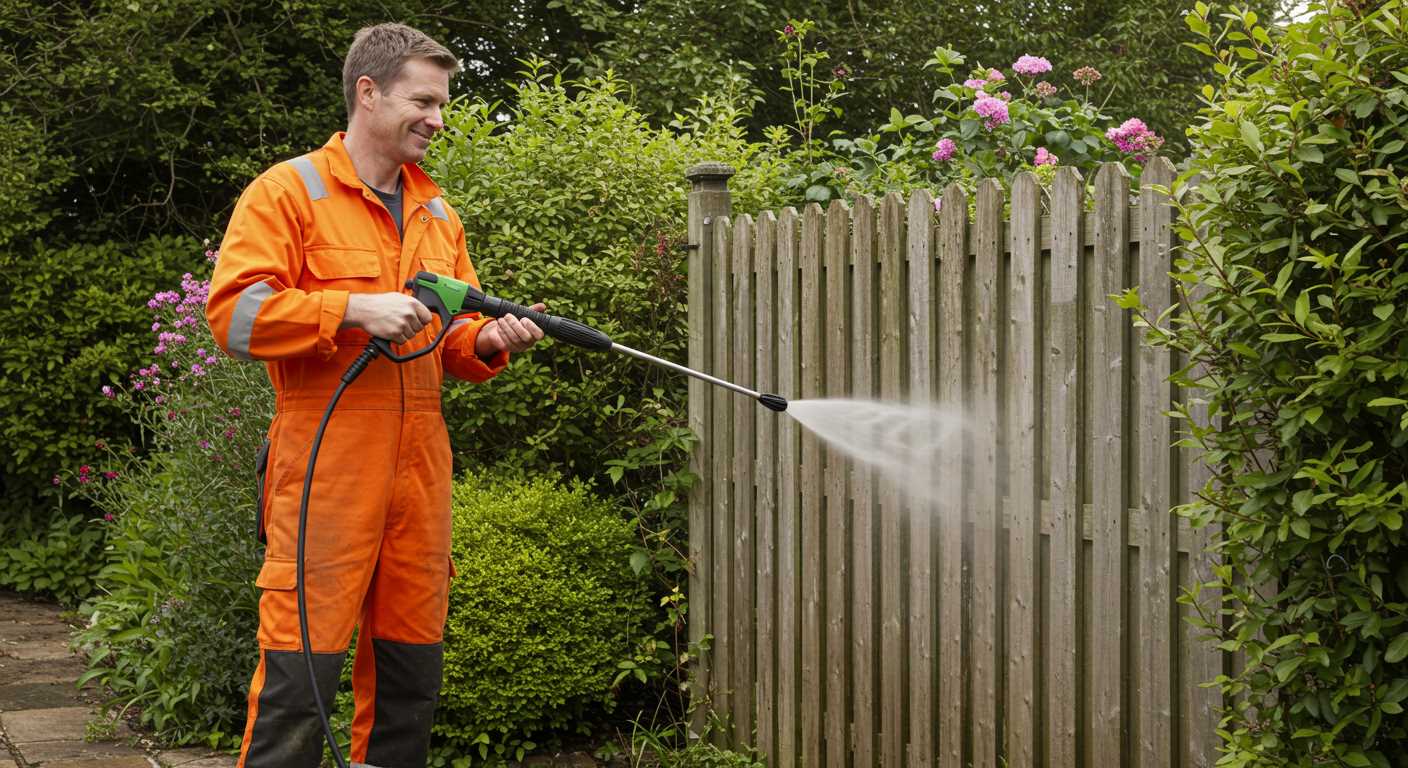
For wooden surfaces, maintain a pressure below 1500 PSI and use a wide-angle nozzle to prevent damaging the wood. Always keep the nozzle at least 12 inches away from the surface and use a sweeping motion to clean without causing gouges.
Concrete and Masonry
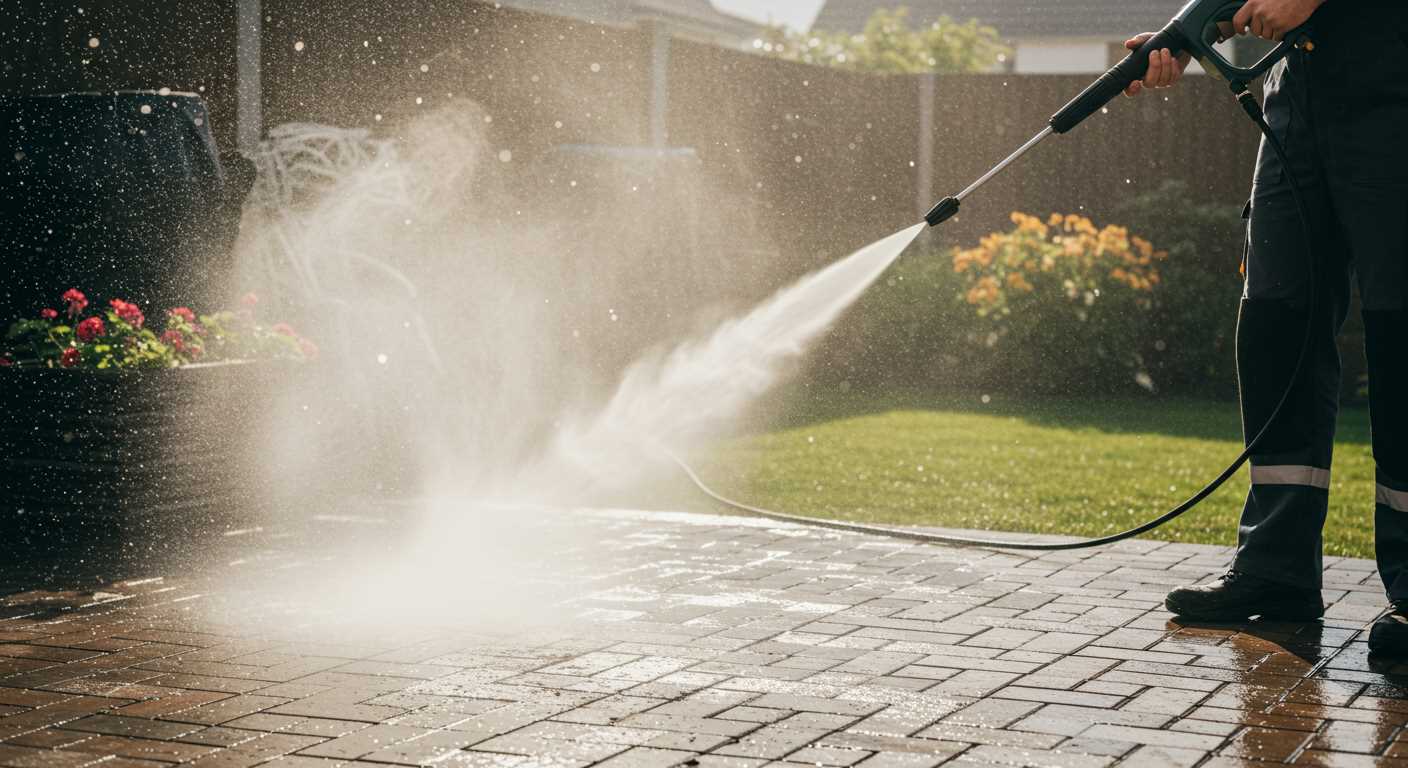
With concrete, higher pressure settings up to 3000 PSI can be effective. Select a rotary or narrow-angle nozzle for tough stains like oil or grime. Approach stubborn spots directly, using a consistent back-and-forth technique. Rinse thoroughly to remove any residue after cleaning.
Vehicles and Painted Surfaces
Avoid using pressures over 1200 PSI on vehicles. For painted surfaces, opt for a fan nozzle and keep it at least 18 inches away to prevent damage to the paint. Always rinse the car with plain water first to remove loose dirt, then apply soap before rinsing again.
Post-Operation Care and Maintenance Tips
After completing your cleaning tasks, proper care ensures longevity. Always disconnect the water source immediately to prevent leaks. Flush the machine with clean water for a few minutes to remove any detergent residue, especially if you’ve used cleaning solutions. This step is vital for maintaining the internal components.
Inspect the hoses and connections for any wear or damage. Look for cracks or frayed edges, as these can lead to leaks or failures during future use. If you notice any issues, consider replacing them before storage.
Store the equipment in a dry and cool place to protect it from moisture and extreme temperatures. If possible, keep it protected from direct sunlight to prevent any degradation of materials over time.
Regularly check the filter screen in the water intake. Clean it as needed to ensure optimal water flow during operation. A clogged filter can affect performance and put additional stress on the system.
Periodically inspect the nozzle for clogs or debris. A blocked nozzle can significantly reduce efficiency. Cleaning it with a small pin or brush often restores proper function.
Complete a thorough inspection of all parts before the next use. This routine ensures any minor issues can be addressed early, preventing significant repairs later.
Lastly, keep a record of maintenance performed, including any parts replaced. This documentation aids in tracking the health of your machine and assists if service or warranty claims arise.
FAQ:
What safety precautions should I take before using a Challenge pressure washer?
Before using a Challenge pressure washer, it is important to wear the appropriate safety gear. This includes sturdy footwear, safety goggles to protect your eyes from debris, and ear protection, as pressure washers can be quite loud. Ensure that you have read the manufacturer’s manual thoroughly to understand the specific safety instructions for your model. It’s also wise to check the surrounding area for any fragile items or obstacles that could be damaged during the cleaning process. Furthermore, make sure to operate the washer in a well-ventilated area to avoid inhaling any harmful fumes that may emanate from the machine.
How do I set up my Challenge pressure washer for the first time?
Setting up your Challenge pressure washer involves several straightforward steps. First, place the machine on a flat, stable surface and connect the water supply hose to the water inlet. Ensure it is tight to prevent leaks. Next, attach the pressure washer hose to the outlet of the machine. Once both hoses are secured, plug in the power cord or connect the machine to a fuel source, depending on the type of washer you have. Before turning on the unit, check for any leaks and ensure that the spray wand is securely attached. After ensuring everything is in place, you can turn on the water supply and power the machine, readying it for use.
What types of cleaning tasks can I perform with a Challenge pressure washer?
A Challenge pressure washer is versatile and can tackle a range of cleaning tasks around your home and garden. You can use it to clean patios, driveways, and decks by removing dirt, grime, and stubborn stains. It is also effective for washing outdoor furniture, vehicles, and boats, as well as preparing surfaces for painting. If you have fences or walls that need cleaning, the high-pressure water can strip away moss and algae. Additionally, you can use specific attachments or nozzles designed for different tasks to achieve optimal results, ensuring that each job is done efficiently and thoroughly.


