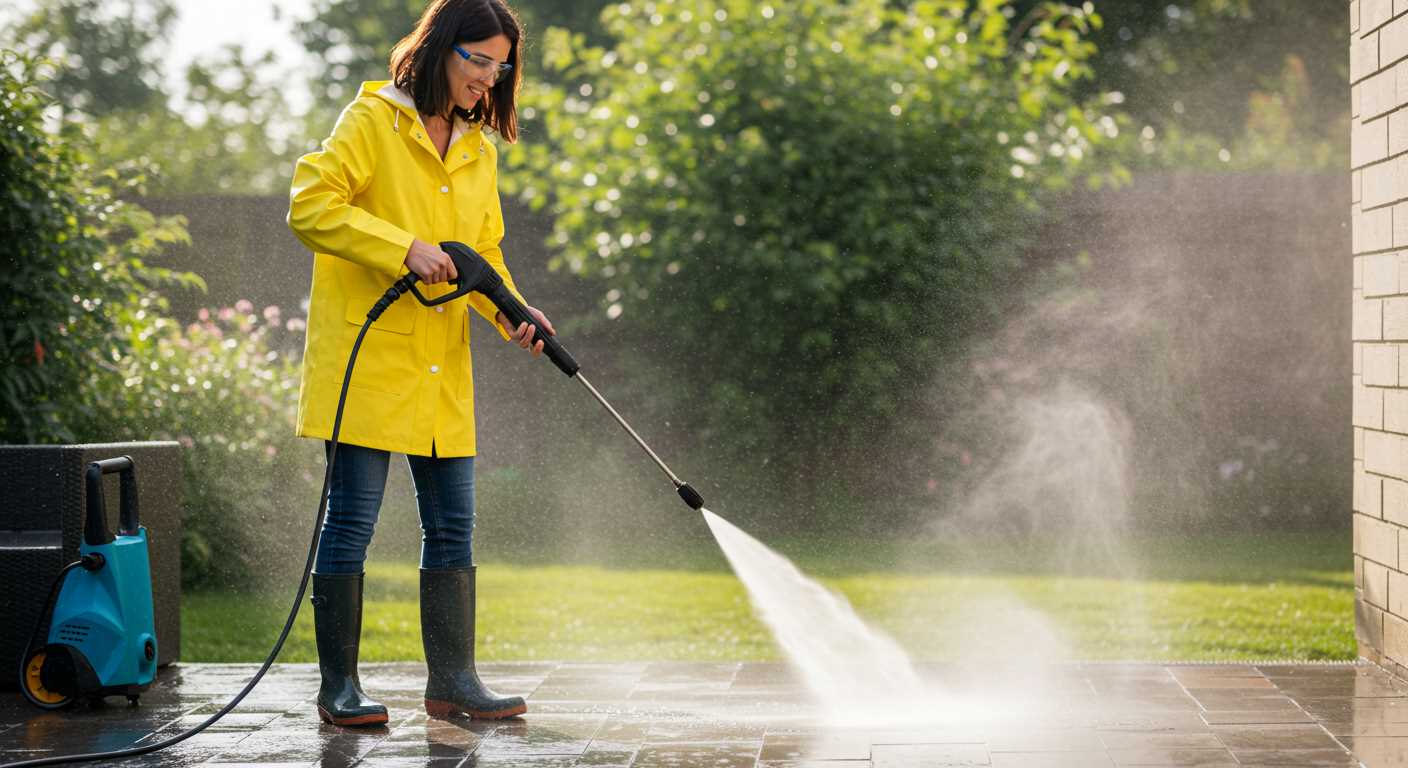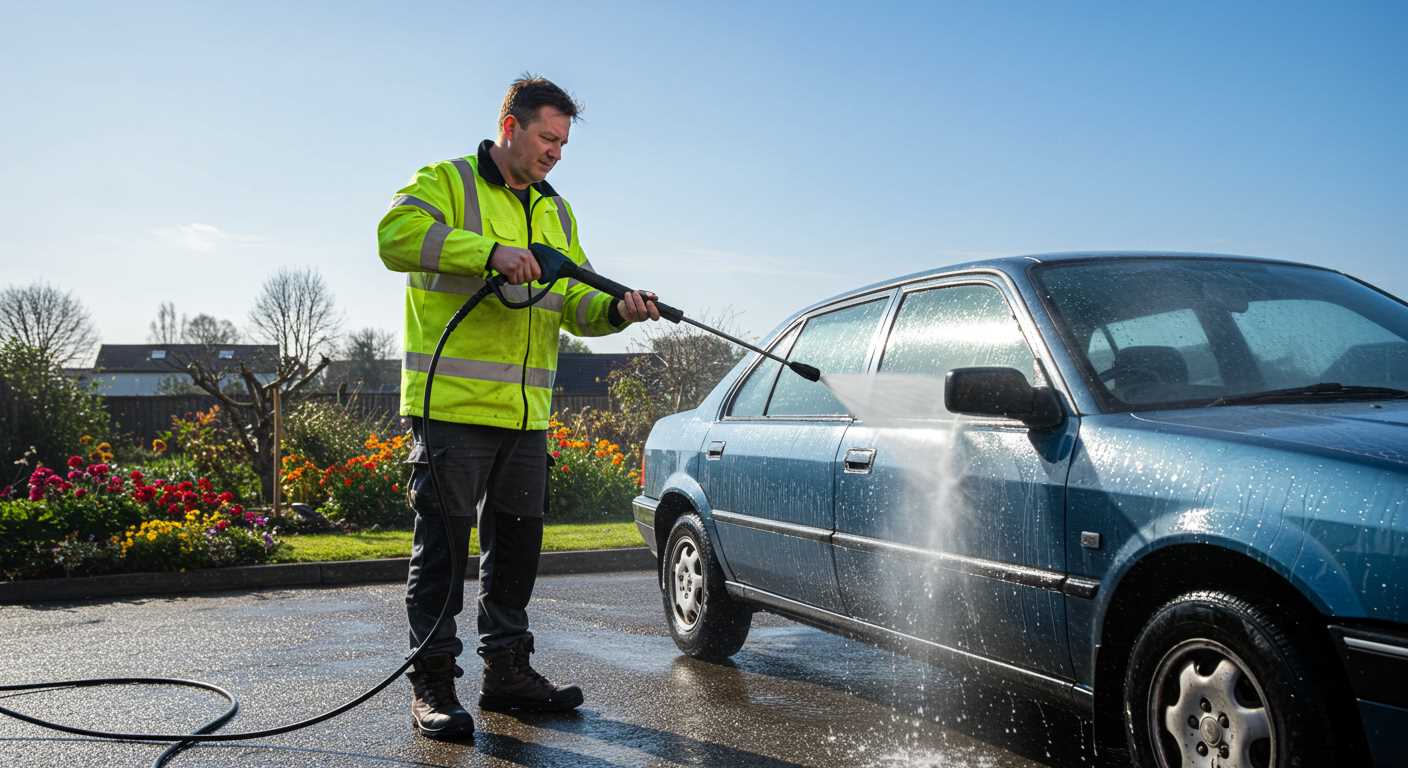


Begin by ensuring the cleaning solution is compatible with your equipment. This eliminates potential damage and ensures optimal results. Check the manufacturer’s guidelines for recommended products.
Next, connect the solution container securely to the machine. Ensure all fittings are tight to prevent any leakage, which could compromise both the efficiency of your cleaning process and the integrity of surrounding surfaces.
Adjust the dilution ratio according to the instructions on the cleaning agent’s label. This step is critical, as an improper mix can lead to ineffective cleaning or surface damage. Use a measuring device for accuracy.
Before activating the system, perform a pre-test on a small, inconspicuous area. This allows you to gauge the performance of the solution without risking any visible harm to the surfaces being treated.
Finally, maintain consistent attention to safety protocols. Wear protective gear such as gloves and goggles to safeguard against splashes and fumes during operation. Should any issues arise, such as blockages or unwanted reactions, turn off the equipment immediately and assess the situation.
Choosing the Right Solution for Your Cleaning Equipment
When selecting a solution for your cleaning apparatus, consider the material of the surfaces you’ll be treating. For example, tougher stains on concrete require more abrasive agents, whereas delicate surfaces like wood or painted areas need milder products.
Surface Compatibility
It’s critical to match the formulation with the surface. Use the following table as a guide:
| Surface Type | Recommended Solution |
|---|---|
| Concrete & Brick | Heavy-Duty Alkaline Cleaner |
| Wood | Biodegradable Cleaner |
| Glass | Non-Ammoniated Glass Cleaner |
| Cars & Boats | pH-Neutral Shampoo |
| Roofing & Gutters | Mildew Remover |
Environmental Impact
Prioritising eco-friendly choices is wise. Products marked as biodegradable reduce environmental harm. Always verify labels for non-toxic and environmentally safe ingredients. Doing so not only safeguards nature but also protects your health.
Testing small areas before full application helps in assessing compatibility and effectiveness. Adjust concentrations based on specific needs for better results. Each application is unique, so tailoring the approach maximises cleaning power.
Preparing the Equipment for Chemical Injection

Ensure that the machine is turned off before connecting any accessories. Check the operation manual for specific instructions related to your model. Familiarising myself with the equipment’s components is key.
Steps to Get Ready

- Detach the spray wand from the unit.
- Locate the injector fitting, usually found between the pump and the wand.
- Connect the appropriate tube from the injector to the fitting, ensuring a secure attachment.
- Fill the chemical tank with the selected solution, paying attention to the recommended dilution ratios.
Performing a Test Run
Before starting the task, run a quick test. Aim the nozzle away from surfaces to avoid unwanted contact and turn on the machine. Observe the flow of the solution through the nozzle for consistent delivery.
Adjust settings as necessary to attain optimal results. Regular checks throughout operation will help maintain performance and ensure even application of the solution.
Connecting the Chemical Injector to Your Pressure Washer
Begin by ensuring that your machine is powered off and disconnected from the water supply. Locate the detergent tube usually connected to the water inlet or pump, depending on your model. Detach this tube carefully.
Next, take the injector and connect it to the inlet where the detergent pickup tube was previously attached. Make sure the connection is secure to prevent any leaks during operation.
Following this, attach the new detergent feed line from the injector to your selected cleaning solution container. Ensure that the end of this line is submerged in the liquid, allowing for effective siphoning.
Once everything is securely connected, check for any kinks or obstructions in the lines. A clear flow is necessary for optimal performance.
Finally, reconnect the water supply to the machine. Turn it on without triggering the spray nozzle to ensure that the system is primed. You should see the detergent begin to flow through the injector and mix with the water as you engage the trigger.
Adjusting the Injector Settings for Optimal Performance

To achieve the best results with your liquid handling system, first ensure you’re familiar with the adjustment settings specific to the model you’re operating. Start by checking the dilution ratios indicated in the manufacturer’s instructions; this will guide you in achieving the correct mixture for effective cleaning without damaging surfaces.
Next, observe the flow rate. Most models come with an adjustable dial or valve that controls how much of the solution is introduced into the stream. Experiment with minor adjustments–typically between 1:10 to 1:30 ratios–to find the sweet spot where the cleaning power is maximised without wastage.
Closely monitor the pressure setting during the initial tests. A lower pressure can improve the absorption of the mixture, while higher pressures might rinse off the solution before it has a chance to work. I recommend starting at a mid-range setting and gradually tweaking it while observing the effectiveness on the surfaces being treated.
Lastly, consider the nozzle type you’re employing. Narrower nozzles increase pressure, enhancing penetration, while wider ones allow for broader coverage. Switch between different options to see which combination yields the most desirable cleaning outcome for your specific application.
Shooting Techniques for Applying Chemicals with a Pressure Washing System

Position the nozzle approximately 3 to 4 feet away from the surface being treated. This distance allows for better coverage while minimizing the risk of damaging delicate surfaces.
Technique Adjustments
- Start with a wide spray pattern to distribute the solution evenly.
- Gradually move closer if necessary, always checking for any adverse reactions to the surface.
- For vertical surfaces, apply from the bottom upwards to avoid streaking, ensuring the solution clings effectively.
Timing and Coverage
Allow the solution to dwell for the time specified by the manufacturer. This step is crucial for effective penetration and removal of stains or grime. Cover small sections at a time to ensure even application and avoid drying out.
After applying, rinse thoroughly with clean water, ensuring all residues are removed. This prevents any chemical damage from prolonged exposure. Consistent monitoring of both the surface and solution’s effectiveness will help achieve optimal results.
Cleaning and Maintaining the Chemical Injector Post-Use
Immediately after finishing the task, fully flush out the system with clean water. Connect a hose with high flow to the inlet, allowing water to travel through the entire setup. This will prevent any residue from drying and clogging the internal components.
Next, dismantle the unit according to the manufacturer’s manual. Soak all removable parts in a suitable cleaning solution for at least 15 minutes. This will help dissolve any remnants of substances used. After soaking, carefully scrub each piece with a soft brush to ensure all deposits are removed.
Rinsing and Drying
After cleaning, rinse all components thoroughly with clean water. Make sure to eliminate any traces of the cleaning solution to avoid contamination in future tasks. Pat dry with a clean cloth or leave them to air dry completely before reassembly to prevent rust or tarnishing.
Storage Recommendations
.jpg)
Store the item in a cool, dry place. If applicable, cover it with a protective cloth to shield it from dust or contaminants. Regularly check for wear and tear to address any issues before the next use.
Maintaining this equipment properly will ensure longevity and reliable performance, making future cleaning tasks more efficient. Consistent upkeep is the key to maximising effectiveness.


