

For optimal results, ensure compatibility of the cleaning agent with the machine prior to application. Always refer to the manufacturer’s guidelines on cleaning products to prevent equipment damage or poor outcomes. Dilute concentrated solutions according to package instructions to achieve the correct mixture, enhancing the cleaning process without risking harm to surfaces.
Employ a separate chemical injector if available; this prevents clogging of the nozzle and allows for a finer mist that penetrates dirt and grime effectively. When mixing, use containers that clearly indicate the contents to avoid any mishaps during your cleaning routine.
Before starting the operation, test a small, inconspicuous area to ensure the chemical won’t harm the surface. Always keep safety gear on hand, such as gloves and goggles, to protect against accidental splashes or irritation. After completing the task, flush the system with water to remove any residual chemical, securing longevity and performance in the future.
Choosing the Right Chemicals for Your Pressure Washer
Identify formulations that match your cleaning requirements. For specific tasks like removing grime from patios or restoring the shine of vehicles, look for products labelled accordingly–these are tailored for those surfaces. Acid-based solutions are excellent for tough mineral deposits whereas alkaline ones work well on organic dirt. Always review the ingredient list for compatibility with your model.
Consider Concentration Levels
Concentrated mixtures deliver better performance with less product needed. Evaluate the dilution ratios provided by the manufacturer to maximise usage and maintain efficiency. Mixing too potent a solution can risk damaging surfaces or machinery, so adhere to the recommended guidelines explicitly.
Think About Environmental Impact
Select eco-friendly alternatives when possible. There are several biodegradable options available that effectively clean without harming the environment. Always check for certifications indicating that the product meets environmental standards. This consideration not only helps in maintaining a cleaner ecosystem but also safeguards your health and that of others around you.
Store the selected liquids properly; in a cool, shaded place away from direct sunlight. Ensure that containers are tightly sealed to prevent leaks or degradation. Regularly assess the expiry dates to avoid using ineffective products, which can lead to unsatisfactory results during your sessions.
Mixing chemicals safely and correctly
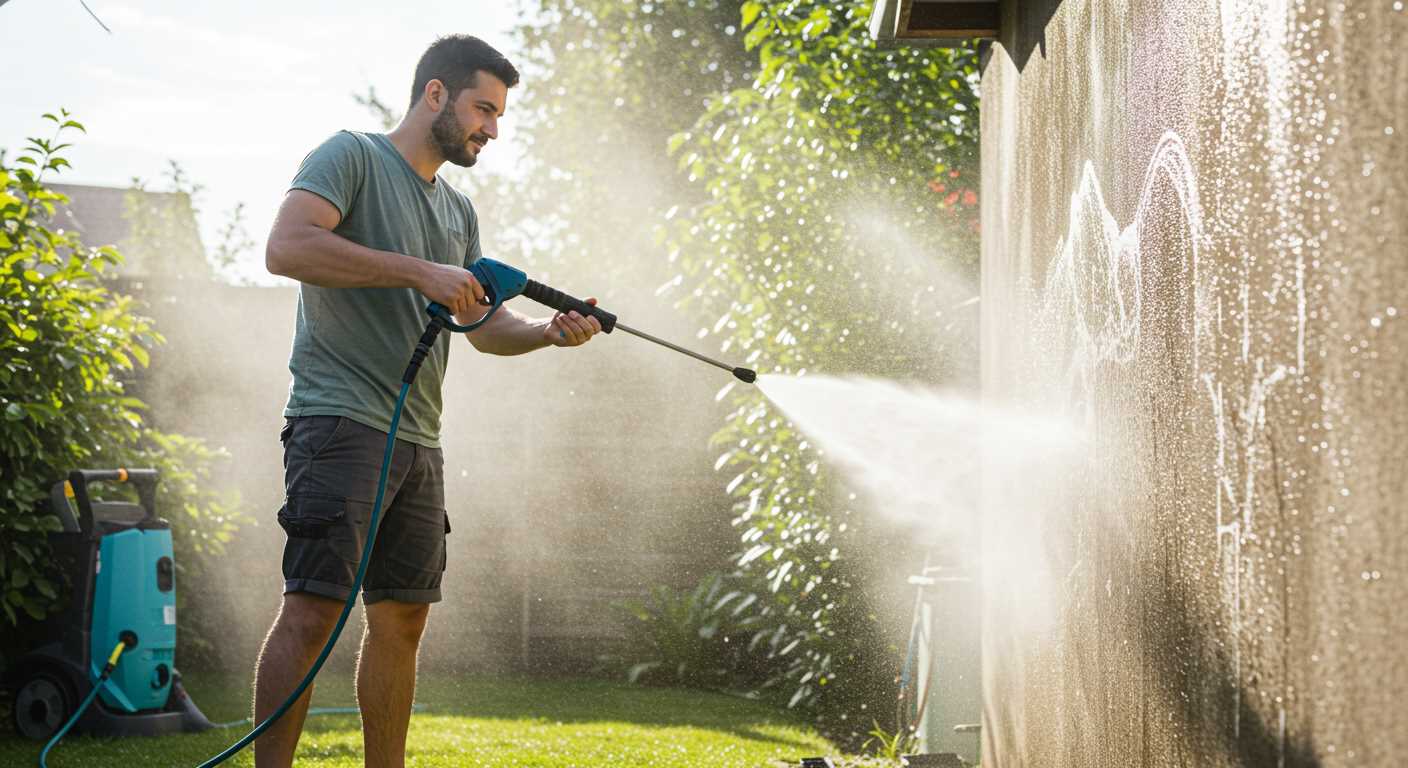
Prioritize safety by wearing protective gear, including gloves, goggles, and a mask, when combining cleaning solutions. Ensure proper ventilation in the workspace to avoid inhaling harmful fumes.
Steps for Safe Mixing
- Read all product labels thoroughly to understand proper ratios and compatibility.
- Use a dedicated container for mixing to prevent cross-contamination.
- Add the liquid that requires dilution first, followed by the concentrated substance to reduce the risk of foaming or splashing.
- Always mix in small batches to limit exposure and assess the solution’s effectiveness.
- Store any leftovers in clearly labelled containers, away from direct sunlight and heat.
Common Mixing Safety Tips
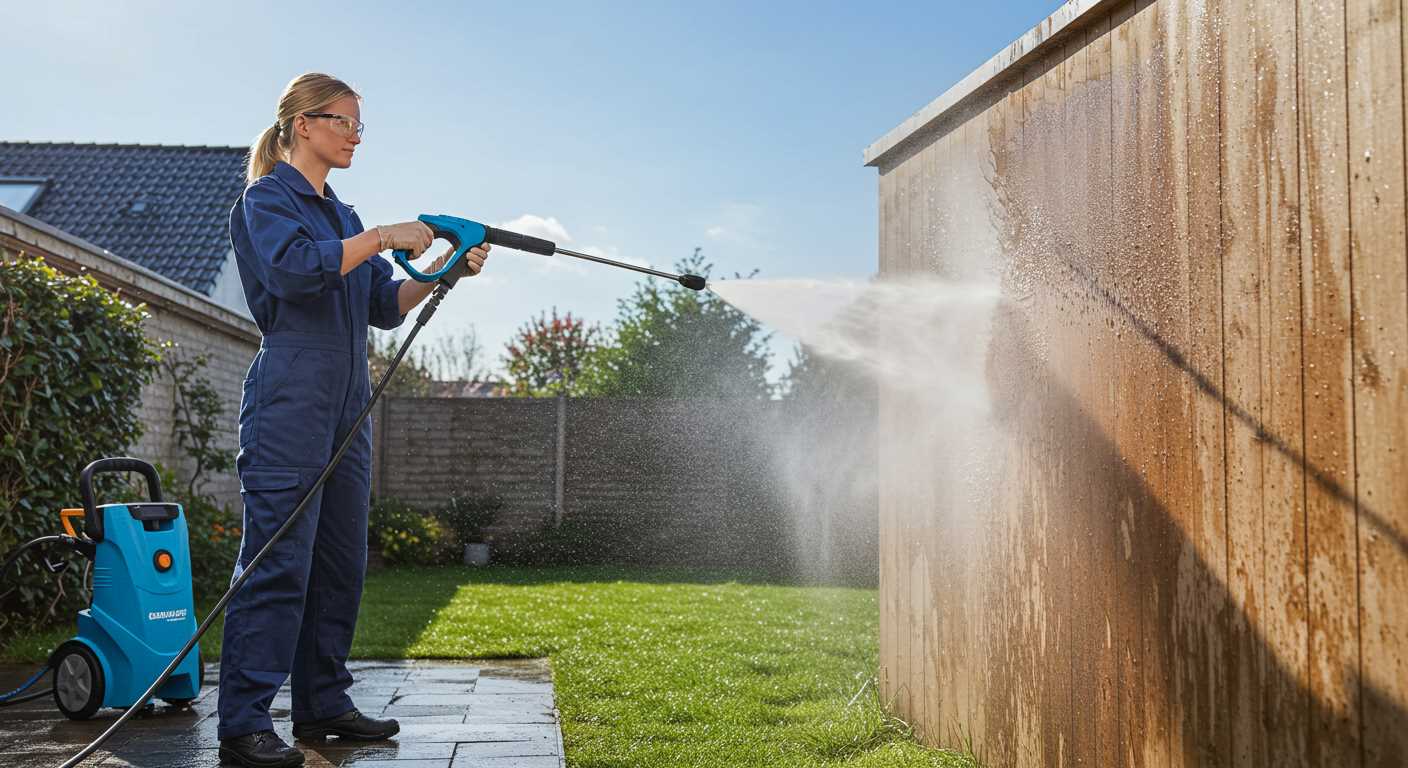
- Avoid combining different brands that may contain reactive ingredients.
- Never mix ammonia-based solutions with bleach, as this creates toxic gases.
- Maintain a neutral pH by checking solutions before mixing; acidic and basic cleaners can neutralize each other.
- Use measuring tools for accuracy to ensure desired concentration levels are achieved.
Following these guidelines ensures safe practices and maximizes the effectiveness of your cleaning efforts. Always opt for products specifically designed for the task at hand to achieve optimal results.
Applying solutions using your power cleaner
Begin with selecting the correct nozzle; a low-pressure nozzle (usually black) minimizes the risk of damaging surfaces while allowing for even distribution of the substance. Ensure the machine’s detergent tank is filled with the prepared mixture, or use an appropriate siphon kit if the unit lacks a tank.
As I begin, I engage the machine at a safe distance–about 3 to 4 feet–from the surface. This distance helps in fine mist application, allowing the formulation to cling without running off. Maintain a steady motion while working horizontally across the area to prevent streaking or uneven coverage. I dedicate additional attention to heavily soiled spots, applying a little extra product while keeping the nozzle at the same distance.
After coating the surface, I allow the product to dwell for the manufacturer-recommended time. This can range from a few minutes to half an hour, depending on the formulation and the type of grime being tackled. During this dwell time, I prepare to rinse. I switch to a high-pressure nozzle and begin rinsing from the top down, ensuring thorough removal of any residue and dirt.
It’s important to maintain a consistent distance during the rinsing phase as well, typically around 1 to 2 feet from the surface, to avoid causing any damage. Watching for any missed spots, I repeat the application process if necessary. Always remember to check local regulations regarding effluent disposal and the environmental impact of the solutions you choose.
Lastly, after finishing, I clean and flush the equipment properly to prevent any residual build-up, ensuring longevity for future use. This routine not only preserves your machine but also optimizes performance for subsequent jobs.
Adjusting Pressure Settings for Chemical Application
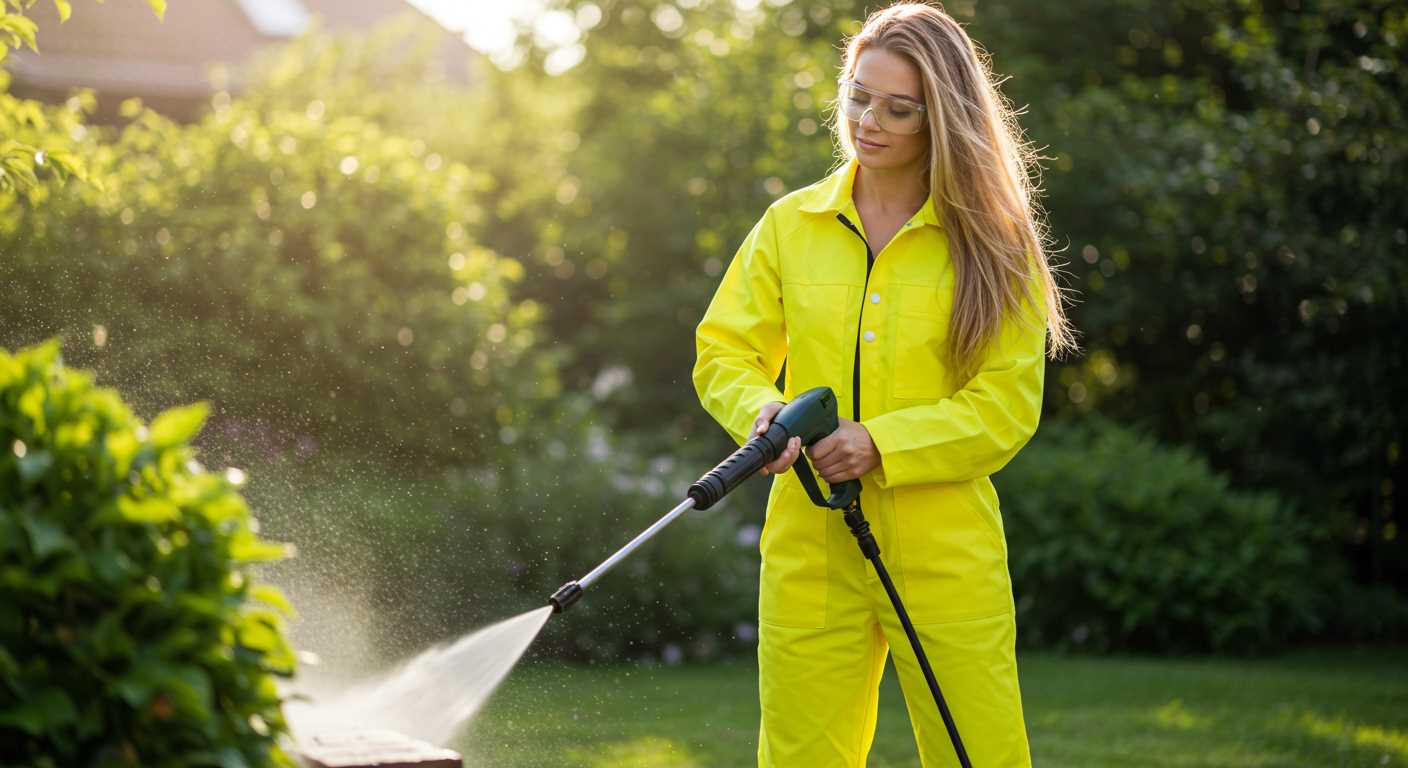
Begin by identifying the optimal pressure setting based on the type of surface and cleaning solution. Generally, lower pressure levels are suitable for delicate areas, while higher settings work well on robust surfaces and stubborn stains.
- Select a low-pressure setting (around 500-1000 PSI) for surfaces like wood or painted areas.
- For concrete, brick, or stone, increase the pressure to 1500-3000 PSI, as these materials can endure more force.
It’s critical to ensure compatibility between the cleaning solution and the pressure setting. Many cleaning agents function better at specific pressures; consult the manufacturer’s guidelines for precise instructions.
Adjust the nozzle type accordingly. A wider fan nozzle disperses the solution more gently, ideal for sensitive surfaces, while a narrow nozzle directs a concentrated stream, perfect for tough grime.
- For a wide spray, opt for a 25- or 40-degree nozzle.
- Use a 0- or 15-degree nozzle for targeted applications on tough stains.
Test the setup on an inconspicuous area before applying it extensively. This practice ensures that the surface can withstand the selected pressure and prevents damage. Monitor the effectiveness of the cleaning solution as you work; if the results aren’t satisfactory, reconsider the pressure adjustments.
Finally, maintain a safe distance between the nozzle and the surface, usually around 12 to 24 inches. This distance prevents chemical over-application while ensuring thorough coverage.
Protecting Surfaces While Using Chemicals
Always begin by conducting a spot test on a small, inconspicuous area of the surface. This helps to ensure that the selected solution will not cause discolouration or damage. After testing, monitor the area for any adverse reactions over a short period.
Utilising a low-pressure setting is vital, particularly when working on delicate materials such as wood or painted surfaces. This prevents the liquid from penetrating too deeply and causing irreversible harm.
Cover nearby plants, grass, and sensitive areas using a protective film or tarp. Secure these protections to avoid any run-off that could damage the landscaping.
Incorporate a rinse phase into your cleaning process. After applying the solution, pause briefly before rinsing to allow for adequate dwell time, then use a gentle spray to avoid dislodging coatings or finishes.
Wearing appropriate personal protective equipment is non-negotiable. Use gloves, goggles, and masks as necessary to safeguard against exposure.
Be aware of the weather conditions. Avoid using strong cleaners in direct sunlight or on hot surfaces, as this can lead to rapid evaporation, reducing effectiveness and potentially damaging the surface.
Maintain a safe distance from surfaces while applying the solution. This helps to control the dispersion and prevents excess concentration on one area, which could lead to discolouration or wear.
Once finished, ensure thorough cleansing of your equipment and post-application cleaning of the surrounding area. This prevents residual chemicals from causing damage or harm later on.
Cleaning and maintaining your machine after chemical application
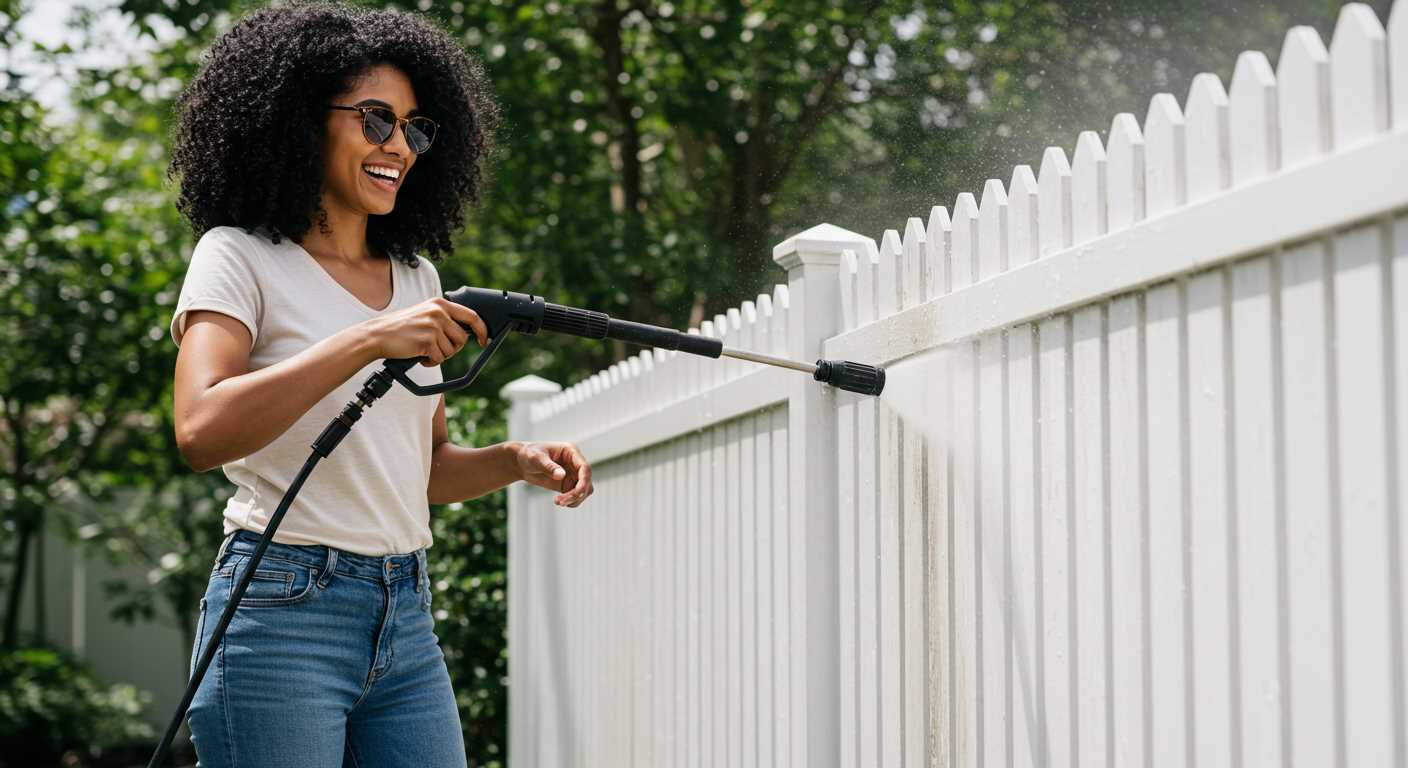
Immediately after completing the cleaning task, I recommend rinsing out the detergent reservoir and the hose to remove residues. Fill the tank with fresh water and run the pump to flush the system for several minutes. This step prevents build-up and deterioration of components.
Inspect the nozzle and wand for residue accumulation. If any blockage is present, use a soft brush or a pin to clear it. A clogged nozzle can affect performance during future applications.
Once the flushing is done, disconnect all attachments and thoroughly rinse them as well. Ensure that there are no traces of formulations left on any surfaces, as they can corrode or damage parts over time.
Next, check and clean the filters if your model is equipped with them. A clean filter maximises water flow and pump efficiency, extending the life of the unit.
Following a thorough wash, dry all parts with a microfiber cloth to avoid water spots or mineral build-up. Store the machine in a dry place, away from direct sunlight to prevent degradation of plastic components.
Finally, perform a routine inspection for wear and tear. Look for any signs of leaks or cracks in hoses and fittings and replace parts as necessary. Keeping your equipment in top condition ensures reliable performance for future tasks.
Disposing of chemicals safely and responsibly
Always follow local regulations regarding the disposal of hazardous substances. First, check if a local recycling centre accepts these materials. Many municipalities operate programmes for safe collection at specified times.
Never pour leftover substances down the drain or into the environment. Instead, store them in their original containers, securely sealed, until you can dispose of them properly. If you have mixed unused products, this mixture can pose a greater risk, so treat it as hazardous waste.
Steps for Safe Disposal
| Step | Description |
|---|---|
| 1 | Read the label for disposal instructions. |
| 2 | Contact local authorities for disposal options. |
| 3 | Take unused products to a hazardous waste collection site. |
| 4 | Never mix different substances in one container. |
| 5 | Document the disposal process for your records. |
In some cases, local or national environmental agencies may offer guidance on special disposal events or mobile collection units that can safely take unwanted materials. Always prioritise safety for yourself and the environment during this process.
FAQ:
What types of chemicals can be used with a pressure washer?
When using a pressure washer, you can use a variety of chemicals depending on the cleaning task. Common options include biodegradable detergents for general cleaning, degreasers for removing oil and grime, mould and mildew removers, and specially formulated pressure washer soaps that can enhance the cleaning process. Always select chemicals that are compatible with your pressure washer model and ensure they are safe for the surface you intend to clean.
How do I mix chemicals for use with a pressure washer?
Mixing chemicals for a pressure washer typically involves following the manufacturer’s instructions on the label. Generally, you should dilute concentrated cleaning solutions with water in an appropriate ratio, often specified on the product. Use a clean bucket for mixing and ensure you wear protective gear such as gloves and goggles. Once mixed, pour the solution into the pressure washer’s detergent tank to apply during your cleaning session.
Is it safe to use household cleaners in a pressure washer?
While some household cleaners can be diluted and used in a pressure washer, it is crucial to avoid harsh chemicals that can damage the machine or the surface being cleaned. Products labeled for pressure washer use are typically formulated to be safe. Check the manufacturer’s guidelines for your pressure washer and the specific cleaners to ensure compatibility and safety.
How can I apply chemicals effectively while pressure washing?
To apply chemicals effectively, start by adjusting the pressure washer to a low pressure setting. Apply the chemical solution evenly over the surface, allowing it to sit for a few minutes to break down dirt and stains. Use a wide spray nozzle to ensure an even distribution. After the dwell time, switch back to a higher pressure setting to rinse off the chemical thoroughly, ensuring no residue is left behind.
What precautions should I take when using chemicals with a pressure washer?
When using chemicals with a pressure washer, it’s important to take several precautions. Always read and follow the safety instructions on the chemical labels. Wear protective gear, such as gloves, goggles, and a mask if necessary, to avoid skin contact or inhalation of fumes. Ensure the work area is well-ventilated, and never mix different chemicals unless specifically instructed to do so. Additionally, perform a patch test on a small area if you are unsure how a surface will react to the chemical.


