


For optimal results, always mix the cleaner according to the manufacturer’s instructions, ensuring the correct dilution ratio. A common guideline is to combine 1 part cleaner to 10 parts water, but refer to the specific instructions provided on the product label.
Before beginning the cleaning process, prepare the surface by removing loose debris and ensuring vegetation nearby is protected from the cleaning solution. Spray water around delicate plants to form a barrier, safeguarding them from potential harm.
Next, apply the cleaning solution using the appropriate nozzle attachment, often a wide spray or soap nozzle. Let the solution sit for a minimum of 5 to 10 minutes, allowing it to penetrate and break down grime effectively. Be cautious to avoid allowing the cleaner to dry on the surface.
Rinse thoroughly using a narrow nozzle to maintain pressure and reach tight spots. Start from the top and work downwards, ensuring all residues are washed away completely. This method will enhance the cleanliness of the area and leave surfaces spotless.
Lastly, maintain your equipment by flushing out remaining solution after each use and storing it according to guidelines. This practice prolongs the life of your tools and ensures they remain in top working condition for future tasks.
Selecting the Right Cleaning Agent for Your Equipment
My first recommendation: always choose a product specifically formulated for the task at hand. Not all cleaning solutions are compatible with various equipment types, and using the wrong one can lead to damage or ineffective cleaning.
Look for products that clearly state they are safe for the material you’re working on. For instance, certain substances may harm painted surfaces or plastics. Always refer to the manufacturer’s guidelines for both the washing device and the cleaning product.
Consider the concentration level of the formulation. A highly concentrated solution will require dilution, which might vary based on the type of grime you’re targeting. Check product instructions for proper mixing ratios.
Take note of the scent. While this may seem trivial, strong chemical odours can indicate harsh ingredients. Opt for solutions with pleasant scents, such as citrus or herbal, which can enhance your cleaning experience.
Evaluate environmental friendliness. Many brands now offer eco-friendly options that are biodegradable and non-toxic, which help protect the surrounding environment during use.
Ensure the cleaning product is compatible with the nozzle design of your equipment. Some formulas work better with specific nozzle types, influencing how effectively dirt is removed.
Lastly, consider read reviews and recommendations from fellow users. Their feedback can provide insight into the performance and results of various brands and formulations.
Preparing the surface before employing a cleaning solution
Begin by removing any loose debris, dirt, or grime from the area. Sweep or brush the surface thoroughly to ensure maximum contact with the cleaning agent.
If applicable, cover or tape off any nearby plants, electrical outlets, or sensitive surfaces to protect them from the cleaning solution or high-pressure stream.
For surfaces with stubborn stains or heavy buildup, pre-soak with warm water for a few minutes. This aids the cleaning agent in penetrating and breaking down tough residues effectively.
Next, assess the material of the surface. For porous materials, consider a more diluted solution to avoid over-saturation. Non-porous surfaces can generally handle a stronger concentration without issue.
Below is a summary for surface preparation:
| Step | Action |
|---|---|
| 1 | Remove loose debris |
| 2 | Cover nearby sensitive areas |
| 3 | Pre-soak tough spots |
| 4 | Assess surface material |
Following these steps ensures the solution can work effectively, leading to better results in cleaning. Proper preparation will significantly enhance the overall performance of the cleaning process.
Dilution ratios for different types of degreasers
For optimal cleaning results, adhering to specific dilution ratios is crucial. These vary based on the formulation of the cleaner, so let’s break it down:
Alkaline-based cleaners
Typically require a dilution of 1:10 to 1:15. This means mixing one part cleaner with ten to fifteen parts water. Ideal for heavy grease and oil, this ratio allows for effective penetration and emulsification of tough residues.
Solvent-based cleaners
A common ratio ranges from 1:5 to 1:10. With one part cleaner to five parts water, the mixture excels in tackling stubborn grime on metal surfaces. Always ensure proper ventilation when using these formulations as they contain volatile organic compounds.
For biodegradable options, a milder dilution of 1:20 to 1:30 is often recommended. These are more environmentally friendly and effective for light to moderate soiling without compromising safety.
Always consult the manufacturer’s instructions for the best outcomes and ensure compatibility with your equipment to avoid damage.
Applying Degreaser with a Pressure Washer Attachment
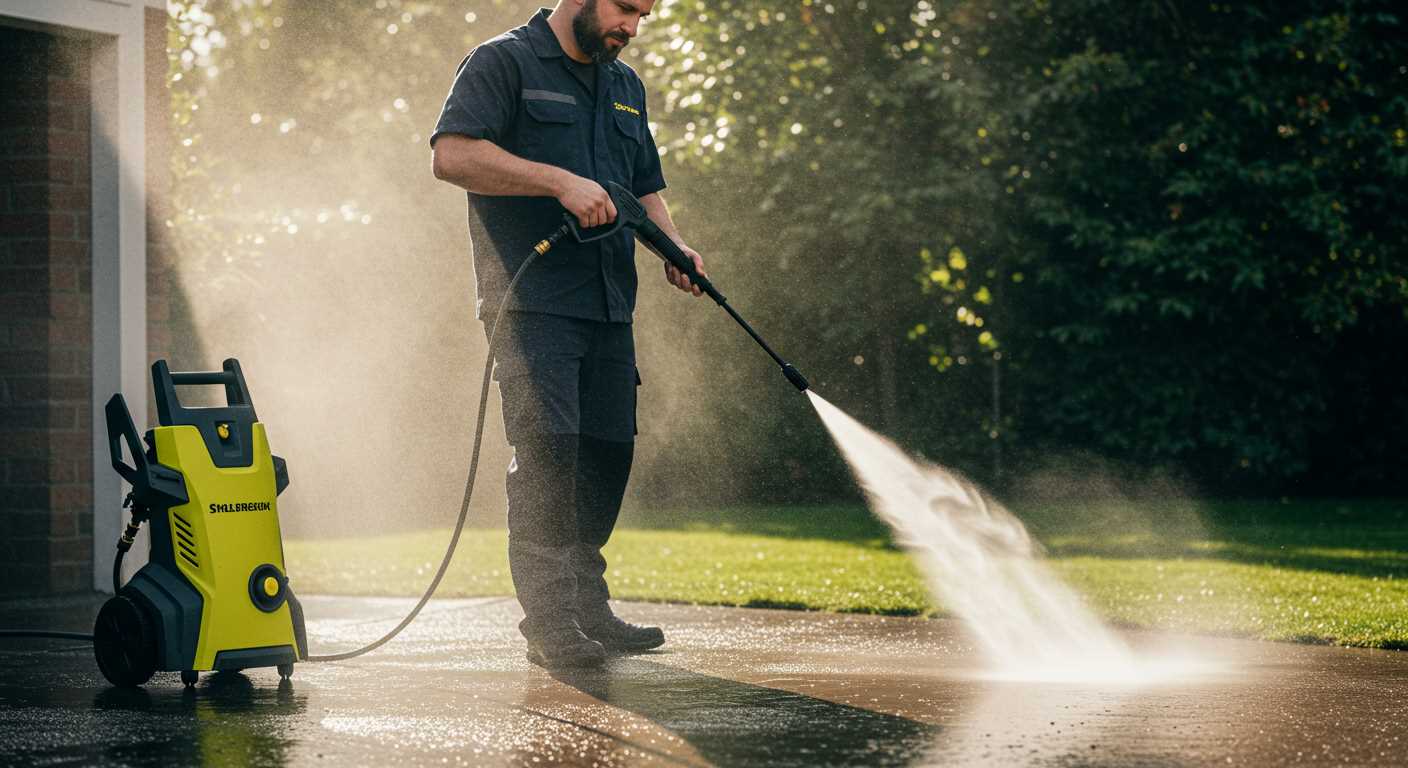
A nozzle specifically designed for chemical application is essential. I recommend choosing a low-pressure attachment that allows for a smooth and even distribution of the cleaning solution. This minimizes the risk of damage to surfaces while ensuring thorough coverage.
Begin by filling the detergent tank or container of the equipment with the required solution. Ensure that the attachment is securely fitted to avoid any leaks during operation. Once positioned correctly, adjust the settings on the machine to the appropriate level for the specific cleaning task you’re about to undertake.
As you begin applying the solution, maintain a consistent distance of approximately 2-3 feet from the surface. This distance allows for effective penetration without oversaturation. Apply the cleaner in overlapping strokes, ensuring even coverage and addressing stubborn spots more thoroughly.
Once the application is complete, allow the cleaning solution to dwell on the surface for a few minutes. This waiting period enhances the effectiveness of the formulation. After the dwell time, switch to a high-pressure nozzle for rinsing. Start from the top and work your way down, which helps prevent streaks and guarantees complete removal of residue.
Finally, always check the manufacturer’s guidelines for compatibility and recommendations regarding the specific cleaning agent you are employing. Some models may have limitations that can affect performance or cause damage if the wrong type of solution is used.
Setting the Correct Pressure for Optimal Cleaning
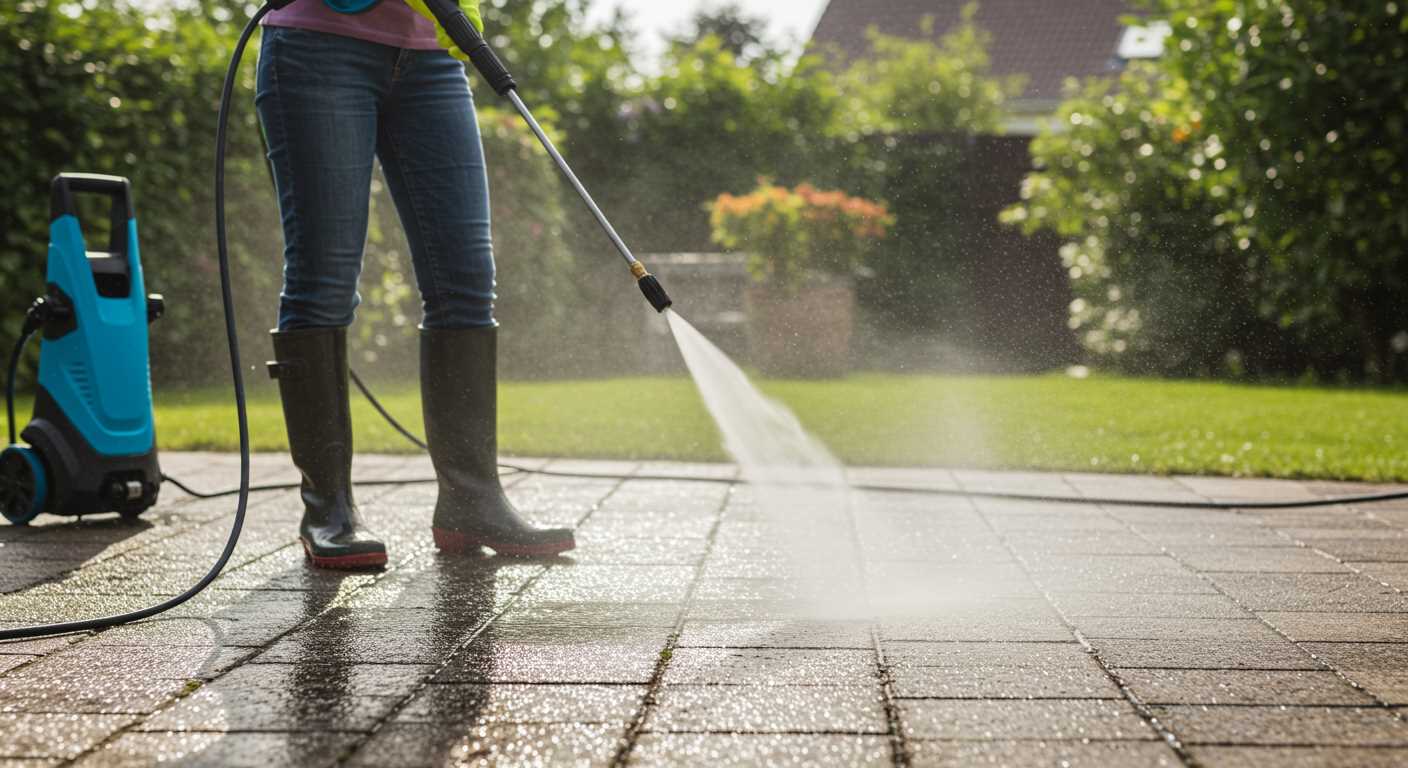
To achieve the best results, select an appropriate pressure level tailored to the surface being treated. For instance, softer materials like wood are best cleaned at lower settings, around 1000-1500 PSI, whereas concrete or stone surfaces can tolerate higher ranges, between 2500-3000 PSI.
Guidelines for Pressure Adjustment
- Begin with the lowest pressure setting. Gradually increase until the desired cleanliness is achieved.
- Test the spray pattern on a small, inconspicuous area. This helps prevent damage to the surface.
- For stubborn grease and grime, adjust the pressure upwards incrementally. Maintain a safe distance from the surface to avoid etching.
Keep in mind that using excessive force can potentially cause harm to delicate materials or finishes, leading to costly repairs. Monitor the results closely and adjust as necessary.
Considerations for Different Applications
- When targeting dirt on vehicles, a setting of 1200-1600 PSI works well, especially with a wider nozzle.
- For patios and decking, stay within the 2000-2500 PSI range to effectively remove contaminants without risking damage.
- Industrial or heavily soiled areas might require maximum pressure, but use it judiciously and always prioritise surface integrity.
Knowing how to adjust the stream not only optimises performance but also conserves resources, ensuring a thoughtful approach to cleaning. Each task demands a tailored strategy for pressure to maximise efficiency and safety.
Rinsing Techniques After Degreasing
Thoroughly rinsing surfaces post-cleaning is vital for optimal results. Here are effective techniques to ensure all cleaning residues are removed.
Low-Pressure Rinse
- Employ a low-pressure nozzle to prevent damage to delicate surfaces while washing away the remaining solution.
- Start rinsing from the top downward, allowing contaminants and cleaning agents to flow off rather than up.
- Maintain a distance of about 2-3 feet from the surface to achieve an even distribution of water.
Hot Water Option
- If the equipment allows, consider using heated water during the rinsing phase. Hot water enhances the removal of oils and residues.
- Ensure that the temperature is within the machine’s operational limits to prevent malfunctions.
- Test a small area first to confirm compatibility with the surface material.
After rinsing, inspect the area for any remaining spots. A second rinse might be required for stubborn residues. Using an attachment designed for rinsing can also improve efficiency and coverage.
Finally, allow the surface to air dry completely before usage or treatment, ensuring that no moisture remains to interfere with subsequent applications.
Safety Precautions for Using Cleaning Agents with a High-Pressure Cleaner
Always wear protective gear, including safety goggles, gloves, and a mask to shield against fumes and debris. Ensure that the work area is well-ventilated to prevent inhalation of any harmful vapours. Consider using a face shield for additional facial protection.
Before commencing, check for any existing electrical connections and keep the power source away from the cleaning zone to avoid contact with moisture. Employ a ground fault circuit interrupter (GFCI) to minimise the risk of electric shock, especially if operating outdoors.
Avoiding Surface Damage
Conduct a patch test on a small inconspicuous area prior to extensive application. Some materials may react negatively to cleaning solutions, which could lead to surface degradation.
Maintain a safe distance from delicate surfaces while spraying. Adjust the angle of the nozzle for an even distribution and to lower the risk of causing harm to what you’re cleaning.
Storage and Disposal
After finishing, securely store any unused cleaning agents in a cool, dry place, away from sunlight or heat sources. Follow local regulations for disposal; do not pour chemicals down drains or into water sources without confirming they are safe to do so.
Be aware of potential slippery surfaces left behind after cleaning, and take appropriate measures to prevent slips and falls. Regularly inspect your equipment for any leaks or damage before each use.


