
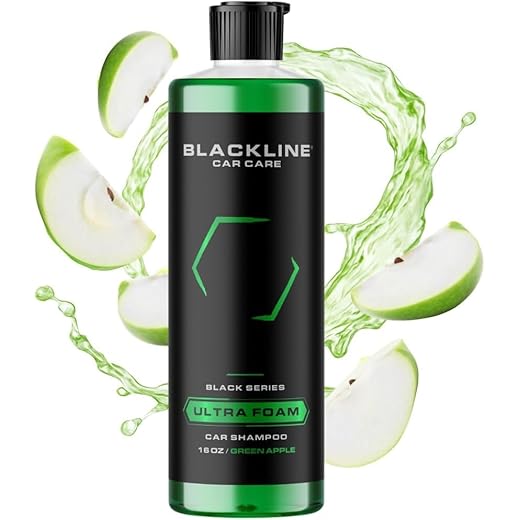


The best results emerge when employing a high-quality surfactant specifically designed for synergy with high-capacity sprayers. Begin by filling the attachment reservoir with the cleaning solution, adhering to the manufacturer’s guidelines for dilution ratios. Optimal concentration ensures maximum performance and minimal product waste.
Before commencing the cleaning process, ensure all necessary equipment is ready and in optimal condition. It’s advisable to pre-soak the targeted surfaces lightly with water to enhance the interaction between the applied cleaning agent and the dirt or grime. This step is crucial for enhancing the cleaning efficacy and expediting the overall process.
As you initiate operation, maintain a consistent distance of approximately 1-2 feet from the surface to avoid damage and to allow the solution to effectively agitate dirt before rinsing. Watch the foam cover the area thoroughly, targeting stubborn spots with a slightly adjusted angle to penetrate those harder-to-reach areas. Following the application, switch to a rinsing mode to wash away residues, ensuring a spotless finish.
Lastly, observe the surfaces as they dry; a thorough inspection immediately reveals any missed sections. Always follow up with additional cleaning if necessary. Practising these techniques not only maximises cleaning efficiency but also prolongs the life of your equipment and surfaces.
Selecting the Right Demon Foam Formula for Your Surface
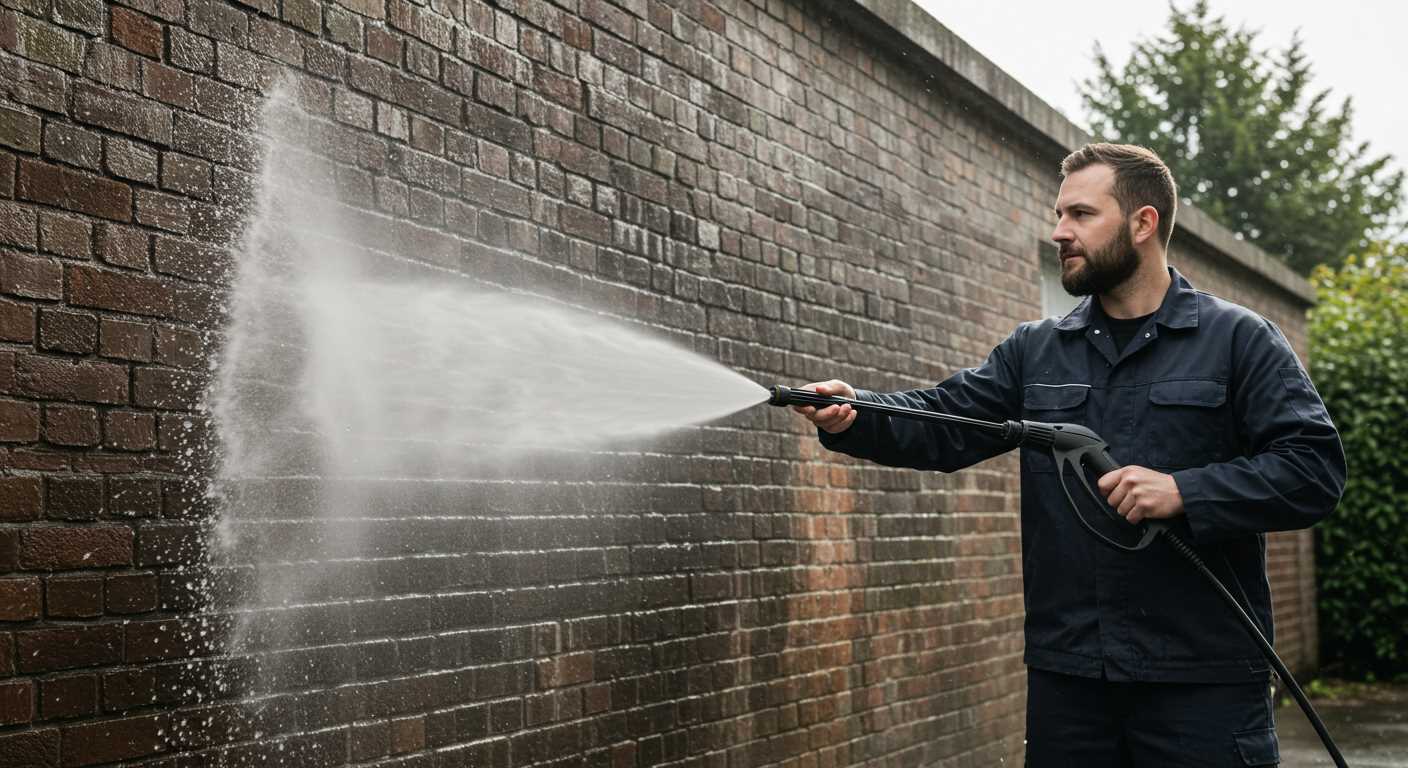
For optimal cleaning, choose the formula tailored to the specific surface you are treating. For painted surfaces, I recommend a pH-neutral option to prevent damage. If you are working on concrete, an alkaline-based cleaner can help break down heavy grime. For vehicles, select a gentle wash to avoid stripping wax or sealants. Consider a biodegradable formula if you are cleaning around plants or sensitive areas.
When dealing with delicate materials, such as wood or vinyl, look for products labelled as safe for these surfaces. Additionally, always review the manufacturer’s guidelines on compatibility, as this can save time and prevent damage in the long run.
If your task requires tackling mould or mildew, opt for a solution specifically designed for that purpose, as these will contain agents to effectively neutralise stubborn growth. Always take into account the level of grime or dirt buildup; thicker solutions often adhere better to vertical surfaces, aiding in effective cleaning.
Finally, while adjusting the dilution ratio can affect performance, follow the recommended measurements for your selected product to ensure the best results. Trial and error can help determine the ideal consistency for your needs, but starting with the manufacturer’s suggestion is wise.
Preparing Your Equipment for Foam Application
Begin by disconnecting the water source and turning off the motor. Ensure the unit is completely cool before proceeding. Carefully examine all connections, especially the hose and spray nozzle, checking for any damage or wear. Replace any worn parts immediately to prevent malfunctions during operation.
Next, flush the system with clean water to eliminate any residual cleaning agents or debris. This step safeguards the integrity of the new cleaning solution and enhances its performance.
Filling the Soap Reservoir
Once the system is flushed, locate the detergent tank, typically situated on the machine’s rear or side. Fill the tank with the selected cleaning solution, following the manufacturer’s dilution guidelines closely. Too much concentration can lead to excessive suds, potentially causing blockages.
Adjusting Pressure Settings
Before commencing, adjust the pressure settings according to the manufacturer’s recommendations for foam application. Lower pressure often yields better results, allowing the solution to adhere longer to the surface, thereby increasing effectiveness. Ensure the correct nozzle is attached to optimise the spread of the product during cleaning.
Correctly Mixing Demon Foam with Water
To achieve optimal results, it’s crucial to follow the manufacturer’s recommended mixing ratio. Generally, a common dilution is between 1:8 and 1:12 for most applications. For persistent stains or heavy debris, a stronger mix of 1:6 may be preferable.
Steps for Mixing
Begin by measuring the correct amount of solution. If using a 1-litre bottle, pour 100-150 ml of cleaning agent into the container. Then, add water until you reach the 1-litre mark. This ensures proper consistency and coverage. Always use lukewarm water; it enhances the performance of the cleaner.
Safety Precautions
Wear appropriate protective gear, such as gloves and goggles, to prevent any irritation from the cleaning agents. Ensure the mixing container is clean to avoid contamination. After mixing, securely close the container to prevent spills during transportation.
Applying foam using a pressure sprayer
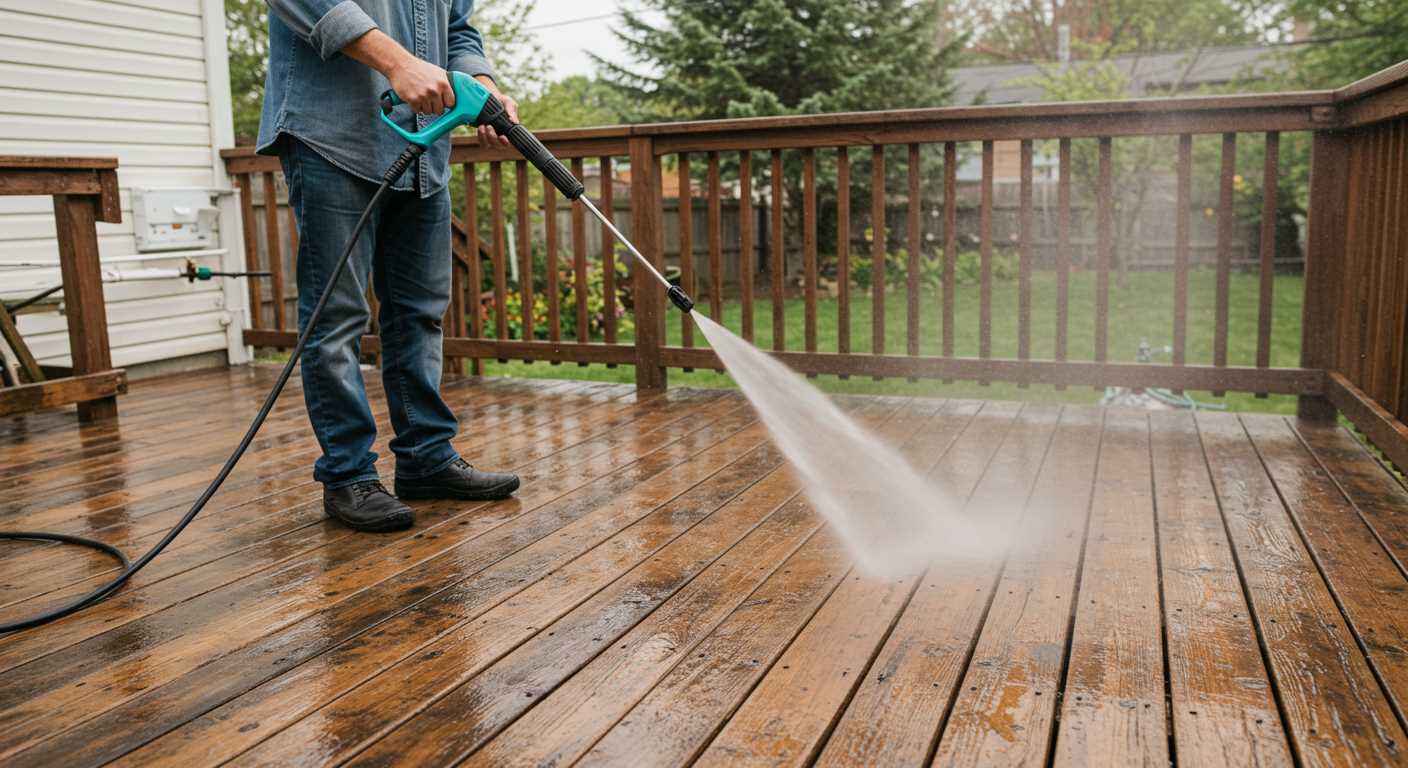
Optimal results occur when the cleaning agent is thoroughly spread across the surface. Position the nozzle at a 45-degree angle to ensure even distribution. Begin from the bottom and work your way up, allowing the solution to cling effectively without running down prematurely.
For outdoor surfaces, particularly on vehicles or patios, a broad spray pattern works best. Adjust the sprayer’s tip to achieve this. A wider fan allows the mixture to cover large areas swiftly, ensuring uniform coverage.
Maintain a consistent distance of about 2 to 3 feet from the surface to prevent concentrated streams, which can lead to uneven cleaning. As you move along the surface, overlap each pass slightly to ensure complete coverage.
For challenging stains or areas, consider letting the solution dwell for a few minutes. This action allows the product to break down grime effectively. After the dwell time, rinse thoroughly with a gentle water stream to remove any remaining residue.
Always check the manufacturer’s guidelines for recommended dwell times and application methods, as different formulas may have specific instructions for optimal performance.
Allowing foam to dwell for optimal results
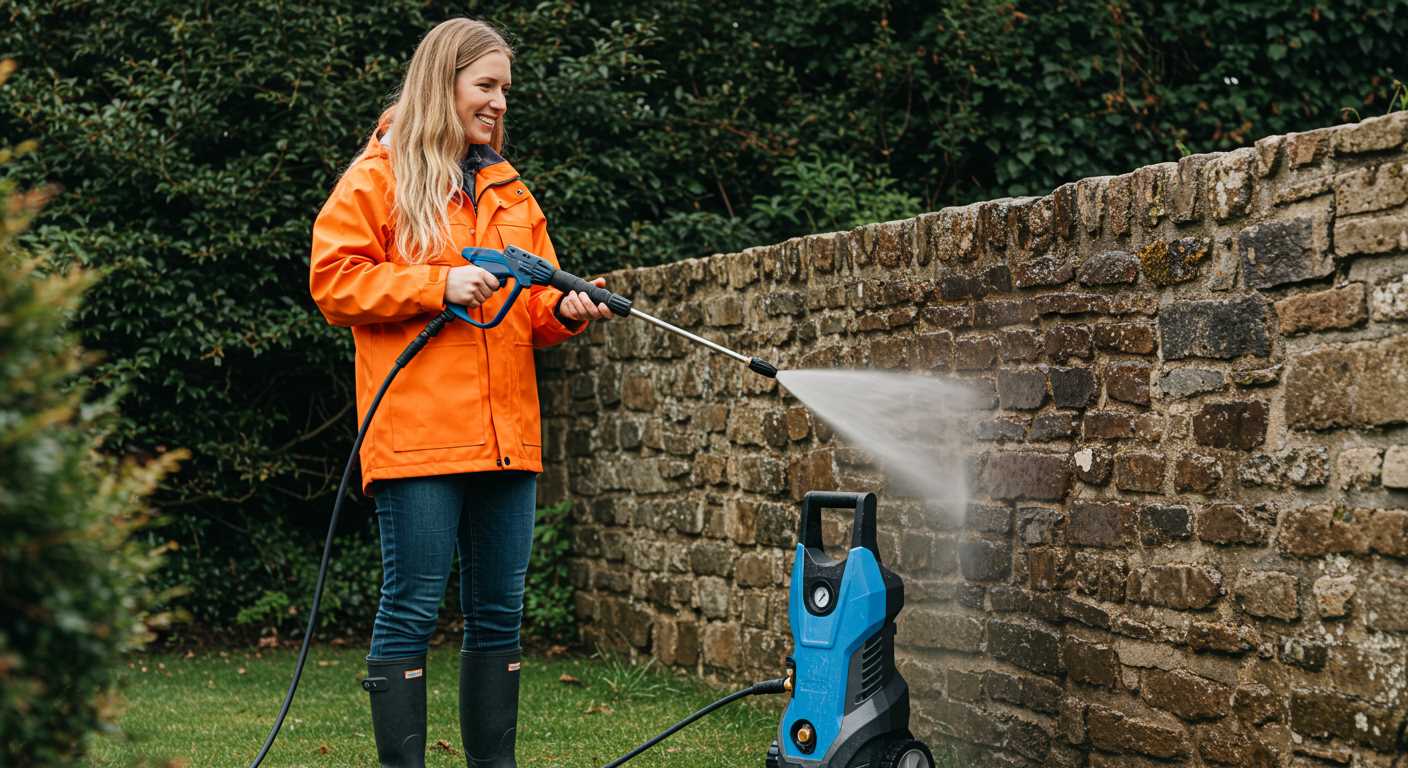
Let the cleaner sit for a minimum of 10 to 15 minutes to achieve maximum efficacy. This duration allows the product to penetrate and break down embedded dirt, grime, and other contaminants.
For vastly soiled surfaces or stubborn stains, consider extending the dwell time to 20 minutes. However, avoid allowing the formula to dry on the surface, as this can lead to residue formation.
While the product is on the surface, observe the following:
- Monitor the weather conditions; work in shaded areas to prevent rapid drying due to sunlight.
- Ensure the surface remains moist by spraying a light mist of water if it begins to dry out.
- During the dwell period, assess the area for any heavily soiled patches; you may want to reapply additional product to those specific spots.
Once the appropriate dwell time is reached, proceed to rinse thoroughly to remove loosened dirt and cleaning agents effectively. A clean rinse ensures no residue remains, leaving the surface spotless.
Cleaning and maintaining your equipment after use
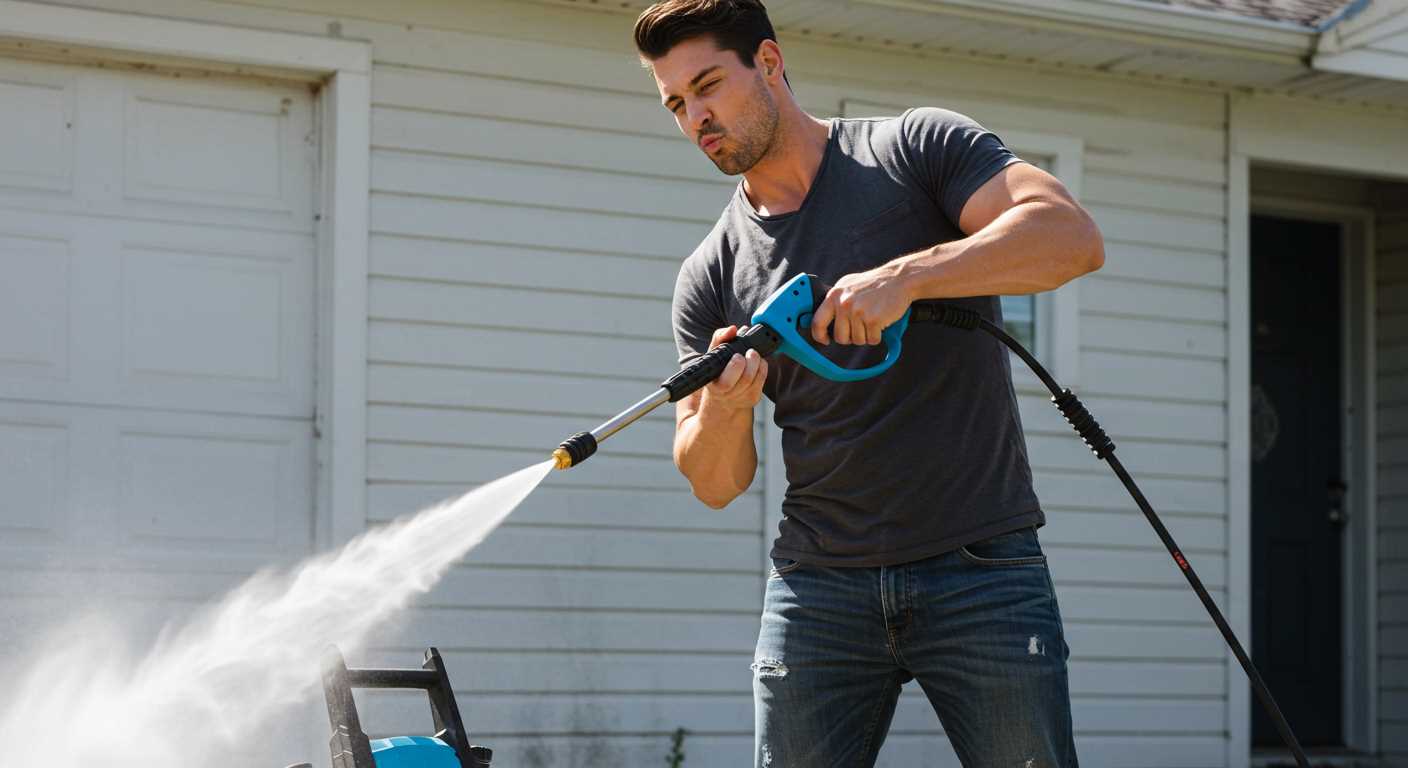
After every cleaning session, I thoroughly rinse the machine to prevent residue build-up. This ensures longevity and optimal performance of the device. Start by disconnecting all attachments and emptying any remaining solution from the tank.
Next, use a dedicated garden hose to flush the inlet line and spray gun. Ensure that no solution remains, particularly in filters or nozzles, which can become clogged. After flushing, I wipe down all external surfaces using a soft cloth to remove any dirt and grime.
Inspecting components
Conduct a quick inspection of hoses, connectors, and nozzles. Look for any signs of wear, such as cracks or leaks. Regular checks can prevent minor issues from escalating into major repairs. Replace any damaged parts immediately to safeguard the equipment’s integrity.
Storing the equipment properly
When storing the unit, keep it in a dry, temperature-controlled environment to avoid damage from moisture or extreme temperatures. I always hang hoses rather than leaving them coiled, which helps maintain their shape and prevents kinks.
Following these simple post-cleaning steps ensures my equipment remains in prime condition, ready for the next task. By committing to consistent maintenance and care, I extend the lifespan of my tools significantly.
| Task | Frequency |
|---|---|
| Flush inlet line and spray gun | Every use |
| Inspect hoses and connectors | Before each cleaning session |
| Wipe down exterior | Every use |
| Check for wear and leaks | Monthly |
| Store in a dry place | Every time after use |
FAQ:
What is demon foam and how does it work with a pressure washer?
Demon foam is a cleaning solution specifically designed for use with pressure washers. It is typically applied through a foam cannon attachment, which allows for a thick layer of foam to coat the surface being cleaned. The foam clings to dirt and grime, breaking down the bonds that hold them to the surface. Once the foam has had time to work, it can be rinsed away with the powerful jet of the pressure washer, effectively removing contaminants and leaving surfaces looking clean and refreshed.
Can I use demon foam on all surfaces with my pressure washer?
Demon foam is versatile and can be used on many surfaces, including cars, driveways, patios, and other outdoor areas. However, it is important to check the manufacturer’s instructions for both the demon foam and your pressure washer to ensure compatibility with specific materials. For example, while it is safe for most painted surfaces, it may not be suitable for sensitive materials such as certain plastics or delicate finishes. Always test on a small, inconspicuous area first to avoid any potential damage.


