
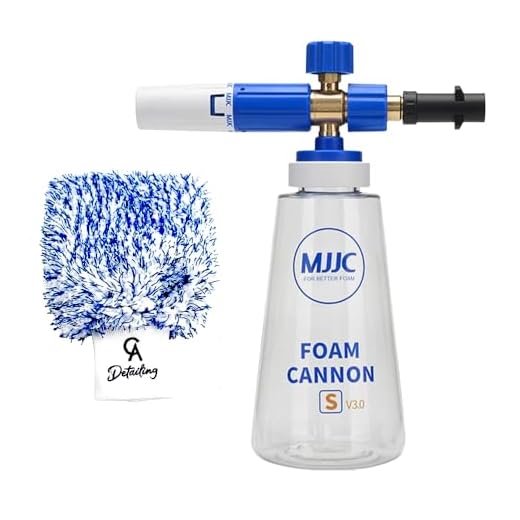


For outstanding results, integrate a suitable cleaning solution into the tank designed for the machine. Fill the compartment with the recommended cleaner for your specific model, ensuring it’s compatible with the device’s mechanisms.
Set the nozzle to the appropriate spray pattern before activating the nozzle. A wider spray angle is ideal for rinsing and general cleaning, while a narrow setting targets tougher stains. Maintain a distance of around 30 cm from the surface to prevent damage while ensuring effective dirt removal.
Following application, allow the solution to dwell on the surface for a few minutes to break down grime. Rinse thoroughly with fresh water, ensuring no cleaning agent residue remains. Regular maintenance of your machine, including flushing the tank after use, guarantees longevity and consistent performance.
Utilising Cleaning Solutions with Your High-Pressure Cleaner
First, ensure the cleaning product is compatible with the equipment model by checking the manual. After verifying compatibility, follow these steps:
- Attach the appropriate solution tank to the device if not already installed.
- Pour the selected cleaning solution into the tank, adhering to the recommended dilution ratio as specified by the manufacturer.
- Select the low-pressure nozzle, typically marked for applying solutions, to prevent clogging.
- Activate the machine, then apply the solution evenly over the surface in a sweeping motion.
- Allow the formulated solution to dwell for a few minutes, enabling it to penetrate and break down grime.
- Switch to a high-pressure nozzle, then rinse the area thoroughly to remove both the cleaning solution and loosened dirt.
Maintain a safe distance while spraying to avoid damaging surfaces. After cleaning, periodically rinse the tank and nozzles to prevent residue build-up.
Choosing the Right Cleaning Solution for Your Karcher Model
Opt for a product specifically formulated for your model. Brands often offer a selection tailored to various surfaces, such as patios, vehicles, or façades. Check the compatibility label before any purchase to avoid damage or inadequate results.
Surface Compatibility
Assess the surface you intend to clean. For instance, if treating delicate materials like wood or painted surfaces, a gentle formula is necessary to prevent harm. In contrast, stubborn grime on concrete might require a stronger composition. Always refer to manufacturer guidelines for recommendations suited to specific tasks.
Special Requirements and Eco-friendliness
For those concerned about environmental impact, there are eco-friendly alternatives. These products typically lack harsh chemicals and still deliver impressive cleaning results. If allergies or sensitivities are an issue, seek out hypoallergenic options designed for safer use.
To achieve consistent performance, consider seasonal needs. Certain mixtures work better during cold months, enhancing efficacy against winter grime. Maintain a tidy storage environment; proper sealing of containers ensures the life of any unused solution. Choose wisely for optimal results.
Preparing Your Equipment for Detergent Application
Ensure the machine is switched off and unplugged before starting any preparations. Disconnect the water supply to avoid accidents. Clean the detergent tank and ensure it is free from debris or residue that could interfere with the solution.
Setting Up the Detergent Tank
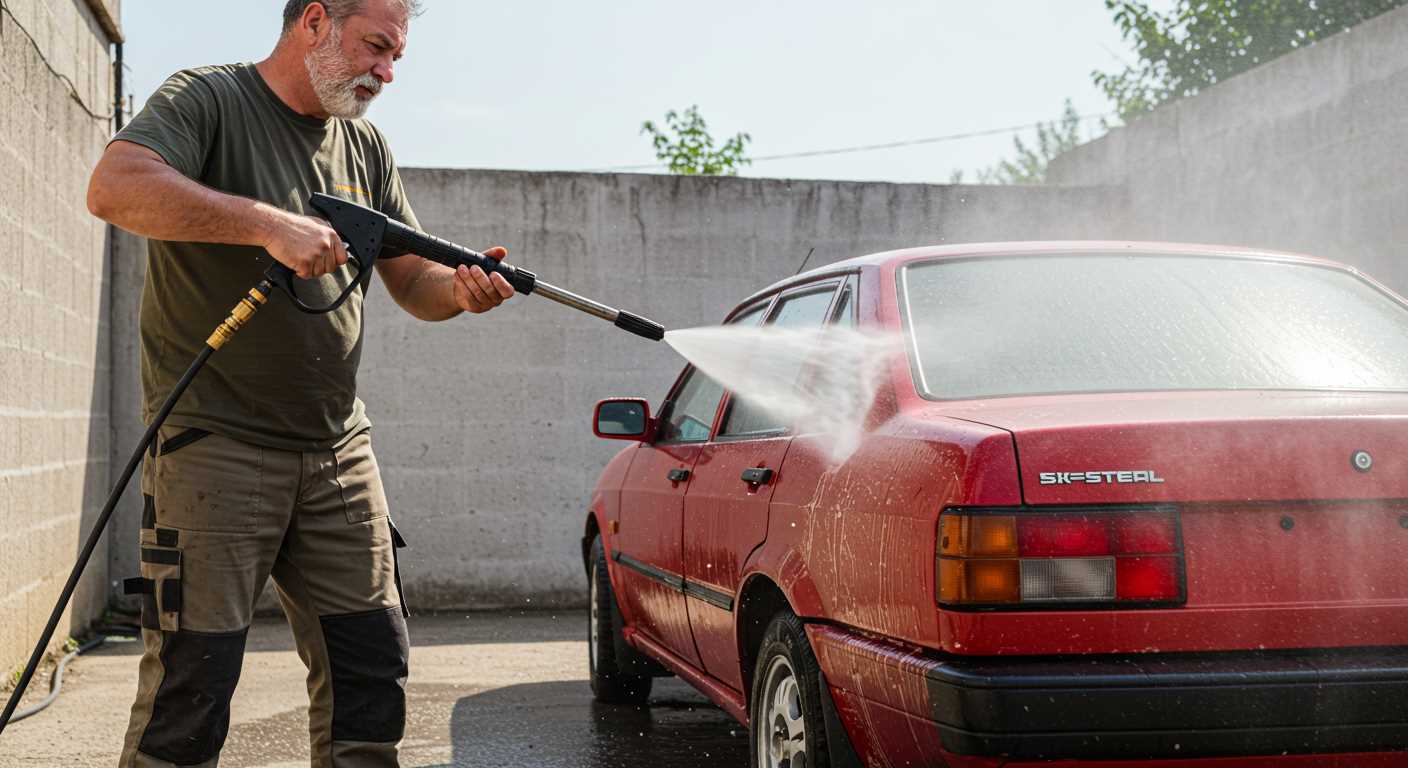
Fill the detergent compartment with the appropriate cleaning solution. If using a concentrated formula, dilute as per the manufacturer’s instructions. Secure the tank properly to prevent leaks during operation.
Adjusting the Nozzle and Pressure Settings
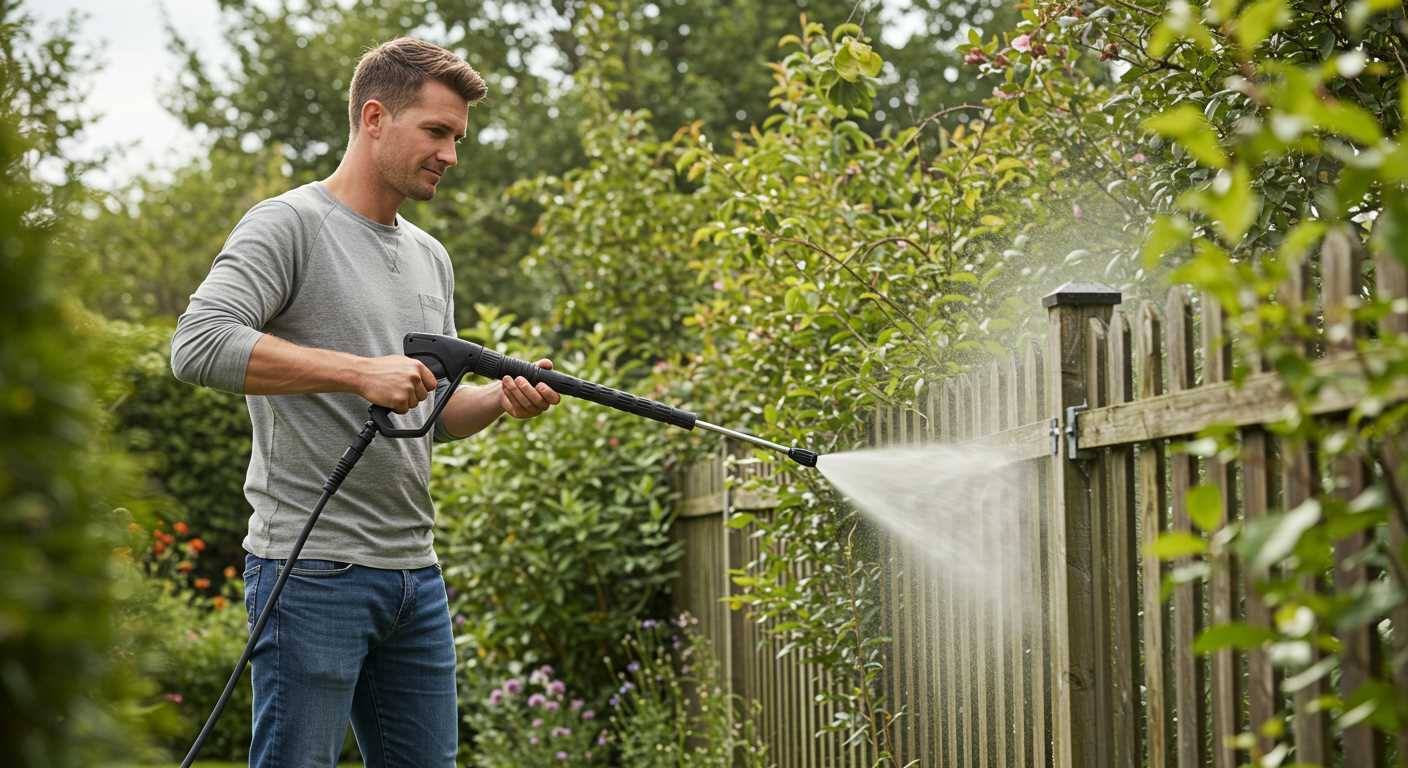
Switch the nozzle to a low-pressure setting to allow for even application. This adjustment helps in spreading the solution without causing any surface damage. Test the stream on a small area to confirm the correct output.
| Step | Action |
|---|---|
| 1 | Switch off and unplug the machine. |
| 2 | Disconnect the water supply. |
| 3 | Clean the detergent tank. |
| 4 | Fill the tank with the prepared solution. |
| 5 | Adjust the nozzle to low-pressure. |
| 6 | Test the output on a small area. |
Once these steps are complete, the machine is ready for effective cleaning. Regular checks and maintenance will enhance performance and longevity.
Correctly mixing cleaning solution with water
For optimal results, adhere to a precise mixing ratio, typically 1 part cleaning solution to 4 parts water. It’s advisable to check the manufacturer’s instructions on the container, as formulations can vary. Use a clean container for mixing to avoid contamination.
Steps to mix
Begin by measuring the required amount of your chosen cleaner. Pour this into your mixing container first. Follow by adding water slowly to ensure an even blend. Stir gently but thoroughly until the solution appears uniform.
Application tips
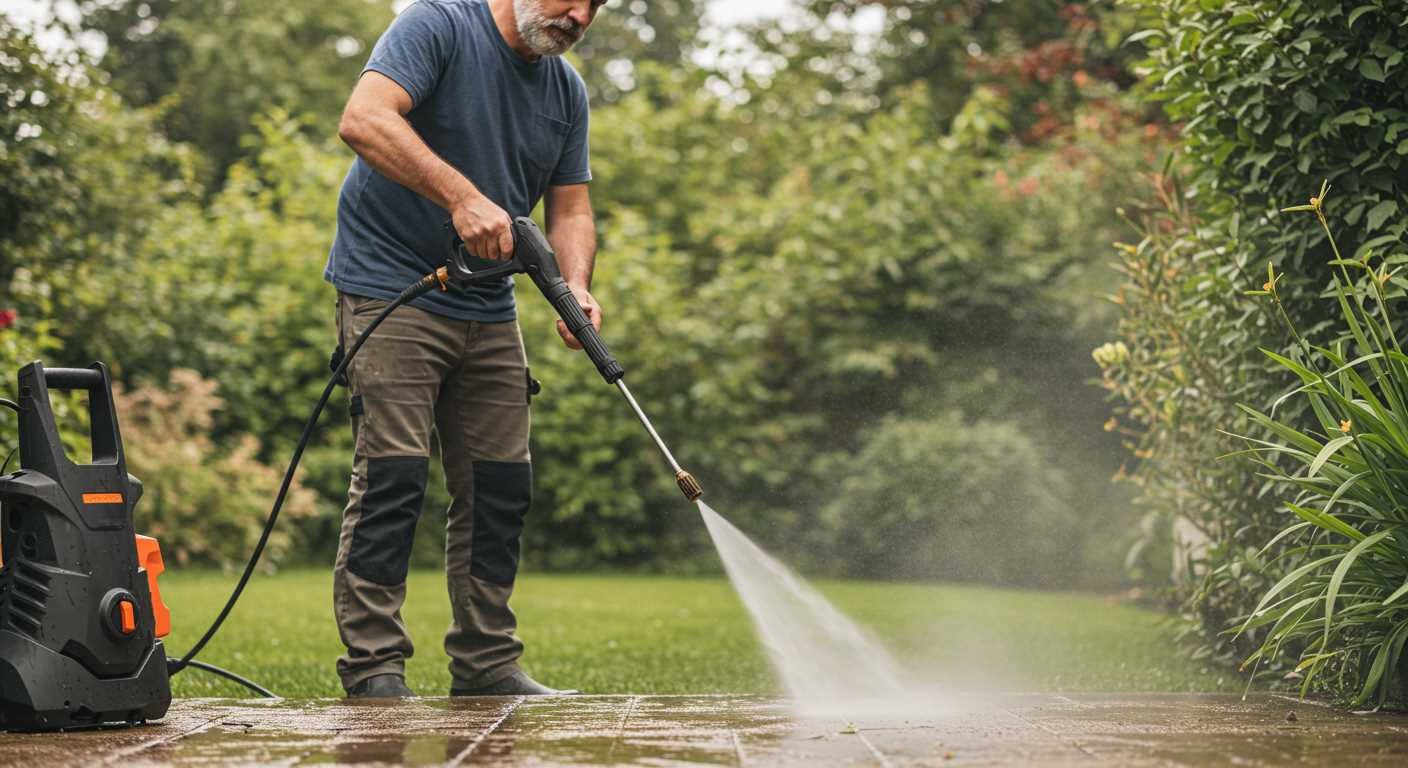
After preparing the mixture, pour it into the designated tank of the machine. Avoid overfilling, which can lead to spills or inefficient application. If the device offers different settings for nozzle pressure, select the appropriate one based on the surface being cleaned.
Always test the mixture on a small, inconspicuous area before proceeding with larger surfaces, ensuring no adverse reactions occur. This careful approach enhances cleaning effectiveness and protects various materials from damage.
Identifying the Detergent Tank and Its Components
Locate the tank, typically positioned at the rear or side of the machine. It’s usually a translucent container, allowing for easy visibility of the liquid level. Check for a label indicating the correct type of cleaning solution compatible with the device.
Examine the cap of the tank; it often features a secure twist-lock mechanism to prevent leaks. Ensure it’s tightly closed when filled. Some units may have a valve system that controls the flow of the solution, allowing you to alternate between water and cleaning fluid effectively.
Familiarise yourself with the suction hose if present. This component draws the mix from the tank into the sprayer. Make certain it’s unobstructed and securely connected to avoid any mishaps during your cleaning tasks.
Inspect the nozzle attachment; it plays a crucial role in determining spray patterns and the application of the cleaning liquid. Adjust it according to your specific requirements to optimise the cleaning process.
Lastly, always refer to the user manual for details on the right components for your particular unit, ensuring proper understanding of each element’s function and maintenance. Regular inspection and familiarity with these parts will enhance your experience and efficiency.
Setting Up the Pressure Washer for Detergent Application
To begin with, ensure the device is turned off and unplugged before proceeding. Next, check the detergent tank and clean it if necessary; this avoids contamination that could affect the cleaning process. If applicable, remove any existing residue from prior use.
Attach the appropriate nozzle for detergent application, usually one with a larger opening that allows for easier flow. Consult the user manual to confirm the correct nozzle for your specific model.
Fill the tank with the selected cleaning agent, adhering to the recommended dilution ratios outlined by the manufacturer. A mix that is too strong can damage surfaces while an overly diluted mixture may not provide the desired cleaning power.
After filling, securely close the tank cap to prevent leaks during operation. Make sure all connections are tightened and, if applicable, switch the machine to the detergent mode, often indicated by a specific setting on the dial.
Final Checks
Before powering on, double-check that hoses and connections are intact without any kinks or leaks. Position the spray lance at a safe distance from any surfaces to avoid unwanted damage during the initial test spray. Turn the device on and allow it to run briefly to prepare the system for detergent delivery.
By taking these steps, I ensure that the equipment operates smoothly and maximises the efficiency of the cleaning agent during the process.
Applying Detergent to Various Surfaces
For optimal results, select the surface type when addressing cleaning tasks. Each material requires a tailored approach to maximise cleaning without causing damage.
Concrete and Decking
- Apply a suitable cleaner directly to the surface.
- Using a low-pressure nozzle, spray the solution evenly.
- Allow a dwell time of 5-10 minutes to penetrate stains.
- Follow up with a higher pressure setting to rinse thoroughly.
Vehicles and Boats
- Opt for a gentle formulation designed for automotive surfaces.
- Spray from the bottom up to prevent streaks.
- Maintain a safe distance of around 30 cm to avoid paint damage.
- Rinse using a wide-angle nozzle to minimise water spot formation.
Wood and Composite Materials
- Use a wood-safe cleaner to prevent wood damage and discolouration.
- Apply on a cooler day to avoid rapid drying and ensure better absorption.
- Utilise a fan spray nozzle to distribute the cleaner gently.
- Rinse promptly to prevent residue build-up.
Glass and Windows
- Select a non-foaming solution to avoid streaking.
- Maintain a distance of 30-50 cm while applying for uniform coverage.
- Utilise a vertical motion when rinsing to reduce drips.
Monitoring the condition of surfaces is key. Regular assessment helps in deciding the frequency and type of cleaner required, ensuring longevity and aesthetic appeal.
Rinsing Off after Application
After applying the cleaning solution, it’s crucial to thoroughly rinse the surface. Start with a low-pressure setting to avoid forcing the product into any material. Aim to cover the area in sections, ensuring even distribution of water over previously treated sections.
Utilise a wide spray nozzle to maximise coverage while keeping a safe distance from the surface. This prevents damage and ensures that all residues are effectively washed away. Adjust the nozzle angle to direct the flow efficiently, particularly in areas with stubborn residue.
Continue rinsing until all visible signs of any cleaning agent are gone. Pay attention to lower sections where residues tend to accumulate. It might be beneficial to repeat the rinsing process in these areas to guarantee a complete clean.
Complete the process by allowing the surface to dry naturally. This step not only aids in identifying any missed spots but also helps in achieving a sparkling finish once completely dry. If any streaks are left, a quick touch-up with a damp cloth can ensure a flawless appearance.


