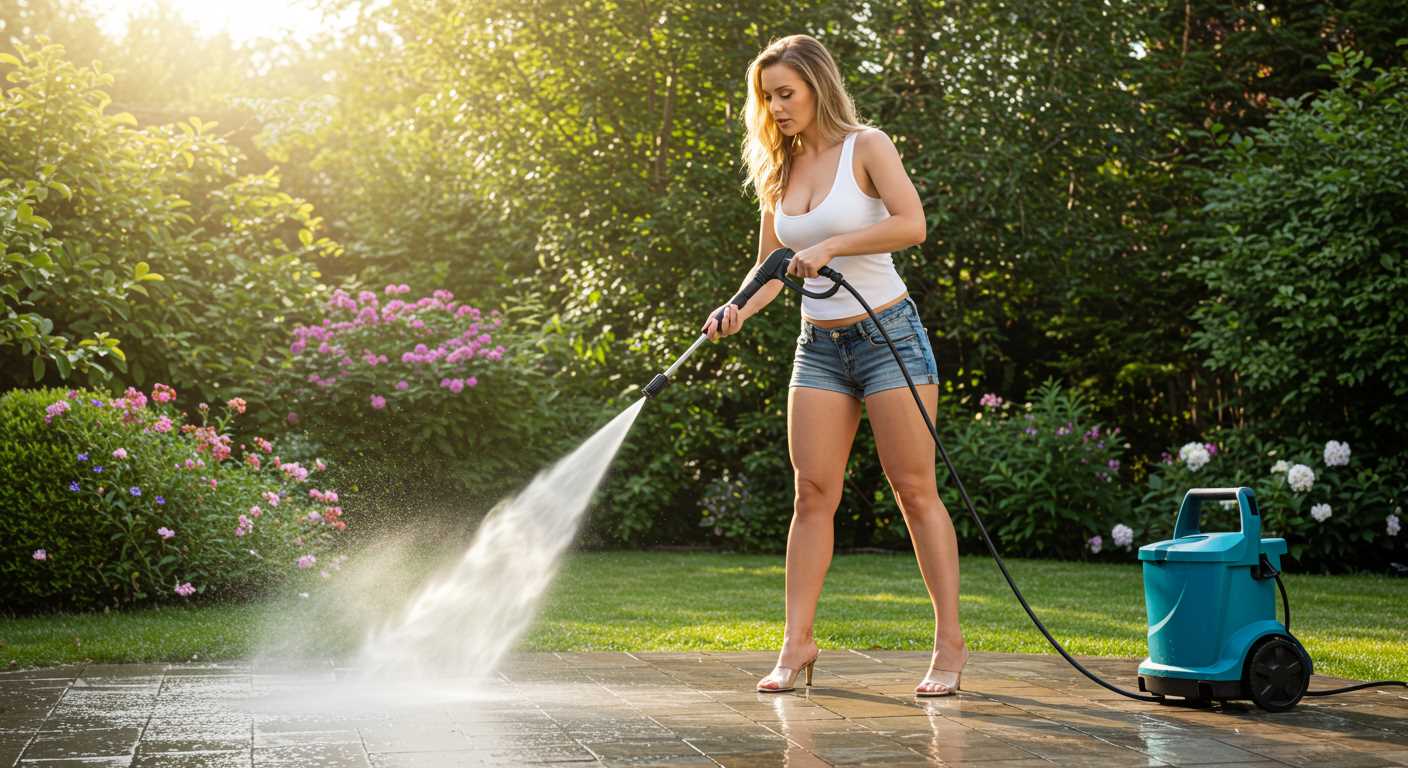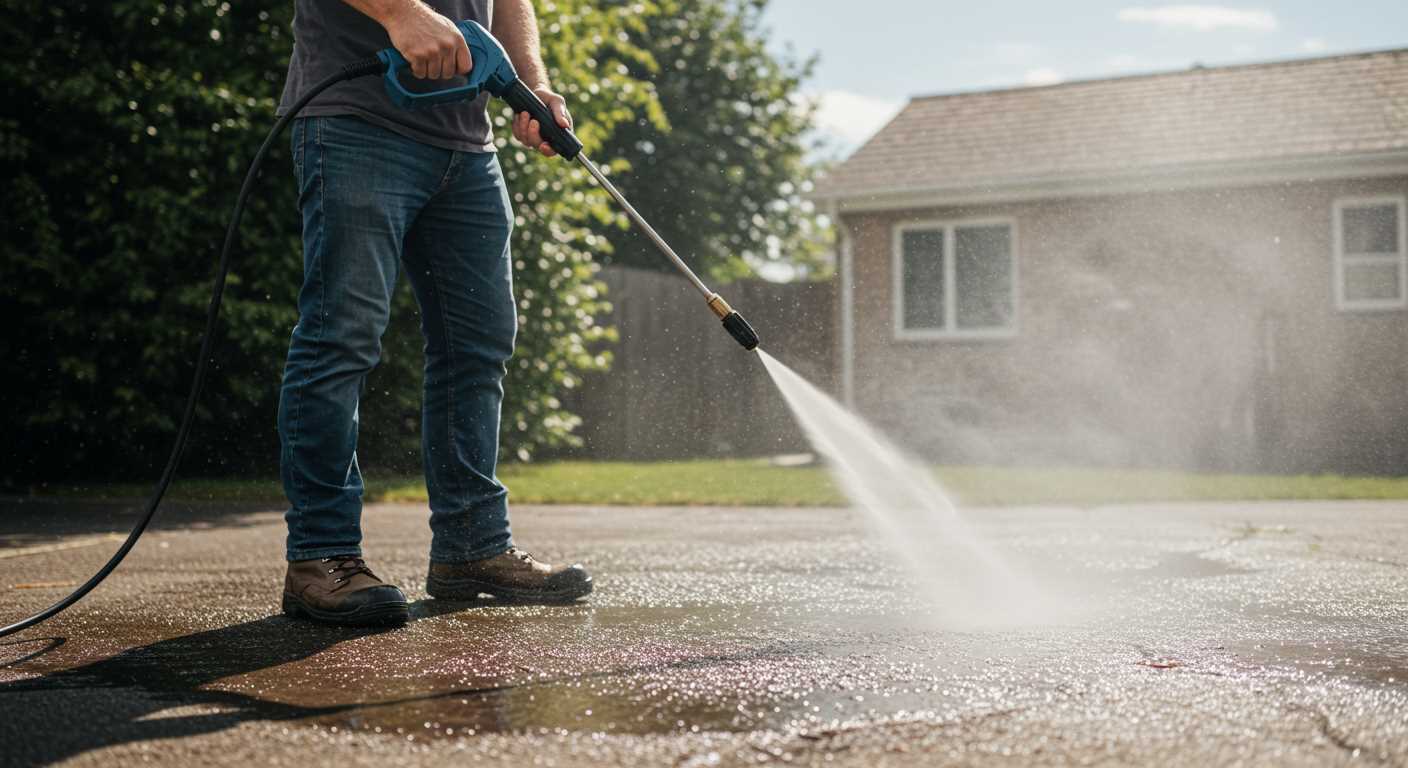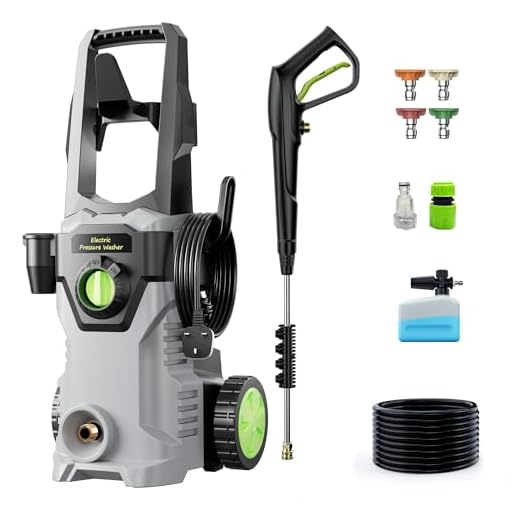


Fill the detergent tank with the recommended solution, ensuring it is compatible with your model. Always check the manufacturer’s specifications to avoid damage or ineffective cleaning. Observing the correct concentration will significantly enhance the results.
Attach the appropriate nozzle, preferably one designed for cleaning solutions. This choice ensures even distribution and optimal interaction between the cleaner and the surface being treated. Remember to adjust the spray settings according to the surface type; a wider spray may suit delicate areas, while a narrower jet is perfect for stubborn dirt.
Switch on the machine and allow the cleaner to initiate the application process. Keep the nozzle moving steadily across the surface to prevent streaking or potential damage. After allowing the solution to dwell for the recommended time, rinse thoroughly with fresh water to remove all residues, ensuring no traces are left behind.
Regular maintenance of your machine, including the detergent system, is key for longevity and ongoing performance. Clean any build-up in the detergent injector and hose to ensure continuous flow during future cleaning sessions. Understanding these steps will lead to effective and efficient results every time.
Applying Cleaning Solution in K4 System
Begin by selecting a suitable cleaning solution that matches the task at hand, such as car wash soap or a biodegradable option for patio cleaning. Avoid using regular household cleaners, as they can damage components.
Next, ensure that the solution is diluted as per the recommendations on the packaging to achieve optimal results. Pour the mixture into the designated tank of the unit, ensuring not to exceed the fill line to avoid spills.
Activation and Technique
Engage the cleaning mechanism by turning on the nearby power source, then initiate the flow of the mixture by adjusting the nozzle on the lance to the appropriate setting. A wider fan spray works best for larger areas, while a more concentrated jet is ideal for stubborn stains.
Maintain the nozzle at a distance of approximately one metre from the surface to avoid damage while ensuring effective application of the solution. Move the lance in a consistent sweeping motion, allowing the formulated cleaner ample time to act on the surface before rinsing.
Selecting the Right Cleaner for Karcher K4
Opt for a cleaner specifically formulated for use with machines like the K4 to ensure compatibility and achieve optimal results. Look for biodegradable options that are safe for the environment, especially if outdoor usage is planned. Concentrates often provide a higher cleaning power while being more economical in usage.
If tackling tough grime or stains, choose one designed for that specific surface type, such as an all-purpose or a mildew remover for patios. For delicate surfaces like vehicles, a gentle formula will prevent damage while still offering effective cleaning. Always verify if the product is compatible with the foam nozzle available with your machine for a thorough application.
Check for certifications indicating performance and safety, which can enhance your confidence in the selected solution. Some brands offer a range of options suited for different cleaning needs, so exploring a variety might yield better results depending on the task at hand.
Before making a final decision, consult user reviews or seek recommendations from professionals to find reliable and efficient formulations.
Preparing the Equipment for Cleaning Solution Application
To get started, ensure the machine is powered off and unplugged. This guarantees safety while handling any accessories. Next, check that the relevant connectors and hoses are securely attached to prevent leaks.
Filling the Tank
Locate the detergent tank, typically situated on the side or rear of the equipment. Remove the cap and pour in the chosen cleaning solution carefully, avoiding spills. Fill it to the recommended level stated in the user manual.
Priming the System

Before activating the device, connect it to a water supply and switch the water on. Turn on the equipment to allow water to flow through the system, eliminating any air pockets. Adjust the nozzle to a low-pressure setting, which helps draw the solution effectively during operation.
Following these steps prepares everything correctly for optimal use of the cleaning solution, enhancing the effectiveness of the cleaning process.
Proper Dilution of Cleaning Solution for Optimal Results
Mixing cleaning solution correctly is pivotal for effective cleaning. Always follow the manufacturer’s guidelines printed on the bottle. Generally, a standard ratio is around 1 part cleaning solution to 10 parts water, though this can vary based on the specific product’s concentration.
Step-by-Step Dilution Process
1. Gather Materials: You’ll need the cleaning solution, water, a measuring cup, and a mixing container.
2. Measure Solution: For a typical dilution, measure out the required amount of solution. For example, if using 100ml of cleaner, mix it with 1 litre of water.
3. Combine in Container: Start by adding the water to a clean container, followed by the measured solution. Always add the cleaner to the water to prevent excessive foam formation.
4. Mix Gently: Stir slowly to ensure the cleaner is well-dispersed throughout the water without creating excess bubbles.
| Amount of Cleaner | Amount of Water | Total Mixture |
|---|---|---|
| 100ml | 1 litre | 1.1 litres |
| 250ml | 2.5 litres | 2.75 litres |
| 500ml | 5 litres | 5.5 litres |
Having prepared the mix, ensure it is stored properly if not used immediately. An airtight container works best for maintaining effectiveness. Test the mixture on a small, inconspicuous area first to confirm compatibility with the surface you intend to clean.
Connecting the Detergent Tank to Karcher K4
Begin by locating the detergent tank on the unit. This is essential for combining the cleaning solution with the water for optimal results. First, ensure that the device is powered off and disconnected from the mains water supply to avoid any accidents.
Next, take your cleaning concentrate and pour it into the tank. Ideally, fill it to the indicated maximum level to avoid spills. Once filled, securely attach the tank back to its designated place on the machine, ensuring it clicks into position to prevent leaks during operation.
Verifying Connections
After securing the tank, inspect all connections to ensure they are tight. This is crucial for maintaining pressure and efficiency. If your model features a quick-connect system, check that the attachment is properly aligned and locked.
Before starting the device, briefly review the manual for any specific instructions related to your model. Following these guidelines will ensure a smooth and effective cleaning experience.
Applying Detergent with the Correct Nozzle
The right nozzle is essential for optimising the application of cleaning solution. Attach the foam nozzle for an even and rich application. This nozzle helps create a thick foam, ensuring better coverage and adherence to surfaces. Make certain it is securely fitted to the lance before beginning.
Adjusting the Foam Setting
Most foam nozzles come with adjustable settings. Turn the dial to control the amount of solution released. For heavily soiled areas, a higher concentration may be necessary; for lighter tasks, a lower setting suffices. Always test a small area to gauge effectiveness before proceeding.
Distance and Angle of Application
Maintain an optimal distance of approximately 0.5 to 1 metre from the surface while applying the foam. This distance helps the cleaning solution to adhere properly without excessive run-off. Angle the nozzle at about 30 degrees for better coverage and minimise streaks.
After applying the foam, allow it to sit for several minutes to dissolve dirt and grime effectively. Rinse thoroughly with the appropriate nozzle afterward to complete the cleaning process.
Optimal Pressure Settings for Detergent Application

The ideal pressure for applying cleaning solution is typically set between 1,200 and 1,500 PSI. This range efficiently activates the formula without causing any damage to surfaces.
Pressure Adjustments
- Start at the lower end (1,200 PSI) for delicate surfaces like wood or painted areas.
- Increase to about 1,500 PSI when tackling more resilient materials such as concrete or brick.
Maintaining a consistent distance of around 30 cm from the surface ensures even application and prevents streaking.
Usage Tips
- Always refer to the manufacturer’s recommendations for specific products.
- Adjust the pressure based on how the cleaning agent reacts. If foaming or running occurs, lower the pressure.
- Regularly check the nozzle for clogs that can affect performance.
Ultimately, experimenting within this pressure range can help achieve optimal cleaning results tailored to different surfaces.
Rinsing Off Cleaning Solution Post-Washing
After the application of cleaning solution, ensuring thorough rinsing is critical. This step prevents residues that can damage surfaces or lead to streaking. Follow these instructions for optimal results:
Steps to Rinse Effectively
- Adjust the nozzle to a high-pressure setting for maximum effectiveness.
- Start rinsing from the top of the surface and work downwards. This method prevents dirt and suds from re-adhering.
- Maintain a distance of approximately 30-40 cm from the surface for maximum impact.
- Use sweeping motions to cover the entire area uniformly.
- Repeat rinsing if any suds remain visible or if the surface appears streaky.
Considerations for Specific Surfaces
- Concrete: Use a concentrated rinse for heavily soiled areas.
- Wood: Opt for a gentler pressure setting to prevent damage.
- Painted Surfaces: Ensure to avoid high pressure directly on the paint; high pressure can strip paint away.
Post-rinsing, inspect the surface to confirm all residues are completely removed. Allow the area to dry naturally for the best finish. Proper rinsing enhances the effectiveness of the cleaning process and prolongs the longevity of the treated surfaces.
Cleaning and Maintenance after Detergent Use
Thoroughly rinse the unit and hoses after each application of cleaning solution. This step prevents residue buildup, which can lead to clogging and damage over time. Start by filling the tank with clean water and running the machine briefly to flush out any remnants of the cleaning agent.
Checking Filters and Nozzles

After rinsing, inspect the filters and nozzles for any remaining particles. Clean or replace these components if necessary to ensure optimal performance. Regular maintenance of these parts will contribute to a longer lifespan for the equipment.
Storing the Equipment
Store the equipment in a cool, dry place. Ensure that all hoses are coiled properly and stored away from sharp edges. Leaving detergent in the tank can cause damage, so always empty it after each use. By following these steps, one can preserve the integrity and efficiency of the cleaning gear for future tasks.


