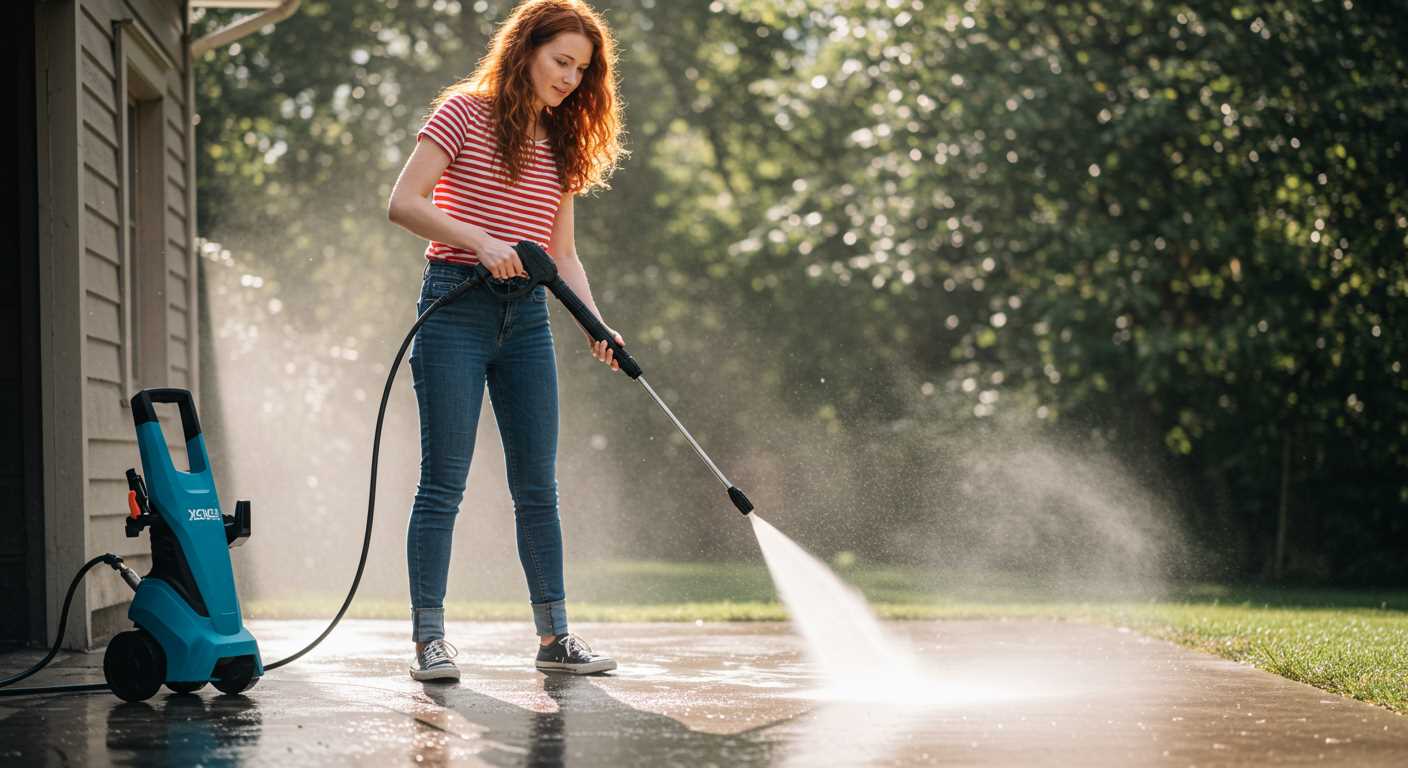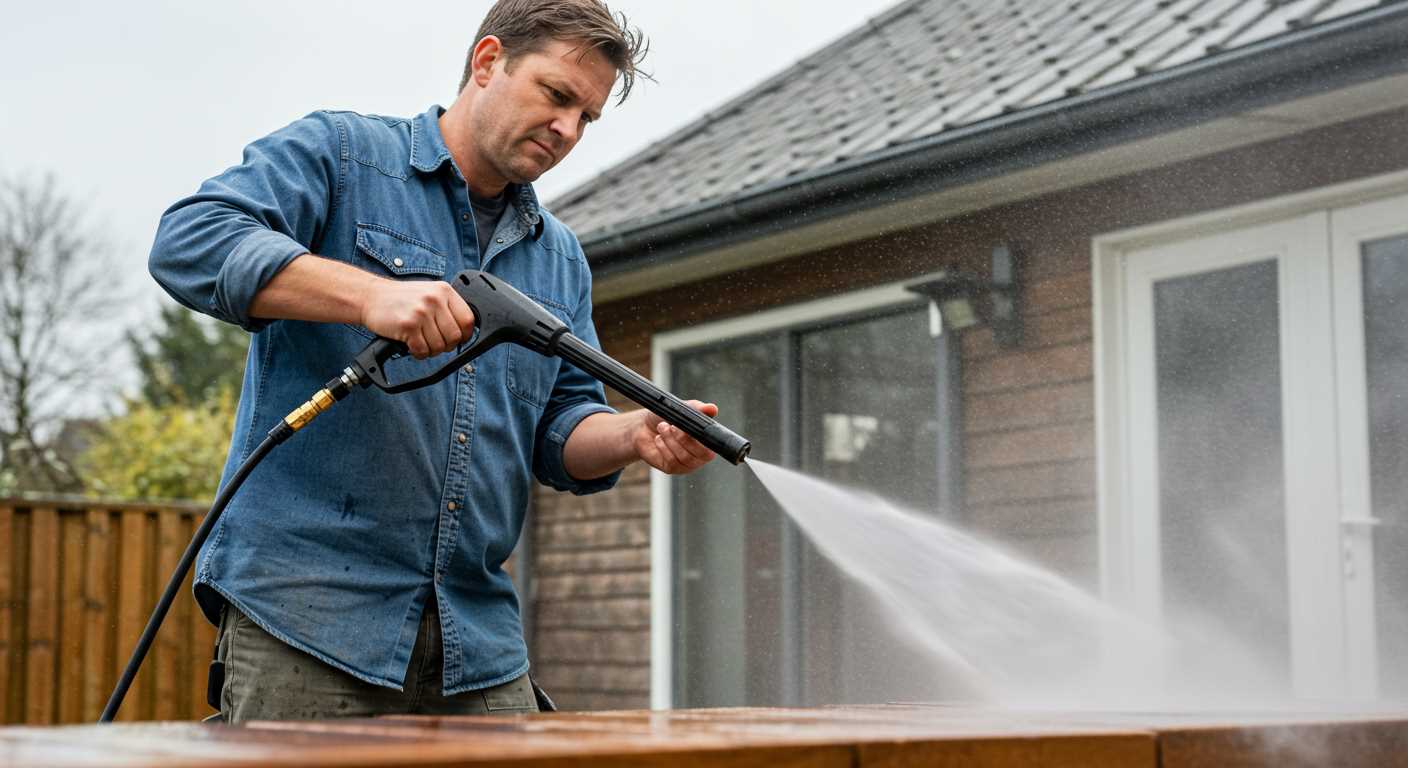


Begin by ensuring the appropriate solution for your task. Look for formulations designed specifically for outdoor surfaces like driveways and patios. These often boast added cleaning agents that penetrate grime effectively.
Next, prepare your equipment meticulously. Fill the detergent container with the chosen solution, ensuring not to exceed the recommended fill line. This prevents dilution issues and ensures optimal performance.
Adjust the nozzle on your cleaner to achieve a wide spray pattern. This setting allows the mixture to cover larger areas evenly, enhancing the cleaning process. After applying the mixture, allow it to sit for a short period, typically between 5 to 10 minutes, to maximise its effectiveness.
After sufficient dwell time, rinse thoroughly, beginning at the top of the surface and working downwards. This method prevents streaking and ensures that all residues are washed away effectively. Regularly check the nozzle for clogs or blockages to maintain a steady stream. Following these guidelines guarantees a thorough and efficient cleaning experience every time.
Selecting the Right Detergent for Your Pressure Washer
Choosing the appropriate cleaning solution is vital for optimal results. I recommend looking for products specifically formulated for the type of task at hand, whether it’s surface cleaning, roof treatment, or car washing.
Understand the Surface Material
Different materials require tailored formulations. For example, biodegradable options work best on plants and delicate surfaces, while heavy-duty formulas tackle tough grease and grime. Always check compatibility with your equipment to avoid damaging the finish.
Concentration Levels
Examine the concentration of the cleaning agent. More concentrated options often provide greater efficacy but may require dilution according to the manufacturer’s instructions. A correctly mixed solution ensures deeper penetration and effective cleaning without leaving residue.
Read product specifications carefully. Opt for formulas that highlight effectiveness against mould, mildew, and other stubborn contaminants if those are prevalent in your situation. Align the choice with environmental considerations to ensure responsible use.
Finally, consulting the user manual or manufacturer guidelines can offer insights into suitable products that align with your model’s requirements, guaranteeing safe and efficient cleaning. Make this selection an integral part of your maintenance routine for the best possible outcomes.
Preparing the Cleaning Solution for Use

For optimal performance, it’s essential to mix the cleaning agent accurately. Start with a clean container that’s free from any residues of previous cleaning products. This ensures no interaction that could impair effectiveness.
The recommended ratio for blending is typically one part cleaner to five parts water. However, this can vary by manufacturer, so always refer to the specific guidelines on the product label. Use the following table as a standard reference:
| Product Type | Water to Cleaner Ratio |
|---|---|
| Heavy-Duty Cleaner | 1:4 |
| Light Cleaner | 1:5 |
| Eco-Friendly Option | 1:6 |
After mixing, pour the solution into the appropriate detergent tank of your equipment. Ensure the tank’s cap is tightly secured to prevent leaks during operation. Before beginning, perform a brief test spray on a small, inconspicuous area, allowing you to assess how well the mixture performs without risking damage to your surfaces.
Lastly, always clean the container used for mixing after you’re done. Residue can build up and lead to clogs or unwanted reactions next time you prepare a fresh batch.
Connecting the Detergent Tank Properly
Begin by ensuring that the cleaning container is securely attached to the machine. Align the tank with the mounting points on the unit, making sure that it clicks into place. This guarantees a tight seal, preventing leaks during operation.
Check Compatibility
Before connecting, confirm that the tank is compatible with your specific model. Each unit may have variations in fittings, so it’s prudent to refer to the user manual for specifications. Using incorrect parts can lead to inefficient cleaning or damage.
Connecting Hoses
Next, attach the suction hose to the tank outlet. Ensure that the hose fits snugly and is free of kinks or damage that could restrict flow. Double-check for any obstructions in the hose to facilitate smooth operation. A well-connected system enhances pressure and cleaning effectiveness.
Adjusting Settings for Optimal Cleaning Solution Application
Set the machine to a low-pressure setting when applying the cleaning solution. This ensures a gentle distribution that maximises adherence and effectiveness. Adjust the nozzle to a wide spray pattern for even coverage and minimise the risk of streaks or damage to surfaces.
Choosing the Right Nozzle

Select the black nozzle, specifically designed for low-pressure detergent application. This wider angle allows the cleaning mix to reach surfaces thoroughly while maintaining safety for delicate materials. Avoid high-pressure nozzles during this phase to prevent foaming products from streaking or being blown away.
Process Steps

Begin by filling the tank as previously discussed, then engage the engine. Slowly pull the trigger to release the solution, ensuring a steady, consistent flow across the area needing treatment. Allow the mixture to sit for several minutes, letting it bond with dirt and grime. Follow up by switching to a high-pressure nozzle and rinsing off the residue, starting from the top and working downwards to achieve uniform results.
Applying Detergent Safely and Evenly

To achieve uniform coverage during application, it’s critical to operate at a lower pressure setting. This prevents overspray and allows the cleaning solution to adhere properly to surfaces. I recommend starting at around 1000 psi, which enables a controlled release and effective penetration of grime.
Always maintain a consistent distance from the surface, ideally between 12 to 18 inches. This ensures the cleaning compound forms an even layer, promoting better efficacy. Avoid concentrating on one spot for too long, as this can lead to streaking or damage.
Utilising a fan spray nozzle, typically the white or yellow one, is best for broad applications. These nozzles help distribute the solution evenly, covering larger areas without excessive force that could harm delicate finishes.
After applying the cleaning solution, allow it to sit for a few minutes. This dwell time is essential for breaking down dirt and stains effectively. Be mindful not to let it dry completely on the surface to prevent residue buildup, which could require additional effort during rinsing.
Finally, rinse with a high-pressure nozzle to remove any leftover residue thoroughly. Clear any clogs in the nozzle or hoses beforehand to maintain consistent spray patterns and avoid uneven coverage. This two-step process guarantees not only cleanliness but also the protection of the surfaces you are treating.
Cleaning Up and Storing Cleaning Solution Properly After Use
After finishing your task, ensure all cleaning solution is safely handled and stored to maintain equipment efficiency and safety.
- Rinse out the tank thoroughly with clean water. Pour clean water into the tank, run the machine briefly to flush out any remaining residue, and empty the tank completely.
- Check for any solution left in hoses or nozzles. Run some water through these components to clear out any leftover remnants.
- After flushing, detach the tank and hoses. Dry them with a clean cloth to prevent any moisture buildup which could lead to mould or mildew if stored for long periods.
For storage:
- Place the tank in a cool, dry place away from direct sunlight. Extreme temperatures can damage any residual cleaning agents.
- If you plan to store the equipment for an extended period, consider placing the tank in an airtight container to avoid contamination.
- Properly label any containers with unused cleaning solutions, noting their contents and safety instructions.
Regularly check your stored solutions for deterioration, especially if they have been sitting unused for a while. Dispose of expired products according to local regulations.
FAQ:
What type of detergent should I use with my Ryobi pressure washer?
When selecting a detergent for your Ryobi pressure washer, it’s important to choose a soap that is specially formulated for pressure washers. Look for biodegradable and environmentally friendly products that are safe for various surfaces such as wood, concrete, and vehicles. Avoid using any dish soap or household cleaners, as they can be too harsh and may damage the machine or the surfaces you are cleaning.
How do I properly mix detergent with water for use in my pressure washer?
To mix detergent with water for your Ryobi pressure washer, follow the manufacturer’s instructions provided on the detergent bottle. Generally, a common ratio is 1 part detergent to 10 parts water, but this can vary. Use a clean bucket to mix the solution thoroughly before filling the pressure washer detergent tank. Ensure that you do not exceed the recommended ratio, as too much detergent can create excess foam, affecting performance.
Can I use detergent for specific cleaning tasks with my pressure washer?
Yes, using detergent for specific cleaning tasks can enhance the efficiency of your pressure washer. For example, if you are cleaning a vehicle, look for a car wash detergent; for outdoor surfaces like patios or decks, a general-purpose cleaner works well. Always match the detergent to the surface type you’re cleaning to achieve the best results. Be cautious with more delicate surfaces and test the detergent in a small area first.
How do I apply detergent using my Ryobi pressure washer?
To apply detergent with your Ryobi pressure washer, first ensure the detergent tank is filled with your prepared mixture. Switch the pressure washer to the detergent setting, which may involve changing the nozzle to a low-pressure one. Then, begin washing the surface, allowing the detergent to sit for a few minutes to break down dirt and grime. Afterward, rinse thoroughly with clean water to remove all soap residue, moving the nozzle back to a high-pressure setting if necessary.
Is it safe to use detergent on all surfaces with my pressure washer?
While many detergents are safe for a variety of surfaces, not all surfaces respond well to detergent application. For example, unsealed wood or painted surfaces may be susceptible to damage. Always refer to your pressure washer’s manual and the detergent’s instructions for specific surface applications. If in doubt, conduct a patch test on a less visible area to check for any adverse reactions before proceeding with the entire cleaning job.


