


Before starting, ensure you have the right cleaning solution for your project; this makes a significant difference. I recommend selecting a biodegradable and surface-safe formula to protect your surroundings while ensuring an impeccable clean.
Attach the appropriate nozzle to your unit, usually marked for varying degrees of intensity. For delicate surfaces, use a wider spray pattern to prevent damage. I suggest beginning with the lowest pressure setting to see how the surface reacts before increasing it if necessary.
Prepare your surroundings by covering plants and delicate areas to prevent any adverse reactions to the cleaning agent. Adjust the machine settings according to the manufacturer’s guidelines, ensuring everything is secured properly to avoid any interruptions during the cleaning process.
When applying the solution, it’s best to work from the bottom upwards to maintain a streak-free finish. Keep the wand at a consistent distance from the surface, typically around 18 to 24 inches, and use steady, sweeping motions. It’s more about technique than brute force, so remain patient and allow the cleaner to do its job effectively.
After application, allow the cleaning product to dwell for a few minutes, but never let it dry out. Rinse thoroughly using the same method you applied the cleaner, moving from the top down this time to wash away any residual product.
Finally, always disconnect and clean the equipment after each use. Rinse the detergent tank and flush the system with clear water to prevent any build-up that could affect performance. This simple maintenance ensures your equipment remains in top shape for future tasks.
Choosing the Right Cleaning Solution for Your Pressure Equipment
.jpg)
Opt for a cleaning solution specifically formulated for your machine. Products designed for particular surfaces, such as concrete, wood, or vehicles, enhance cleaning efficiency and protect the surface from damage.
Surface Compatibility
Testing compatibility with a small area is advisable. Each option has unique chemical compositions that may react differently with various materials. Stay informed about the surfaces intended for cleaning to prevent any adverse reactions.
Concentration and Dilution
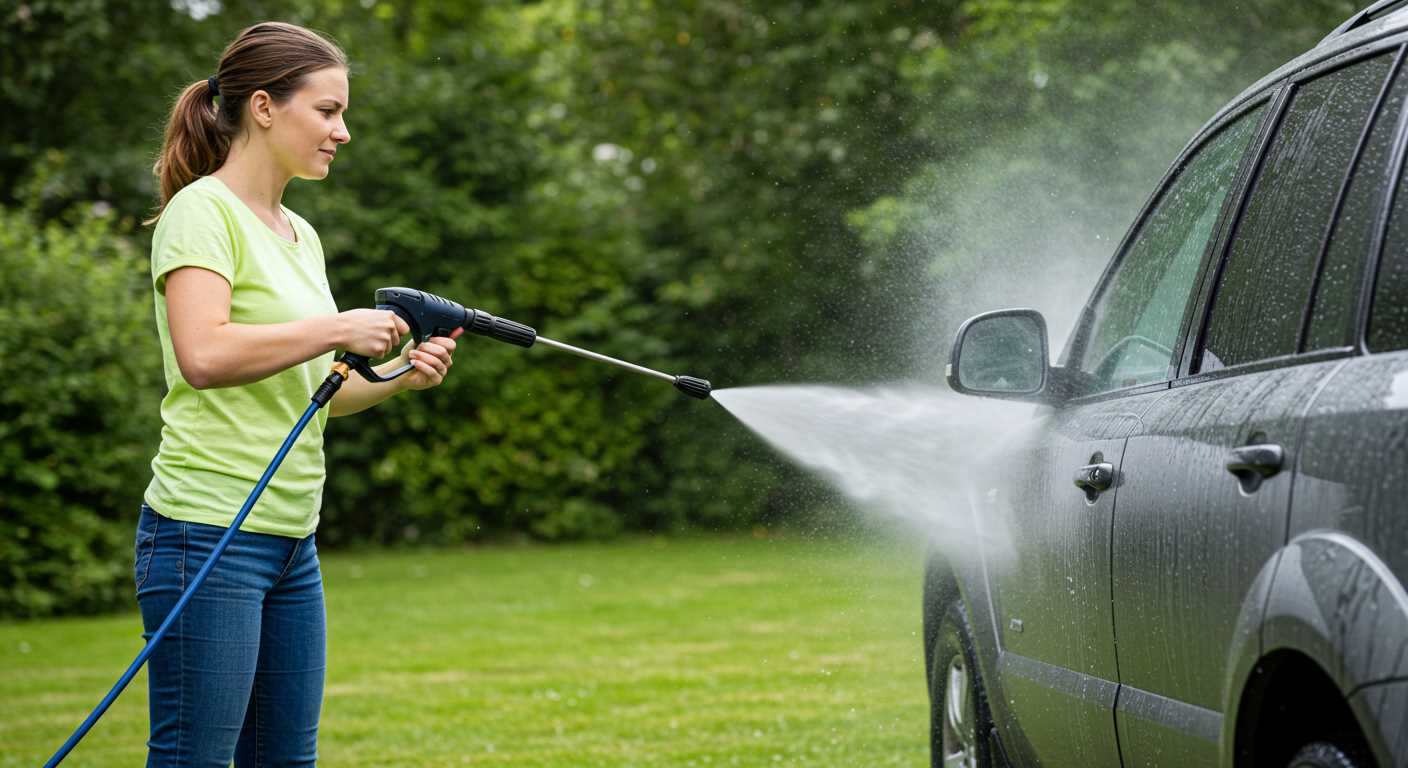
Select a formula that matches your cleaning requirements. Concentrated options may require dilution, whereas ready-to-use versions are straightforward. Always adhere to manufacturer’s guidelines to achieve the best results while avoiding excessive use, which can lead to residue build-up.
Consider biodegradability and environmental impact. Prefer eco-friendly solutions when possible, ensuring safety for both users and surroundings. Reading reviews and seeking recommendations can help pinpoint highly rated formulations that professionals trust.
Avoid products containing bleach or harsh chemicals, as they can damage sensitive components of your device. Prioritise safety; using gloves and protective eyewear is advised during application to prevent skin or eye irritation.
Categories of cleaning agents include degreasers, mildew removers, and all-purpose cleaners. Each serves a distinct purpose. Adjust your choice based on the specific challenge at hand, ensuring the selected option delivers optimal results.
Preparing the Equipment for Detergent Application
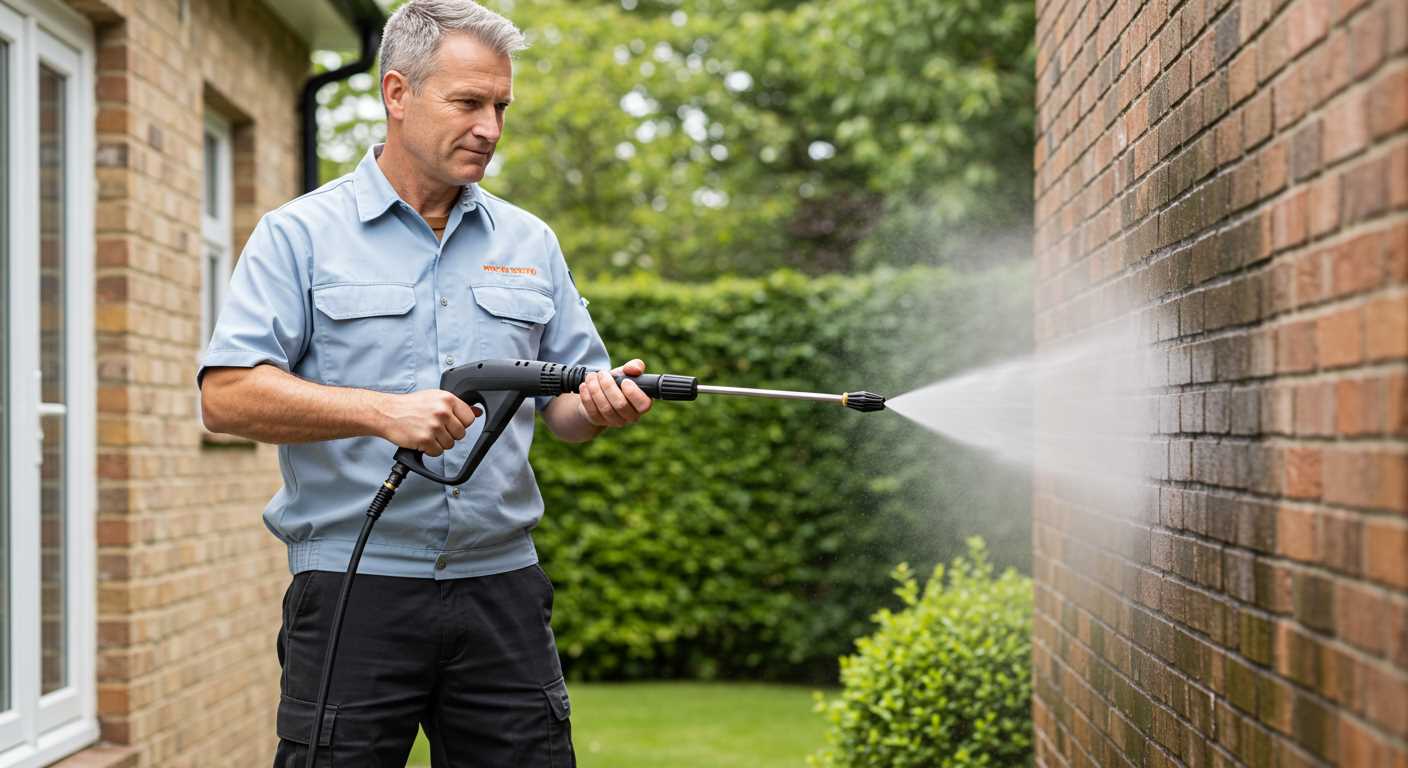
Ensure the machine is disconnected from the power supply to avoid accidental activation. Check that the tank designated for the cleaner is clean and free from any residue. If necessary, rinse it with water to eliminate previous substances.
Mix the cleaning solution with water according to the manufacturer’s guidelines for optimal results. Use a separate container to do this and avoid mixing it directly in the tank to prevent clogging.
Attach the correct nozzle to the lance; a wider angle will help distribute the cleaner more evenly. If your model has a soap nozzle, this ensures a better flow of the mixture.
Before starting, test the solution on a small, inconspicuous area to confirm compatibility with the surfaces you’ll clean. This step helps prevent any potential damage caused by the cleaner.
Finally, ensure that all connections are secure and there are no leaks. Once everything is checked, connect to the water source and power supply to begin the cleaning process effectively.
Mixing Cleaning Solution with Water: Proper Ratios
A balanced mixture is key for optimal results. Most manufacturers recommend combining one part cleaning solution with four parts water. This ratio is effective for various surfaces, ensuring thorough cleaning without risking damage.
Specific Guidelines for Different Surfaces
- Decking and Patios: Stick with a 1:4 ratio. These surfaces can absorb too much cleaning agent, so dilution helps prevent staining.
- Vehicles: For cars and motorcycles, a lighter mix of 1:5 is suitable. This minimises the chance of residue and helps maintain paint quality.
- Brick and Concrete: Use a 1:3 ratio for tough stains. The stronger solution helps to penetrate grime effectively.
Mixing Tips
- Always add the cleaning solution to water, not the other way around. This prevents foam and ensures better blending.
- Utilise a clean container for mixing. Old residues could interfere with the cleaning performance.
- Stir gently to avoid creating excessive bubbles. A smooth solution adheres better to surfaces.
After preparing the mixture, I recommend testing it on a small, inconspicuous area first. This allows you to gauge the effectiveness and compatibility on various materials.
Applying Cleaning Solution with Your Equipment
Attach the solution nozzle to your unit. This specific nozzle is designed to dispense the mixture effectively. Ensure that the nozzle is secure to prevent leakage while operating the device.
Next, fill the solution tank. Maintain the correct ratio of the mixture as indicated in the prior section. It’s advisable to avoid overfilling to prevent spills during transport.
Begin the application by activating the machine and adjusting the pressure to low settings. This allows for a gentle spray that helps the cleaning agent penetrate surfaces without causing damage.
Hold the spray wand about 2-3 feet from the surface to achieve an even coating. Keep a consistent motion to ensure thorough coverage. For stubborn stains, pause slightly longer on those areas, allowing the mixture to work into the grime.
Technique for Maximum Effectiveness
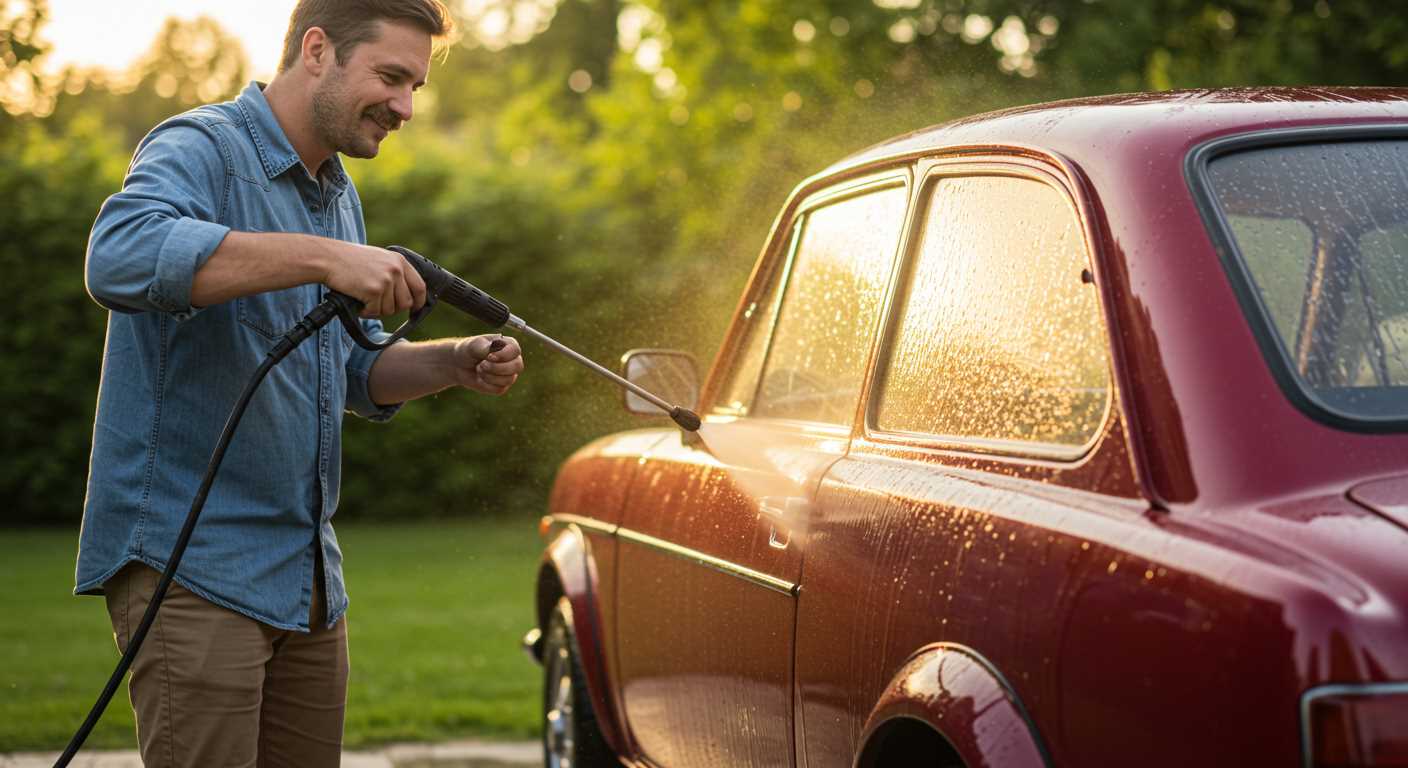
Start from the bottom and work your way up to avoid streaks. After applying, let the solution sit for the predetermined time specified by the manufacturer. This is crucial for the cleaning agent to break down tough residues.
After the dwell time, rinse the surface using a high-pressure setting, removing the solution along with dirt and debris. This process not only cleans but also enhances the finish of the surface.
Cleanup and Maintenance Post-Application
Post-cleaning, it’s important to flush the tank with clean water to remove any leftover mixture. This helps maintain the longevity of your equipment and prevents clogging in the future. Store the machine and all components in a dry place, ensuring everything is clean and ready for the next task.
| Step | Action |
|---|---|
| 1 | Attach solution nozzle securely. |
| 2 | Fill tank without overfilling. |
| 3 | Set pressure to low before application. |
| 4 | Apply from bottom to top evenly. |
| 5 | Allow time for the solution to work. |
| 6 | Rinse thoroughly at high pressure. |
| 7 | Flush tank with clean water post-use. |
Setting the Correct Pressure for Different Surfaces
I recommend adjusting the output pressure based on the surface being cleaned. Here’s a breakdown of suitable pressure settings:
- Wooden Decks: Begin with a low setting of 500-800 PSI. This prevents damage to the wood fibres while effectively removing dirt.
- Concrete Driveways: Increase pressure to 2500-3000 PSI for thorough cleaning. This is effective for eliminating oil stains and grime.
- Brick and Stone Surfaces: Aim for 1500-2500 PSI. It ensures dirt is removed while avoiding the risk of chipping.
- Vinyl Siding: A moderate setting of 1200-1500 PSI is ideal. This prevents any distortion of the siding material.
- Cars and Vehicles: Use a very low pressure, around 1200 PSI, to avoid damaging the paintwork and sensitive components.
- Fencing: Depending on the material, a setting between 1500-2000 PSI works best for cleaning without causing harm.
Always test a small, inconspicuous area before proceeding on the entire surface. Adjust as necessary based on the results observed. Keep in mind that distance from the surface also influences the impact; maintaining a distance of approximately two feet can help control the force exerted during the cleaning process.
For delicate surfaces, using a fan nozzle rather than a pinpoint one can also lower the risk of harm while ensuring an effective clean.
Cleaning Techniques for Optimal Results
For remarkable outcomes, begin with the right nozzle. A wide spray pattern is suitable for large surfaces, while a narrow stream effectively tackles stubborn stains. Adjusting the spray angle allows for efficient cleaning without damaging delicate materials.
When working on vertical surfaces, apply a bottom-to-top technique. This prevents streaking and allows the cleaner to adhere effectively before rinsing. For horizontal surfaces, a sweeping motion ensures uniform coverage, optimising the cleaning process.
Pre-soaking for Better Efficacy
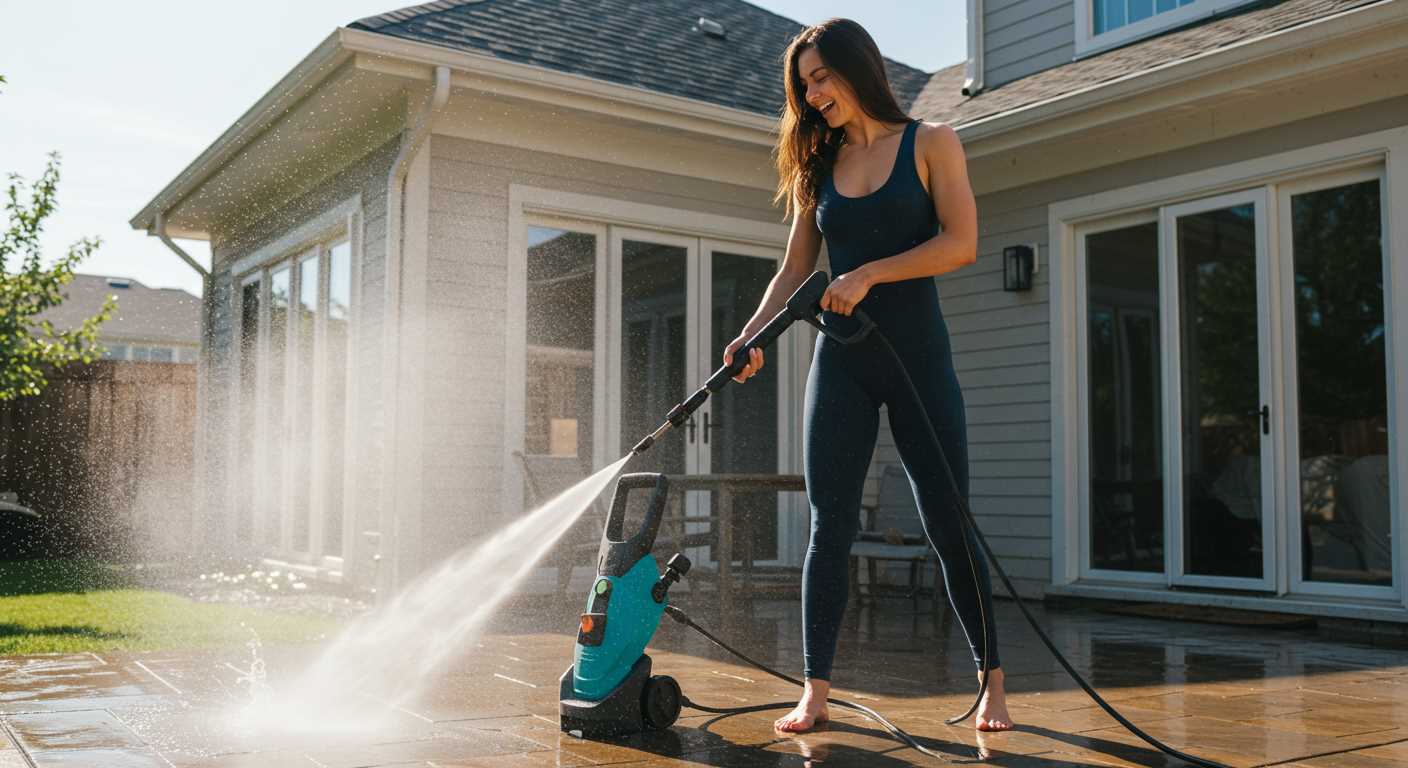
Consider pre-soaking particularly dirty areas. Allowing the cleaning solution to penetrate the grime for several minutes can significantly enhance the cleaning capabilities. After the pre-soaking period, commence washing from the top down to ensure debris doesn’t settle on already cleaned sections.
Final Rinse and Detailing
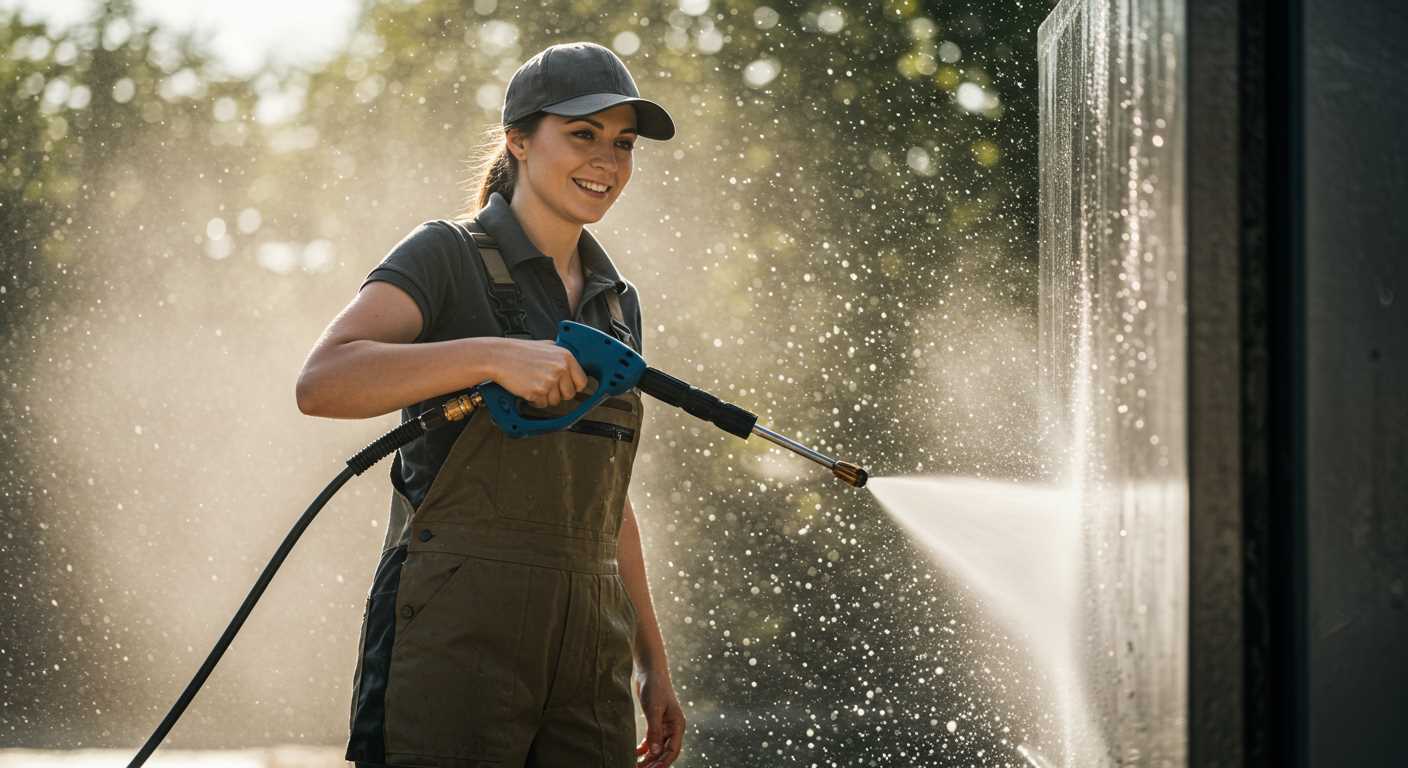
After cleaning, it’s crucial to conduct a thorough rinse with clean water. Pay special attention to corners and crevices where residue may linger. Completing this final step effectively prepares surfaces for protection or restoration treatments. For vehicles and outdoor furniture, consider following up with a detailing spray for additional shine and protection.
Maintaining Your Equipment After Cleaning
Immediately after use, flush the system with clean water. This step is crucial to remove any residual cleaning solution that may corrode components. Run the machine without the nozzle attached for about 2 minutes to ensure thorough rinsing.
Inspecting Components
Check the filters and screens for any blockages or buildup. Clean or replace these parts as necessary to maintain optimal performance. Inspect hoses for cracks or leaks, ensuring all connections are secure.
Storing Safely
Store in a dry, shaded area to prevent weather-related damage. Detach and drain any remaining liquid from hoses and tanks to avoid freeze damage in colder climates. Ensure that the equipment is placed on a sturdy surface to prevent any risk of tipping.
Periodically, perform a comprehensive check-up of the unit, including oil levels and motor functionality. This practice extends the lifespan of your machine and keeps it ready for future tasks.


