


For optimal results, first ensure the unit is positioned on a stable surface and not too far from a suitable water source. Connect the appropriate hose attachment based on the task at hand, ensuring a secure fit to prevent leaks. Adjust the nozzle according to the intensity required for your cleaning project, which can dramatically affect the efficiency of your efforts.
Prioritise safety by wearing protective gear, including gloves and goggles, especially when dealing with stubborn stains or highly soiled areas. Activate the unit only when ready to clean. Start with a lower pressure setting to assess the impact, gradually increasing it as needed for tougher grime.
Employ a sweeping motion and maintain a consistent distance from the surface to avoid damage, particularly on delicate materials. After completing a section, pause to check progress before proceeding–this ensures even cleaning and reduces the chances of missing spots or causing harm to the underlying surface.
After use, always disconnect the water supply and activate the machine for a brief moment to release any residual pressure. This prolongs the lifespan of your equipment and keeps it in top shape for future tasks.
Choosing the right nozzle for your cleaning task
Selecting the appropriate nozzle can significantly enhance your cleaning results. Nozzles typically come in various types, each designed for specific applications. The most common options include the zero-degree, fifteen-degree, twenty-five degree, and forty-degree nozzles.
Zero-Degree Nozzle
The zero-degree nozzle delivers a concentrated stream of water, making it ideal for targeted cleaning of tough stains, such as oil or grime on concrete surfaces. Exercise caution, as this powerful jet can damage delicate materials.
Forty-Degree Nozzle
Use the forty-degree nozzle for gentle cleaning tasks, such as rinsing vehicles or washing windows. It produces a wider spray pattern, reducing the force of water and preventing potential damage to sensitive surfaces.
For varied challenges, having a selection of nozzles on hand allows for quick adjustments to meet different cleaning demands efficiently. Always test a small area first to ensure the spray pattern suits your needs.
Setting up the pressure cleaner correctly
Begin with placing the machine on a stable, flat surface, ensuring it is secure and level. This prevents any movement during operation, which can compromise safety and efficiency.
Connecting Water Supply
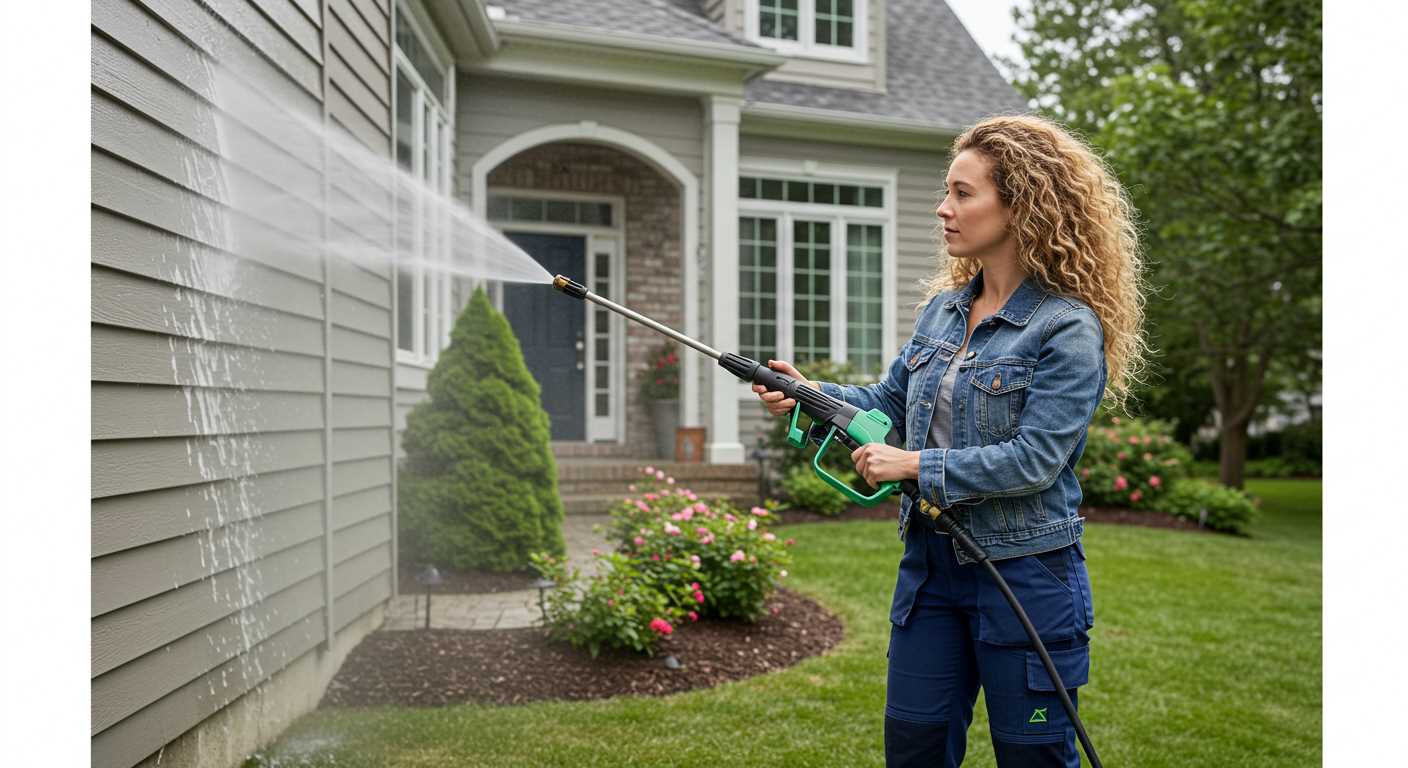
Attach a standard garden hose to the water inlet, ensuring a tight fit to prevent leaks. Check the water supply for contaminants, as debris can damage internal components. Turn on the water supply fully before starting the unit to maintain optimal flow.
Preparing the Equipment
Plug the device into a grounded outlet, using a heavy-duty extension cord if necessary. Ensure the cord is rated for outdoor use and appropriate wattage to avoid overheating. Check all connections, including hose attachments and nozzle fittings, for security.
| Task | Details |
|---|---|
| Surface | Ensure it is flat and stable |
| Water Supply | Attach hose, check for leaks, ensure clean water |
| Electrical Connection | Use a grounded outlet, check cable ratings |
| Hose Check | Inspect for kinks or blockages |
Before activating the unit, perform a thorough inspection to confirm that all components function properly, including the on/off switch and pressure settings. This preparation is essential for safe operation and maximising performance.
Adjusting the Pressure Settings for Different Surfaces
For delicate materials like wooden decks or painted surfaces, set the unit to a lower pressure, typically around 1000-1500 PSI. This prevents damage while still providing effective cleaning. Always keep the nozzle at least 2 feet away from the surface to minimise the risk of leaving marks.
Medium-Duty Cleaning
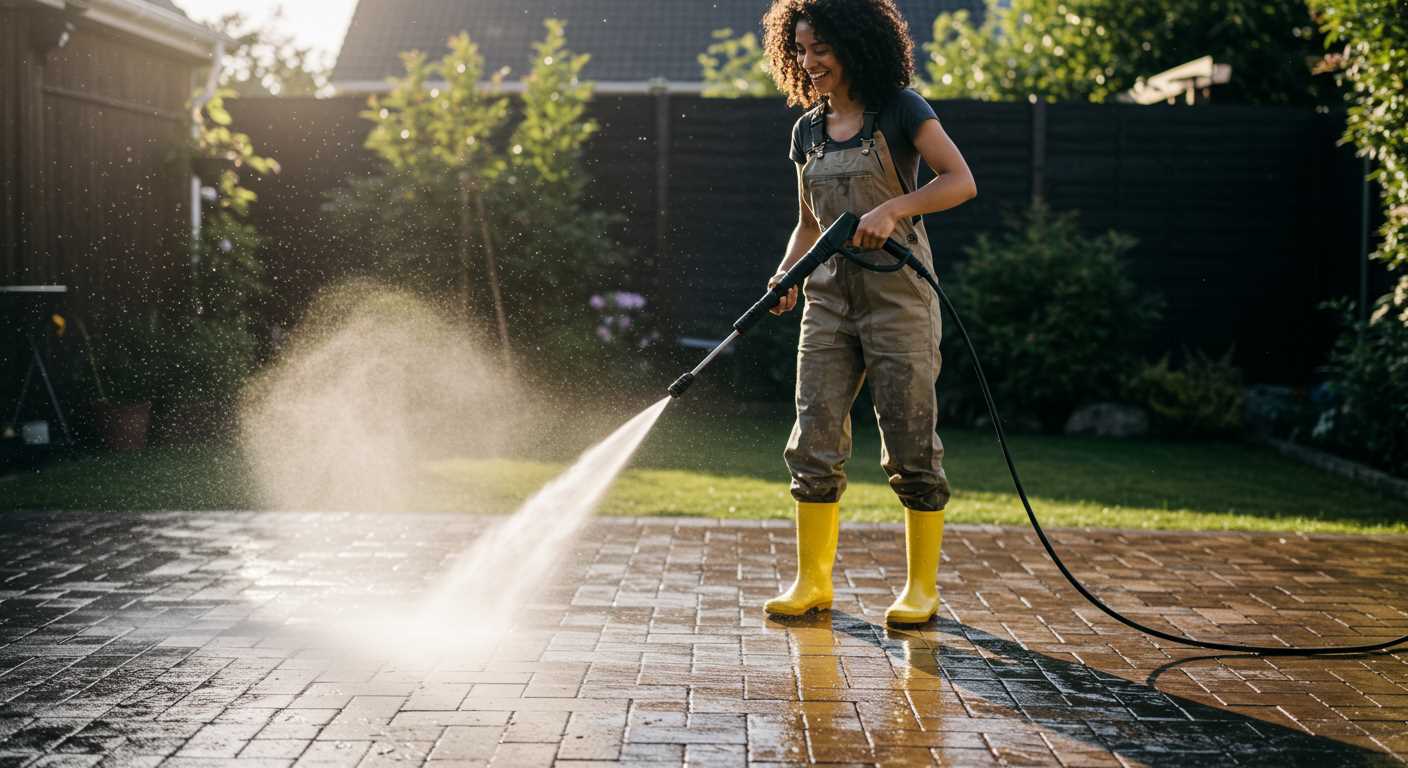
Concrete driveways and brick patios require more force. Adjust the pressure to between 2000 and 3000 PSI. This range effectively removes grime and stains without the risk of chipping the surface. Use a sweeping motion, moving at a consistent pace to avoid uneven results.
Heavy-Duty Tasks
For severe cleaning jobs like unsealed concrete or heavily soiled surfaces, you can go up to 3000-4000 PSI. It’s crucial to practice caution here; maintain a safe distance and test a small area first. Using the appropriate nozzle will enhance the cleaning impact while avoiding surface injury.
Regularly assess the condition of surfaces to determine the appropriate settings, adjusting as necessary to ensure optimal performance while safeguarding materials. Knowledge of the right pressure for specific tasks enhances your cleaning effectiveness and prolongs the life of your surfaces.
Maintaining the Cleaning Device Before and After Operation
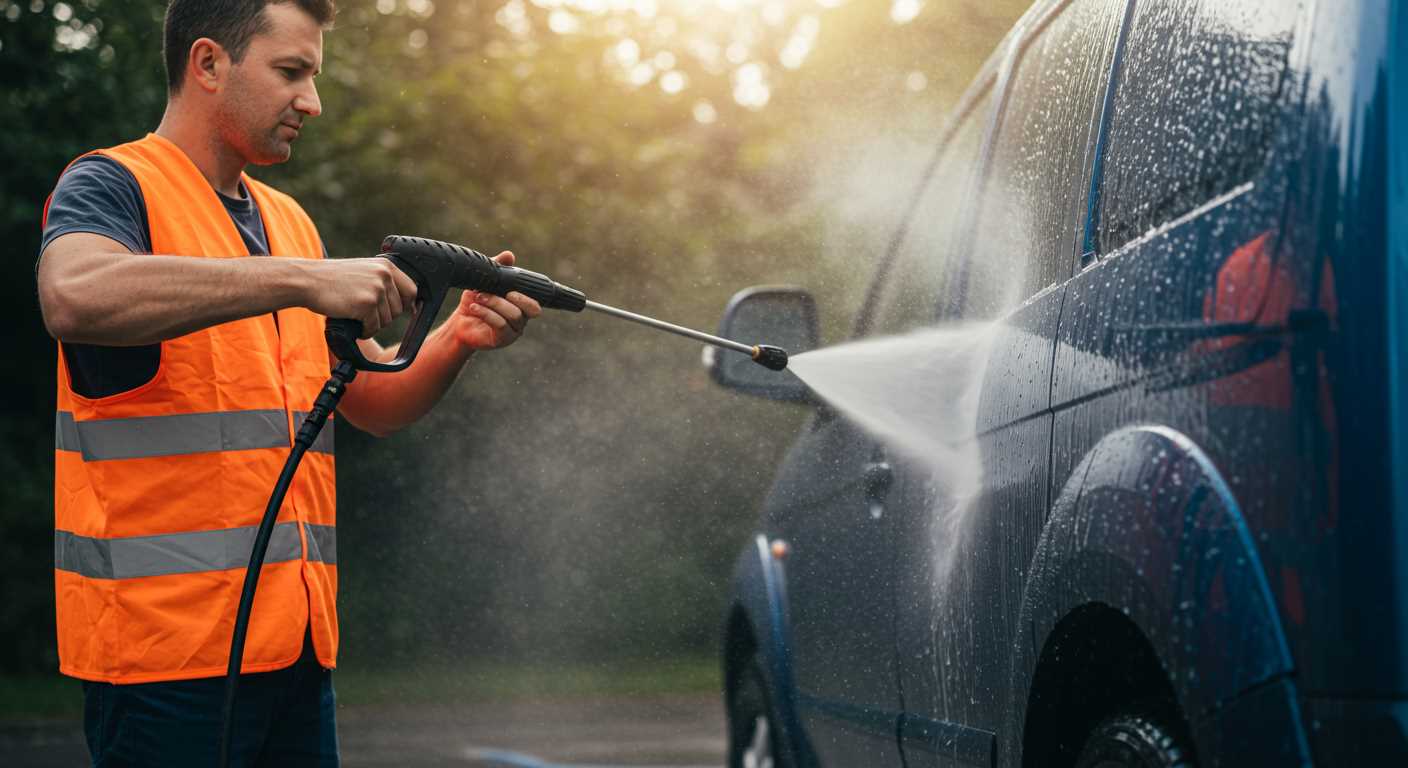
For optimal performance, I recommend conducting a thorough inspection of the unit before and after every cleaning session. Ensure the water inlet filter is free from debris, as clogs can lead to reduced efficiency.
Pre-Operation Maintenance Steps
- Check the oil level if your model has a lubricating system.
- Inspect hoses for cracks or wear; replace if necessary.
- Ensure connections are secure to prevent leaks.
- Cleans the nozzle tips with a small wire to remove any blockages.
- Confirm the power source is stable, avoiding extension cords that may cause voltage drops.
Post-Operation Maintenance Steps
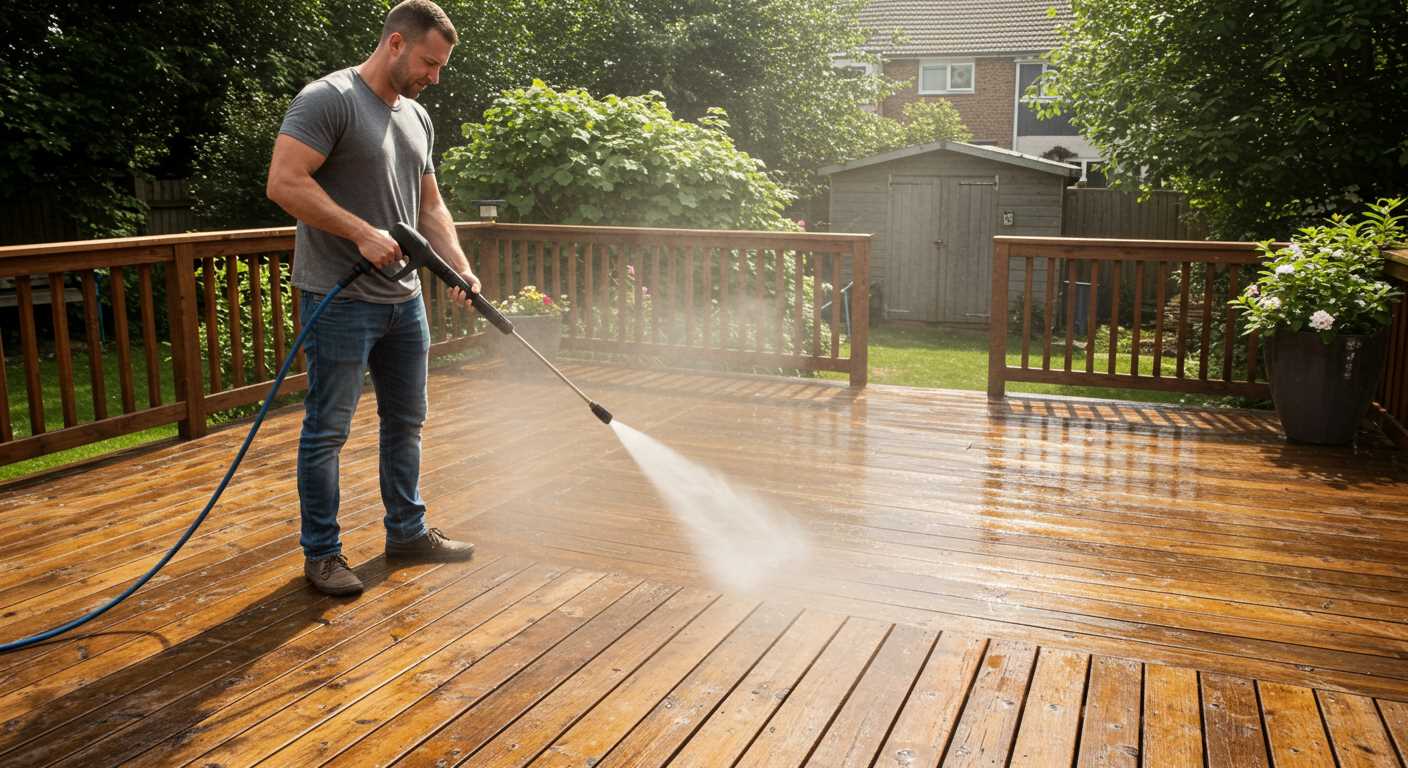
- Flush the system with clean water to prevent sediment buildup.
- Store the unit in a dry, sheltered location to avoid rust.
- Disconnect all hoses and accessories for proper drying.
- Inspect the equipment for any signs of damage after use.
- Keep the manual handy for specific maintenance recommendations from the manufacturer.
These practices prolong the lifespan of the equipment and ensure it operates at peak performance for your cleaning tasks.
Tips for Safe Operation of the Pressure Cleaning Device
Prioritise personal safety by wearing protective gear such as goggles, gloves, and sturdy footwear. These will shield you from debris and potential injury from high-pressure water jets.
Always ensure that the equipment is placed on a stable surface to prevent it from tipping over during operation. A secure setting reduces the risk of accidents.
Before activating the machine, double-check connections and hoses for leaks or damage. Faulty equipment can lead to unexpected failures and increase the chance of injury.
Maintain a safe distance from the area being cleaned, especially when using high-pressure settings. Stand at least 2-3 feet away from surfaces to avoid causing damage to objects or injuring yourself.
Direct the nozzle away from yourself and others, maintaining control to prevent accidental spraying. Be cautious around windows, doors, and electrical outlets where water could cause harm.
Never aim the stream at people, animals, or delicate objects, as the force can cause significant damage or injury.
Regularly monitor the temperature of the machine; overheating can be hazardous. Allow the motor to cool down periodically, especially during extended use.
- Keep children and pets at a safe distance while operating.
- Routinely check the power source for any signs of wear or damage.
- Avoid using the device in wet conditions, as the risk of electrical shock increases.
- Store it safely after use, disconnected from any power source.
After completing your cleaning tasks, inspect the gear for any signs of wear and address issues immediately. Regular maintenance can prevent accidents and extend the lifespan of your equipment.
Staying attentive and adhering to safety precautions will ensure a smooth and secure cleaning experience.
Common cleaning tasks and their specific approaches
For removing grime from driveways, a wide spray pattern with moderate pressure is beneficial. Start from the farthest point and work backward to avoid walking on newly cleaned areas.
Deck and patio maintenance
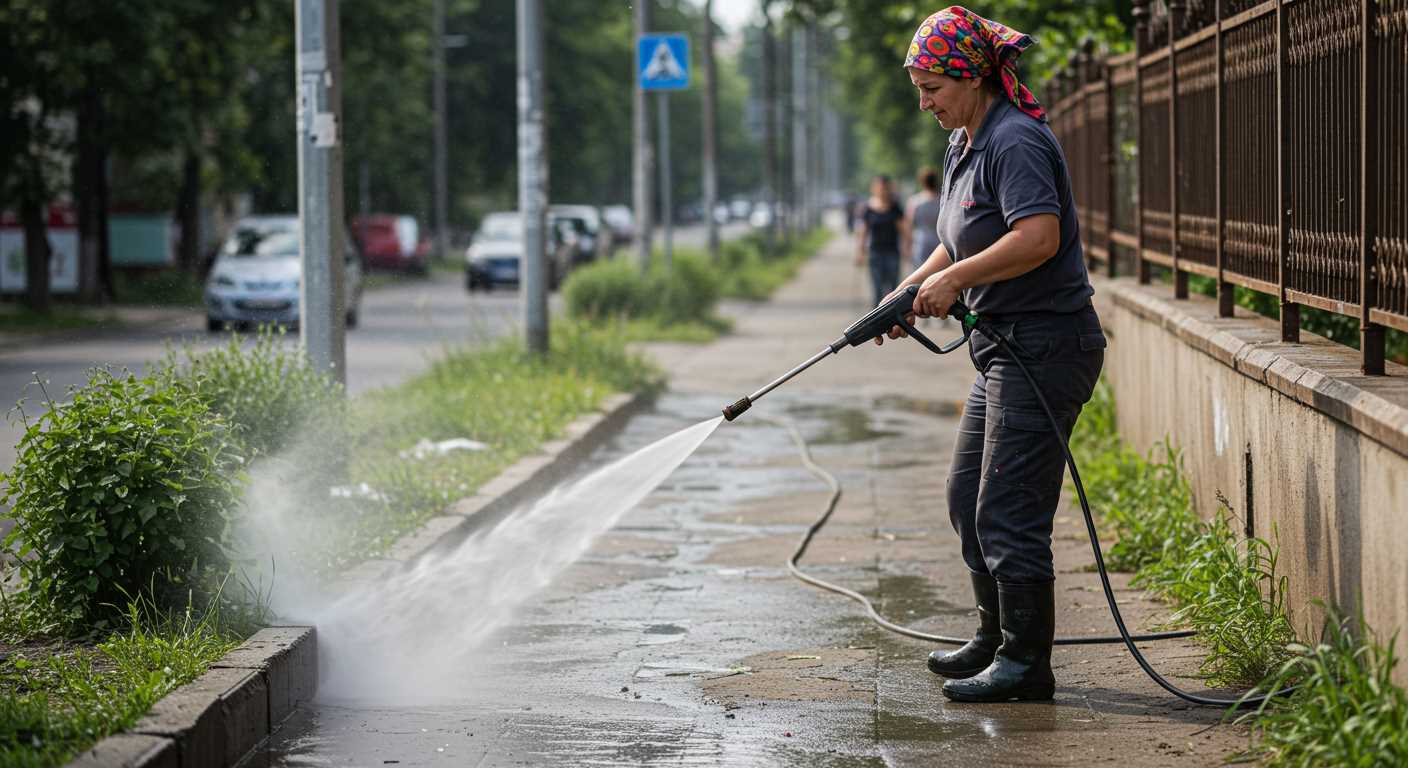
When tackling wooden decks, opt for a lower pressure setting to prevent damaging the wood grain. Use a fan nozzle to cover larger areas efficiently and always keep the nozzle moving to avoid gouging.
Cleaning vehicles
For washing cars, selecting a soap nozzle can enhance the process. Apply cleaning solution from the bottom up, rinsing from the top down to prevent streaks. Maintain a distance of at least 24 inches to avoid paint damage.
For windows and outdoor furniture, a soap attachment with a soft brush helps deliver cleaner without scratching surfaces. Rinse with a wide spray to remove any residue effectively.
Stubborn stains on barbecue grills require a more targeted approach. Use a focused nozzle for concentrated cleaning around grates, and be cautious of ignition sources. After cleaning, a thorough rinse is key to remove any lingering cleaning agents.
Always adapt your techniques based on the surface you’re dealing with to ensure thorough yet safe cleaning. Consider the material and existing conditions before selecting your cleaning strategy.


