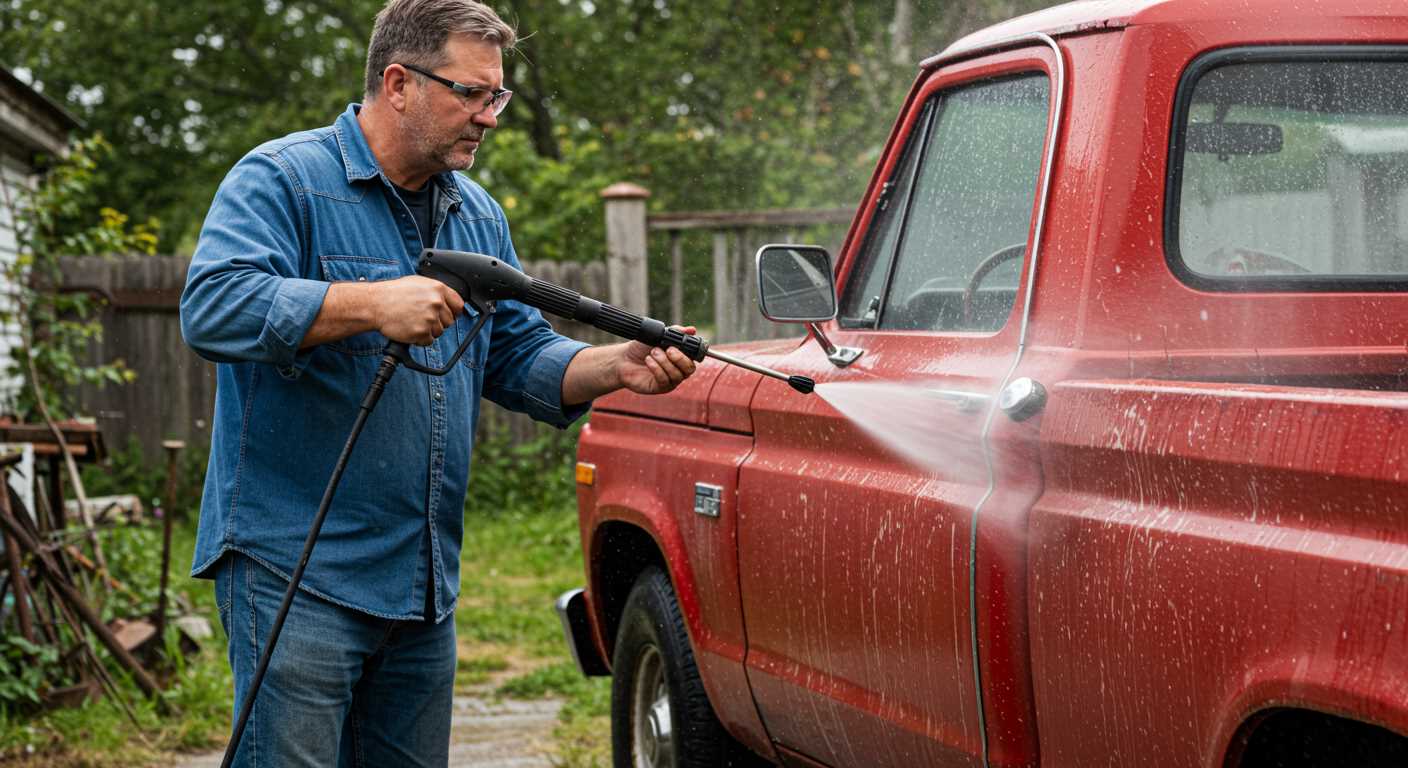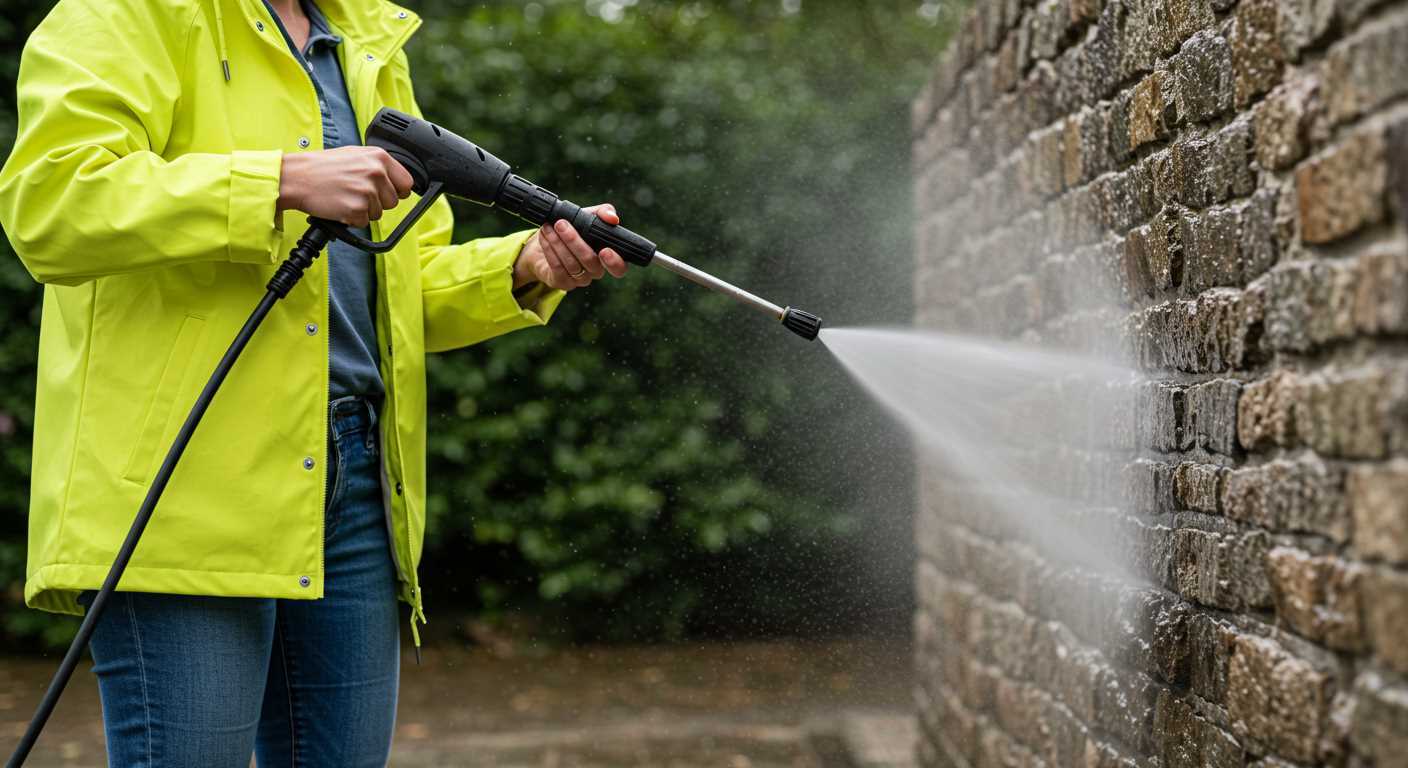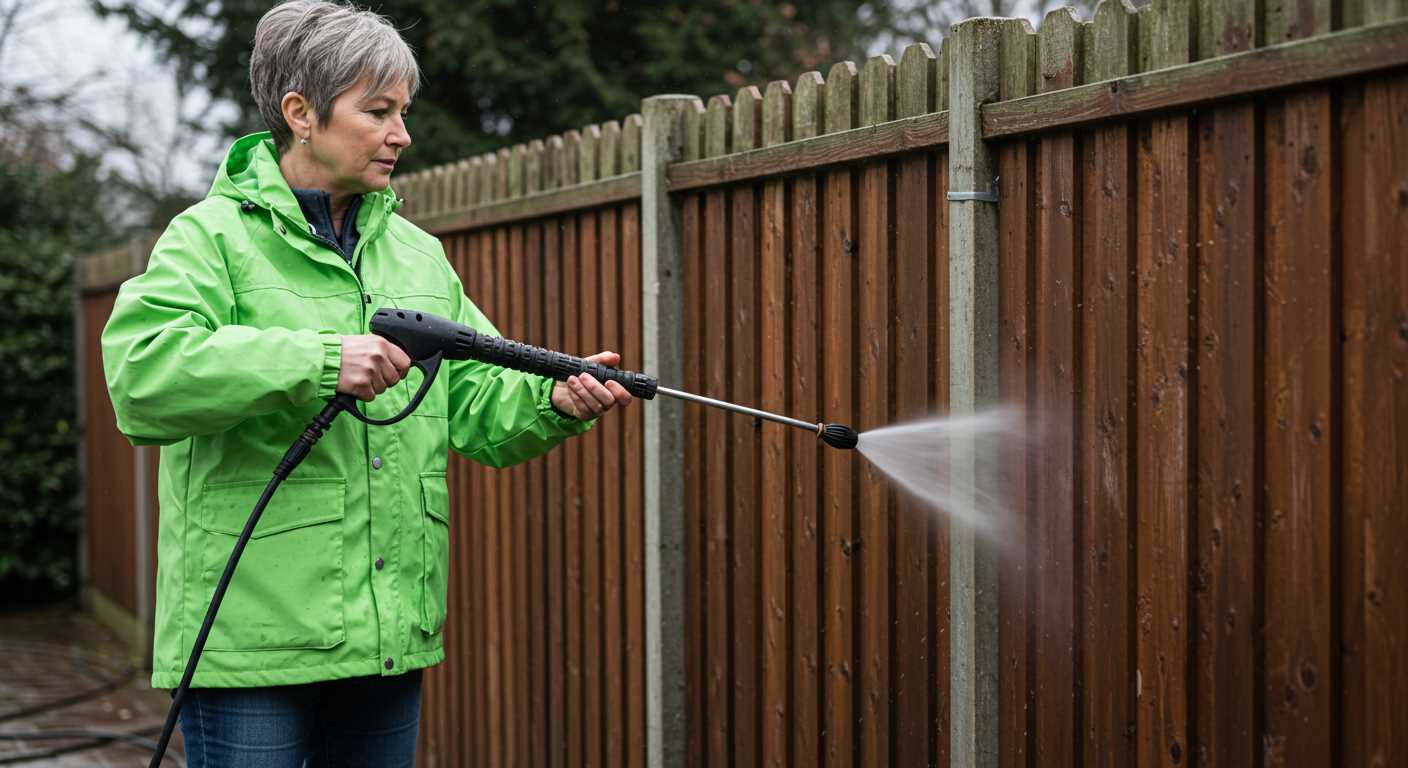


For achieving an impressive foam coverage during your exterior cleaning tasks, consistently prepare a solution specific to your cleaning requirements. Begin with a quality pre-mixed detergent, ensuring it is compatible with the nozzle type of your cleaning apparatus. A good mix will create a thick lather that clings to surfaces, maximising the cleaning action.
Next, adjust the nozzle to the appropriate setting, ideally selecting a wide spray pattern. This allows for even distribution of the foam, critical for ensuring thorough cleaning. Test the sprayer on a small, inconspicuous area to verify that the detergent doesn’t cause any adverse effects on the surface.
Maintain a distance of approximately three feet from the cleaning surface while applying the foam. This distance allows for an even coat without overwhelming the surface with excessive pressure, leading to better results. Allow the foam to dwell for the recommended time stated on the product label, which enhances its ability to lift dirt and grime effectively.
Once the foam has settled in, rinse with a thorough water spray. Opt for a fan nozzle for rinsing to ensure that all remaining product and loosened dirt are washed away. Keeping a steady and even motion will prevent streaks and ensure no residue is left behind.
Be mindful of the temperature of your water; warmer water can enhance the detergent’s effectiveness. As a result, your cleaning routine becomes more efficient, allowing you to complete your tasks with optimal results every time.
Using a Foam Cannon with a High-Pressure Cleaning Device
For optimal performance, ensure compatibility between your foam cannon and your high-pressure cleaning unit. First, attach the foam cannon to the spray lance securely. Make sure the connection is tight to prevent leakage during operation.
Next, choose a suitable cleaning solution specifically designed for foam generation. Dilute the detergent according to the manufacturer’s instructions; typically, a mix ratio of 1:10 is effective. Pour the solution into the foam cannon’s reservoir, filling it appropriately without exceeding the maximum level indicated.
Adjust the nozzle on the cannon to achieve the desired foam thickness. A narrower opening creates a denser foam, ideal for stubborn grime. Position the device approximately 2-3 feet away from the surface to be cleaned to achieve an even distribution of foam and avoid potential damage to delicate surfaces.
Before activating the machine, ensure the fuel and cleaning solution levels are adequate. Switch on the high-pressure cleaner, allowing it to build up the necessary pressure. Then, gently squeeze the trigger on the foam cannon, applying a layer of foam onto the surface. The foam should cling to vertical or angled surfaces for a longer cleaning duration.
After allowing the foam to sit for a few minutes, agitate the surface if required with a soft brush or cloth. This step lifts dirt and grime effectively. Once you’ve achieved satisfactory results, rinse using the high-pressure setting to remove all residues, ensuring no soap is left behind.
| Step | Action |
|---|---|
| 1 | Attach foam cannon to the spray lance. |
| 2 | Mix cleaning solution as per guidelines. |
| 3 | Fill foam cannon reservoir. |
| 4 | Adjust nozzle for desired foam consistency. |
| 5 | Spray foam from a distance of 2-3 feet. |
| 6 | Allow foam to dwell for optimal effect. |
| 7 | Rinse thoroughly with high-pressure spray. |
Regularly clean and maintain the foam cannon to avoid clogs and ensure longevity. Following these steps will enhance the cleaning process, leaving surfaces pristine and free from unwanted residues.
Choosing the Right Foam Cannon for Your Pressure Washer
To select an appropriate foam sprayer, consider compatibility with your equipment’s PSI and GPM ratings. The foam cannon needs to be able to handle the pressure output; higher PSI typically requires a more robust unit.
Material Quality
Opt for a model made from durable materials such as brass or high-grade plastic. This ensures longevity and reduces the risk of leaks. A poor-quality sprayer may not withstand prolonged use, leading to premature failures.
Nozzle Adjustability
A adjustable nozzle is vital for controlling foam thickness and spray pattern. Look for models that allow for varying degrees of foam concentration, giving you versatility for different tasks–from light cleaning to heavy-duty degreasing.
Lastly, choose a foam cannon that allows for easy attachment to your cleaning system. A secure fit will prevent any unnecessary spills or disconnects during operation. Prioritising these features will enhance your cleaning tasks, making them more efficient and enjoyable.
Preparing Your Equipment for Foam Application
Ensure your device is positioned on a stable surface to prevent any movement during operation. Regularly check all connections to confirm they are secure and free from leaks.
Prior to attachment, inspect the nozzle for blockages. A clean nozzle guarantees consistent foam output. Rinse it under warm water if necessary.
Fill the foam canister with a compatible cleaning solution, paying attention to the recommended dilution ratios specified by the manufacturer. This balance optimises cleaning efficiency.
Attach the canister firmly to the main unit, ensuring a tight fit for the best performance. Once connected, adjust the nozzle to the desired spray pattern to accommodate various surfaces.
Test the system by briefly activating the pump without any additional pressure setting. This initial run helps identify any potential issues before full engagement.
Familiarise yourself with the control panel settings, adjusting the pressure level appropriately based on the task at hand. Different materials may require different pressures for optimal cleaning results.
Finally, ensure you are wearing appropriate safety gear, including goggles and gloves, to protect yourself from splashes and chemicals during foam application.
Selecting the Best Foam Solution for Specific Cleaning Tasks

For automotive surfaces, a pH-balanced cleaner works exceptionally well. These formulas break down oils and grime without harming the paint or protective coatings. Consider options that offer good foam adhesion, ensuring the solution clings to vertical surfaces during application.
In the realm of outdoor furniture, opt for a mildew inhibitor. The foam needs to penetrate stubborn stains, particularly in environments prone to moisture. A cleaner labelled as biodegradable will not only provide a deep clean but is also gentle on surrounding plants and wildlife.
When tackling heavily soiled driveways or concrete, a more aggressive alkaline solution is advisable. These cleaners effectively dissolve dirt and grease, allowing the foam to penetrate and lift away the grime. Ensure that you follow with a thorough rinse to prevent residue.
For interior surfaces, such as upholstery or carpets, a gentle foam specifically formulated to be safe on fabric is critical. Look for solutions that offer non-toxic ingredients to protect against allergens and irritants, while still providing effective cleaning power.
In kitchens, grease cutters or degreasers are essential. Selecting a foam solution designed to tackle kitchen residue ensures efficient cleaning, especially in areas like stovetops and hoods. A product with added scent can enhance the cleanliness feel post-application.
Lastly, specialty cleaners exist for specific materials, such as vinyl or glass. These products ensure compatibility and effectiveness, reducing the risk of damage while achieving a thorough clean. Always check compatibility with the surface before proceeding.
Adjusting Foam Consistency for Optimal Coverage
Achieving the right foam thickness requires careful adjustment of water and cleaning solution ratios. Start by gradually altering the dilution ratio according to the manufacturer’s guidelines. Testing small amounts will help find the ideal mix without wasting materials.
Factors Influencing Foam Thickness

- Water Pressure: Higher pressure typically leads to a more aerated foam. Lowering the pressure can yield a thicker, denser coverage.
- Temperature: Warm water enhances the effectiveness of the cleaning agent, leading to better foam generation. Aim for a temperature that feels warm to the touch but not hot enough to cause burns.
- Surface Type: Different surfaces may require specific foam densities. For instance, porous surfaces may benefit from a thicker foam to penetrate and lift dirt, while smoother surfaces might need a lighter foam for optimal coverage.
Fine-tuning Your Solution

Adjust the nozzle when spraying to change the foam output. A wider spray pattern distributes foam more evenly over larger areas, while a narrower pattern concentrates on tough spots. Periodically assess the foam’s cling and coverage; if it drips too quickly, increase concentration.
Keep testing by adjusting both the cleaning solution input and water flow until you find a blend that adheres effectively to surfaces. Document your successful mixes for future reference, making it easier to replicate the process later.
Techniques for Applying Foam Evenly on Surfaces

To achieve uniform coverage of cleaning suds, maintain a consistent distance of 2 to 3 feet from the surface while applying the mixture. This ensures proper dispersion and prevents pooling.
Choose a sweeping motion while spraying, starting from the top and working downwards. This technique allows the foam to cling effectively and helps lift dirt as it descends.
For large areas, divide the surface into sections. Apply the foam to one section and allow it to sit for a few minutes before moving to the next. This step enhances cleaning efficiency and ensures that each part receives adequate treatment.
Adjust the nozzle’s spray pattern according to the surface texture. A fan spray is optimal for wide areas, while a tighter pattern works best on vertical surfaces or areas with intricate detailing. This adaptability helps in achieving coverage without waste.
Regularly check the foam cannister during the application. If the consistency seems off, it may indicate a need for recalibration or a change in solution. Ensuring the proper mix is critical to maximise effectiveness.
Finally, consider the surface material. For porous surfaces, applying a second layer after the first has penetrated often yields the best results, as it allows for deeper cleaning.
Proper Cleaning and Maintenance of Foam Cannon After Use
Immediately flush the foam dispensing device with clean water after application. This prevents residue build-up and clogging of components. Detach the bottle and rinse it thoroughly to remove any remaining cleaning agents. Using warm water can enhance cleaning efficiency.
Checking and Cleaning the Nozzle

Examine the nozzle for blockages. A simple soak in warm soapy water can clear stubborn debris. After soaking, use a soft brush or toothpick to remove any persistent residue. A clean nozzle ensures the foam spreads evenly during future applications.
Regular Inspection and Storage
Inspect all parts periodically for any signs of wear or damage. Replace worn components to maintain optimal performance. Store the unit in a cool, dry place to avoid exposure to extreme temperatures, which may degrade materials. A protective storage bag can also prevent dust accumulation.
Following these steps ensures longevity and functionality for future cleaning tasks, enhancing your overall experience with the cleaning equipment.


