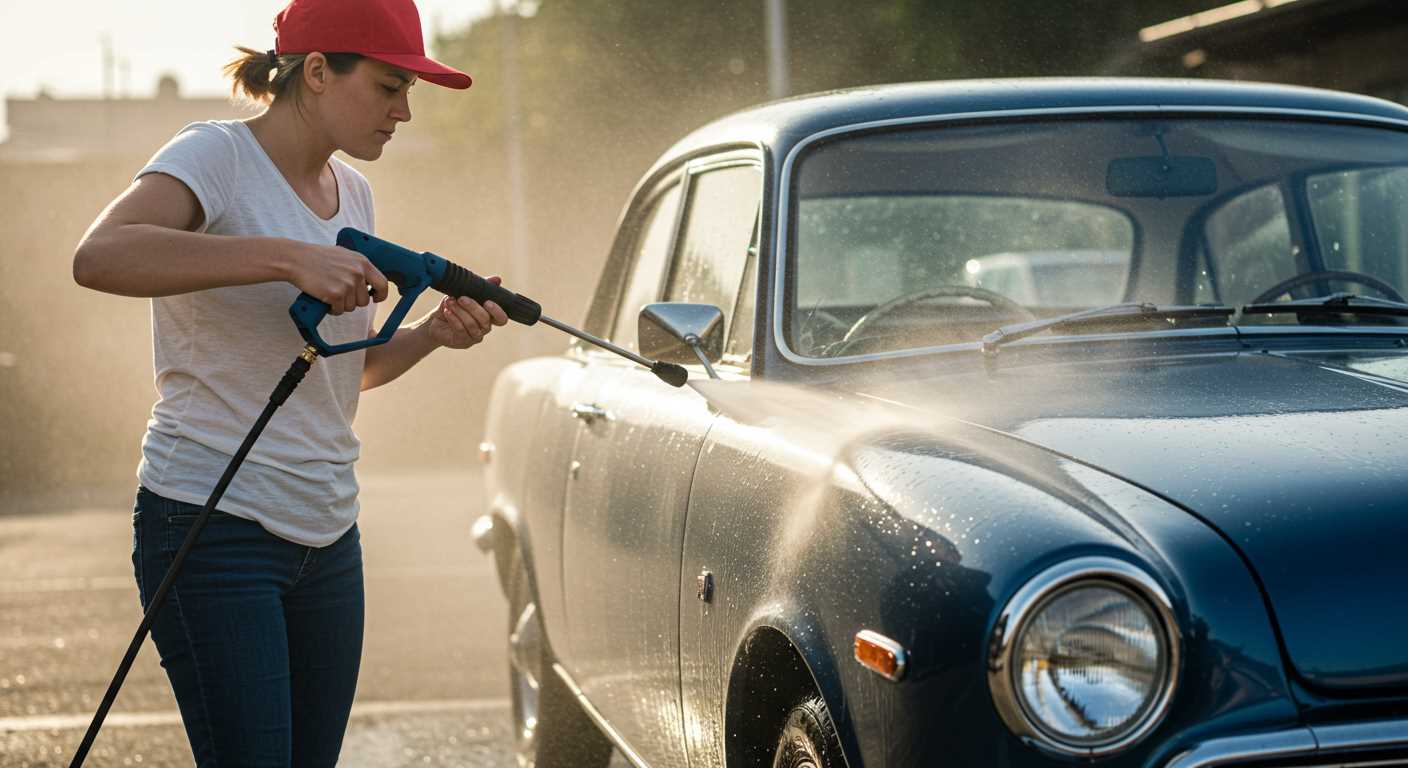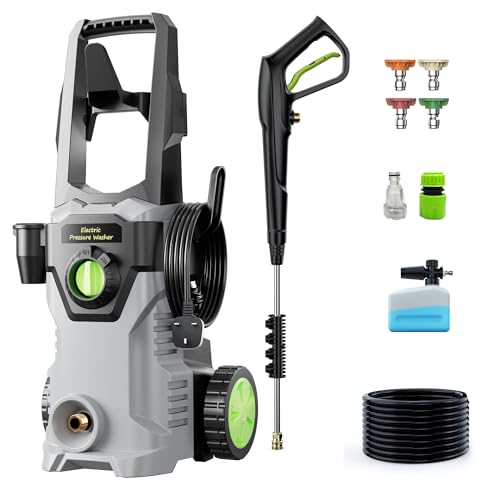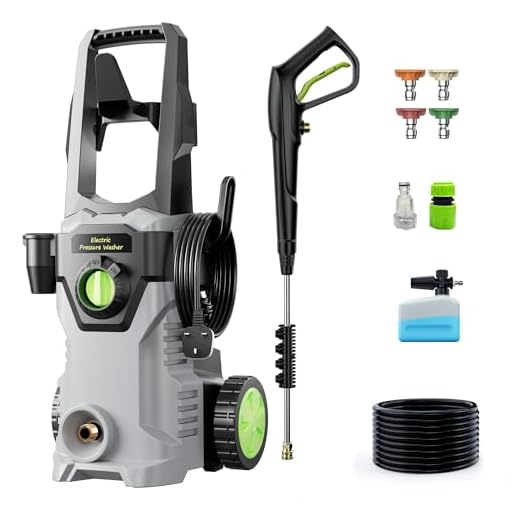


Apply a dedicated foam solution to achieve a deep-cleaning effect on your vehicle’s surface. Mix the solution with water at the appropriate ratio as specified on the product label–commonly, a 1:10 ratio yields the best results. This ensures a thick foam that clings to the exterior, breaking down dirt and grime effectively.
Using a dedicated foam lance enhances the cleaning process significantly. Fill the lance with the pre-mixed solution, then connect it to your accessory for foaming. This method creates a dense layer of foam that not only cleans but also protects your paintwork. Ensure an even coverage over the entire vehicle, paying extra attention to heavy soiling areas.
After allowing the foam to dwell for a few minutes, rinse thoroughly with a high-flow nozzle to remove residue. This step is crucial; it prevents streaking and ensures a sparkling finish. Always follow up with a soft microfiber cloth to dry your vehicle, avoiding water spots and achieving that showroom shine.
Application of Karcher Vehicle Cleaning Solution
For optimal results, dilute the solution according to the manufacturer’s instructions, typically in a ratio of roughly 1:10. Attach the dispenser onto your cleaning device. Immerse the nozzle in the mixture, ensuring complete submersion to utilise the fluid efficiently.
Step-by-Step Guideline
Begin by spraying the surface with water to eliminate loose dirt and debris. After this initial rinse, apply the cleaning solution evenly across the entire surface, ensuring all areas are treated. Allow the mixture to activate on the paintwork for approximately 5-10 minutes before rinsing thoroughly with water. This ensures effective grime removal without harming the vehicle’s finish.
Post-Cleaning Care
After rinsing, drying with a soft microfibre cloth is advisable to prevent water spots and streaks. For added protection, consider applying a wax or sealant following the clean. This step enhances the vehicle’s shine and guards against future dirt build-up.
Selecting the Right Car Cleaning Solution for Your Needs

Choosing the appropriate cleaning agent is paramount for achieving optimal results. Consider the following criteria to select a product suited to your specific requirements:
| Condition of Vehicle | Recommended Product | Features |
|---|---|---|
| Regularly Maintained | Gentle Foam Cleaner | Gloss-boosting, pH-neutral formula; safe for waxed finishes. |
| Heavy Dirt and Grime | Heavy-Duty Cleaner | Strong degreasing properties; effective against tough stains without harming surfaces. |
| Eco-Conscious Choices | Biodegradable Solution | Environmentally friendly; derived from natural ingredients, safe for all surfaces. |
| Detailing Enthusiasts | High-Gloss Finish Agent | Includes wax for added protection; enhances shine, ideal for show cars. |
Assess surface materials–different substances may require specific formulations. For example, delicate finishes like matte paint may need a milder product to prevent damage.
If you often clean various vehicle types, consider a versatile cleaner that accommodates different finishes and dirt levels. Evaluate scent and ease of rinsing off, as these can significantly enhance the cleaning experience.
Finally, review product compatibility with your equipment model to ensure effective performance. The wrong mix can lead to subpar results, so always verify the guidelines provided by the manufacturer.
Preparing Your Vehicle for a Clean

Begin by removing all personal belongings from the interior and trunk. This includes any trash, valuable items, and loose change that might bounce around during the cleaning process.
Next, check the exterior for any loose items, such as antennae or covers, that may need to be removed to avoid damage. If your wheels are especially dirty, consider pre-cleaning them with a brush or cloth to eliminate stubborn grime.
Pre-rinse the Surfaces
Before applying any cleaning agents, give your vehicle a thorough rinse with plain water. This helps to remove dirt and debris, preventing scratches during the washing process. Focus on areas like the wheel arches and undercarriage, which often accumulate more muck.
Cover Sensitive Areas
Use plastic or microfibre cloths to cover sensitive components such as sensors, cameras, and electrical fittings. This will help to avoid potential water ingress or damage from the cleaning solution.
Assess the condition of your paintwork as well. If there are noticeable scratches or paint chips, it may be beneficial to consider a clay bar treatment or polishing before embarking on the wash.
Setting up your Karcher pressure washer for shampoo application
Begin by ensuring that your equipment is connected to a water supply. Verify that the hose is securely attached and there are no leaks. Choose the appropriate detergent tank for liquid cleaning solutions; some models come with a built-in tank designed for this purpose.
Next, dilute the chosen cleaning formula according to the manufacturer’s instructions. Excessive concentration can lead to poor performance or damage to various surfaces. For optimal results, fill the detergent tank carefully without overfilling.
Attach the foam lance or detergent nozzle to your device. Ensure it’s the right accessory for applying cleaning agents efficiently. Adjust the nozzle settings for the desired foam thickness; this will help in encapsulating dirt and grime during the wash.
Check the pressure settings on your machine. Lower pressures are preferable for applying shampoo, as they prevent overspray and ensure even coverage. Typically, a pressure range between 1000 to 1500 PSI is ideal for this application.
Once everything is set, activate the unit and commence with the application. Start from the top of the vehicle and work your way down, ensuring thorough coverage. Allow the foam to dwell for a few moments to break down tough contaminants before rinsing off with clean water.
- Double-check all connections before starting.
- Follow manufacturer guidelines for dilution to maximise cleaning efficiency.
- Use specific nozzles for foam application to enhance cleaning reach.
- Maintain lower pressure while applying the product for effective coverage.
Conclude by rinsing any residual detergent thoroughly. Leaving product on the surface can lead to streaks or residue. Thorough rinsing ensures a spotless finish and maintains the integrity of your vehicle’s surfaces.
Applying Car Shampoo with the Pressure Washer
Begin by selecting a suitable detergent tank for the solution. Ensure it is filled correctly, adhering to the manufacturer’s guidelines for dilution rates. The concentration impacts the effectiveness, so measuring accurately is key.
Steps to Apply the Cleaning Solution
- Attach the detergent tank securely to the machine.
- Set the correct nozzle for foam application; a wide fan spray is often effective.
- Adjust the appliance settings to low pressure, allowing the surfactant to be applied gently without damage.
- Start applying from the top of the vehicle downwards, maintaining a consistent distance of about 2 feet from the surface.
Tips for Optimal Results
- Work in sections, applying the foam generously to ensure thorough coverage.
- Avoid applying in direct sunlight; the heat can cause the solution to dry too quickly, leaving stains.
- Allow the product to sit for a few minutes to loosen dirt and grime before rinsing.
- Use a soft wash mitt or sponge for stubborn spots after application if necessary.
After the time has passed, switch to a high pressure setting to rinse off the applied cleaner. Ensure that all residues are removed to prevent any lingering film that may attract dirt.
Proper rinsing techniques for best results
Ensure thorough removal of any foam or detergent by working from the top down. Start at the roof and progress to the lower sections of the vehicle. This method prevents dirty water from running over already cleaned areas.
Angle of the spray

Maintain a distance of about 1 meter from the surface, adjusting as necessary based on the level of dirt. The angle of the nozzle should be set to about 30 degrees. This helps to effectively dislodge dirt without risking damage to the paintwork.
Rinsing procedure
Begin by rinsing the windows and mirrors, as these areas often collect the most soap residue. Then, move towards larger panels, periodically checking for any remaining suds. A consistent, sweeping motion covers more area efficiently and reduces the chance of streaks.
For any stubborn spots, a targeted approach is effective. Use a concentrated stream to directly hit those areas, ensuring complete removal before proceeding.
Finally, finish with a final sweep over the entire vehicle to confirm every part is clear of residual product, leaving a clean surface ready for drying or protection application.
Maintaining Your Pressure Cleaning Equipment After Use
Always disconnect the power supply once I’m finished with the equipment. This prevents accidental activation. I then detach the detergent container carefully, ensuring no leftover product spills. It’s vital to rinse the detergent system thoroughly with clean water to avoid clogs. I fill the tank with plain water and run the machine for a few minutes, allowing water to flush through the system.
Cleaning the Nozzles and Filters
Next, I pay special attention to the nozzles and filters. Any residue left can lead to reduced performance. Using a soft brush or cloth, I clean the nozzles. A small pin can be helpful to clear blockages in the nozzle tips. I also inspect and clean the water intake filter, which may trap dirt and debris. This ensures everything operates smoothly during the next session.
Storing Properly
After cleaning, I store the unit in a dry, sheltered place, as moisture can cause damage. I make sure the hoses are coiled neatly to avoid kinks, which could hinder fluid flow. I often cover it with a protective cover to prevent dust accumulation. Lastly, I check for any signs of wear or damage and address them immediately, extending the lifespan of my equipment.
Troubleshooting common issues with car shampoo application
Address streaks or residue by ensuring even application across the vehicle’s surface. Uneven coverage can leave marks that may require additional rinsing or scrubbing. Adjust the nozzle settings for a wider spray to minimise concentrated areas of foam.
If foam doesn’t cling well, consider the dilution ratio. Too much water can make the solution too weak, leading to poor adherence. Always follow the manufacturer’s recommendations for mixing ratios.
Watch for issues with frothing or excessive suds. This might occur if the product is incorrectly diluted or if the detergent reservoir is too full. Flushing the system with clear water can help resolve this.
For stubborn dirt, pre-soak those areas before applying the foam. Letting the detergent sit for a few minutes can aid in breaking down grime. Avoid the temptation to scrub intensely; allow the formulation to work its magic.
If you notice a lack of shine after rinsing, this can be attributed to hard water deposits. Rinse your vehicle with purified or filtered water to achieve a streak-free finish.
Finally, maintain your equipment to prevent clogs or malfunctions caused by leftover residue. After cleaning, run clean water through the system to ensure all detergent is flushed out, maintaining optimal performance for future use.


