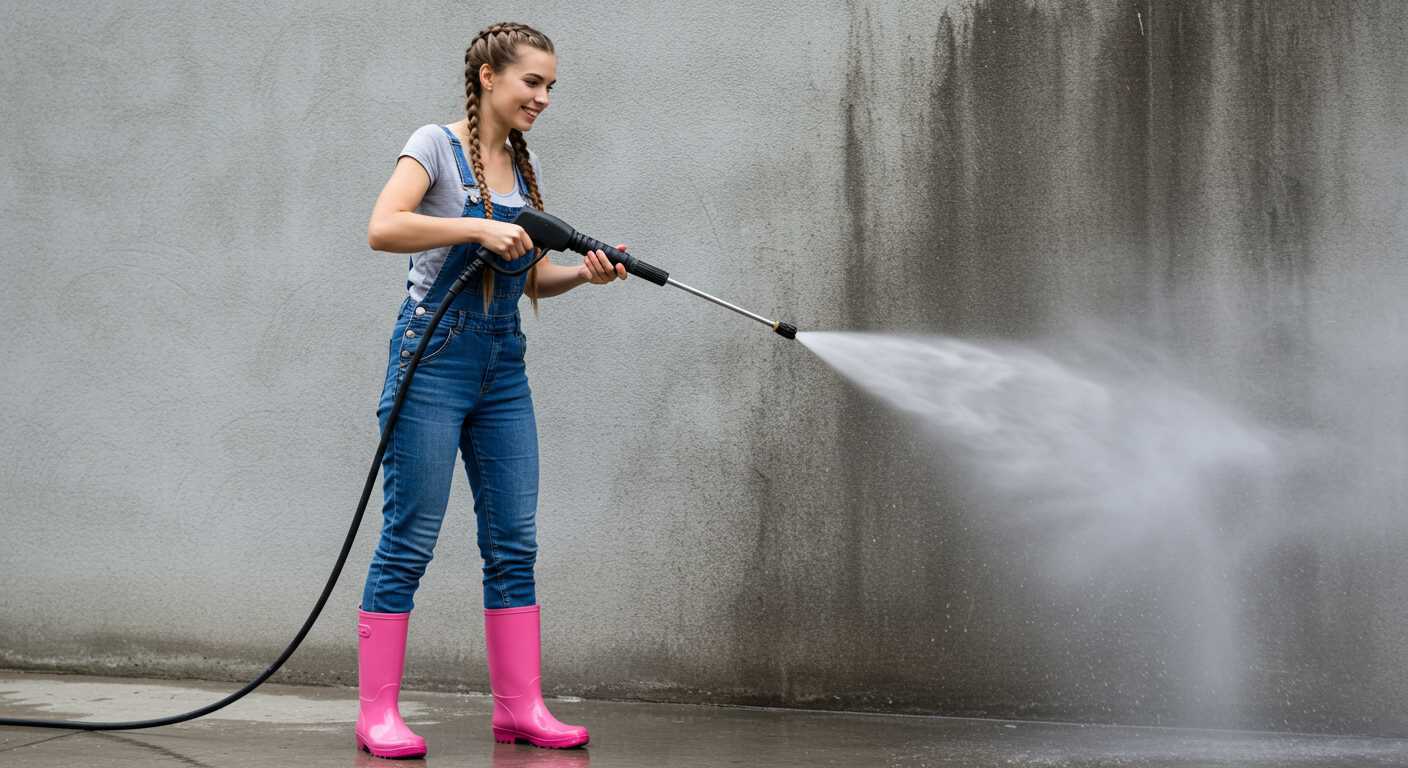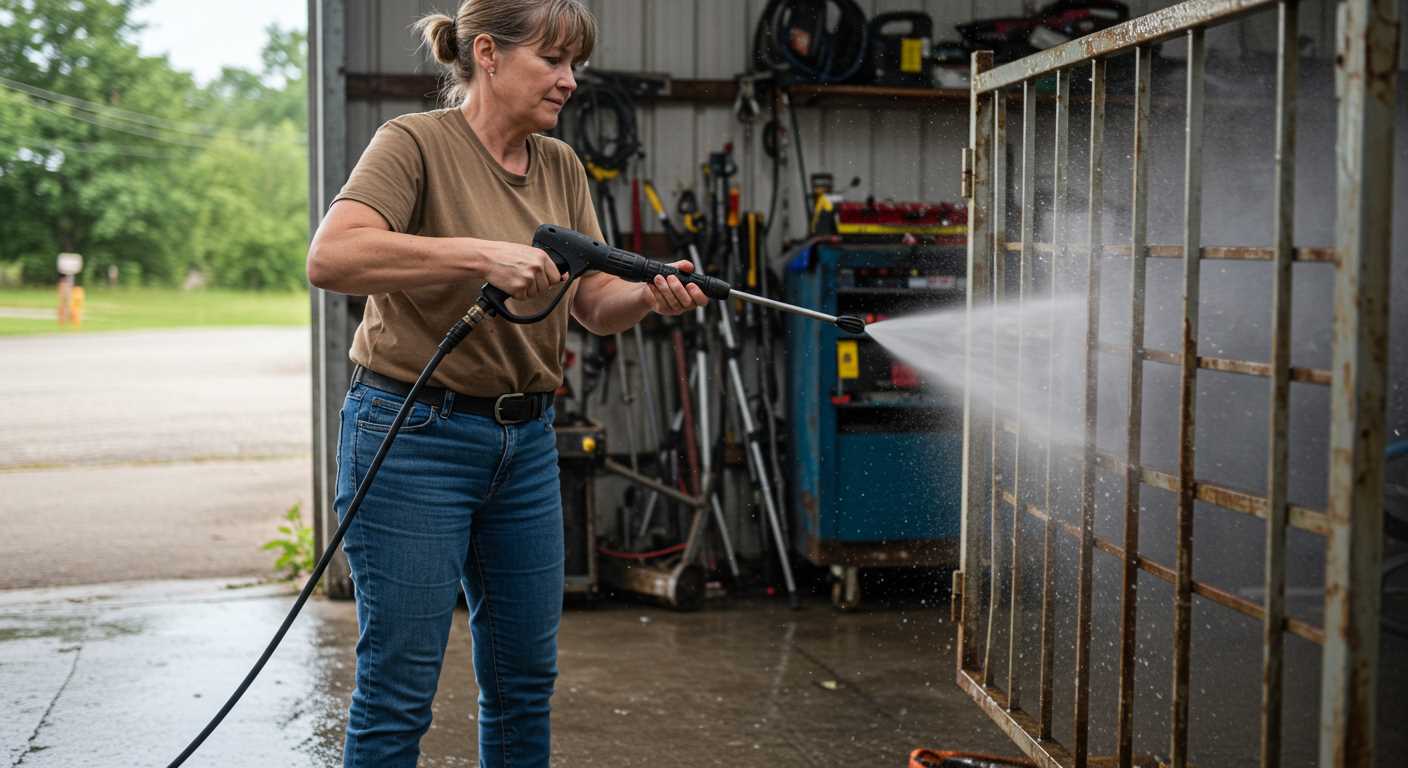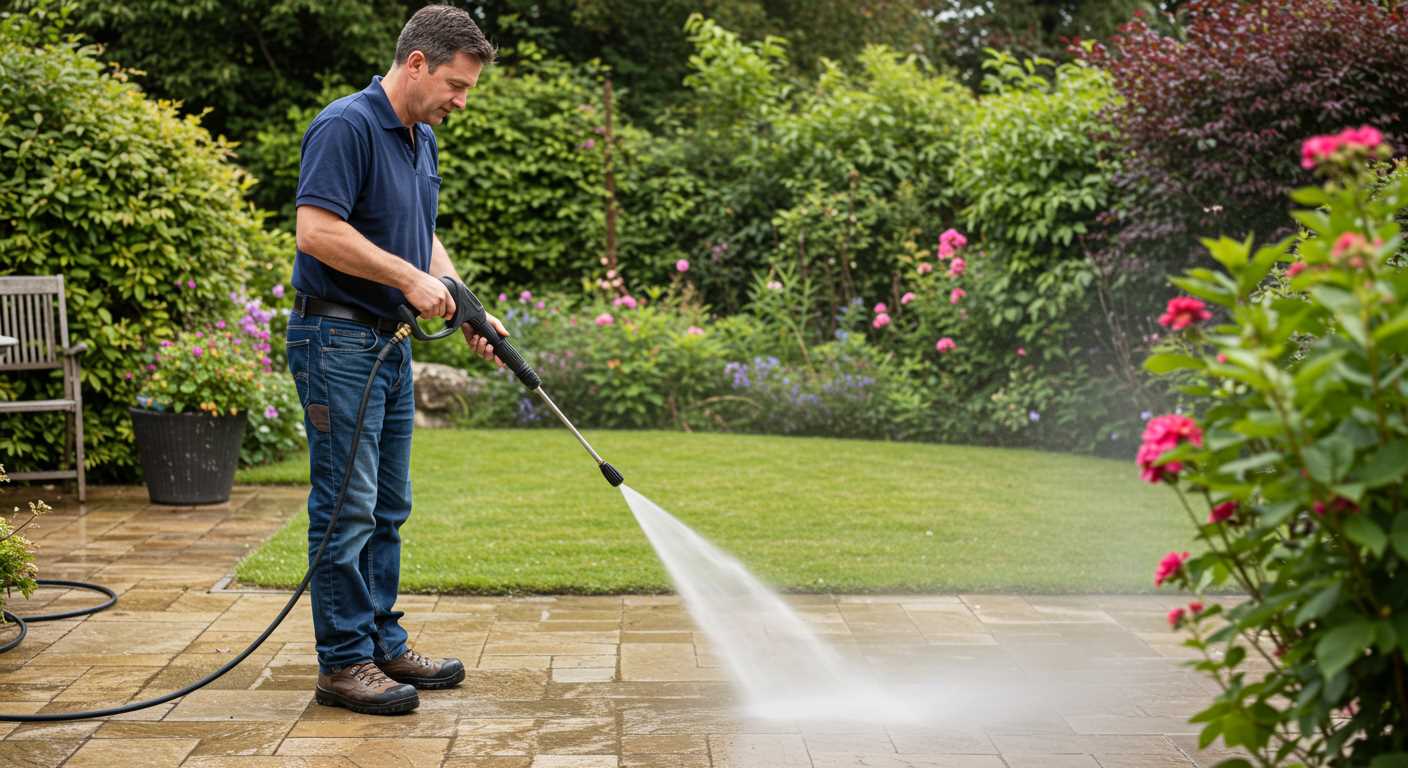


Always begin with a clean surface by rinsing it with water. This initial step helps remove loose dirt and debris, ensuring better foam coverage. Ensure the distance from the surface is about 1-2 metres; this aids in even distribution of the cleaning agent. A proper cleaning solution is essential–opt for a detergent specifically designed for the chosen machine. Avoid household detergents, as they may cause harm to the equipment and surfaces.
Once you have your equipment ready, fill the container of the applicator with the cleaning solution. For best results, dilute the detergent according to the manufacturer’s instructions. This prevents over-concentration, which can lead to difficulties in rinsing and might leave residues.
Apply the foam in a sweeping motion, starting from the top and working your way down. This strategy allows dirt and grime to flow downwards, making it easier to rinse off later. Allow the foam to dwell for a few minutes; this soaking time enhances the cleaning effectiveness. After the dwell time has passed, rinse thoroughly with clean water, again using a sweeping motion. A final rinse ensures no residues are left behind and reveals the clean surface underneath.
Using the Karcher Foam Applicator Attachment
First, ensure the device is connected to a suitable water supply and power source. Check the detergent reservoir; fill it with quality car shampoo or specific foam cleaning solution. Avoid using regular soap, as it may create excessive suds or leave residue.
Attach the foam applicator securely to the cleaning unit, making sure it fits snugly. Once connected, adjust the dial on the applicator for the desired foam thickness. A higher setting produces a richer foam, which is ideal for heavily soiled areas.
Begin applying foam from the bottom up to prevent streaks and ensure even coverage. Hold the trigger at a comfortable distance, approximately 0.5 to 1 metre from the surface, allowing the foam to cling effectively. Move in a sweeping motion, overlapping each pass to ensure complete coverage.
After applying, let the foam sit for a few minutes to penetrate grime. For tougher stains, a soft brush or sponge can be used to agitate the foam. Finally, rinse off using a low to medium pressure setting, starting from the top and working downwards, ensuring no residue remains.
Keep in mind to rinse the attachment after each use to prevent clogs and maintain performance. Store the unit in a dry, sheltered location to prolong its lifespan.
Selecting the Right Foam Spray Nozzle for Your Pressure Washer
For optimal performance, focus on compatibility with your cleaning machine’s specifications. Review the rated pressure and flow rate; ensure the attachment can handle these metrics without damage. Choose a model that matches the manufacturer’s guidelines to avoid inefficiencies.
The next factor is the nozzle size, typically defined by the width of the opening. A wider nozzle will produce more foam but may reduce pressure delivery, while a narrower nozzle increases pressure and decreases foam output. Balance these aspects according to the cleaning task at hand.
Consider the application of detergents. Some foam attachments are designed for specific cleaning agents, which can enhance effectiveness. Always select a nozzle compatible with your chosen detergent for optimal results.
Material quality plays a significant role in durability. Opt for nozzles made from high-grade plastics or metals to ensure longevity and resilience against wear and tear. Check user reviews for insights into durability and functionality in various conditions.
Taking all these factors into account, you can enhance the overall cleaning experience, achieving professional-level results at home. Select with care to maximise efficiency, performance, and longevity of both the attachment and the cleaning machine.
Preparing Your Equipment for Foam Application
Before applying cleaning solution with your device, ensure it is properly set up to achieve the best results. Start by securely connecting the water supply to the inlet hose. Ensure there are no leaks; any gaps can diminish performance. I recommend using a high-quality hose suitable for your machine’s specifications, as this prevents unnecessary wear.
Check the Detergent System
Inspect the detergent tank or attachment for any residue from previous applications. Clean it thoroughly, as leftover substances can interfere with the new solution. Fill the tank with the appropriate cleaning chemical, ensuring it’s compatible with your equipment. For optimal foaming, dilute the detergent as specified by the manufacturer. Adhering to these proportions is critical for effectiveness and safety.
Adjust the Pressure Settings

Adjust the pressure settings according to the specific task. For delicate surfaces, it’s advisable to lower the pressure to avoid damage. Familiarise yourself with the various levels your device offers; often, foam generation is best achieved at a lower pressure. Leveraging the adjustable settings leads to more efficient cleaning while preserving the integrity of surfaces.
Choosing the Correct Cleaning Solution

Select a formulation specifically designed for compatibility with your device and the surface you intend to clean. For automotive tasks, look for a pH-balanced product to avoid damage to paintwork. For home exteriors, detergents with degreasing agents effectively lift dirt and grime without harming surfaces.
Check the concentration of the solution; more concentrated detergents often require dilution. Always follow the manufacturer’s guidelines. If testing a new cleaner, conduct a small spot test on an inconspicuous area to ensure it doesn’t cause discolouration or surface damage.
Biodegradable options are preferable for environmentally conscious cleaning. Look for labels indicating eco-friendly formulas to minimise environmental impact. For heavy-duty jobs, such as removing mildew or oil stains, opt for a targeted cleaner with enzymes or surfactants designed to break down specific substances.
Have different solutions available based on your cleaning requirements. For regular maintenance, a mild detergent suffices, while tougher stains warrant stronger agents. This adaptability ensures you achieve optimal results without risking harm to your equipment or the surfaces.
Attaching the Foam Spray Nozzle Properly
Ensure the nozzle fits securely onto the end of the lance. Check the attachment by aligning the connector and twisting it until you hear a click or feel it lock into place. This guarantees a stable connection during operation.
Inspect the gaskets and seals for any wear or debris, which can cause leaks. Clean them if needed to maintain performance. It’s advantageous to periodically replace worn seals to avoid pressure loss.
When connecting, be mindful of the angle. Positioning the nozzle at the correct angle optimises the distribution of the cleaning agent. A slight downward tilt usually enhances coverage, especially on vertical surfaces.
After securing the attachment, run a brief test without the cleaning solution first. Assess that water flows through the nozzle correctly. Adjust or reattach if any irregularity appears. This ensures readiness for effective cleaning tasks.
Follow the manufacturer’s instructions accompanying your equipment for compatibility verification. Different models may have unique attachment requirements, and adhering to these guidelines maximises the tool’s efficiency.
Adjusting the Foam Spray Settings for Optimal Coverage
To achieve the best results, begin by setting the dial or switch that regulates the thickness of the solution. A thicker application clings better to vertical surfaces but may require more rinsing. For horizontal surfaces, a lighter mix allows for quicker application and runoff.
Tuning Pressure for Efficiency
Next, adjust the water pressure. Lowering the psi can enhance coverage by allowing the solution to saturate the surface more evenly. However, be cautious: too little pressure may reduce the cleaning efficacy. A balance usually resides around the mid-range setting.
Optimal Nozzle Angle and Distance
The angle at which you hold the applicator significantly impacts the coverage. For larger areas, a wider angle maximises dispersion. Maintain a distance of about 1 to 3 feet from the surface to ensure an even application without splattering. Experiment with this distance to fine-tune the spread as needed.
Applying Foam to Different Surfaces Safely
Always start by rinsing the surface with water before applying any cleaning solution. For painted surfaces, ensure the solution is compatible to prevent damage. Test the foam on a small, inconspicuous area first to confirm it does not react adversely.
For vehicles, maintain a distance of around 60–90 cm while applying the cleaning solution to avoid stripping wax or paint. Adjusting the application angle can help to distribute the solution evenly without causing harm.
When treating delicate surfaces like glass or polished wood, opt for a gentle cleaning solution and a light application setting. Rapid movement and a wider spray pattern will reduce the likelihood of scratches or etches forming.
For hard surfaces such as concrete or brick, ensure the foam thoroughly penetrates any grime or stains. Apply in a grid pattern to cover all areas uniformly. After the foam has sat as described in the manufacturer’s instructions, rinse thoroughly to prevent residue buildup.
| Surface Type | Recommended Distance | Solution Type | Application Tips |
|---|---|---|---|
| Painted Surfaces | 60–90 cm | Compatible Cleaning Solution | Test on inconspicuous area first. |
| Vehicles | 60–90 cm | pH-neutral Car Shampoo | Maintain angle to avoid damage. |
| Glass | 30–60 cm | Gentle Cleaning Solution | Apply in light layers to avoid scratches. |
| Concrete/Brick | 90 cm | Powerful Degreaser | Use a grid pattern for even coverage. |
During application, stay aware of surrounding plants and pets. Cover any foliage and ensure pets are secured away from the area to prevent contact with harmful chemicals. Always wear appropriate protective gear, such as gloves and goggles, to safeguard against splashes. Rinse surrounding areas thoroughly to minimise any potential impact on the environment.
Removing Foam After Cleaning: Best Practices
Always begin by rinsing surfaces with clean water before engaging any drying techniques. This prevents residue buildup and prepares the area for effective drying. Use clean, soft cloths or squeegees to eliminate excess liquid, ensuring you don’t scratch vulnerable surfaces like painted or polished finishes.
In outdoor scenarios, applying a gentle breeze through an air blower helps to remove lingering suds from hard-to-reach spots. For vehicles, consider using a dedicated detailing spray post-cleaning to enhance shine and provide a protective layer against contaminants.
When tackling larger areas such as driveways or patios, employ a surface cleaner attachment to increase efficiency. Move systematically to avoid leaving streaks or spots, focusing on one section at a time. After the initial pass, a secondary rinse can be beneficial to ensure all residues are cleared.
Lastly, monitor the drying process. If conditions are humid, utilizing fans can expedite evaporation. This approach not only aids in drying but also reduces the chances of water spots forming, ensuring surfaces remain immaculate.
Maintaining Your Foam Spray Nozzle for Longevity

Regular cleaning and maintenance are vital for maximizing the lifespan of your cleaning attachment. After each use, rinse the unit under running water to eliminate any residue. This prevents clogging and ensures proper functionality during your next application.
Routine Inspection
- Check for damage or wear, particularly in rubber seals and connections.
- Ensure that the jets are free from debris; use a pin or a small brush if needed.
- Inspect the attachment points for any signs of corrosion.
Proper Storage

- Store in a dry, temperature-controlled environment away from direct sunlight.
- Avoid coiling the hose too tightly to prevent kinks.
- Keep it out of reach of children and pets.
Following these steps will assist in keeping your cleaning attachment functioning well, allowing for optimal performance and longevity over time.


