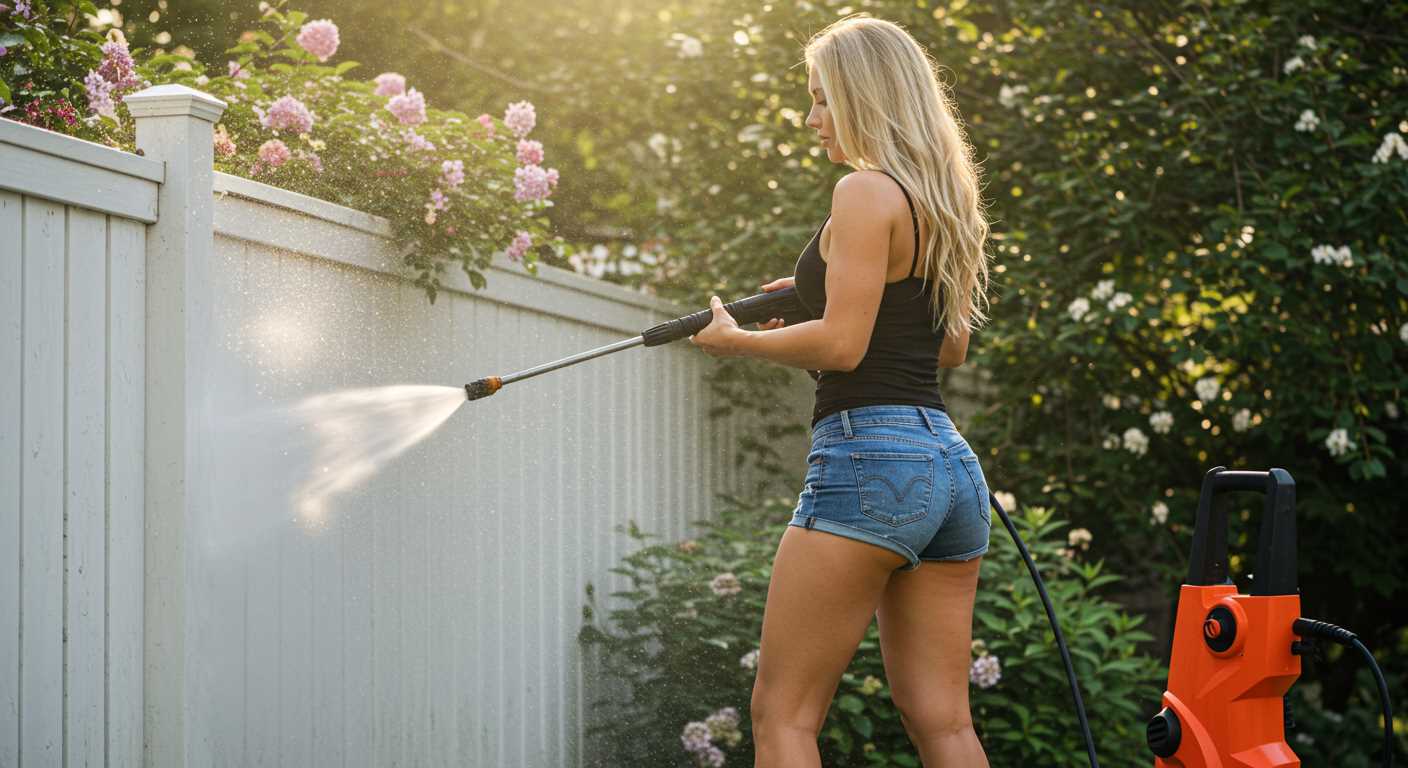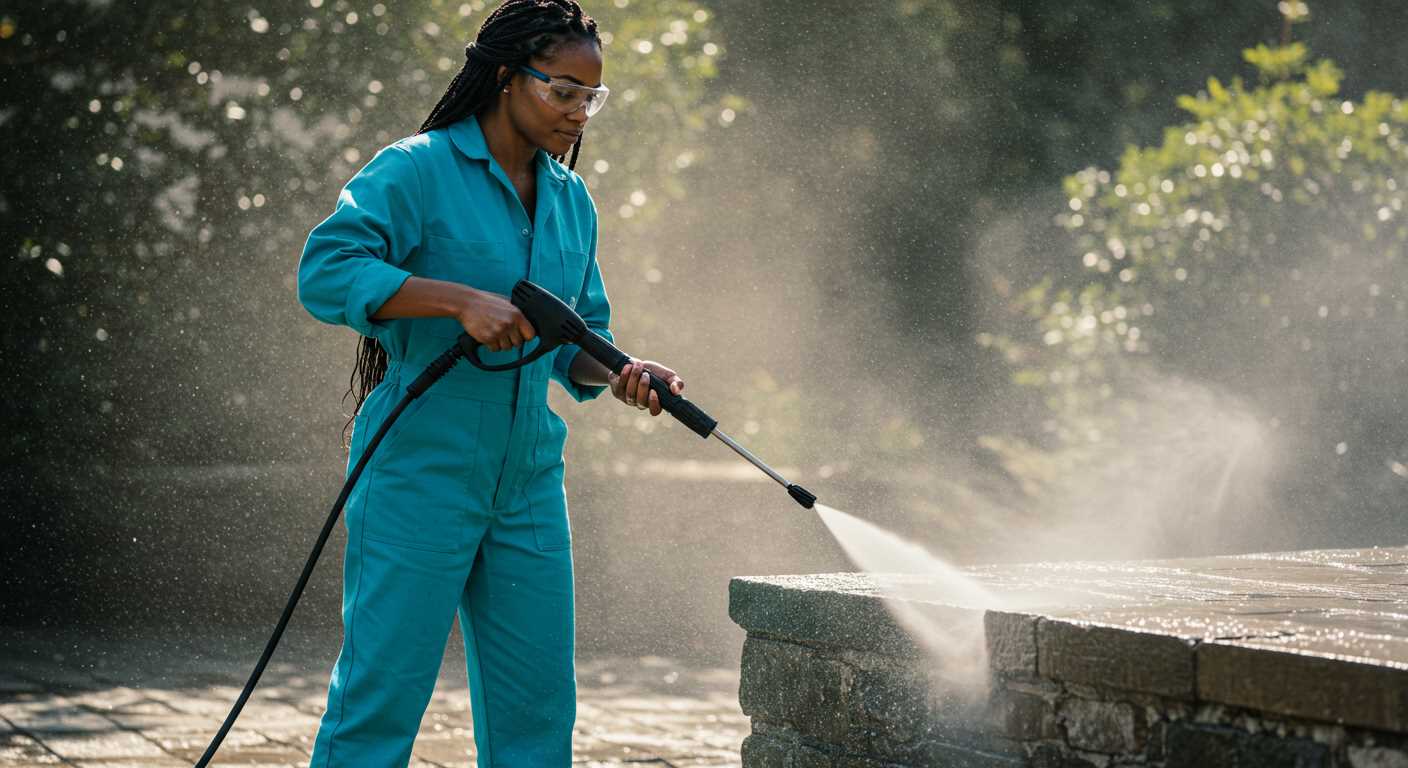


Before you begin, ensure you have the right attachment for your cleaning device. The patio cleaner attachment simplifies the process by providing an efficient and controlled cleaning method. Position the device on a flat surface and connect the desired nozzle, typically a flat spray or a turbo nozzle, for optimal performance.
Next, adjust the water pressure to suit the type of surface being treated. For most patios, a moderate setting works well to eliminate grime without causing damage. It’s wise to start from a distance, gradually moving closer as needed. This method protects the surface while ensuring thorough dirt removal.
Always keep the nozzle at a consistent height from the surface to achieve even results. A sweeping motion, similar to using a floor cleaner, is recommended to cover the entire area effectively. Make sure to overlap each pass slightly to prevent streaks and missed spots.
Lastly, after finishing, it’s essential to rinse the cleaned area with fresh water to remove any residue from the cleaning solution used. This step ensures that your patio shines and remains residue-free, ready for enjoyment.
Preparing Your Karcher Pressure Washer for Use

Ensure the equipment is on a stable, flat surface to avoid tipping while in operation. Connect the garden hose securely to the water inlet on the unit. Before starting, check the hose for any leaks or blockages that might impede water flow. Make sure the water supply is turned on fully to provide adequate pressure.
Attach the desired cleaning nozzle by twisting it securely onto the lance. It’s beneficial to select the nozzle that corresponds to the surface type for optimal cleaning results. Always refer to the user manual for specific recommendations on nozzle selection based on your intended cleaning task.
Fill the detergent tank if you’re planning to apply a cleaning solution. Choose a suitable cleaning agent designed for this type of equipment, ensuring it won’t damage the surfaces you intend to clean.
Before powering on, confirm that the safety lock mechanism is disengaged. Check the power cord for any damage and make sure it’s plugged into a grounded outlet. It’s advisable to stand behind the unit while engaging the trigger to avoid any sudden recoil from the hose. Start the machine only after these preparations are complete.
Run the unit briefly to eliminate any air in the system, which might cause inconsistent water flow. Once steady water flow is achieved, you’re ready to commence the cleaning process. Keeping these steps in mind enhances safety and effectiveness during operation.
Selecting the Right Patio Cleaner Attachment
For optimal results, opt for a rotating brush attachment designed for outdoor surfaces. This type offers increased cleaning power and efficiency, making it ideal for stubborn grime and dirt.
Consider the size of your outdoor area. A larger attachment can cover more space quickly, reducing your cleaning time. However, ensure it’s compatible with your device’s specifications.
Surface Compatibility
Check if the attachment is suitable for the material of your patio. For instance, certain models are better suited for delicate surfaces like natural stone, while others are more effective on concrete or brick.
Accessories and Features
.jpg)
Look for additional features such as adjustable pressure settings or interchangeable nozzles. These allow you to tailor the cleaning process according to the level of dirt and the type of surface, ensuring a thorough clean without damaging the material.
Always consult the manufacturer’s guidelines for any specific recommendations. This will help you make an informed choice and enhance the overall cleaning experience.
Setting Up Your Outdoor Area for Cleaning
Ensure that the space around your cleaning area is clear of furniture, potted plants, and other obstacles. Create a minimum distance of 2 meters from any surfaces that shouldn’t get wet, such as outdoor electrical outlets and delicate vegetation.
Assess the ground surface; if it has loose debris, such as leaves or stones, sweep or rake it away before the process. This action prevents any stray particles from causing scratches or additional stains while you’re working. If any large stains are visible, pre-treatment with a suitable solution can aid in their removal.
Water Supply Considerations
.jpg)
Check your water source for suitable pressure and temperature. Clear hoses of any debris or kinks, ensuring a smooth flow for your device. It’s beneficial to fill a bucket with water for quick rinsing between passes during cleaning.
Safety Precautions
Equip yourself with protective eyewear and waterproof footwear before starting. This gear will prevent any water splashes or debris from causing harm. Installing a non-slip mat beneath your feet can offer additional stability during the cleaning routine.
Adjusting Pressure Settings for Different Surfaces

For optimal cleaning results, it’s vital to tailor the water intensity according to the surface type. For delicate materials like wood decking, a lower setting around 1200 to 1500 PSI is advisable. This prevents damage while effectively removing grime.
When tackling patios made from concrete or stone, increase the pressure to approximately 2000 to 2500 PSI. This level efficiently deals with tough stains and embedded dirt, ensuring thorough cleansing without leaving residue.
For surfaces such as brick, use a moderate setting of around 1500 to 2000 PSI. This strikes a balance between strength and safety, allowing for effective dirt removal while protecting the brick’s integrity.
For surfaces like vinyl siding, I recommend starting at 1300 to 1600 PSI. This pressure is sufficient to clear dirt and mildew without risking any damage to the siding. Always maintain a distance of at least 2 feet to ensure an even clean.
Lastly, remember that using the right nozzle is crucial. A wider spray pattern, such as 25 or 40 degrees, disperses water over a larger area and reduces potential surface damage, particularly on softer materials.
Adjusting settings based on surface type not only enhances the cleaning process but also prolongs the lifespan of your outdoor areas. Keep an eye on the surface condition and modify the pressure as needed for the best outcomes.
Applying the Cleaning Solution: Tips and Techniques
Prior to introducing your cleaning agent, ensure optimal dilution according to the manufacturer’s instructions. An overly concentrated solution could lead to residue, while a diluted mix may not yield the desired effectiveness.
Here are effective methods to apply the cleaning solution:
- Spray Application: Attach the appropriate nozzle to your equipment and apply the solution evenly across the surface. Maintain a distance of about 30 cm to ensure proper coverage without over-saturating.
- Brush Method: For stubborn stains, use a soft-bristle brush to work the solution into the surface. This technique enhances cleaning efficiency, especially in textured areas.
- Rest Time: Allow the cleaning agent to sit for 5 to 10 minutes. This dwell time enables the solution to penetrate and break down grime effectively.
- Observing Conditions: Choose a cooler time of day to apply the cleaner. Avoid direct sunlight, as heat can cause rapid evaporation, hindering the solution’s performance.
After applying the cleaning solution, ensure to rinse the area thoroughly to remove any remaining product. A successful rinse will prevent streaks and residues, leaving surfaces clean and fresh.
Always wear appropriate protective gear during the application to safeguard against skin contact or inhalation of chemicals. Ensuring safety is paramount for a successful cleaning experience.
Executing the Cleaning Process with the Patio Cleaner
Begin the cleaning process by positioning the attachment flat against the surface you intend to treat. Ensure it is steady and properly aligned to avoid missing spots.
Technique for Effective Cleaning
Follow these steps for optimal results:
- Activate the machine and allow it to reach full pressure before moving the attachment.
- Utilise a slow, overlapping motion to cover the area uniformly. This technique ensures that the cleaning solution penetrates effectively.
- For stubborn stains, pause briefly over affected spots to loosen grime. Adjust your speed based on the condition of the surface, applying more time to heavily soiled areas.
Adjusting Angles for Different Areas
Direct the cleaner at a slightly inclined angle. This approach allows debris to be swiftly removed while preventing water from seeping beneath surfaces.
Keep an eye on your surroundings to avoid splashing water on adjacent areas or items. It’s advisable to manage the flow and direction of the spray consciously. Regularly check for any missed spots during the cleaning process, and go over them as necessary.
After completing the cleaning session, detach the equipment and thoroughly rinse the area with clean water to eliminate any residual cleaning solution. This step enhances the overall finish and prepares the surface for immediate use.
Post-Cleaning Maintenance of the Patio Cleaner
After tackling the outdoor area, take a moment to clean the tool thoroughly. Begin by rinsing off any residue from the cleaning solution and debris. Use warm water and a soft cloth or sponge to wipe down the surface, ensuring no product is left that could corrode components over time.
Inspect the attachment for any signs of wear or damage. If you notice any cracks or deformities, it’s wise to replace it to maintain optimal performance. Ensure the nozzles are clean; if they’re clogged, use a small needle or a brush to clear them. A blocked nozzle can drastically reduce effectiveness during future cleanings.
Once you’ve cleaned and inspected, store the attachment in a dry and sheltered location. Avoid areas where temperature fluctuations could cause issues. I recommend wrapping the hose carefully to prevent kinks and securing it with a strap; this helps prolong its lifespan.
Periodically check the attachment for any build-up or dirt, even during off-usage. A quick rinse every now and then can preemptively tackle problems before your next session.
Finally, consider keeping a record of your cleaning sessions. Noting the frequency and any issues faced helps in planning maintenance and purchasing new attachments when needed. This little habit saves time and ensures the equipment remains in top condition.
Safety Precautions During the Cleaning Process
Always wear protective gear, including safety goggles and gloves. This prevents injury from debris and chemicals while you work.
Electrocution Risks
Keep the device away from conductive surfaces and avoid using it during rain or wet conditions. Ensure all connections are secure and free from damage to mitigate electrocution hazards.
Handling Chemicals
When dealing with detergents or cleaning agents, read the labels for specific safety instructions. Store these substances out of reach of children and pets and use in well-ventilated spaces.
| Safety Equipment | Purpose |
|---|---|
| Safety Goggles | Protect eyes from chemicals and flying debris. |
| Gloves | Prevent skin contact with harmful substances. |
| Non-slip Footwear | Ensure stability on wet surfaces. |
Maintain a safe distance from electrical outlets and cables while operating the equipment to eliminate the risk of accidental damage or electric shock. Always check the area for obstacles or hazards that may interfere with the cleaning process.
Lastly, ensure children and pets are at a safe distance throughout your cleaning session. Safety first to prevent accidents and ensure a smooth experience.


