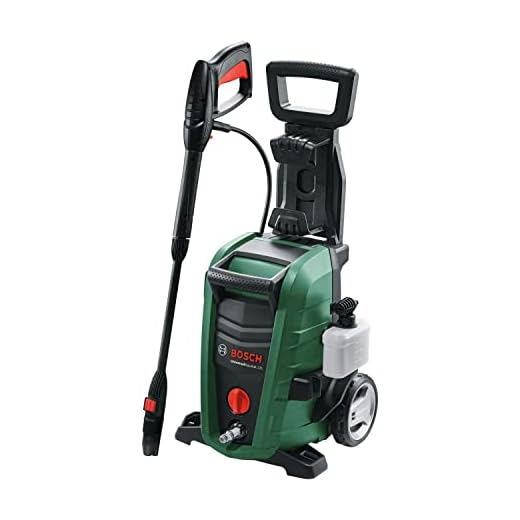


For optimal results, ensure you’re using a dedicated foaming agent compatible with your machine. This type of cleaning solution effectively adheres to surfaces, breaking down grime and grease without damaging delicate finishes.
Fill the detergent tank with the specified cleaning agent, ensuring you don’t exceed the maximum capacity. Attach the appropriate nozzle for foam application. I suggest a wide spray pattern to cover larger areas, gradually narrowing the stream for detailed spots.
Start by applying the foam from the bottom to the top. This prevents dirt from running down onto clean areas. Let the detergent sit for a few minutes to activate; however, don’t allow it to dry completely, as this can lead to streaks.
After the dwell time, rinse off with clear water using a suitable pressure setting to remove any remaining residue. Adjust the nozzle as necessary to achieve a thorough rinse, ensuring all surfaces are clean and soap-free.
Application of Detergent in High-Pressure Cleaning Equipment
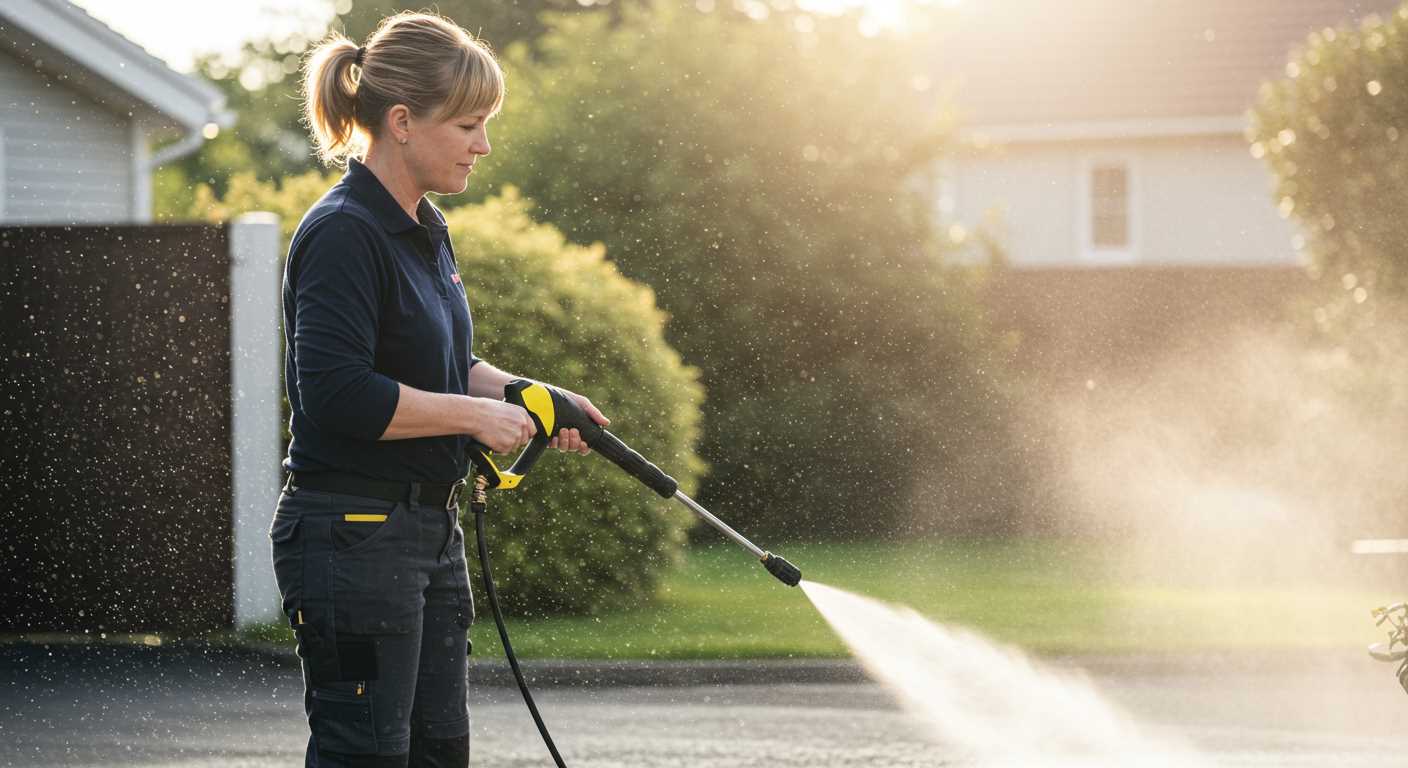
To effectively incorporate detergent into your high-pressure cleaning equipment, ensure you attach the appropriate foam nozzle. This nozzle is designed to mix soap and water in the ideal proportions for optimal cleaning results.
Begin by filling the soap container (if available) with a suitable cleaning solution diluted as per the manufacturer’s instructions. If your unit does not have a dedicated container, consider using a separate detergent applicator.
Once the mixture is prepared, turn on the device and switch to a low-pressure setting. This allows for a gentle application of the foam onto surfaces that require cleaning. Maintain a distance of around 30-40 cm from the surface to avoid damage.
Apply the foam uniformly across the targeted area, allowing it to dwell for a few minutes. This step ensures the cleaning solution penetrates deeply, breaking down grime and stains effectively.
After the dwell time, switch back to a high-pressure mode. Carefully rinse the surface, ensuring all detergent residue is removed. Pay attention to ensuring a consistent sweeping motion to avoid streaks.
Thoroughly clean the foam nozzle after each use to prevent blockage. Following these steps guarantees a cleaner finish and extends the life of the high-pressure cleaning equipment.
Selecting the Right Soap for Your Karcher Pressure Washer
Choosing the right detergent is critical for optimal cleaning results. Compatible cleaning solutions should be specially formulated for high-pressure equipment, ensuring safe operation and effective performance. I recommend selecting detergents that are biodegradable and non-toxic, as they are not only environmentally friendly but also gentle on surfaces.
Types of Detergents
Consider these common types:
| Type | Description |
|---|---|
| Car Wash Soap | Designed specifically for automotive surfaces, removes dirt and grime without damaging paint. |
| All-Purpose Cleaner | Versatile option, useful for various surfaces including concrete, brick, and wood. |
| Deck and Patio Cleaner | Targeted formulation for outdoor surfaces, effectively combats mould and mildew. |
| House Wash | Ideal for exterior walls; gently cleans without harsh chemicals, preventing damage to finishes. |
Brand Considerations
Look for reputable brands that specifically cater to high-pressure applications. Products such as Kärcher’s own line of detergents often deliver reliable results. Always read labels for compatibility and intended use to avoid damaging your equipment or the surfaces being cleaned.
Clearly, selecting an appropriate cleaning solution greatly enhances overall efficiency and efficacy while safeguarding both the environment and your equipment’s longevity.
Preparing Your Equipment for Soap Application
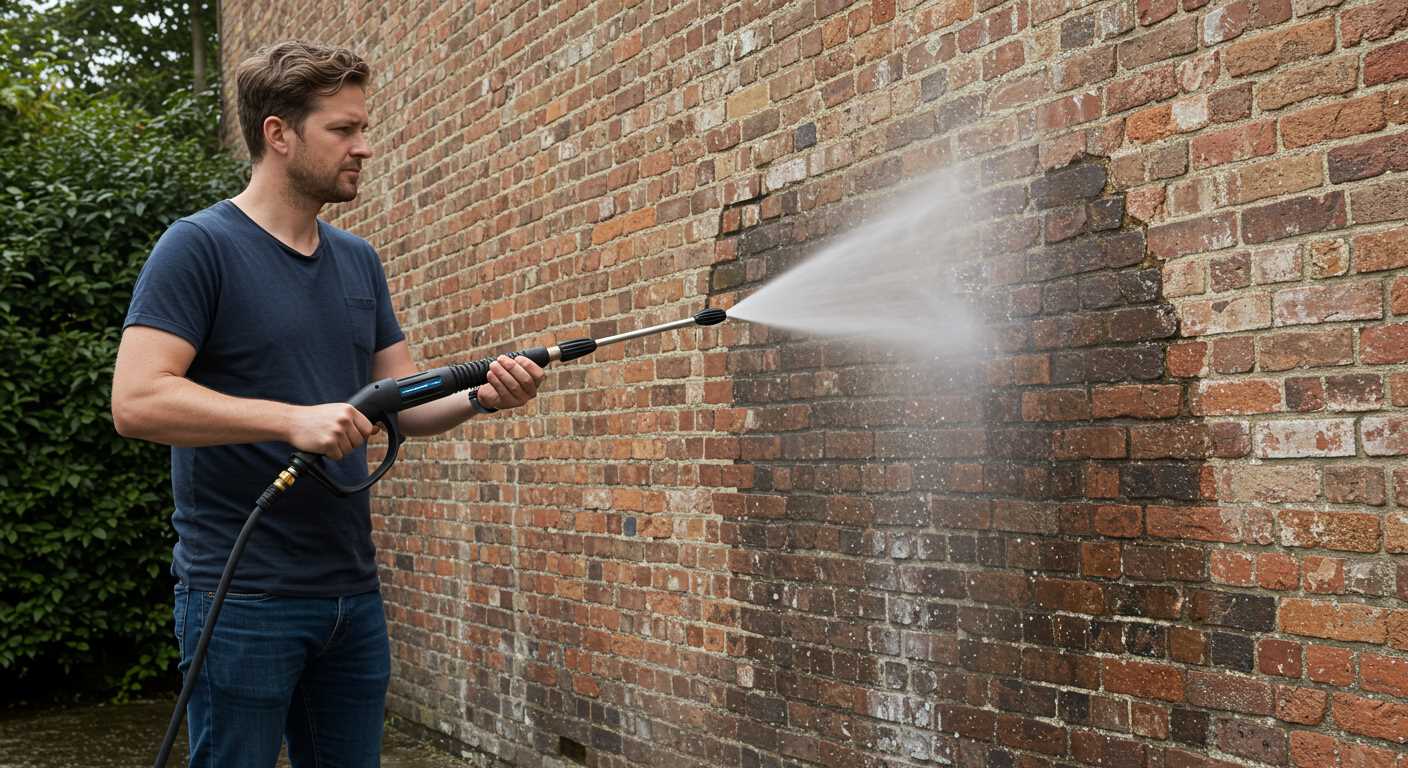
Ensure your machine is off and unplugged before beginning any setup. This promotes safety during the process.
Gather Necessary Components
- Soap attachment or tank specific for foaming agents.
- Desired cleaning solution suitable for your device.
- Compatible nozzle; typically, a wider setting (25° to 40°) is ideal for soap application.
Setup Guidelines
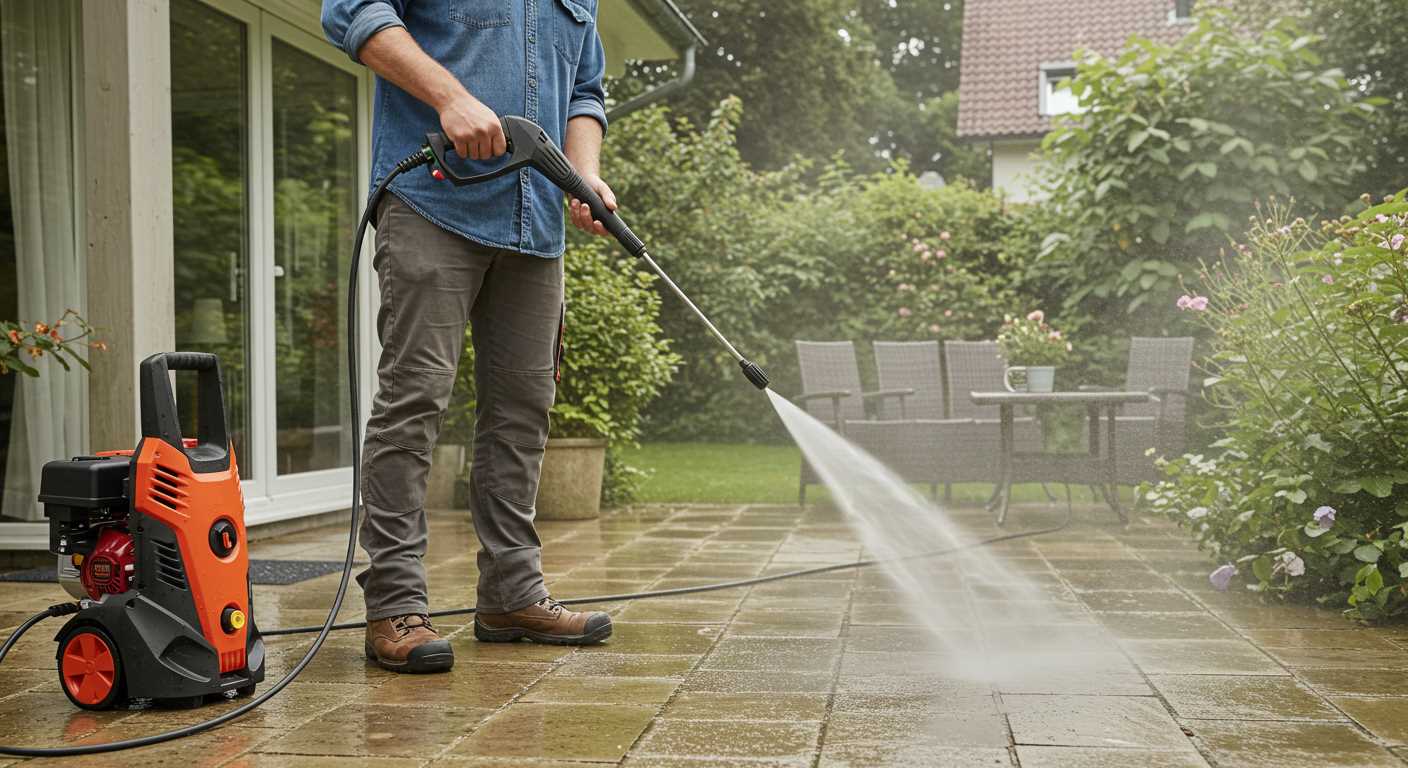
- Locate the soap reservoir or attachment on your device.
- If your model supports it, fill the soap compartment with the chosen cleaning solution, adhering to the manufacturer’s dilution instructions.
- Securely attach the soap nozzle if your device utilises one; this optimises dispersion of the cleaning agent.
- Check all connections and hoses for any leaks or damage before activating.
- Turn on the equipment and adjust settings to the lowest pressure for an even application of suds.
After ensuring everything is set up correctly, you are now ready to commence the cleaning process efficiently and effectively.
Mixing soap with water: Ideal ratios for optimal results
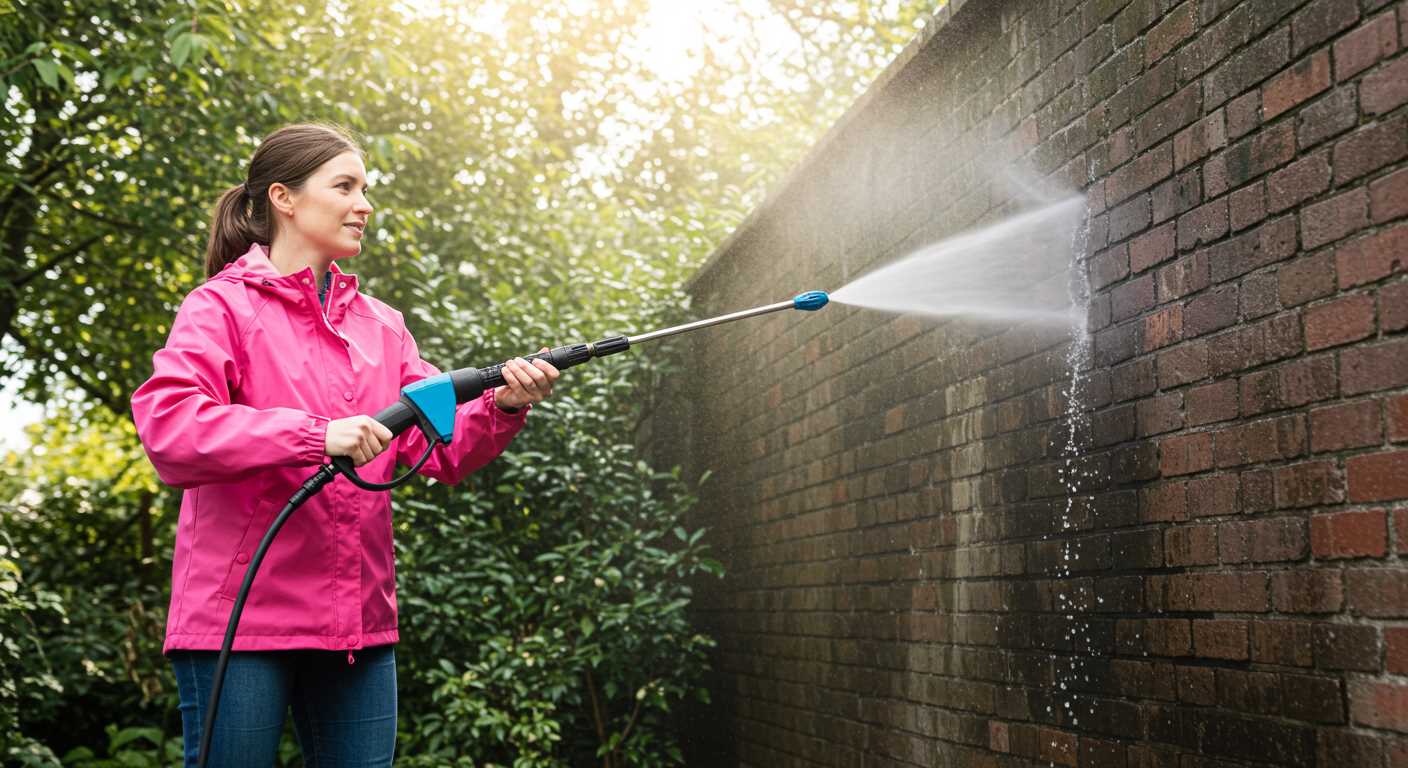
I recommend using a dilution ratio of 1 part detergent to 5 parts water for a general cleaning solution. This mix effectively penetrates grime and stains without being overly foamy, which can hinder performance.
For tougher stains, a ratio of 1:4 may yield better outcomes. This stronger mixture allows for deeper cleaning while still ensuring the system operates efficiently.
Ensure that the soap is compatible with the equipment; some formulations require additional dilution. Always follow the manufacturer’s guidelines regarding specific products and their recommended mixing ratios.
To achieve the best results, mix the solution in a separate container before adding it to the detergent compartment. This method enhances distribution and effectiveness.
Regular maintenance checks on the dilution system help prevent blockages, ensuring a steady flow of solution during application. By using the correct ratios, you’ll maximise cleaning efficiency while protecting your equipment.
Applying soap using the detergent nozzle attachment
Begin by attaching the dedicated detergent nozzle to the lance. This specific nozzle is designed to create a low-pressure spray, essential for applying cleaning agents effectively. Ensure it is securely connected to avoid any leaks during operation.
Next, fill the detergent tank with the appropriate cleaning solution. It’s crucial not to exceed the recommended fill line to maintain optimal performance. Once the tank is ready, set the machine to the soap application mode, which may vary by model.
Stand at a distance of about 0.5 to 1 metre from the surface being treated. Direct the nozzle towards the area, applying the detergent in a sweeping motion. Ensure even coverage, allowing the solution to penetrate any grime or debris. For tougher stains, let the detergent dwell for a few minutes before rinsing.
After the dwell time, switch back to the regular nozzle or rinse setting to thoroughly remove the detergent along with any loosened dirt. This two-step process enhances cleaning efficiency and leaves surfaces looking immaculate.
Regular maintenance of the detergent nozzle is recommended. After each use, rinse it thoroughly under clean water to prevent clogs, ensuring longevity and reliable performance over time.
Techniques for rinsing off soap without damaging surfaces
For optimal results in rinsing off detergent, it’s vital to adjust the nozzle’s pressure settings before commencing the process. Begin with a low-pressure setting to avoid any potential harm to delicate surfaces.
Steps for safe rinsing
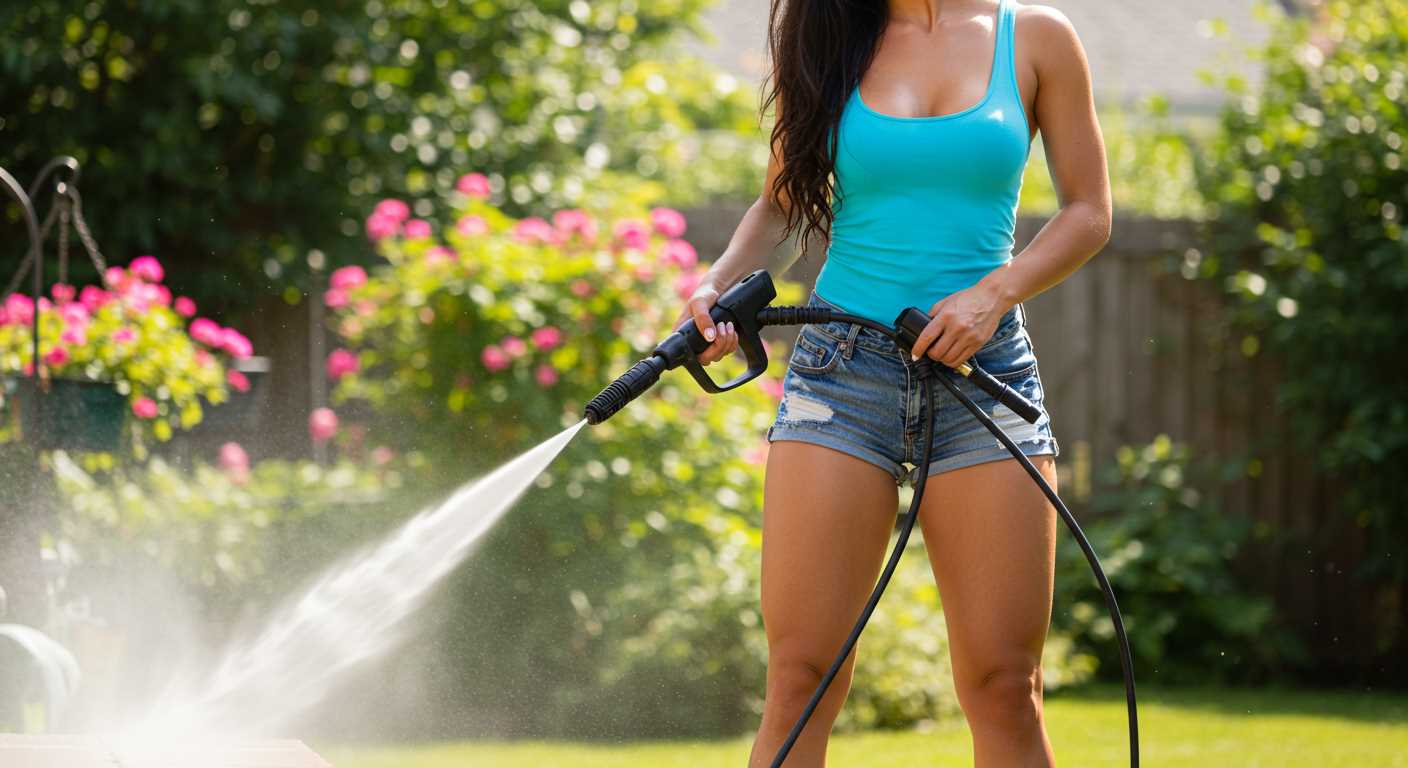
- Start distance: Maintain a distance of approximately 2-3 feet from the surface to prevent damage.
- Technique: Use a sweeping motion to cover the entire area, ensuring an even distribution of water without staying too long on one spot.
- Rinse from the bottom up: This helps prevent dirt from being redeposited onto the cleaned surface.
- Watch for runoff: Be mindful of soap pooling in low spots. Direct the flow towards a drain or a more absorbent area.
Specific surface considerations
- Painted surfaces: Work with a wide spray pattern and avoid prolonged exposure to high pressure.
- Glass: Use a lower pressure to prevent shattering. Consider an angled approach to direct water flow.
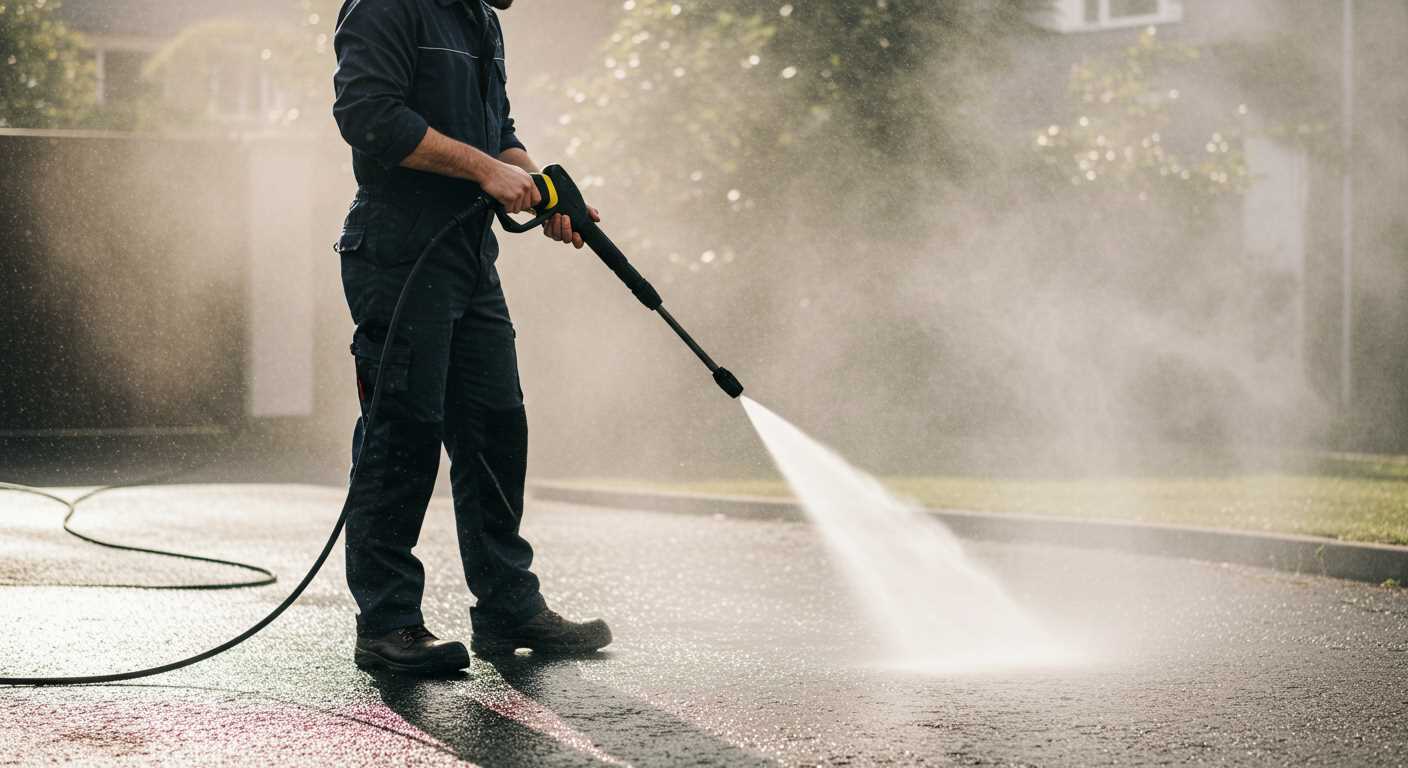
- Brick and stone: High-pressure settings can erode mortar. Opt for a fan spray with moderate pressure.
- Wood: Use a gentle touch with a low-pressure setting to prevent splintering or stripping.
After rinsing, inspect the surface thoroughly to ensure all detergent residues have been removed. This can be done by feeling the surface with your hand as well as looking for any shiny areas that may indicate a soap film.
Utilising these techniques guarantees efficient rinsing while safeguarding surfaces from potential damage. Establishing a routine for rinsing can enhance both the longevity of surfaces and the effectiveness of cleaning processes.
Maintaining Your Equipment After Applying Detergent
After completing the cleaning task using detergent, it’s crucial to address the maintenance of your machine immediately. Firstly, empty the detergent tank thoroughly. Rinse it out with clean water to prevent any residue from clogging the pipes or affecting future use.
Next, connect a clean water source to the machine and run it for a few minutes. This step clears any leftover detergent from the internal system, ensuring that it won’t interfere with upcoming sessions. Switch to a wider nozzle to reduce pressure during this rinsing phase, allowing the water to flow through the components easily.
Inspect all attachments and accessories for any soap build-up. Clean these parts with warm, soapy water, rinsing them well afterwards. Pay special attention to the filter and the spray gun, as soap can obstruct their function if not properly cleaned.
Finally, store the equipment in a safe, dry location. Protecting it from moisture and extreme temperatures will prolong its lifespan, helping to maintain the integrity of the seals and hoses. A quick clean-up post-application ensures optimal performance for the next project.
FAQ:
How do I set up my Karcher pressure washer for using soap?
To set up your Karcher pressure washer for using soap, begin by ensuring you have the correct detergent suitable for pressure washers. Most Karcher models come with a detergent tank or a foam nozzle. If your model has a tank, fill it with the soap, making sure not to exceed the maximum fill line. If your model uses a foam nozzle, attach it to the lance and pour the soap into the container. Connect your pressure washer to a water source and plug it in. It’s advisable to adjust the nozzle to the correct setting for foam application. Check the manual for specific instructions related to your model.
What type of soap should I use with my Karcher pressure washer?
When selecting soap for your Karcher pressure washer, it’s important to choose a detergent that is specifically designed for use with high-pressure machines. Karcher offers a range of detergents tailored for various cleaning tasks, including car wash, patio cleaner, and multi-purpose solutions. Avoid using regular household cleaning products, as they can damage your pressure washer or the surfaces you are cleaning. Always check the label for compatibility before use to ensure the best results.
How do I apply soap using my Karcher pressure washer?
To apply soap using your Karcher pressure washer, first ensure it is properly set up with the detergent in the tank or the foam nozzle attached. Start the machine and adjust the spray nozzle to the soap setting. Hold the trigger to begin applying the soap to the surface you wish to clean. It’s best to work in sections, applying the soap evenly and allowing it to sit for several minutes to loosen dirt. Afterward, rinse off the soap with clean water using the pressure washer on a higher setting.
Can I use the soap setting on my Karcher pressure washer for all surfaces?
While the soap setting on your Karcher pressure washer is effective for many surfaces, it’s important to exercise caution. Soft surfaces like wood or delicate materials may be damaged by high pressure or harsh detergents. Always refer to the manufacturer’s guidelines for the surfaces you plan to clean. For sensitive items, consider testing a small area first to ensure there is no adverse reaction to the soap or pressure applied.


