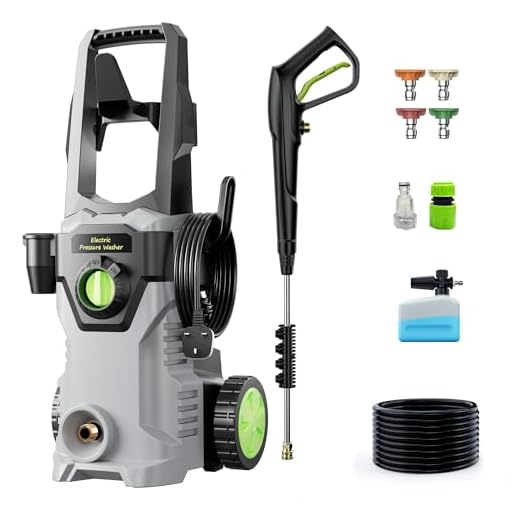


Begin with assembling the unit, ensuring that all connections are secure. Pay close attention to the hose attachment, as a proper fit will prevent leaks during operation. The right nozzle selection is paramount; the fan spray is ideal for broader surfaces while the pinpoint setting is best for tough stains. Start with the lowest pressure setting and adjust as needed, which protects surfaces from potential damage.
Before powering up, gather all necessary supplies including a suitable detergent if required. Pre-soaking heavily soiled areas for a few minutes can break down grime, making your cleaning task easier. Always maintain a distance of around 30 centimetres from the surface when applying the spray to avoid etching or harm.
During the cleaning process, move the wand in a consistent motion, overlapping each pass slightly. This technique ensures even coverage and prevents streaks. Once finished, rinse the area thoroughly to remove any soap residue, and make certain the equipment is turned off and stored properly, which prolongs its lifespan.
Utilising Parkside Cleaning Equipment

Ensure the nozzle is correctly attached before starting. Choose an appropriate tip for your task; a wider spray is ideal for large surfaces, while a narrow stream tackles stubborn grime effectively.
Before filling the tank, check the detergent compatibility; using the wrong type can damage components. Mix the cleaning solution as per the manufacturer’s specifications if available.
Connect the water supply securely and switch on the flow before powering up the unit. This prevents airlock and helps in ensuring optimal operation right from the start.
Maintain a safe distance from the surface being cleaned, usually around 30 cm. Adjust the angle of the nozzle; this technique maximizes cleaning without damaging delicate areas.
After completing your task, turn off the device and disconnect the water supply. Run the motor briefly to clear any remaining water from the system.
Periodically check and clean filters to maintain performance; clogged filters can lead to reduced efficiency over time. Thoroughly rinse the unit after using detergents to prevent any build-up.
Store the equipment in a dry, protected environment. Coiling the hose properly helps avoid kinks, ensuring longevity and readiness for future tasks.
Selecting the Right Nozzle for Your Task
For specific cleaning requirements, choosing the correct nozzle can significantly enhance your results. Begin with a zero-degree nozzle for targeted spots, like stubborn graffiti on concrete. This narrow spray delivers the highest pressure, making it effective for difficult tasks.
For broader areas such as driveways or decks, switch to a 25-degree nozzle. Its wider spray pattern covers more surface area, allowing you to clean efficiently without wasting time. This option balances power and coverage, ideal for most outdoor cleaning needs.
The 40-degree nozzle is suitable for delicate surfaces like vehicles or painted wood. This gentle spray prevents damage while effectively removing dirt. It’s important to remember that lower pressure is key here, so avoid high-intensity settings.
Adjustable nozzles offer versatility, allowing you to modify the spray pattern without changing attachments. This is convenient for varying tasks ranging from heavy-duty cleaning to maintenance of more sensitive objects.
Finally, consider using soap nozzles for applying cleaning agents. These typically have a lower-pressure setting to mix soap effectively while preventing overspray. This nozzle is perfect for pre-soaking surfaces before a thorough rinse.
Always refer to the manufacturer’s guidelines to ensure compatibility between the nozzle and the equipment. This will enhance performance and longevity, allowing you to achieve the best results.
Connecting the Pressure Cleaner to Water Supply
Attach the garden hose securely to the water inlet on the unit. Ensure the connection is tight to prevent leaks. If required, use a hose washer to enhance the seal. The hose should be at least 7.5 metres long and rated for a high flow rate to optimise performance.
Water Source Considerations
Use a tap that provides adequate water pressure; this is typically between 1-10 bar. If the water flow seems insufficient, consider checking for blockages in the hose or the tap itself. Avoid connecting to a water source that may be contaminated, as this can damage the equipment.
System Preparation
Before activating the equipment, open the water supply to fill the hose and expel any air trapped in the system. This step is crucial for achieving optimal operation and ensuring that the equipment runs smoothly. Once you observe a steady flow of water, proceed with your cleaning tasks.
Setting Up Power and Safety Features
Ensure the unit is positioned on a stable, flat surface before powering it on. This helps prevent accidents and ensures optimal performance. Confirm that the electrical connection matches the specifications in the user manual to avoid any risk of malfunction.
Power Connection
- Utilise a power outlet that meets the voltage requirement specified in the documentation.
- Avoid using extension cables, as they can reduce performance. If necessary, select a high-quality, heavy-duty extension cable of appropriate length.
- Check for any frayed wires or damages before plugging in the machine.
Safety Mechanisms
Activate all safety features before proceeding with any task:
- Engage the safety lock on the trigger to prevent unintended activation. It is a simple but significant precaution.
- Familiarise yourself with the emergency stop button’s location. Test the feature to ensure it responds correctly.
- Wear appropriate protective gear, including gloves and safety goggles, to shield yourself from debris and high-pressure water.
Verify the stability of all connections before starting. A thorough inspection can prevent accidents arising from loose attachments. Regularly inspect hoses for kinks or leaks to maintain an efficient workflow.
Operating the Pressure Cleaner for Different Surfaces
For various surfaces, selecting the correct technique and adjusting pressure is key. Below are tailored approaches for common materials:
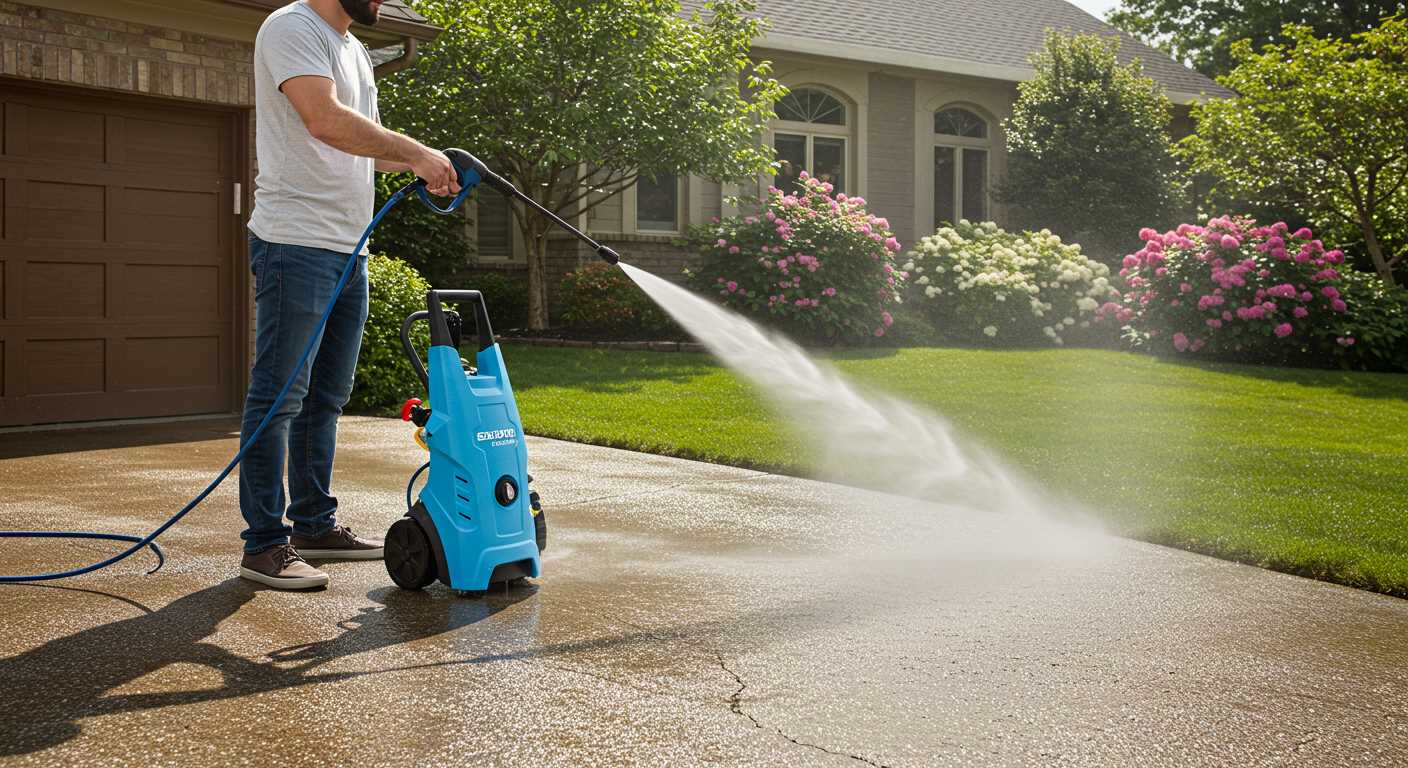
Concrete and Brick
- Utilise a high-pressure setting, around 2000-3000 PSI, to effectively remove tough stains.
- Maintain a distance of about 12-18 inches while keeping the nozzle at a consistent angle of 45 degrees.
- Use a wide spray pattern, such as a 25-degree nozzle, to cover larger areas quickly.
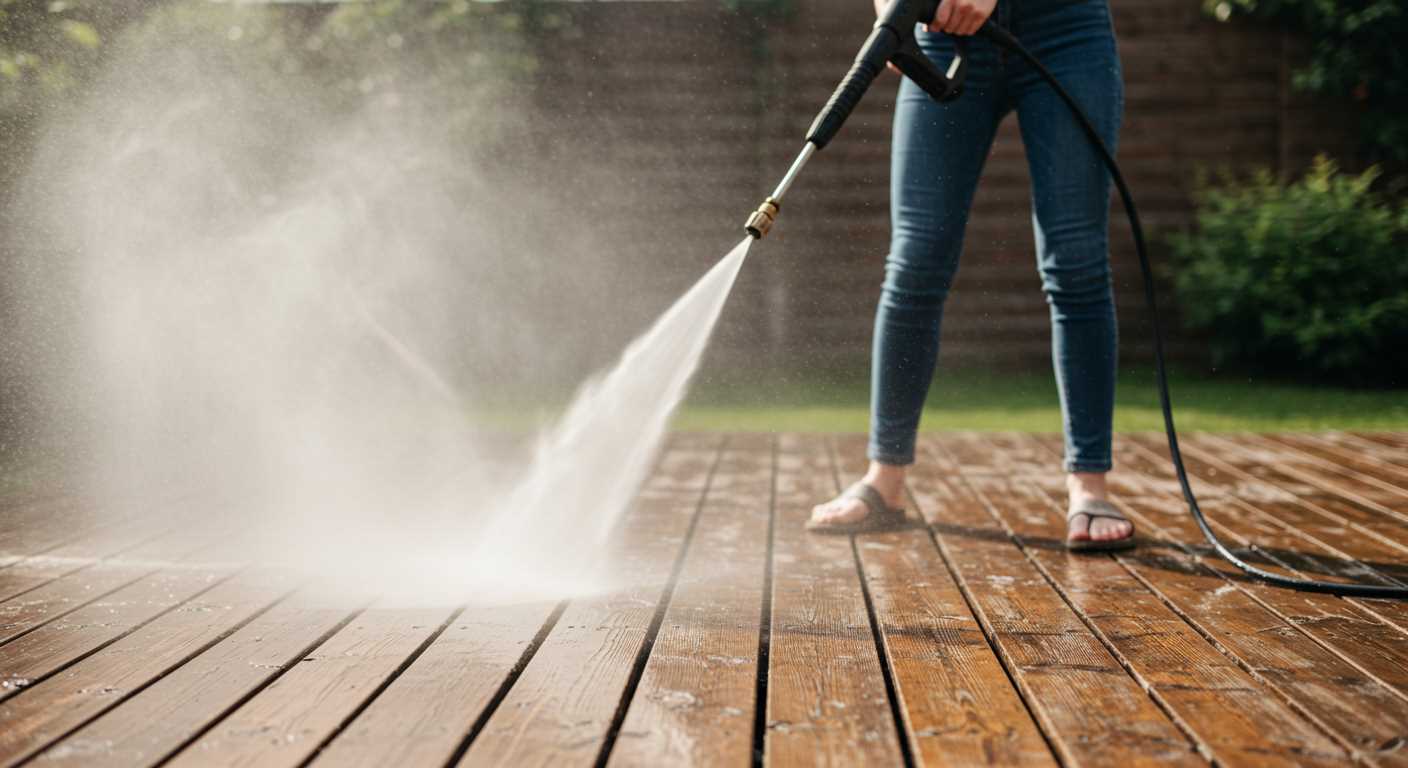
Wooden Decking and Fencing

- Select a lower pressure setting, between 1200-1800 PSI, to prevent damage to the wood fibres.
- Employ a 40-degree nozzle and work in the direction of the wood grain.
- Keep the nozzle at least 18 inches away from the surface to avoid gouging.
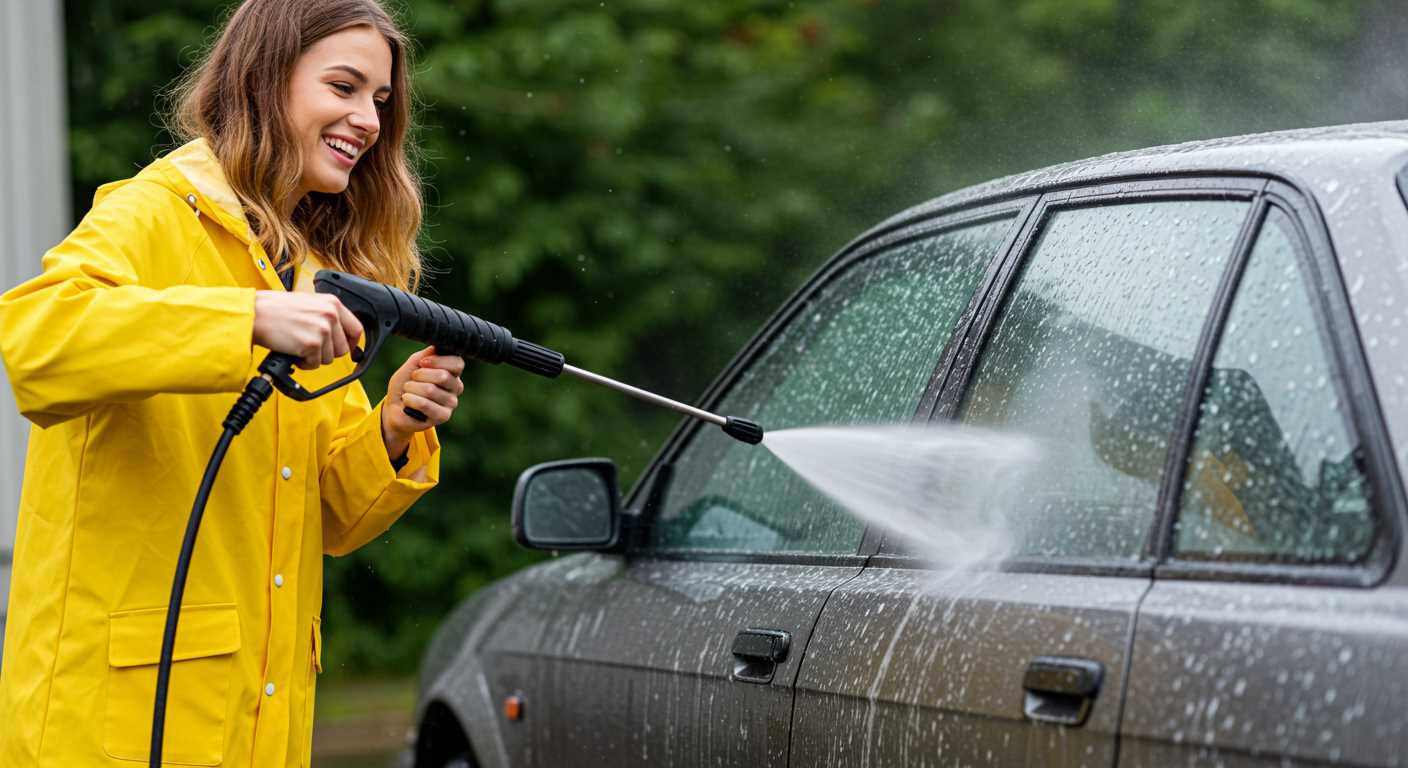
Automobiles and Boats

- Use a gentle approach with a setting around 1200 PSI or lower to avoid paint damage.
- A 25-degree or 40-degree nozzle helps effectively rinse without harming delicate surfaces.
- Keep the cleaning tip at least 2 feet from the painted surface, ensuring you wash from top to bottom.
Glass and Windows

- Adjust to a very low pressure, under 1000 PSI, to protect against shattering.
- The fan tip of a 40-degree nozzle works best for rinsing since it disperses water softly.
- Stand at least 2-3 feet away to maintain a safe distance while rinsing.
Always do a test spot on an inconspicuous area to gauge the effectiveness and ensure safety before proceeding with the entire surface. Consistency in technique yields the most satisfying outcomes across different materials.
Maintaining the Pressure Washer After Use
After completing a cleaning task, it’s crucial to follow a few steps to ensure your equipment remains in optimal condition. First, detach the water supply completely. This prevents any lingering water from causing internal damage or corrosion.
Next, activate the device for a brief period without a nozzle attached. This step clears the system of any residual cleaning solution or water, safeguarding the internal components from build-up.
Inspect all connections and hoses for any wear or leaks. If you notice any signs of damage, replace the affected parts promptly to avoid future complications. Keeping these items in top condition enhances the longevity of the device.
Rinsing the exterior with clean water prevents dirt accumulation, making the next cleaning task easier. After rinsing, ensure everything is dry before storing it away to avoid mildew and odours.
Regularly check and clean the nozzle. A blocked nozzle affects performance and can cause excessive wear on the motor. Use a needle or similar tool to clear any debris lodged within.
Store the unit in a cool, dry place, preferably upright, to prevent any potential leaks. Keeping it this way protects your equipment and ensures it’s ready for your next cleaning project.
Troubleshooting Common Issues with Your Cleaning Device
If the motor fails to start, check if it’s plugged in and the power switch is on. Ensure the outlet is functional by testing it with another device. Inspect the power cord for any damage.
When water doesn’t flow through the nozzle, examine the water supply connection. Ensure the hose is free from kinks and blockages. If using a filter, clean or replace it if necessary.
Should you experience decreased pressure, look for clogged nozzles. Detach the nozzle and rinse it under clean water. A worn out or damaged nozzle may require replacement.
If the unit vibrates excessively during operation, ensure it’s resting on a flat surface. Loose attachments may contribute to instability, so tighten all connections. Inspect for worn out components.
In cases of leaks, check the hose and fittings for cracks or damage. Replace any worn or faulty parts immediately. Ensure connections are secure to prevent further leaks.
| Issue | Possible Solutions |
|---|---|
| Motor won’t start | Check power connection, verify switch position, inspect power cord |
| No water flow | Examine water supply, check for kinks/blockages, clean filters |
| Decreased pressure | Clear clogged nozzles, replace damaged nozzles |
| Excessive vibration | Stabilise unit on flat surface, tighten loose parts, inspect components |
| Leaks | Inspect hoses and fittings, replace damaged parts, secure connections |
Whenever an issue arises, make sure to consult the user manual for specific guidance related to your model. It’s often the simplest adjustments that yield the best results.


