


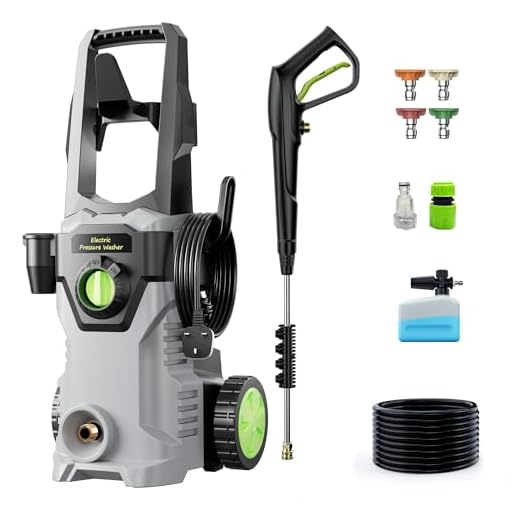
For thorough results, begin by selecting an appropriate attachment suitable for your cleaning task. Angled or flat surface tools enhance cleaning efficacy on driveways, decks, or vehicles. Before starting, ensure the area is free of debris to prevent scratches and intensify contact with the surface.
Adjust the detergent application according to the manufacturer’s guidelines. Attach the right nozzle that corresponds with your cleaning requirement; a wider angle is ideal for washing large areas, while a narrow stream targets stubborn stains. Utilising a low-pressure setting initially allows for effective detergent penetration without damaging surfaces.
Utilising consistent, sweeping motions, overlap each pass by 30% to avoid streaking and ensure uniform coverage. Regularly check the attachment for clogs or wear, as maintaining tool integrity enhances performance. Once finished, rinse thoroughly to remove any residue, ensuring the longevity of both your surfaces and equipment.
Utilising a Cleaning Attachment
Before commencing, ensure the right type of cleaning accessory is fitted for your task. For stubborn dirt, opt for a rotating or scrubbing head designed for tough surfaces.
Attach the cleaning tool securely to the lance or nozzle as per the manufacturer’s instructions, making sure it’s firmly in place. Use a compatible detergent suitable for the surface material being cleaned, if necessary. Always adjust your machine’s flow rate to prevent damage and optimise cleaning efficiency.
Position yourself at an angle of approximately 30 to 45 degrees to the surface. This positioning allows better access to dirt without concentrating pressure in a single spot, potentially causing harm.
Maintain a consistent distance, typically 30 to 60 cm from the surface while working. This ensures even coverage and prevents excessive force from causing scratches or stripping paint.
Start slowly, allowing the tool to do the work. Move the accessory in overlapping strokes across the area, ensuring thorough coverage. For stubborn stains, pause briefly to let the cleaning solution activate before resuming movement.
After cleaning, rinse the surface thoroughly with clear water to remove any detergent residue, ensuring balanced pH levels and preventing slip hazards. Finally, clean the attachment promptly post-use to keep it in optimal condition for future tasks.
This method significantly enhances cleaning effectiveness while protecting the surfaces you treat, offering the results you expect without damage.
Choosing the Right Pressure Washer Brush for Your Needs
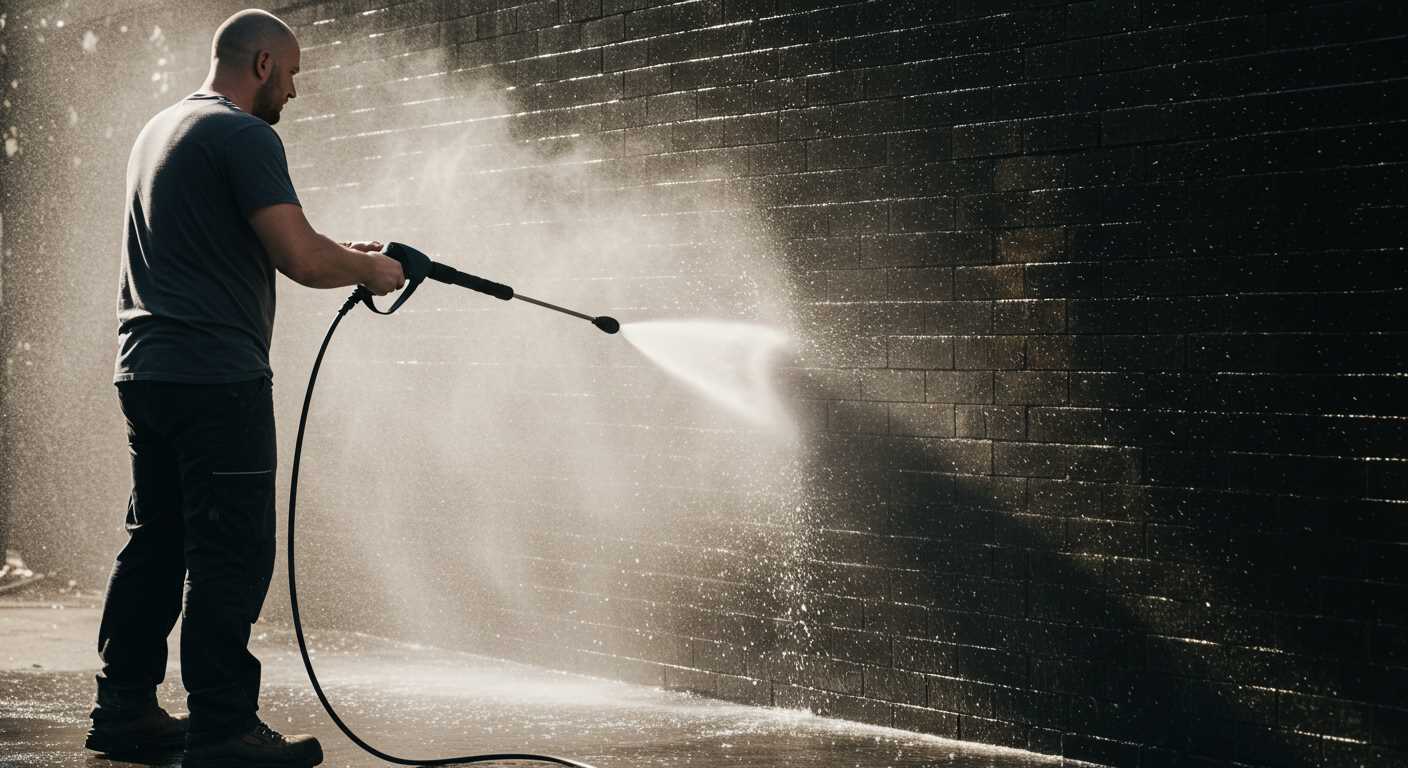
Opt for a soft-bristle variant for delicate surfaces like car paint or glass. These gentle bristles prevent scratches while still providing a thorough clean. For hard surfaces such as concrete or paving stones, a stiff-bristle option works best. It tackles tougher grime without damage.
Consider the size of the head as well. Wider brushes cover more area quickly, whereas smaller ones offer precision when working on intricate details or tight spaces. If you encounter stubborn stains or mildew, look for a model with rotating bristles. This design enhances cleaning power, allowing for more effective removal.
Compatibility with your equipment is paramount. Ensure that the attachment fits securely and matches the brand specifications for optimal performance. Some models may offer interchangeable heads, providing flexibility for various cleaning tasks.
Lastly, evaluate your cleaning frequency. If you frequently maintain outdoor furniture or vehicles, investing in a durable brush made from high-quality materials ensures longevity. Choose wisely, and your cleaning routine will become quicker and more efficient.
Preparing Your Surface Before Using the Cleaning Tool
Ensure the area is clear of obstruction. Move any furniture, planters, or decorations away from the location to prevent damage and allow easy access for thorough cleaning.
Inspect the surface for loose debris. Sweep or blow away leaves, dirt, and grime that could interfere with the cleaning process. Thoroughly remove any larger particles to avoid scratching or causing damage during cleaning.
Assessing the Condition
Check for stains or marks that require special attention. Identify oil spots or mildew that may necessitate pre-treatment with a suitable cleaning agent before employing high-pressure methods.
Examine the integrity of the surface. Look for cracks, chips, or areas that may be vulnerable to aggressive techniques. This will help determine the required pressure setting and technique to avoid causing further damage.
Safety First
Wear appropriate personal protective equipment: gloves, goggles, and non-slip footwear. Ensure any nearby electrical outlets or fixtures are protected from water exposure.
Confirm that the water source is functioning properly. Ensure hoses are securely connected and free from leaks before commencing the cleaning process.
Following these steps will enhance the efficiency of your cleaning task and help maintain the quality and longevity of the surfaces you’re working on.
How to Attach the Brush to Your Pressure Washer
Start by ensuring that the water supply is turned off and the machine is disconnected from any power source. This ensures safety before making any attachments.
Identify the Connection Type
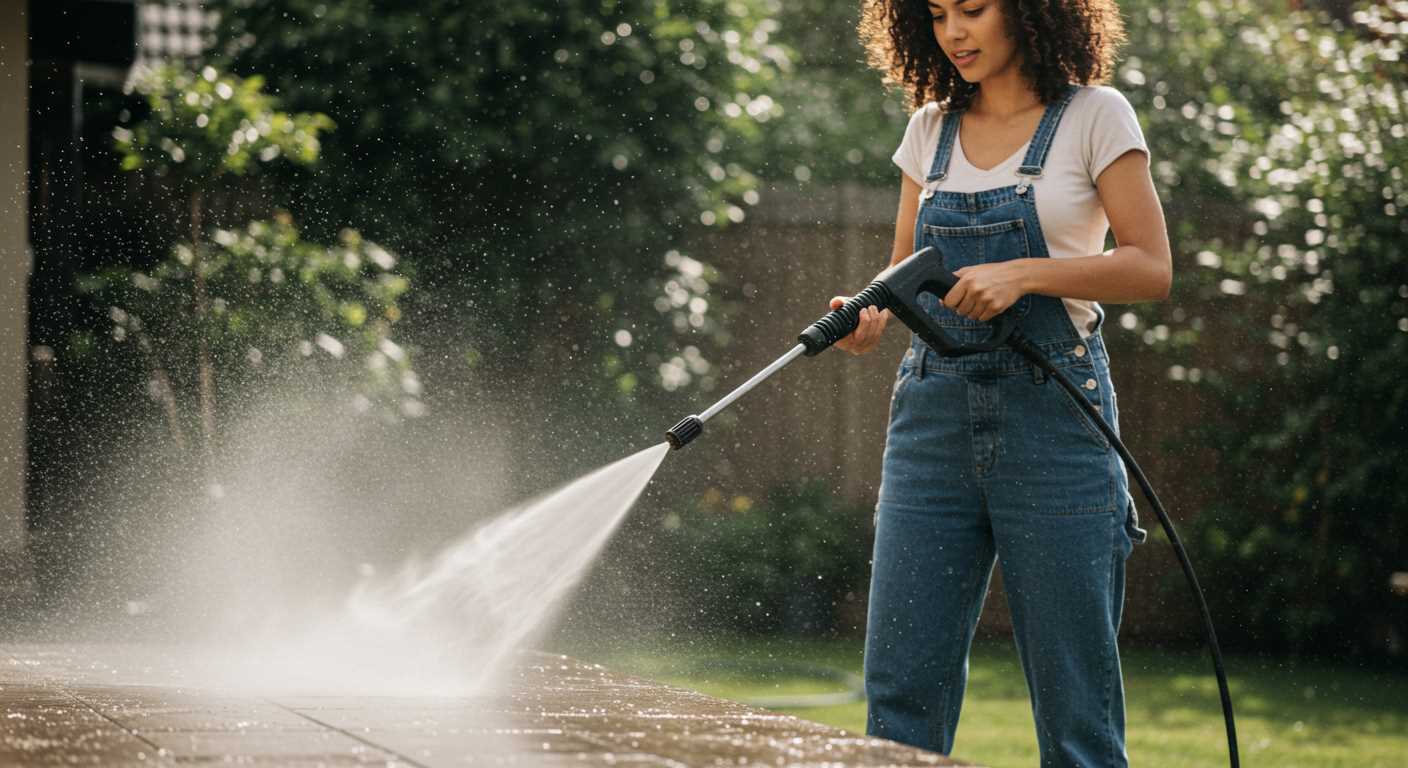
Familiarise yourself with the connection mechanism of both the cleaning device and the attachment. Most models feature either a quick-connect or threaded system:
- Quick-connect: Commonly found in modern equipment; simply align and press to secure.
- Threaded: Rotate the attachment clockwise until tightly snug. Avoid overtightening to prevent damage.
Steps to Attach
- Remove the nozzle or any previous attachment by following the manufacturer’s instructions.
- Align the cleaning head with the connection point on the machine.
- If using a quick-connect, push until the mechanism clicks into place. For threaded types, turn clockwise until secured.
- Double-check the attachment by gently pulling on it to confirm it is fixed.
Finally, reconnect the power source and water supply. Ensure no leaks occur during initial activation. Adjust the pressure settings as needed before starting your task. Remember, proper attachment is critical for achieving the best cleaning results while maintaining the longevity of your equipment.
Adjusting Pressure Settings for Different Surfaces
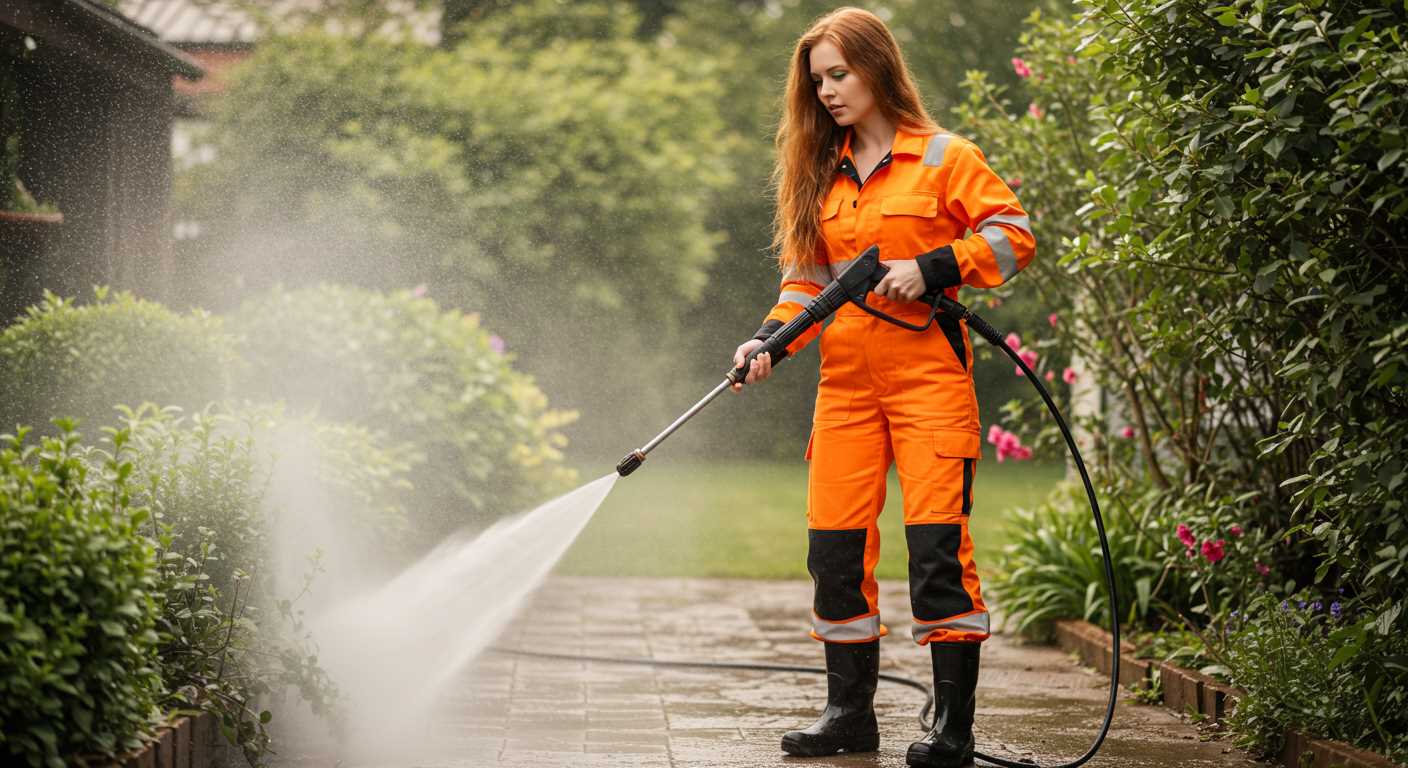
Selecting the appropriate pressure for each type of surface is crucial to avoid damage and achieve optimal results. Here’s a concise guide:
- Concrete: Set the pressure between 2000-3000 PSI for effective cleaning without causing surface wear.
- Wood: Opt for a lower range of 1500-2000 PSI to prevent splintering. Always test on an inconspicuous area first.
- Brick or Stone: Use medium pressure at around 2000 PSI. Ensure that the nozzle is held at a safe distance to prevent chipping.
- Vehicles: A gentle approach is key, so keep it around 1200-1500 PSI. Use a wider nozzle to distribute the force evenly.
- Glass: Limit the pressure to 1000 PSI or less. Using a low-pressure setting helps avoid cracks or breaks.
Adjusting the equipment according to these specifications can significantly enhance cleaning efficiency and protect the surface integrity. Always verify your machine’s capabilities before starting the task.
Additional tips:
- Begin with the lowest pressure and gradually increase it until desired cleaning efficiency is achieved.
- Maintain a consistent distance from the surface to ensure even application of pressure.
- Use a pressure gauge, if available, to monitor settings accurately.
Techniques for Using the Brush Effectively
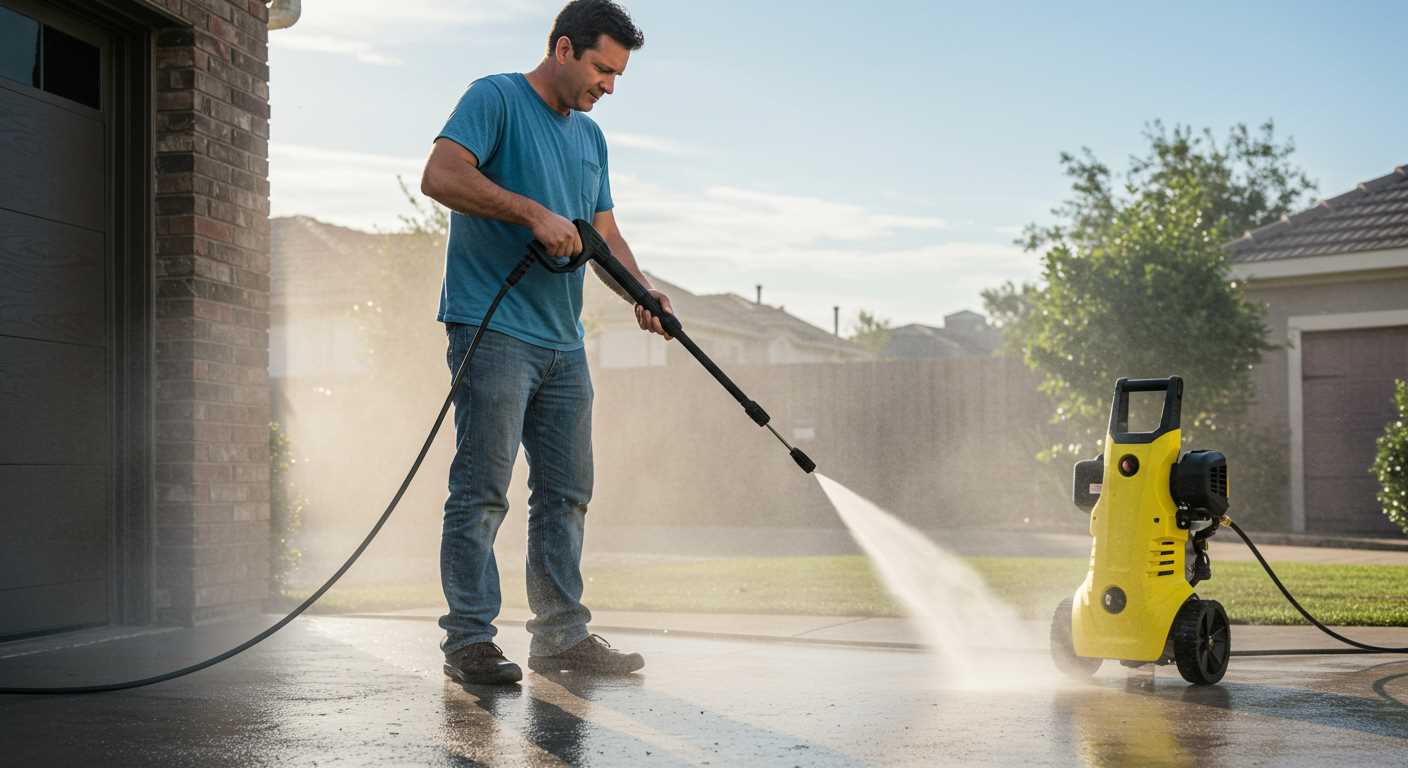
Employ consistent, firm pressure while guiding the attachment across the surface. This approach ensures thorough cleaning without damaging the material. Avoid lingering too long in one spot to prevent fading or striping.
Pattern Coordination
Work in systematic rows or sections, overlapping slightly with each stroke. This strategy prevents streaks and guarantees even coverage. Adjusting your angle can also help in reaching corners and tight spaces.
Material-Specific Strategies
For delicate surfaces, such as painted fences or wooden decks, reduce the intensity settings to minimise the risk of damage. For tougher materials like concrete, increase pressure judiciously to tackle stubborn grime effectively. Also, consider the type of cleaning solution compatible with the attachment; specific formulas enhance performance significantly.
Maintaining Your Pressure Washer Brush After Use
After finishing your task, it’s critical to clean the attachment thoroughly. Rinse it with clean water to remove any residual dirt, grime, or cleaning solution. Pay special attention to the bristles; clogged bristles reduce performance and can lead to unwanted scratches on surfaces in the future.
Inspect the head for any damage or wear. If you notice any broken or bent bristles, consider replacing the tool promptly to ensure efficient cleaning next time. Any defects can hinder your efforts during subsequent tasks.
Store the attachment in a dry environment, away from direct sunlight. Prolonged exposure to UV rays can weaken the materials over time. Hanging the tool or placing it in a designated storage box can prevent unnecessary damage.
If your equipment has detachable parts, store them separately in an organised manner to avoid losing any components. Regular checks every few months will help you identify any issues early on. Keeping a maintenance journal can also be beneficial, noting down performance and cleaning intervals.
Finally, lubricate any moving parts, if applicable, with a suitable lubricant. This prolongs the lifespan of the equipment and ensures it operates smoothly each time it’s needed.
Common Mistakes to Avoid When Using a Pressure Washer Brush
Avoid using the wrong type of bristle for your surface. Soft bristles are ideal for delicate items, while stiff bristles suit more rugged materials. Choosing incorrectly can lead to scratches or damage.
Don’t forget to rinse the area before applying any cleaning solution. Failing to do so can result in dirt becoming mud, making it more difficult to clean effectively.
Be cautious of the distance from the surface. Holding the tool too close can cause wear on the material, while being too far away may not yield satisfactory results. Aim for about 6 to 12 inches away, adjusting as necessary.
Neglecting Protective Gear
Always wear protective eyewear and gloves. Debris can dislodge and fly up during cleaning, posing a risk to your eyes and skin. A simple habit like wearing safety gear can prevent injuries.
Improper Angle of Application
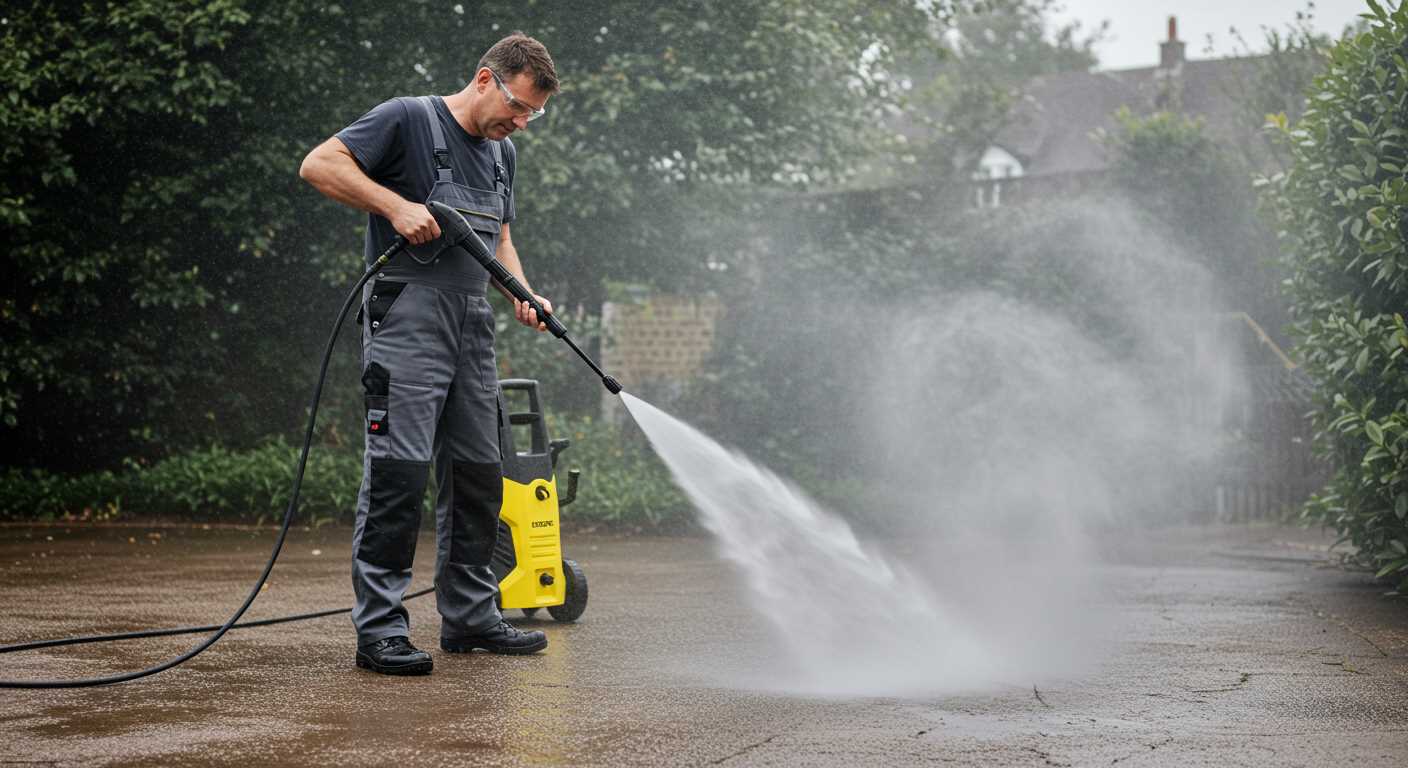
Using the brush at an incorrect angle can also cause issues, such as uneven cleaning or increased wear on the surface. Approach the cleaning task with the brush held at about a 45-degree angle for optimal performance.
| Common Mistake | Consequences | Correction |
|---|---|---|
| Wrong bristle type | Surface damage | Choose appropriate bristles |
| Not rinsing beforehand | Dirt turns to mud | Rinse area thoroughly first |
| Improper distance | Surface wear or ineffective cleaning | Maintain 6–12 inches distance |
| Neglecting gear | Injury risk | Always wear safety eyewear and gloves |
| Incorrect angle | Uneven cleaning or wear | Hold at a 45-degree angle |
Be mindful of these potential pitfalls to achieve the best results and ensure the longevity of your equipment and surfaces.


