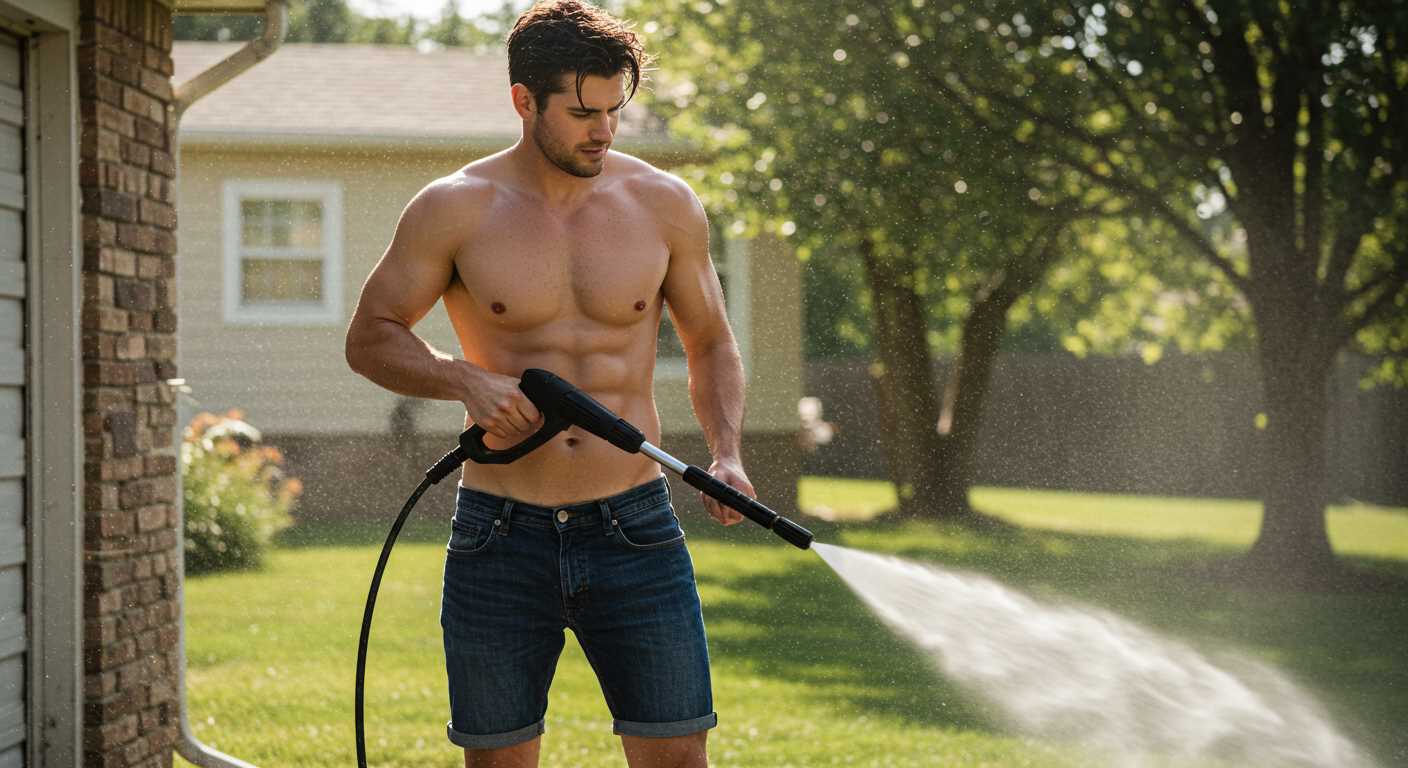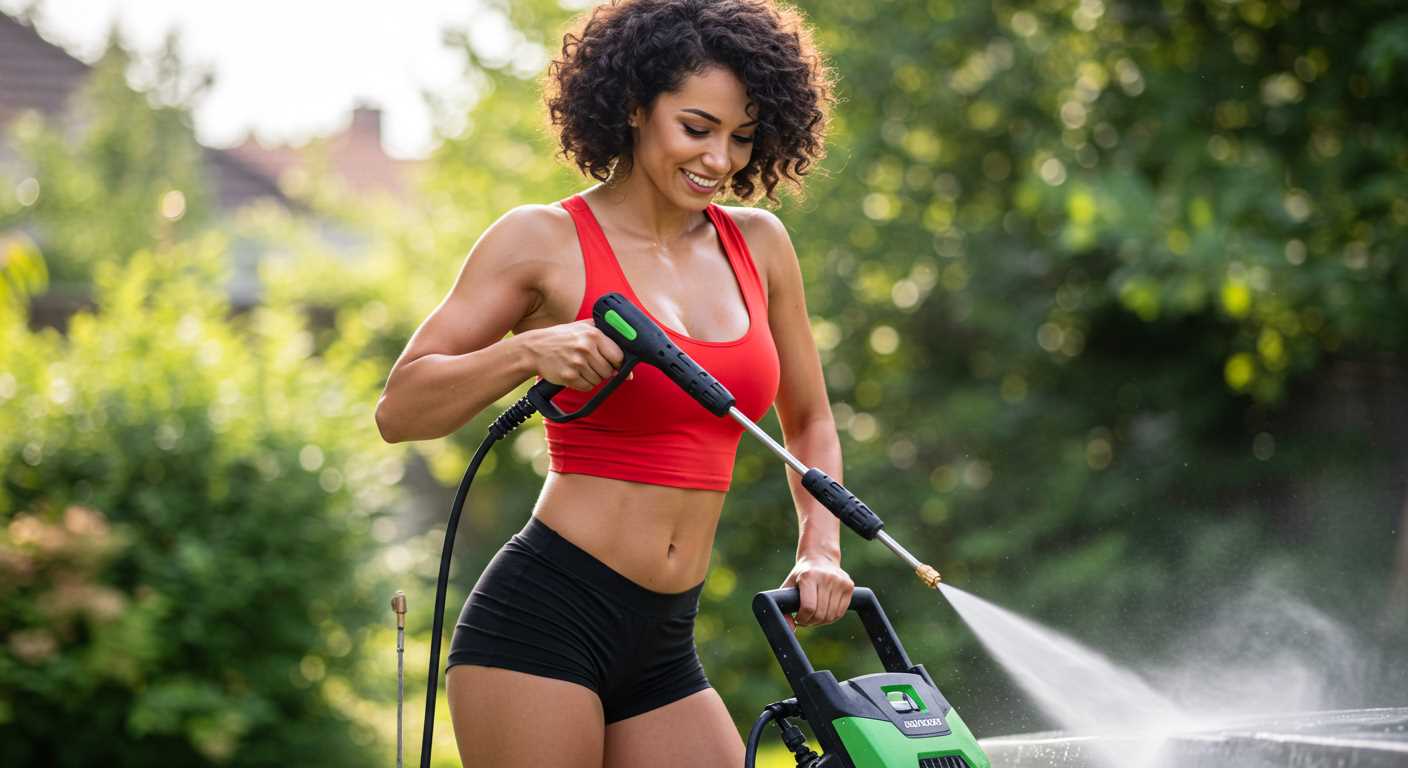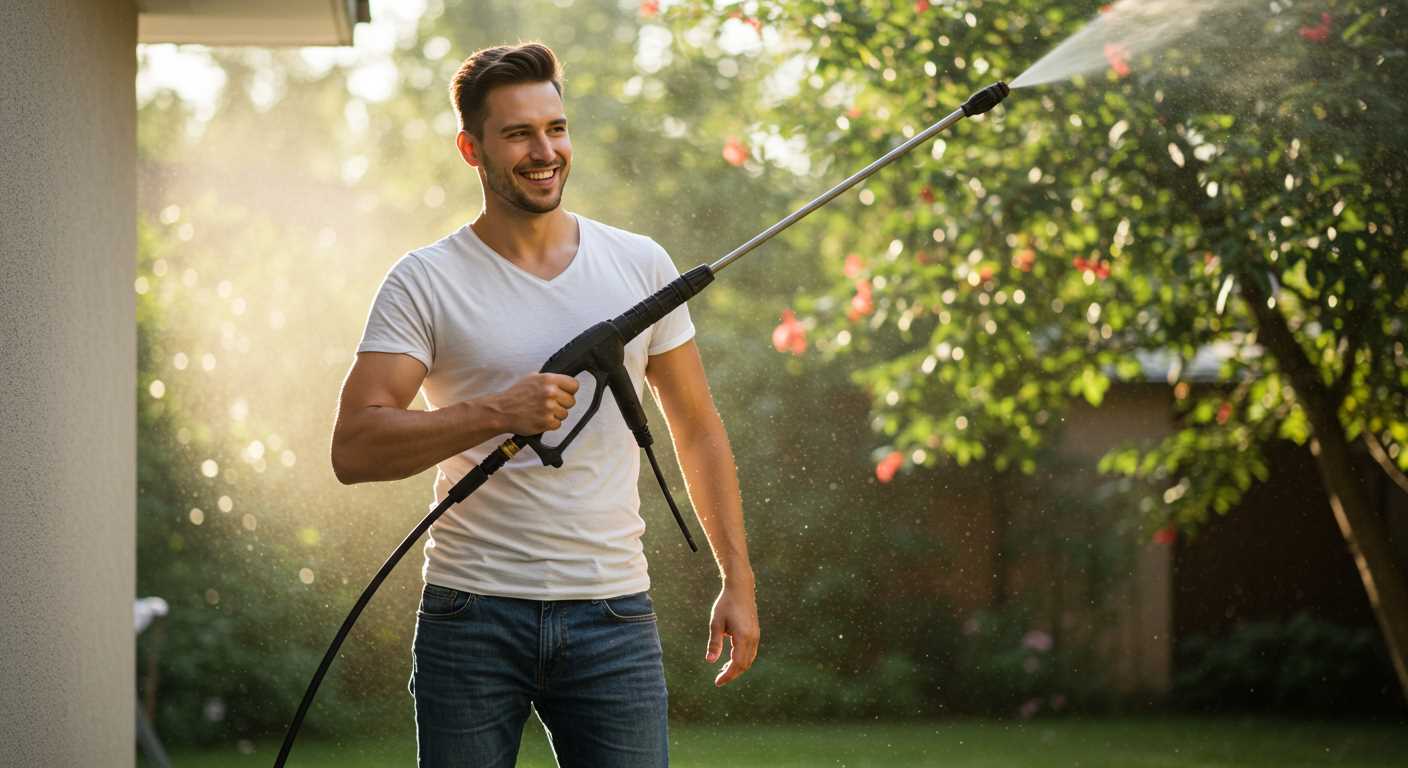


Attach your adaptor firmly before beginning. A secure fit ensures maximum water flow and efficiency, which is crucial when tackling tough grime. After connecting, double-check for leaks in the fittings; any sign of leakage can hinder performance significantly.
Select the correct nozzle based on the surface you’re working on. For example, a wide fan tip is ideal for delicate areas, while a narrow tip is more appropriate for stubborn stains. Altering the nozzle allows you to control the intensity of the spray, tailoring your approach to different cleaning tasks.
Maintain a consistent distance from the surface. I recommend keeping the nozzle about 12 to 18 inches away for optimal results. This range balances pressure without causing damage, ensuring you don’t strip paint or cause wear on your surfaces.
Utilise sweeping motions instead of direct blasts. This technique helps to cover more area evenly and reduces the risk of concentrated pressure, which may lead to surface damage. Always move with the flow of the cleaning, making sure to overlap each pass.
After completing your tasks, detach the accessory carefully and store it in a dry place. Proper maintenance and storage prolong the life of the tool and ensure it’s ready for future usage.
Selecting the Right Extension Wand for Your Pressure Cleaning Machine
Begin by assessing the compatibility of the extension tool with your unit’s model and brand. Refer to the manufacturer’s specifications for precise fitting details. Mismatched components can lead to suboptimal performance or damage.
Consider length requirements according to your cleaning tasks:
- Shorter options (2-4 feet) suit intricate areas like vehicles or outdoor furniture.
- Medium lengths (5-7 feet) work well for patios and decks.
- Longer variations (8-12 feet) reach high places such as gutters or second-story siding.
Material of the attachment plays a significant role in durability. Aluminium and steel extensions offer robustness, while plastic variants are lighter but may lack longevity. Ensure the construction aligns with the intended application.
Attachment features also matter. Look for:
- Adjustable nozzles for controlling spray patterns.
- Rotating tips that facilitate cleaning hard-to-reach areas.
- Quick-connect systems for effortless swapping between tasks.
Weight influences manoeuvrability. Lighter extensions are easier to handle but may be more fragile. Heavier models provide stability but require more effort during use.
Review online ratings and user feedback for real-world insights on performance. Pay attention to common issues or praises that may influence your decision.
Finally, consider the cost. While premium options may offer advanced features, ensure they meet your specific needs without overspending on unnecessary functionalities.
Understanding the Different Lengths and Angles of Extension Wands
For any cleaning project, the choice of length and angle can dramatically influence the outcome. A wand that is too short may hinder access to high or distant surfaces, while an excessively long one can become unwieldy. Standard lengths vary, typically ranging from 18 inches to 48 inches, with some available in up to 65 inches for specialised tasks. My recommendation is to assess the areas you intend to clean before selecting a size.
The angles of these tools also play a significant role in performance. Most feature adjustable heads allowing for various inclination settings. A 0-degree angle produces a concentrated jet, ideal for stubborn stains, whereas a 45-degree angle broadens the spray, making it suitable for larger areas. I often find that experimenting with different angles leads to quicker and more uniform results.
| Length | Best Use |
|---|---|
| 18-24 inches | Compact areas, furniture, vehicles |
| 36-48 inches | Medium heights, decks, patios |
| Up to 65 inches | High surfaces, roofs, tall walls |
In terms of angles, here’s a simplified breakdown of uses:
| Angle | Application |
|---|---|
| 0 degrees | Targeted cleaning, tough grime |
| 15-25 degrees | General cleaning for surfaces, cars |
| 30-45 degrees | Larger areas, garden furniture, siding |
Choosing the right length and angle not only enhances cleaning efficiency but also reduces strain during the task. Always consider your specific needs before making a selection, as the right combination can save time and effort significantly.
Preparing Your Equipment for Attachment of the Extension Tool

Begin with disconnecting the high-pressure hose from the main body of your machine. This ensures safety during the setup process. Clean the attachment point to remove any debris or dirt that may have accumulated, as a clean surface promotes a secure connection.
Next, check the compatibility of the extension attachment with your current cleaning device. Ensure the fittings are the same size to avoid potential leaks or interruptions in performance. If needed, consult the manufacturer’s instructions for guidance on compatible accessories.
After confirming compatibility, inspect the extension instrument for any signs of damage, such as cracks or rust. A compromised attachment can lead to operational failures or safety hazards during use.
Before proceeding to attach the tool, ensure that the device is powered down and water supply is turned off. This eliminates the risk of accidental activation when making the connection.
Once everything is ready, align the adapter of the attachment with the connector on the machine. Firmly push it into place until secure, ensuring there’s no wobble or slack. Lastly, reconnect the high-pressure hose to the machine, ensuring everything is tightly secured before turning on the water supply.
With these steps completed, you are ready to operate the equipment confidently and effectively. Proper preparation sets the stage for a successful and efficient cleaning experience.
Adjusting Pressure Settings When Using an Extension Tool

Begin with verifying the specifications of your gear. Each nozzle or attachment has a recommended pressure range. Adhering to this ensures optimal cleaning results without causing damage. For tough stains, a higher setting may be necessary; however, for delicate surfaces, dial the pressure back. This adjustment prevents potential harm.
When attaching an additional reach tool, make sure to adjust your unit’s settings accordingly. The added length may cause a slight decrease in pressure at the nozzle. It’s wise to incrementally increase the pressure while observing the performance. If the spray seems ineffective, increase the pressure gradually until you achieve the desired outcome.
Perform routine checks on the surface you are treating. If excessive force results in surface damage or stripping, reduce the pressure. This ensures that delicate materials maintain their integrity. Practice varying the distances during application; moving closer may require lowering the pressure, while increasing distance might necessitate a slight boost.
Always take caution with different surfaces, as materials like wood or paint may react adversely to higher pressures. A trial in an inconspicuous area aids in determining the safest setting. For vertical or overhead reaches, adjust the pressure to ensure stability. Too much force can lead to overspray, leaving behind unwanted marks.
Lastly, using a variable pressure mechanism can be advantageous. These allow for on-the-fly adjustments, giving control based on real-time observations. Tailoring the settings effectively enhances productivity and ensures thorough cleaning without compromising surface conditions.
Proper technique for operating the extension tool safely
Always wear appropriate personal protective equipment, including safety goggles and gloves, to shield yourself from debris and water. Additionally, non-slip footwear is essential to maintain grip on potentially slippery surfaces.
Keep a firm grip on the auxiliary accessory at all times. Your stance should be balanced with feet shoulder-width apart to enhance stability, especially when encountering unexpected recoil during operation.
Before activating the equipment, point the nozzle away from yourself and bystanders. Remain alert to your surroundings. Avoid focusing the spray on unsteady surfaces, as this can lead to hazardous situations.
Make gradual movements when directing the stream. Sudden motions can cause loss of control, leading to accidents. Utilise a sweeping action rather than concentrating on a single area for extended periods, thus preventing damage to surfaces.
Maintain a safe distance from the surface being cleaned. Begin from a farther location and assess the effectiveness of the spray before moving closer. This approach helps prevent unintentional surface damage.
Regularly check connections for any leaks or weaknesses throughout the operation. Address any issues immediately to avoid mishaps. Turn off the unit before making adjustments or inspections.
Lastly, ensure proper storage of the apparatus after finishing. Detach the tool and clean it thoroughly to prolong its lifespan. Store in a dry location to prevent rust and damage.
Common cleaning tasks suited for extension tools
Exterior surfaces benefit greatly from longer reach attachments. For cleaning rooftops, employing a long tool enables me to remove debris, moss, and algae without climbing ladders. This ensures safety while achieving thorough results.
Driveways and Patios
For tackling stubborn stains on driveways or patios, a longer accessory allows greater flexibility. It is particularly useful for accessing hard-to-reach corners or edges, ensuring no dirt is left behind. The increased distance gives me the power to maintain optimal technique, keeping the spray from oversaturating nearby areas.
Vehicles and Campers

When cleaning larger vehicles, such as RVs or trucks, a lengthy tool provides the necessary reach to cover the entire surface without awkward manoeuvring. It helps in effectively rinsing away soap and dirt without leaving streaks, enhancing the vehicle’s appearance with less effort.
Outdoor furniture, especially those placed in tight spots, can also be tackled using a long handle. With this tool, I effortlessly clean tables and chairs, ensuring they look inviting throughout the seasons.
In summary, a longer reach tool elevates outdoor cleaning efficiency, enabling me to address a variety of tasks while boosting safety and performance.
Maintenance tips for prolonging the life of your extension wand
Rinse the attachment with clean water immediately after each use to remove soap residue and grime, preventing corrosion and build-up.
Inspect the nozzle and connectors regularly for wear or damage. Replace any worn components to maintain optimal performance and avoid leaks.
Store the tool in a dry, cool place away from direct sunlight. Proper storage prevents material degradation and extends longevity.
Use a soft cloth to wipe down the exterior after use. This simple step helps maintain its appearance and prevents dirt accumulation.
Avoid bending or twisting the device to prevent kinks and structural damage. Always handle with care during operation and storage.
Check the seals and O-rings for flexibility and signs of wear. Replacing these parts can prevent leaks and ensure efficient operation.
Keep all connections clean and free from debris before attaching to your machine. This will facilitate a secure fit and efficient function.
During longer cleaning sessions, take breaks to prevent overheating. Let the attachment cool down periodically for prolonged use without damage.
Following these suggestions will keep your tool in optimal condition, ensuring reliable performance over time.


