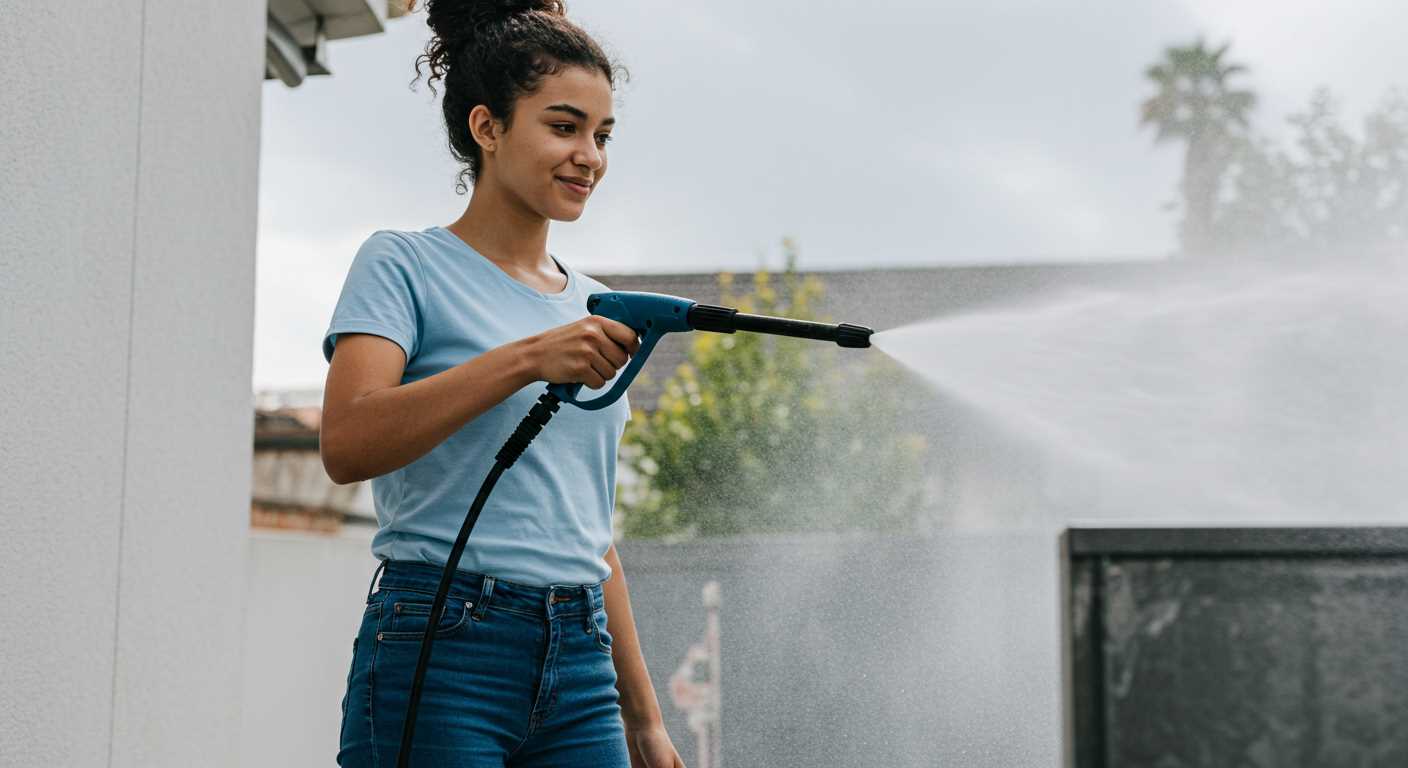
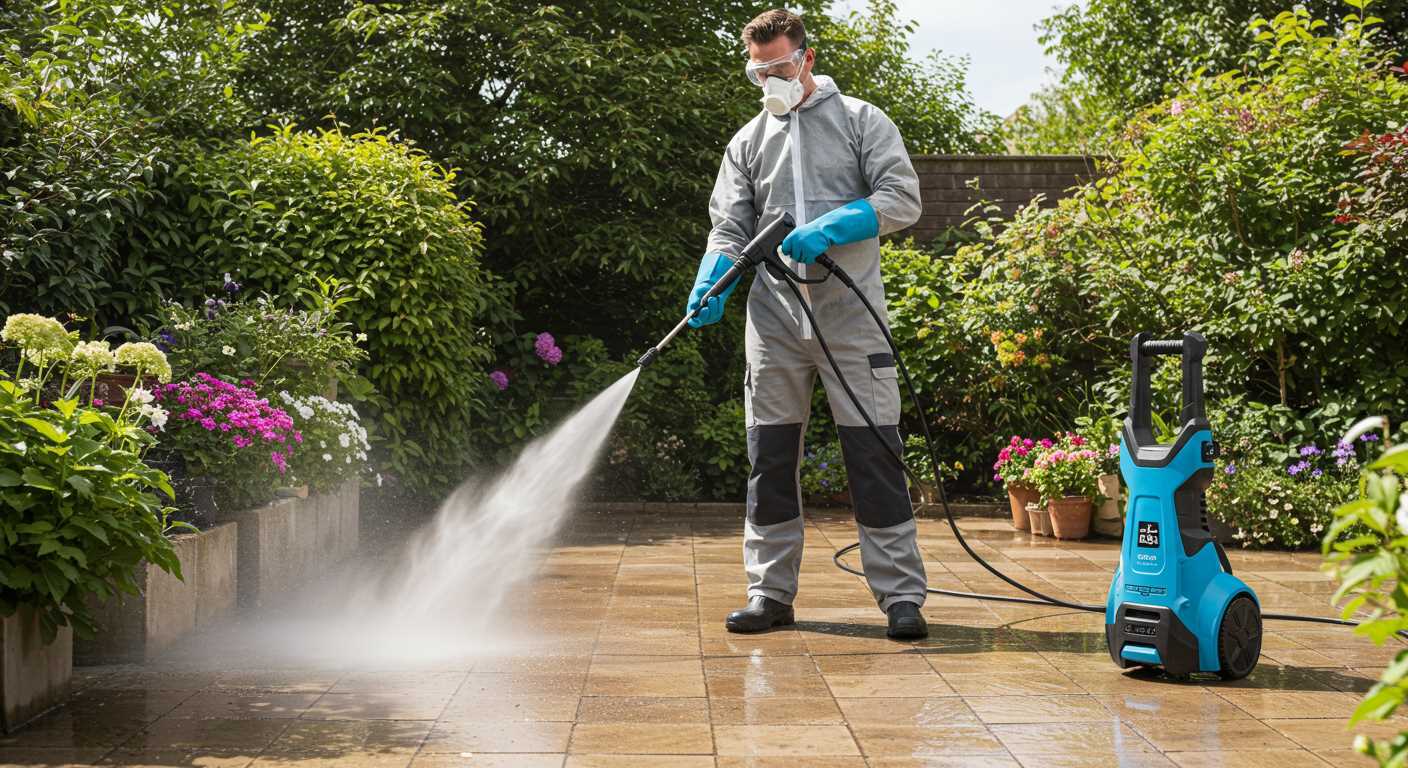
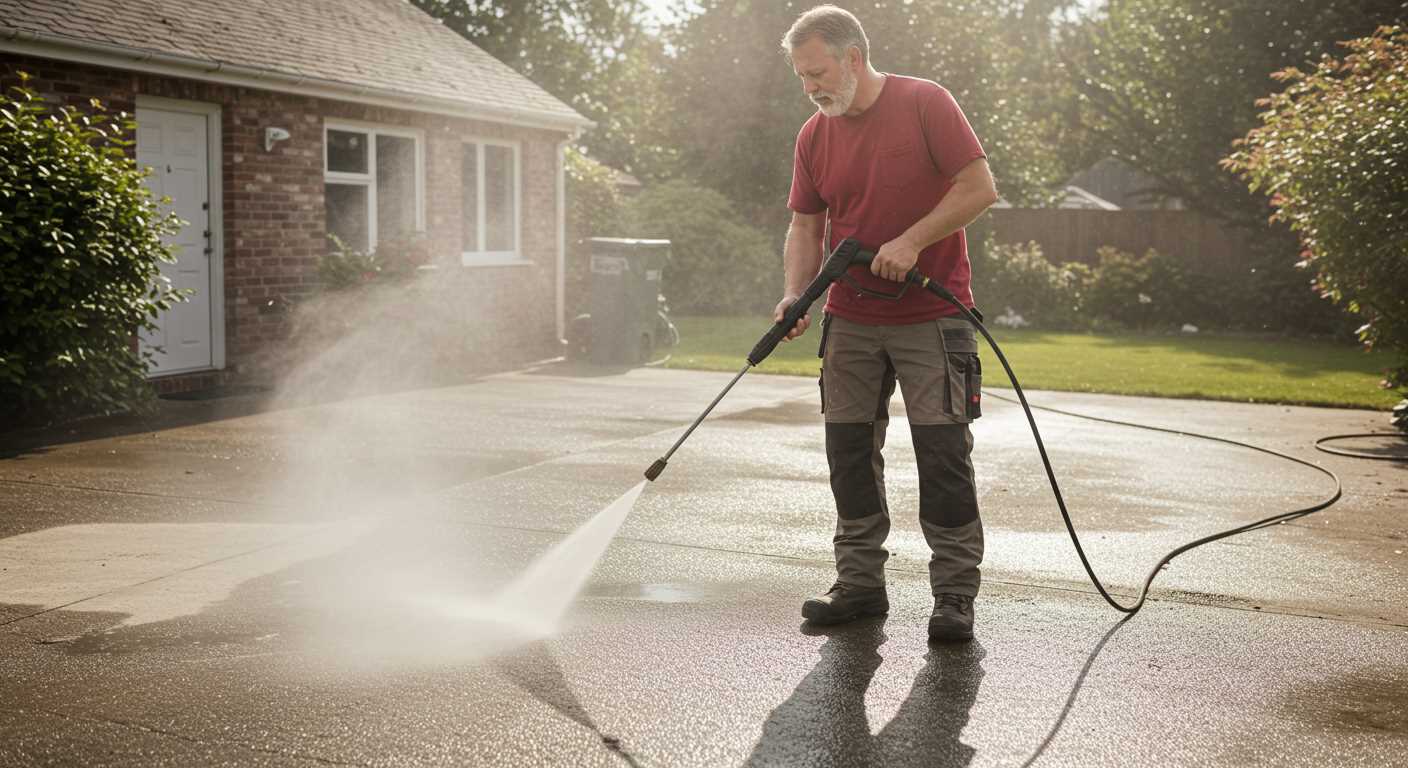
I recommend adjusting your spray nozzle to a narrow setting before engaging the machinery. This optimises the flow of liquid, allowing for concentrated force that effectively targets the oxidised areas. An ideal distance from the surface is around 30 centimetres; this prevents damage to the underlying material while ensuring that the pressurised stream penetrates the corrosion.
Pre-treating affected sections with an appropriate cleaning agent significantly enhances results. Applying the solution prior to operation allows it to break down the embedded debris. Allow the cleaner to sit for a few minutes, providing ample time for it to work its magic on the stubborn compounds.
After the initial treatment, initiate the device and maintain a steady but controlled sweeping motion across the surface. Use overlapping passes to ensure complete coverage, avoiding prolonged contact in one area to prevent surface etching. Pay attention to the nozzle’s angle; a slight tilt can help direct the spray towards the rust while minimising splashback.
Finally, inspect the area post-cleaning for any residual oxidation. Sometimes, a second application might be necessary to achieve a flawless finish. Following these steps will not only restore the aesthetic appeal but also prolong the lifespan of the metal surfaces in question.
Selecting the Right Device for Rust Elimination

Opt for a model with a minimum pressure of 2000 PSI. This is powerful enough to tackle stubborn oxidation on surfaces without causing damage. A lower pressure might not give you satisfactory results, while excessive pressure can harm delicate materials.
Key Features to Look For
- Adjustable Pressure Settings: This allows you to customise intensity according to the task.
- Interchangeable Nozzles: A range of nozzles enables versatility for various surfaces, from metal to concrete.
- Detergent Injection System: This feature helps in applying corrosion treatment solutions effectively.
- Water Flow Rate: A higher flow rate (around 2.5 GPM) helps in rinsing away debris and loose particles for smoother results.
Source of Power
.jpg)
Choose between electric and gas variants based on your requirements. Electric types are quieter, lighter, and suitable for home tasks, while gas options deliver more power for large-scale operations.
Finally, consider the weight and portability of the unit. If you have multiple areas to address or need to transport the equipment, a lightweight model with wheels will prove beneficial.
Preparing the Surface Before Cleaning
Ensure the area is free from debris and loose materials. Sweep or use a vacuum to remove dirt, leaves, and any other obstructions that might interfere with the cleaning process. This step is crucial as it helps maintain the integrity of the surface and improves efficiency.
Inspect for Damage
Examine the surface closely for any existing damage or loose paint. Addressing these issues beforehand prevents further deterioration during the cleaning routine. Take note of any weak spots where the nozzle’s force might exacerbate the problem, and consider patching or reinforcing these areas.
Protect Surroundings
Cover nearby plants, windows, and any fixtures that could be affected by the high-pressure stream. Use tarps or plastic sheeting to shield these areas from overspray or potential damage. This surprisingly simple measure can save you from extensive repairs and safeguard your environment.
Choosing the Appropriate Nozzle for Rust Removal
Selecting the right nozzle is critical for tackling corrosion. Opt for a nozzle with a narrow spray pattern, such as a 0-degree or 15-degree option, which concentrates energy on small areas. This targeted approach enhances effectiveness when dealing with stubborn blemishes, as high pressure combined with focused water flow can dislodge even entrenched oxidised spots.
Understanding Nozzle Types
Nozzle types are identified by their colour coding and degrees of spray. The red nozzle (0-degree) delivers the highest pressure, ideal for tough spots, but requires cautious handling due to the potential for damage on delicate surfaces. The yellow nozzle (15-degree) offers a balance between pressure and coverage, suitable for major areas while still maintaining sufficient intensity. I recommend testing both options on a small, inconspicuous area before proceeding with larger surfaces.
Nozzle Distance and Movement
Maintain a consistent distance of 6 to 12 inches from the surface, adjusting slightly based on the corrosion’s severity. Start with broad movements and gradually transition to more focused strokes. This strategy helps to prevent surface damage while ensuring thorough treatment. For extensive corrosion, consider multiple passes, allowing time for thorough penetration.
Adjusting Pressure Settings for Different Surfaces
For optimal results, selecting the correct force is key when tackling various materials. Set the machine’s PSI according to the surface type, ensuring efficient yet safe cleaning.
| Surface Type | Recommended PSI | Notes |
|---|---|---|
| Wood | 500 – 1500 | Use a lower setting to avoid damaging the grain. |
| Brick and Masonry | 1000 – 3000 | Higher pressures work well, but test on a small area first. |
| Concrete | 2000 – 3000 | Effective for tough stains and built-up grime. |
| Metal | 1500 – 3000 | Adjust according to the coating; keep it moderate to prevent damage. |
| Cars | 1200 – 1900 | Avoid high pressure; maintain a safe distance to protect the finish. |
| Glass | 800 – 1200 | Lower settings are safest to prevent shattering. |
In my experience, starting at the lower end of the recommended PSI range and gradually increasing is advisable. This approach minimises the risk of surface damage while allowing for effective clean-up. Always monitor the condition of the surface as you work, making adjustments as necessary.
Applying Rust Remover and Pressure Washing Techniques
Begin by selecting a quality rust treatment, ensuring it’s suitable for your specific surface type. Apply it generously to areas with corrosion, allowing sufficient time as per manufacturer instructions for the solution to penetrate effectively.
Strategic Application
Utilise a brush or cloth to work the solution into crevices and tough spots, enhancing its efficacy. Focus on heavily affected areas but be cautious not to oversaturate, as excessive moisture can lead to further damage.
Washing After Treatment

After allowing the rust solution to set, prepare your equipment. When it’s time to clean, ensure that the nozzle is correctly aligned for optimal water flow. Maintain a distance of around 25 to 30 cm from the surface, adjusting as necessary depending on the rust’s severity. A sweeping motion works best – it prevents localised damage and ensures a more uniform finish. After rinsing, inspect the surface; if remnants persist, consider a second application of the rust treatment followed by another wash.
Post-Cleaning Maintenance to Prevent Rust Return

After tackling oxidation effectively, proactive measures are vital to keep the surfaces protected. Start with thorough drying; moisture accelerates corrosion. Use towels or a leaf blower to eliminate any remaining water droplets, especially in crevices.
Coating Options
Applying a protective coating is a smart step. Use a rust-inhibiting primer followed by a suitable paint or sealant. Look for products specifically designed for metal surfaces to provide adequate shielding against environmental elements. Consider a wax-based sealant for additional protection against moisture.
Regular Inspections
Conduct routine checks every few months. Look for early signs of deterioration, such as discolouration or flaking. Addressing these issues promptly can save significant effort later on. If you spot any new corrosion, take immediate action to mitigate it.
Lastly, maintain a clean environment around the treated surfaces by sweeping away debris and avoiding direct contact with moisture when possible. Simple steps such as these can significantly prolong the life of your recently restored surfaces.


