


Begin by ensuring you have the right attachments for your cleaning task. Each nozzle serves a specific purpose, whether it’s for delicate surfaces or heavy-duty grime removal. Selecting the appropriate one can make a significant difference in the outcome.
Before initiating the cleaning process, connect the unit to a power source and ensure your water supply is robust. Assess the hose connections for any leaks or weaknesses, as maintaining a good seal prevents loss of pressure and maximizes efficiency. When everything is securely in place, test the equipment briefly to confirm it operates smoothly.
For best results, maintain a distance of approximately 30 cm from the surface being cleaned. This prevents damage, especially on more sensitive materials like wood or painted surfaces. Move steadily, overlapping each stroke slightly, ensuring comprehensive coverage without causing streaking.
Following your task, it’s crucial to detach and store the equipment properly. Rinse all attachments with clean water to remove any remaining detergent or debris, and check hoses for kinks or knots. Regular maintenance extends the lifespan of your unit and optimises future performance.
Setting up your Qualcast pressure washer for the first time
Your immediate step involves placing the unit on flat, solid ground, ensuring stability during operation. Make sure to position it near a power outlet and a water source for convenience.
Connect the hose to the inlet. Hand-tighten the connection to avoid leaks. Then, attach the spray lance, ensuring it clicks into place securely.
Water Supply Connection
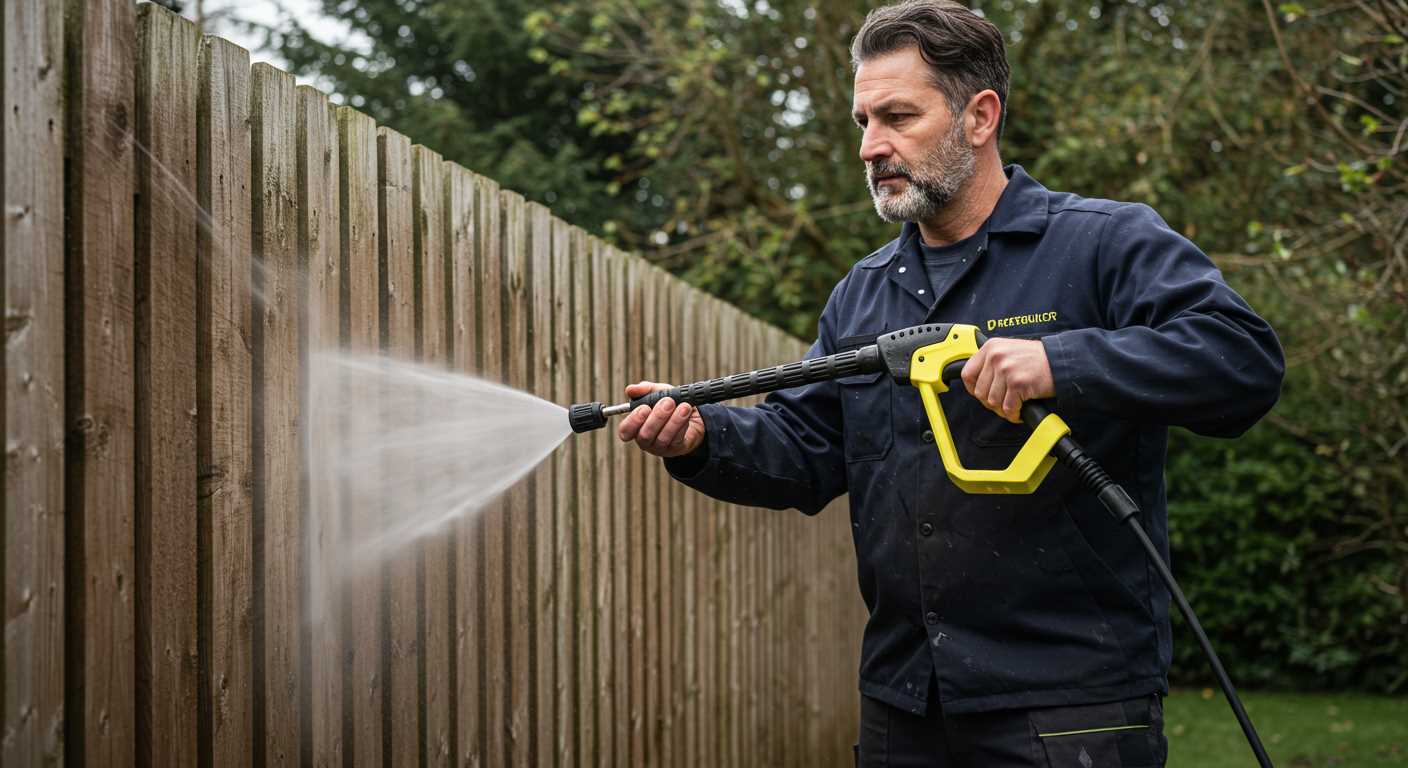
Locate the water inlet and use a standard garden hose to connect it. Before switching on the motor, run the hose for a minute to flush out sediment. Tighten connections by hand to prevent any leakage.
Power Connection
Plug the power cord into the socket, confirming it’s a suitable voltage for your model. Check the switch; it should be off before turning on the main power. Once everything is connected, you can activate the system.
Selecting the Appropriate Nozzle for Different Cleaning Tasks
Select the right nozzle to achieve optimal results for various cleaning needs. For instance, the 0-degree nozzle generates a concentrated jet suitable for removing tough stains from hard surfaces like concrete or stone. This high-pressure setting is ideal for grime removal but requires careful handling to avoid damage.
The 15-degree nozzle provides a wider spray while still maintaining a strong pressure, making it perfect for stripping paint or cleaning patios. It balances power and area coverage effectively, reducing the risk of surface damage.
If your task involves washing vehicles or delicate surfaces, opt for the 25-degree nozzle. This produces a broader spray that gently cleans without scratching the paint. This setting is excellent for cleaning cars, bikes, or outdoor furniture.
For lighter-duty tasks, such as rinsing away dirt from windows or garden equipment, the 40-degree nozzle is your best choice. It disperses water in a wide arc, allowing for gentle cleaning without the high pressure that could cause harm.
When dealing with soap application, a specialty nozzle may be beneficial. These nozzles often feature a specific design to mix soap with water effectively, ensuring an even application that adheres well to surfaces.
A proper understanding of nozzle pressure levels can save time and enhance cleaning efficiency. Always assess the surface you are cleaning, as using an inappropriate nozzle can lead to damage or ineffective cleaning. By selecting the correct attachment based on your task, you’ll ensure superior results while prolonging the life of your equipment.
Connecting and preparing the water supply correctly
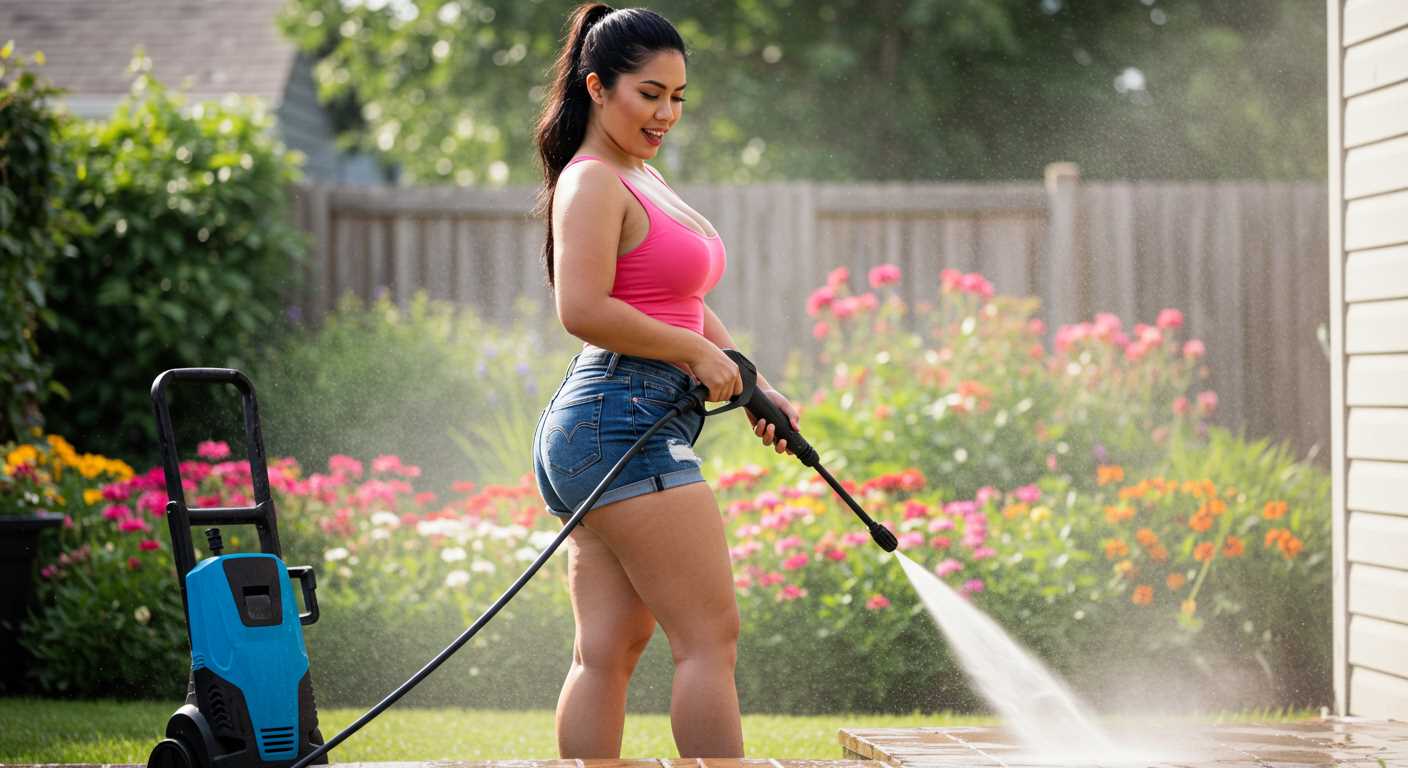
Begin with ensuring that the water source is accessible and has adequate pressure. Connect a standard garden hose to the water inlet on the device and ensure it fits securely to prevent leaks. I recommend using a hose that is free from kinks or twists; this can hinder water flow.
Before switching on the equipment, it’s advisable to run water through the hose for a minute to eliminate any debris or impurities. This precaution will help protect internal components from damage.
Check that the water supply has a minimum pressure of 1 bar for optimal operation. Additionally, ensure that the water temperature does not exceed 50°C; high temperatures can lead to malfunctions.
Once the hose is connected and verified, switch on the water supply, allowing water to flow freely until it is clear. This indicates that the line is purged of air. Subsequently, you can proceed to start the cleaning equipment.
For added convenience, consider using a quick-release connector for efficient setup and takedown in the future. This small investment enhances your workflow significantly.
Adjusting the Pressure Settings for Various Surfaces
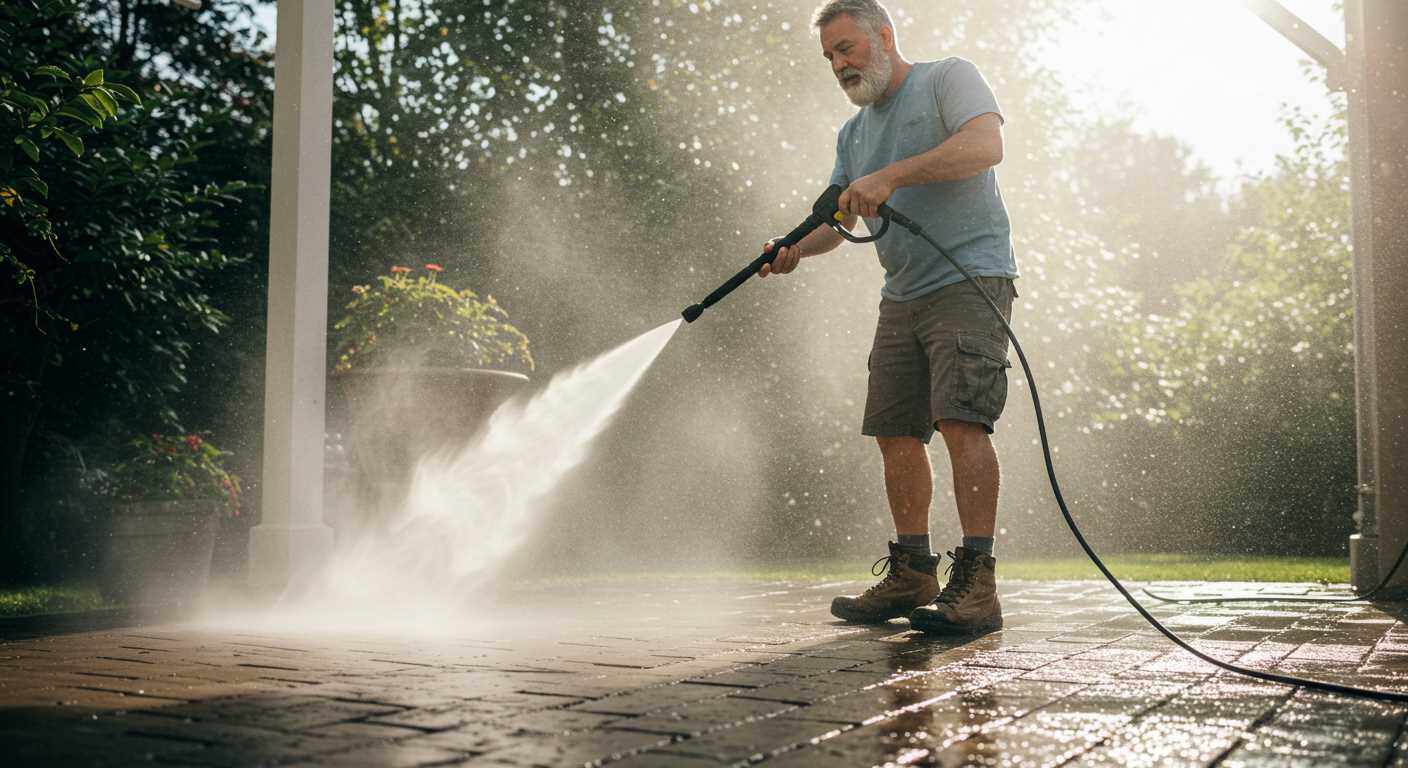
Choose the correct pressure level for your specific cleaning challenge to avoid damaging surfaces or achieving subpar results. Here’s how to adapt the pressure force based on the material being cleaned:
Concrete and Brick
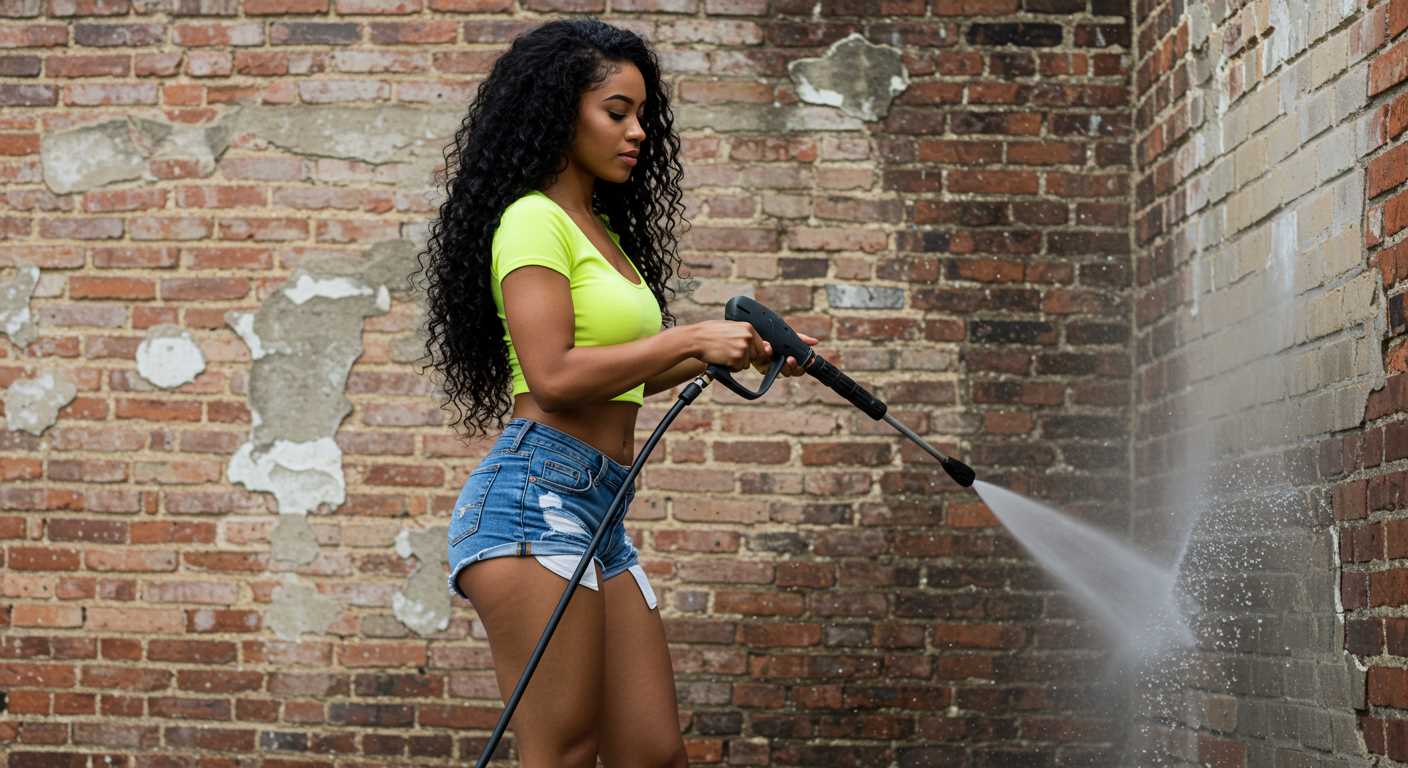
- Set the pressure gauge between 2000 to 3000 psi for optimal cleaning.
- This range effectively removes grime, oil stains, and dirt.
- Keep the nozzle at a 45-degree angle to prevent etching.
Wooden Decks and Fences
- Utilize a lower setting, around 1000 to 1500 psi, to safeguard the wood grain.
- A wider spray pattern is recommended to avoid splintering.
- Regularly maintain a distance of 12 to 18 inches from the surface.
Cars and Bicycles
- Adjust to 1200 to 1900 psi to clean without risking paint damage.
- Always use a nozzle attachment designed for vehicles.
- Keep the nozzle moving to prevent concentrated blasts that might chip the finish.
Patios and Garden Furniture
- A pressure range of 1500 to 2000 psi will suffice for stone and plastic surfaces.
- Incorporate cleaning solutions specifically made for outdoor furniture.
Sensitive Surfaces (Glass and Painted Surfaces)
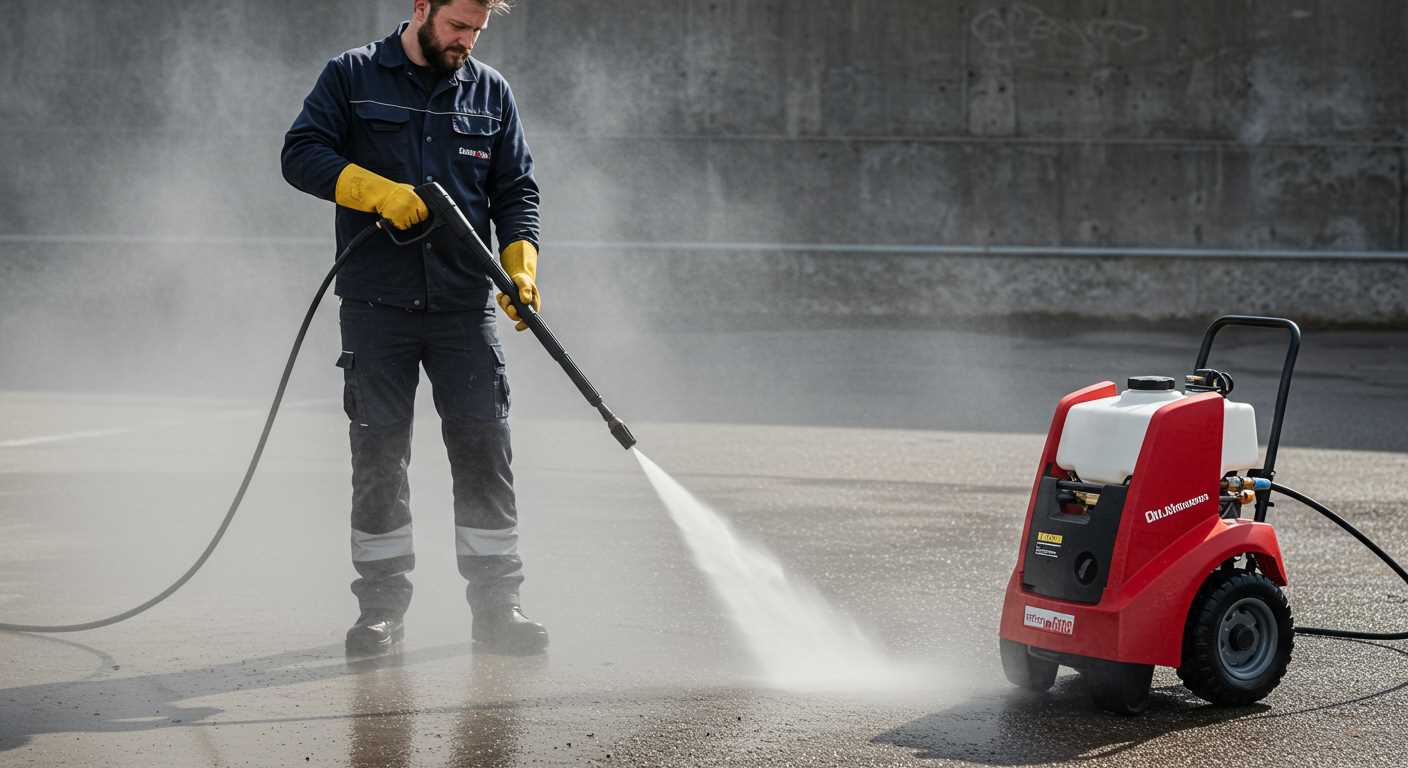
- Stay below 1200 psi to mitigate the risk of breakage or peeling paint.
- Utilise a fan spray pattern for even distribution.
- Maintain a safe distance and keep the nozzle moving steadily.
Adjusting pressure can vary cleaning efficacy, helping to protect materials while achieving satisfactory results. Ensure proper settings to obtain the best performance from your equipment across different tasks.
Safety Precautions to Consider While Operating the Washer
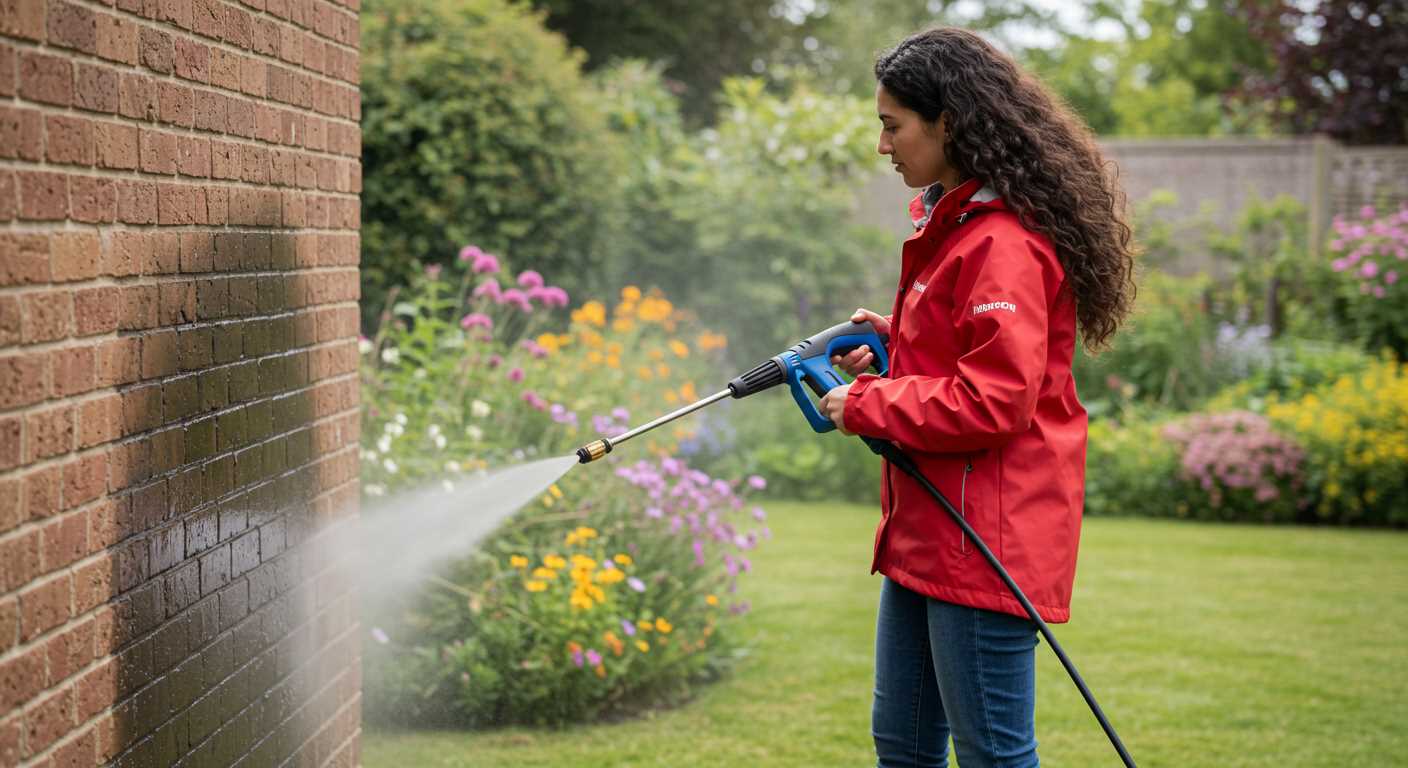
Ensure that protective eyewear is worn at all times. The force of the water can dislodge small debris, posing a risk to your eyes.
Maintain a safe distance from electrical cords and sockets. Avoid operating near live electrical equipment or in wet conditions to prevent electrocution.
Keep children and pets at a safe distance. Create a designated area for them away from the work zone to avoid accidents.
Always check the area for any obstacles or hazards such as rocks, glass, or loose objects before starting the cleaning task.
Regularly inspect hoses and fittings for leaks or damages. Replace any worn parts immediately to maintain safe operation.
Safe Handling of Equipment
Use two hands on the trigger gun. This helps maintain control and prevents drops that could potentially cause injury.
Do not point the nozzle at yourself or others during operation. This can lead to serious injuries due to the high-pressure spray.
Be cautious when using chemical detergents. Follow the manufacturer’s instructions for dilution and handling, and ensure proper ventilation when working with these substances.
Emergency Procedures
Have a plan for emergencies. Know where the nearest first aid kit is located and understand how to use it. In case of injury, seek medical attention quickly.
Have an emergency shut-off method in place. Familiarise yourself with how to quickly disconnect the water and power supply in case of a malfunction.
| Precaution | Action |
|---|---|
| Eye Protection | Wear safety goggles |
| Child Safety | Keep them at a distance |
| Electrical Safety | Avoid wet conditions |
| Hose Inspection | Check for damage |
| Control | Two hands on the trigger gun |
Maintenance tips to prolong the life of your high-pressure cleaner
Regularly check and replace the water filter to prevent clogs that can damage internal components. A clean filter ensures unobstructed water flow and maintains optimal performance.
After each session, run clean water through the machine for a few minutes. This helps remove detergent residues and debris, reducing the risk of internal corrosion and blockage.
Inspect and maintain various components
Periodically examine the hoses for signs of wear, leaks, or cracks. Replace damaged hoses immediately to maintain water pressure and avoid danger during operation.
Ensure the nozzle and spray lance are free from debris. Use a soft brush to clean them without scratching the surfaces. This action prevents inconsistencies in spray patterns and keeps the motor running smoothly.
Store your equipment properly
When not in use, store in a cool, dry place. Avoid exposing the machine to freezing temperatures, as this can cause water to freeze in the pump and lead to irreversible damage.
Finally, adhere to the manufacturer’s guidelines for maintenance. Regular servicing, as outlined in the manual, will help identify potential issues before they become significant problems, ensuring longevity and reliability in the long run.


