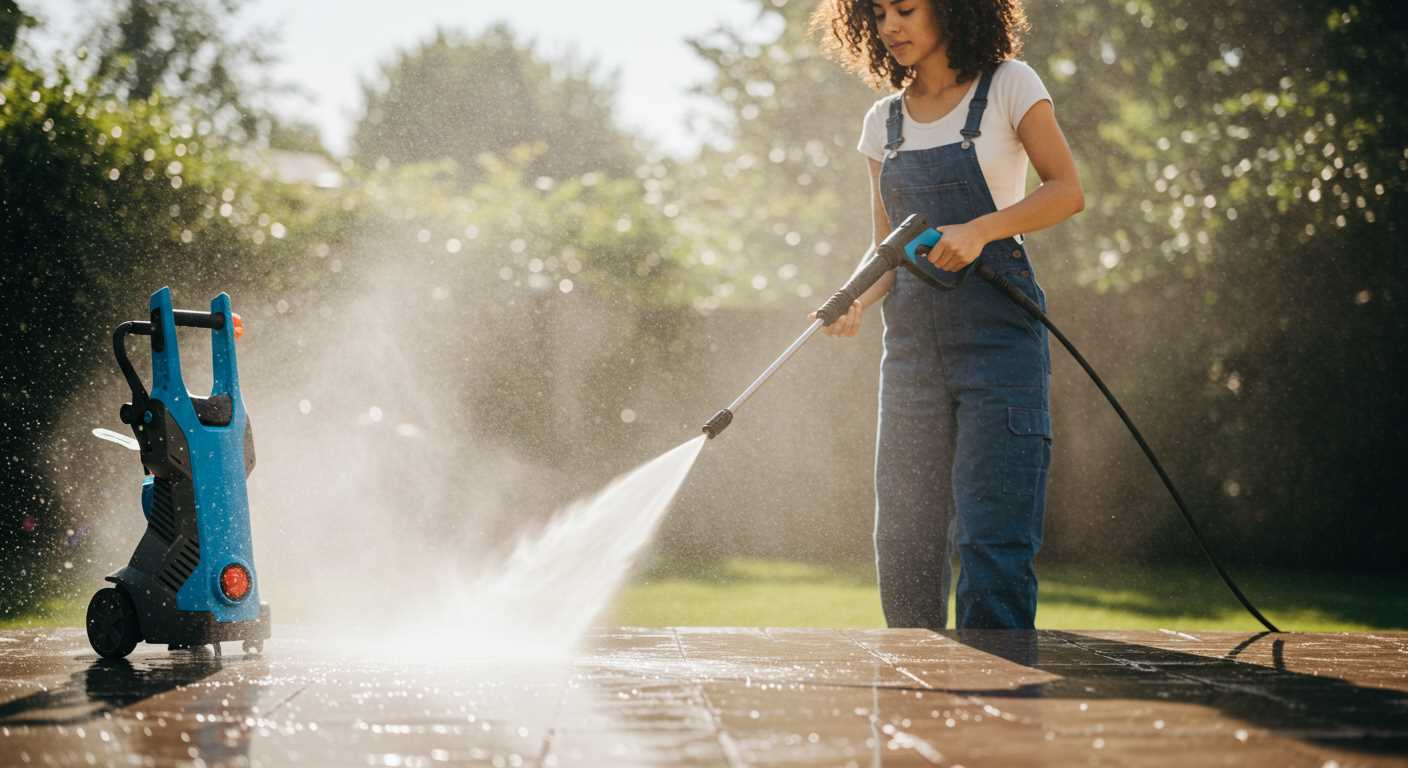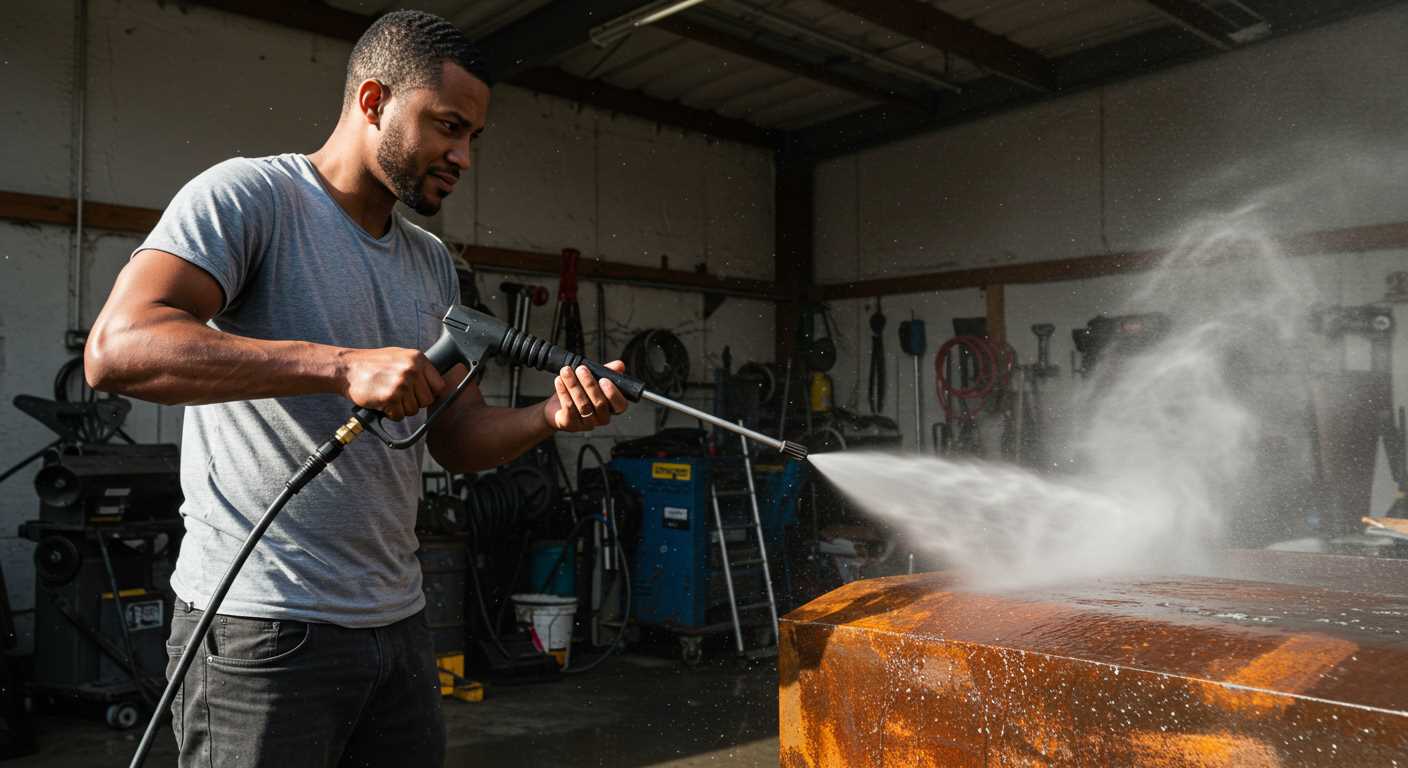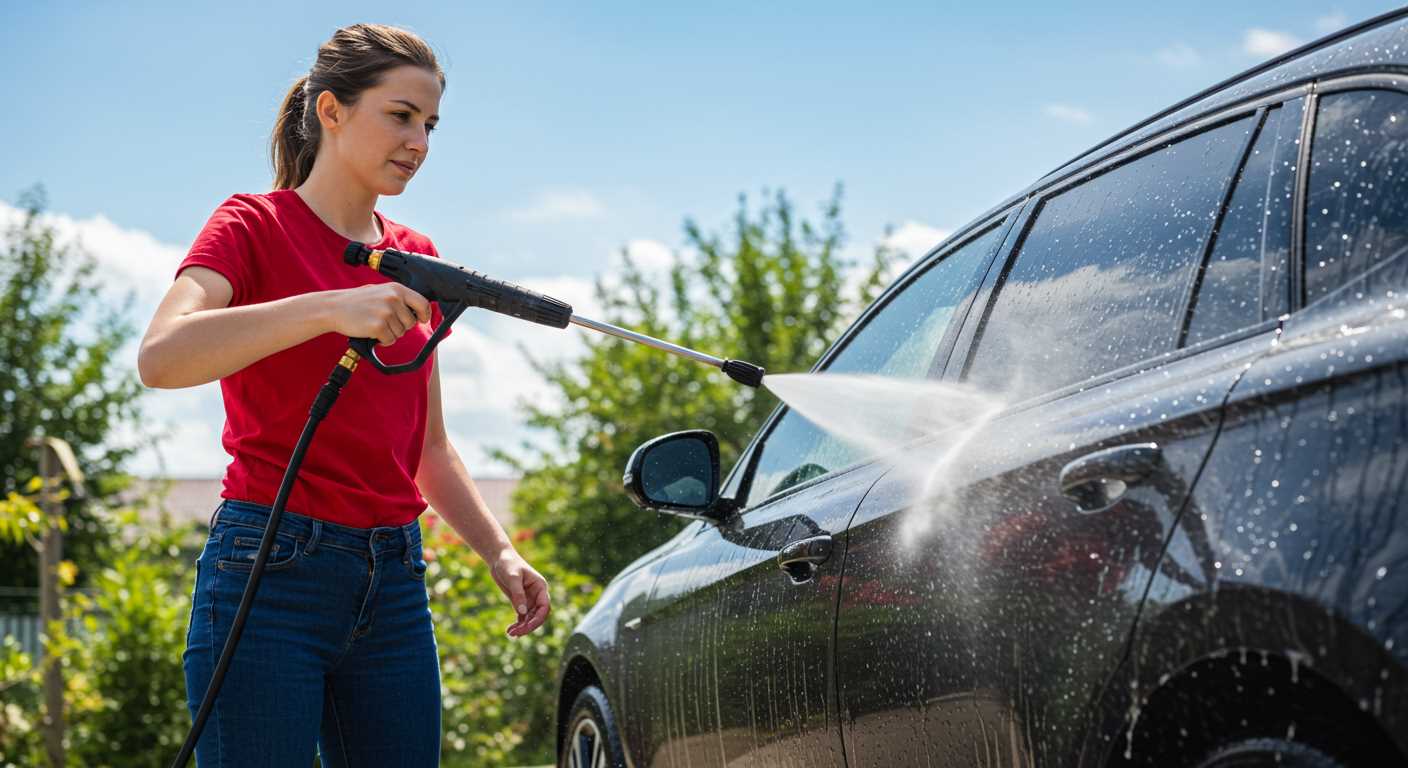


Combine a non-toxic cleaner with a high-pressure sprayer for remarkable results. Start with a dilution ratio of one part cleaner to ten parts water. This mixture offers sufficient potency while remaining gentle on surfaces.
Incorporate this solution into the detergent tank of your cleaning machine or apply it directly to the surface needing attention. Allow it to sit for a few minutes, enabling it to penetrate grime and stains effectively.
When ready to rinse, adjust the machine to its highest setting while maintaining a safe distance from the surface to avoid damage. Work methodically from the top down, ensuring thorough coverage and efficient removal of the cleaner along with built-up dirt.
Post-cleaning, always rinse the equipment to prevent residue buildup. A clean sprayer assures longer-lasting performance and prevents cross-contamination during future tasks.
Selecting the right Simple Green product for your pressure cleaning needs
Begin with identifying the surfaces that require cleaning. For heavy-duty tasks like removing grease, grime, and oil stains from driveways or machinery, the Pro HD Cleaner is suitable. For lighter applications such as washing vehicles or outdoor furniture, the All-Purpose Cleaner is a better choice.
Next, consider the type of equipment being utilised. If your machine has a detergent injection system, opt for a concentrated formula that can be diluted according to the manufacturer’s instructions. A product like the Simple Green dPro 3+ Cleaner works well in systems designed for soap injection.
Evaluate the environmental impact. Many options are biodegradable and non-toxic, making them safe for use around plants and pets. Look for labels that highlight eco-friendliness if this is a priority for your cleaning routine.
Finally, always perform a patch test on a small, inconspicuous area before full application. This ensures compatibility with the surface and helps avoid any potential damage.
Preparing Your Equipment for Cleaning with an All-Purpose Solution

Before beginning the cleaning process, ensure the machine is set up correctly. Disconnect the water source and remove any existing detergent. Flush out any residual product from the tank and line.
Steps to Prepare
1. Inspect the Equipment: Check for any damages or wear and tear on the hoses and attachments. Replace anything that looks compromised.
2. Dilute the Cleaning Solution: Follow the manufacturer’s recommendations on dilution ratios for the specific product chosen. This ensures optimal cleaning without damaging surfaces.
3. Fill the Tank: Pour the diluted mixture into the detergent tank. Avoid overfilling to prevent leaks during operation.
4. Adjust the Nozzle: Select a medium-pressure nozzle for optimal results. A narrow nozzle may create high pressure, which can damage delicate surfaces.
5. Connect to Water Source: Securely attach the hose to both the water source and machine, ensuring there are no leaks.
Final Checks
Ensure all connections are tight and that the detergent system functions properly. Perform a quick test spray on a small, inconspicuous area to assess the cleaning effectiveness before thorough application.
| Step | Details |
|---|---|
| Inspect Equipment | Check hoses and attachments for damage. |
| Dilute Solution | Mix according to the product guidelines. |
| Fill Tank | Pour diluted cleaning fluid carefully. |
| Adjust Nozzle | Select a medium-pressure nozzle for safety. |
| Connect Water | Ensure a secure attachment at both ends. |
Mixing Simple Green with Water: Ratios and Recommendations

The recommended dilution for optimal cleaning performance is a mix of one part concentrate to ten parts water (1:10). For tougher stains or heavily soiled surfaces, adjust the ratio to one part concentrate to five parts water (1:5). In cases of extreme grime, use a 1:3 ratio, ensuring to test it on a small area first.
Always mix in a clean container to maintain product integrity. After preparing the solution, ensure your cleaning device is switched off before adding the mixture to prevent any potential hazards. For consistency, measure accurately using a measuring cup or similar tool.
Store any unused mixture in a sealed container away from direct sunlight and extreme temperatures to preserve its cleaning potency. Before starting your task, stir the solution gently to ensure uniformity. For optimal results, apply the mixture directly onto the surface with a wide fan spray and allow it to sit for a few minutes, but do not let it dry.
Applying the Solution Safely on Various Surfaces
Always conduct a spot test on a small, inconspicuous area before applying any mixture extensively. This ensures compatibility with the material and prevents damage. For painted surfaces, keep the nozzle at least 12 inches away to avoid stripping or damaging the paint. In case of brick or masonry, a more concentrated mix can effectively eliminate grime, but avoid prolonged exposure to prevent erosion.
Delicate Materials
For surfaces like wood or composite decking, dilute the formulation significantly. Maintain a lower pressure setting to avoid splintering or harming the finish. Rinse promptly to remove any residue and protect the material from damage.
Non-Porous Surfaces
On metal or concrete, a standard ratio works well. These surfaces are less susceptible to harm, but excessive pressure can produce unwanted etching or pitting. Always follow with a thorough rinse to eliminate any leftover solution, keeping in mind to watch for slip hazards during the cleaning process.
Utilising these precautions ensures optimal cleaning without compromising surface integrity, allowing for effective maintenance of various materials.
Cleaning techniques: optimal pressure settings for different jobs
For efficient outcomes, selecting the correct pressure levels is crucial. Here are recommendations based on various tasks:
- Cleaning concrete surfaces: I typically set the machine to 2500-3000 PSI. This range effectively removes dirt, oil, and stains.
- Washing vehicles: A gentler setting of around 1300-1600 PSI is ideal to avoid damaging paint while still removing grime.
- Decks and patios: For wood surfaces, I recommend 1200-1500 PSI to prevent splintering and ensure thorough cleaning.
- Brick and masonry: Use approximately 2000 PSI. This effectively cleans without compromising the integrity of the material.
- Fencing: Around 1500-2000 PSI works best for various materials, ensuring dirt is removed without excess force.
Adjusting the nozzle can also enhance cleaning efficacy. A narrow spray pattern increases pressure in a focused area, while a wider spray disperses the force over a broader surface. This adjustment maximises results and minimises potential damage.
Before commencing any task, always test a small, inconspicuous area first. This ensures the chosen setting does not cause unwanted effects on the surface being cleaned. By adhering to these guidelines, you’ll achieve outstanding results tailored to each specific cleaning requirement.
Cleaning and maintaining your equipment after use

After each cleaning session, it is crucial to perform routine maintenance for the longevity of your machine. Start by disconnecting the detergent system and flushing it with clean water to eliminate any residual cleaning solution. This prevents clogging and ensures optimal performance during future applications.
Next, clear out any debris or buildup from the nozzles and filters. A clogged nozzle can drastically reduce cleaning efficiency, so use a soft brush or compressed air to restore proper function. For the filters, inspect and rinse them thoroughly, replacing any that show signs of wear or damage.
Check the hose for kinks or cracks. Ensure it is properly coiled to avoid unnecessary stress and potential leaks. Store it away from direct sunlight to prevent premature deterioration of the material.
Inspect the machine’s exterior for any signs of dirt accumulation or damage. Wipe down the surface with a damp cloth and a mild cleaner to maintain its appearance. Regularly check for loose screws or components, tightening any that may have come undone during operation.
Lastly, store your device in a dry and secure location. Keeping it protected from harsh weather conditions will significantly increase its lifespan and readiness for the next task.


