


To begin, ensure the unit is on a stable surface and securely positioned. A few moments spent checking this can prevent accidents during operation.
Next, connect the water supply to the inlet, ensuring it’s tightly fitted to avoid leaks. When attaching the hose, inspect for kinks or damages that could impede water flow. It’s crucial to prime the machine before starting, which involves running water through the unit while the trigger is engaged until a steady stream emerges.
Before powering on, select the appropriate nozzle based on your cleaning needs–nozzles typically range from wide spray patterns for delicate surfaces to narrow streams for tough grime. Adjust the spray angle accordingly, which can help in tackling various tasks efficiently.
After setting the nozzle, plug in or start the machine per the manufacturer’s guidelines. Gradually press the trigger to release water, keeping a safe distance from surfaces to avoid causing damage. Make systematic passes over the area, ensuring even coverage and allowing the cleaner to work effectively.
Lastly, always follow up by shutting off the water supply and releasing pressure in the system to prevent any accidents. Clean and store your equipment properly, maintaining the quality of your device for future use.
Selecting the Right Nozzle for Your Task
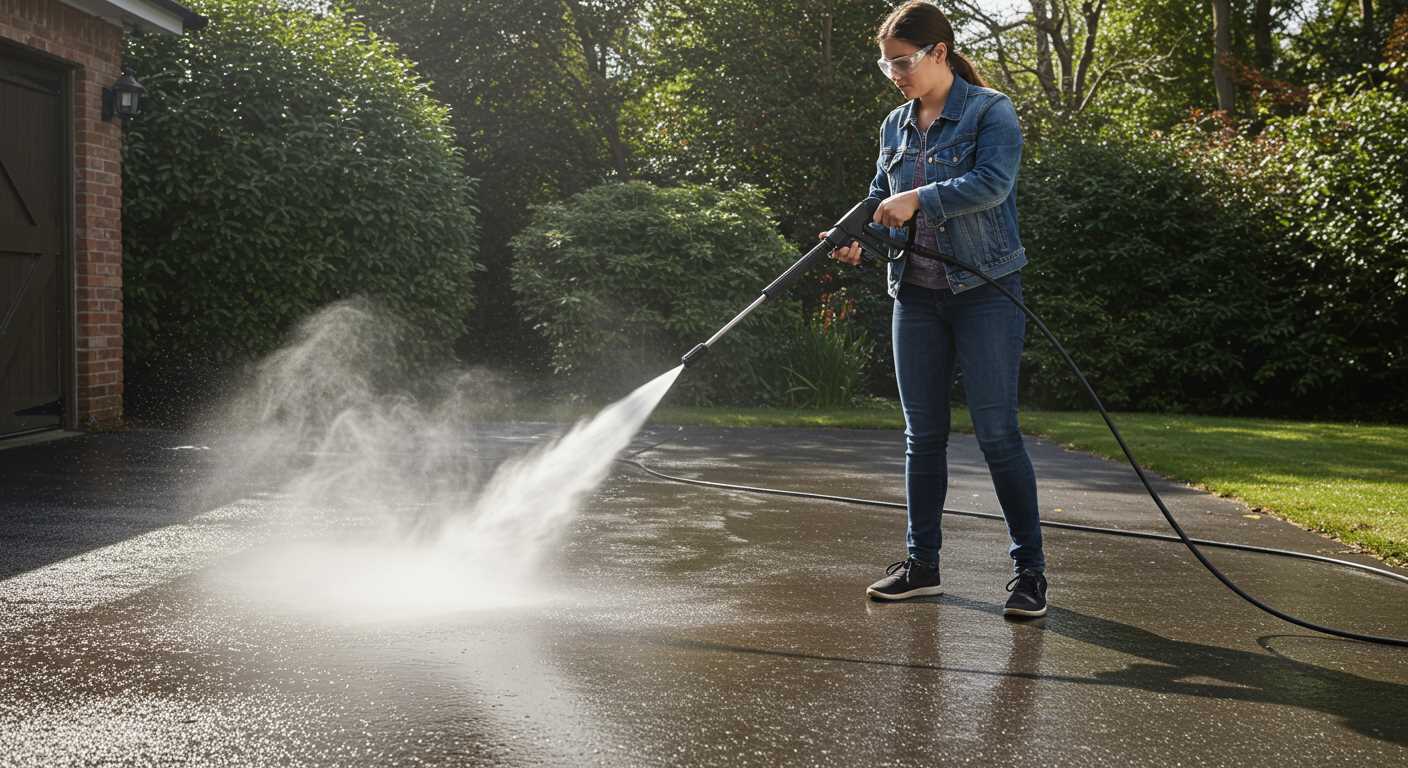
The correct nozzle is crucial for achieving optimal results with your cleaning device. I recommend choosing a nozzle based on the surface and type of grime you’re dealing with. Here’s a quick guide.
0° Nozzle
This nozzle delivers a concentrated, powerful jet of water, ideal for tough stains on hard surfaces like concrete or stone. It’s perfect for removing stubborn dirt, grease, or paint. However, be cautious as it may damage softer materials.
15° and 25° Nozzles
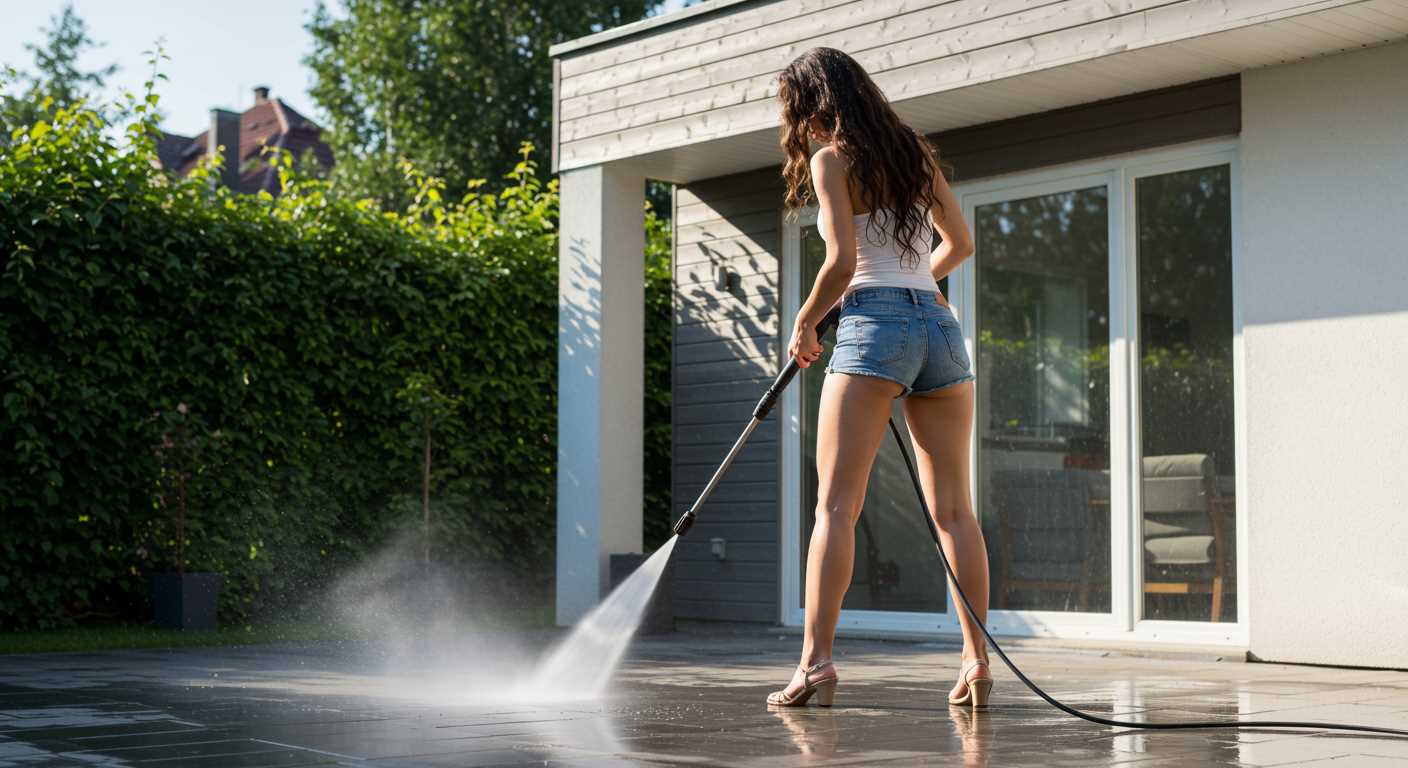
The 15° nozzle strikes a balance between power and coverage, suitable for heavy-duty tasks on surfaces like patios or decks. The 25° nozzle disperses the water at a wider angle, making it suitable for cleaning vehicles, outdoor furniture, and siding without risking damage.
For delicate cleaning, opt for the 40° nozzle, which provides a gentle spray, making it perfect for windows or plants. When uncertain, always test on an inconspicuous area first to gauge the appropriate setting. Matching the nozzle to the task ensures effective cleaning while protecting the surfaces involved.
Preparing the Equipment Before Use
Ensure fuel and oil levels are adequate. Check the manufacturer’s specifications for the correct type and quantity. If using a gas-powered unit, use fresh fuel without ethanol for optimal performance.
Inspecting Hoses and Connections

Examine hoses for any signs of wear, cracks, or leaks. Replace damaged components immediately to prevent potential issues during operation. Make sure all connections are tightly secured to avoid disconnections under high pressure.
Setting Up the Unit
Place the unit on a flat, stable surface away from any combustible materials. Position it close enough to the water source, ensuring the hose can reach without excessive tension. Attach the garden hose to the water inlet, ensuring it is firmly connected to avoid leaks.
Once everything is connected, turn on the water supply and check for leaks at the hose connections. If any leaks occur, tighten fittings until secure. This step is crucial for a smooth operation.
Proceed to turn on the machine’s power and let it idle for a few moments before engaging the trigger. This allows water to flow through the system, priming it for use.
These basic preparations help ensure a seamless experience and maintain the longevity of the equipment.
Connecting the Water Supply and Power Source
Attach a high-quality garden hose to the water inlet on the unit, ensuring a snug fit to prevent leaks. Use hose connectors if necessary to achieve a tight seal. The hose should be long enough to reach a water source without straining the unit.
Before connection, check the water supply for any debris. Clean the hose filter if your model has one, as blockages can restrict flow. Turn on the water supply and let it flow through the hose for a moment to flush out impurities.
For electrical connection, use a grounded outlet to reduce the risk of electrical shock. Ensure the circuit can handle the current required for operation. I recommend using a heavy-duty extension cord if the power source is far from the location of use. Verify that the extension cord is rated for outdoor use and matches the power requirements of the equipment.
Once connected, inspect all hoses and cords for wear or damage. Any fraying or cuts should be replaced before starting. Make sure to keep the power cord away from water sources to maintain safety throughout the operation.
After confirming a secure connection, switch the appliance on before starting the cleaning task. Listen for unusual noises which may indicate connection issues or malfunctions. With everything set up properly, you’re ready for optimal performance.
Adjusting Pressure Settings for Different Surfaces
For optimum cleaning results, adapting pressure levels to the surface type is critical. The pressure setting plays a significant role in avoiding damage while ensuring efficiency during cleaning tasks.
Generally, you can classify surfaces into three categories: hard, soft, and delicate. Each requires a specific approach regarding pressure adjustment.
| Surface Type | Recommended Pressure (PSI) | Notes |
|---|---|---|
| Concrete/Brick | 2700 – 3000 | Ideal for stubborn stains; ensure to keep a consistent distance to prevent etching. |
| Wood Decking | 1200 – 1800 | Lower pressure to avoid splintering. Maintain a sweeping motion. |
| Vinyl Siding | 1500 – 2000 | Effective for algae and dirt removal; keep nozzle at least 2 feet away. |
| Soft Paint Surfaces | 1000 – 1200 | Use a fan tip nozzle; direct pressure at an angle to minimise damage. |
| Automobiles | 1200 – 1900 | Avoid direct spraying on sensitive areas. Ideal for rinsing or light dirt removal. |
When tackling more resilient surfaces, you can gradually increase pressure as needed. Ensure to test on a small, inconspicuous area first to confirm suitability.
Regularly consult the manufacturer’s guide for further specifics and adjustments based on surface conditions and dirt levels. This practice helps to prolong the life of both equipment and surfaces being cleaned.
Techniques for Cleaning Various Surfaces
Concrete driveways benefit from a wide-angle nozzle at a high pressure setting. Keep a distance of around 12 inches to avoid surface damage while effectively removing oil stains and grime.
For wood decks, switch to a fan tip nozzle and lower the pressure. Maintain a distance of 24 inches to prevent splintering, making long, even strokes to clean without stripping paint.
Patios require a dedicated surface cleaner attachment. This device ensures uniform cleaning by covering a larger area and reducing streaks. Move it in slow, steady patterns for maximum effect.
Vehicles demand a gentle approach. Use a medium-pressure setting with a soap nozzle at least 24 inches away to avoid scratches. Rinse thoroughly to remove all residue after applying cleaner.
Brick surfaces require caution due to porous nature. A low-pressure setting with a rotary nozzle will provide a deep clean without damaging the structure. Utilize short bursts of water and scrub stubborn spots with a brush.
Lastly, outdoor furniture typically needs a moderate pressure setting. Employ a soap nozzle for tough stains, ensuring to rinse thoroughly to remove all cleaning agents that could damage material over time.
Safety Precautions While Operating the Pressure Cleaner
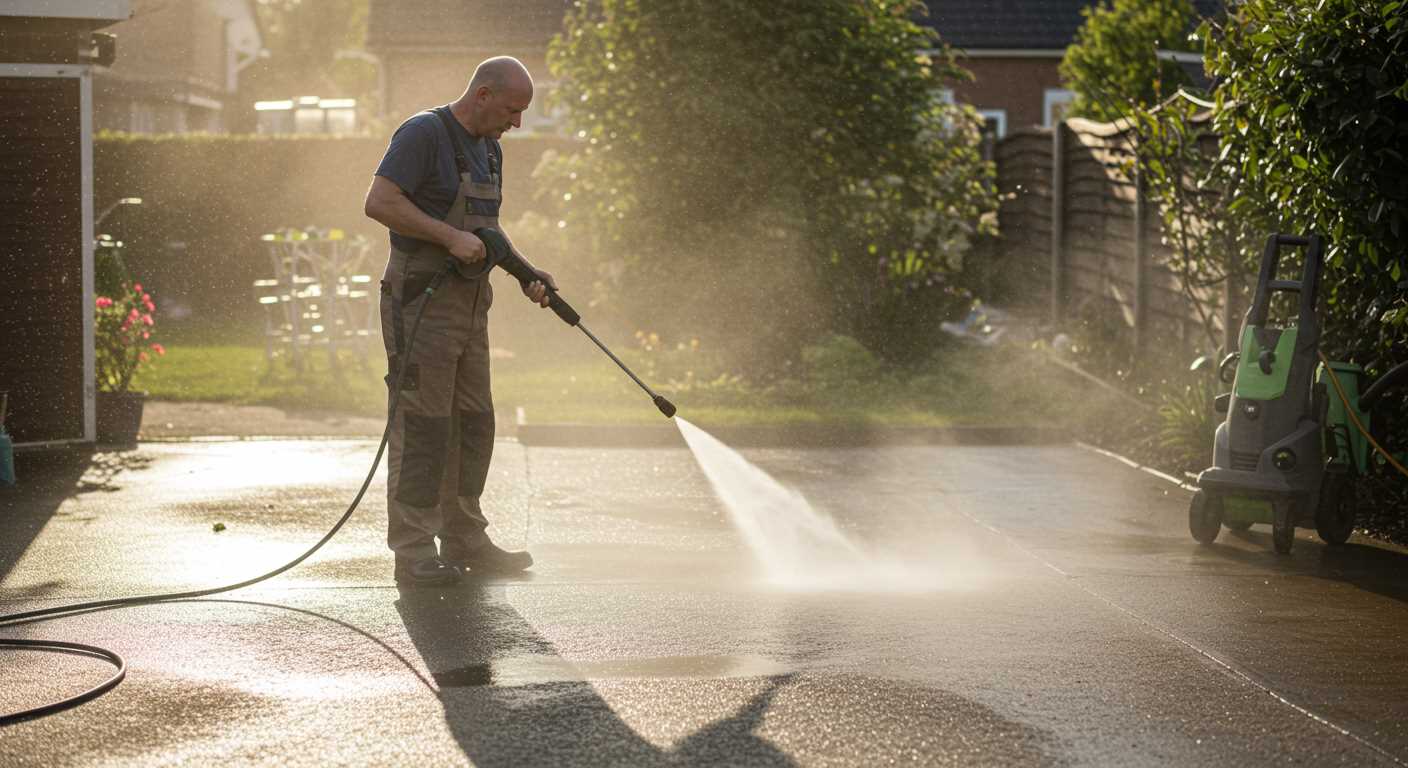
Always wear appropriate personal protective equipment, including safety goggles, gloves, and non-slip footwear. This will protect your eyes from debris and splashes, and your hands from high-pressure fluids.
Keep a safe distance from bystanders, particularly children and pets, during operation. High-velocity water can cause injuries and damage if directed towards anyone nearby.
Before starting, inspect all hoses and connections for wear and tear. A damaged hose can lead to unexpected bursts, potentially causing harm.
Make sure to use the correct extension cord for electric models. Avoid using an overly long cord to prevent overheating or fire hazards.
Never point the nozzle at yourself or others. Surfaces may deflect water, creating additional risk of injury.
Be cautious when cleaning elevated surfaces. Use stable ladders or platforms designed for safety. Never overreach, which can lead to falls or loss of balance.
Always turn off the machine and release pressure from the system before making any adjustments or switching nozzles. This reduces the risk of accidents from accidental discharge.
Store the equipment securely after use, shielding it from environmental elements that could affect its performance or safety.
Maintaining Your Pressure Cleaning Equipment After Use
After completing your cleaning tasks, it’s crucial to perform a few maintenance steps to optimise the lifespan and performance of your device. Start by turning off the motor and disconnecting the power source to ensure safety.
Clearing the Nozzle and Hoses
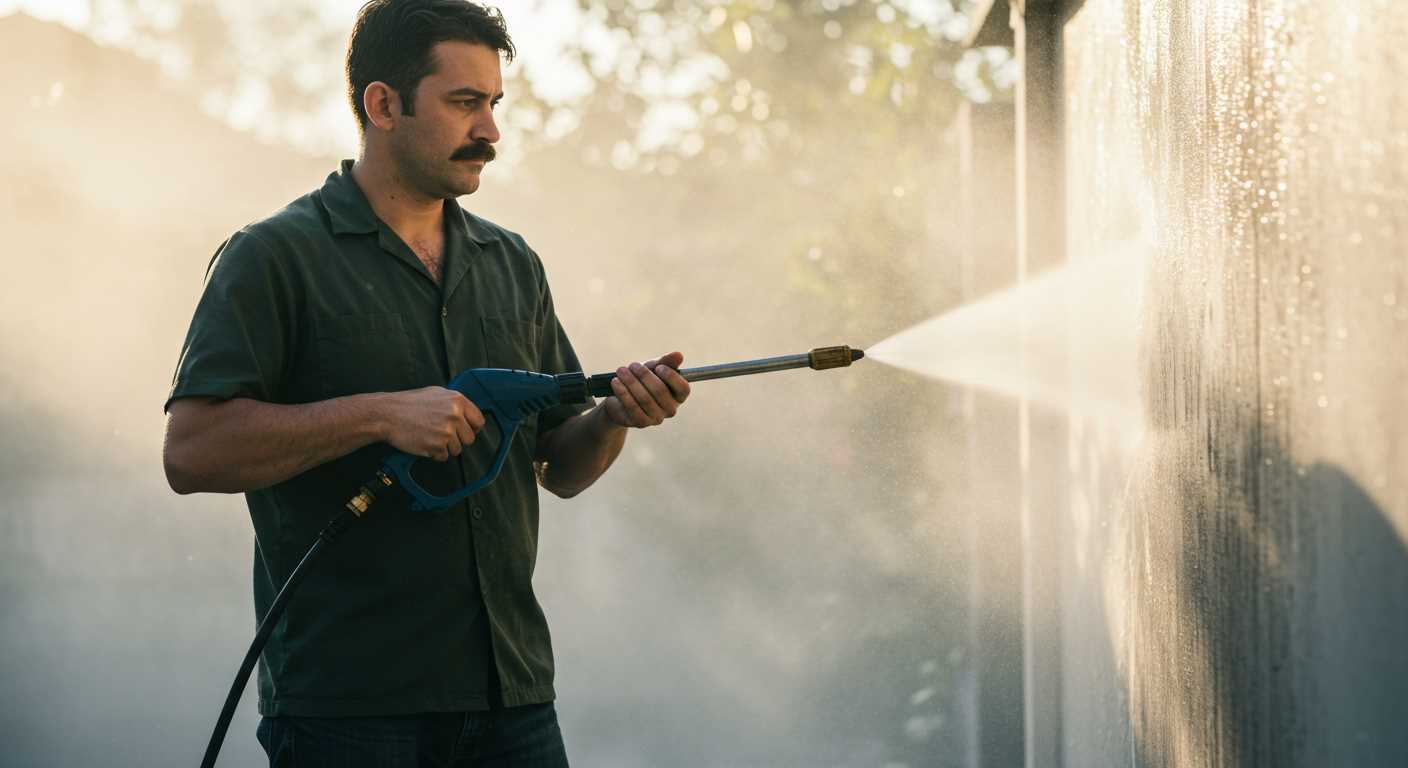
Detach the nozzle and inspect it for any debris. A clogged nozzle can diminish performance. Use a pin or a small wire to clear any blockages gently. Rinse the hoses with clean water to remove any residual detergent or dirt, which can cause build-up over time.
Drain Remaining Water
Remove the water connectors and allow the remaining water to drain completely. This prevents internal corrosion and helps avoid issues in freezing temperatures. If your model includes a detergent tank, empty it and rinse thoroughly to prevent residue that may affect future performance.
Finally, clean the exterior. Wipe down the body with a damp cloth to remove dirt and grime; this not only maintains aesthetics but also prevents rusting and damage to plastic parts. Store the unit in a dry place, shielded from harsh weather conditions. Regular post-use care will ensure reliability for future tasks.
Troubleshooting Common Issues During Operation
If water is not flowing through the nozzle, check for clogs or kinks in the hose. Ensure the water inlet filter is clean and unobstructed.
If the motor doesn’t start, confirm that it is plugged in and that the outlet is operational. Inspect the circuit breaker or fuse for any issues. For electric models, ensure that the power switch is in the ‘on’ position.
A persistent leak may come from loose connections. Inspect and tighten fittings, as well as check the seals on the detergent tank and hose connectors.
If pressure is inconsistent or low, ensure that the correct nozzle is attached for your task. Inspect the hose for any splits or cracks that could result in pressure loss.
For excessive vibration, examine if the unit is on a stable surface. Check for blockages in the intake area and make sure the nozzle is secure.
Should you notice unusual noises, disconnect the power immediately. Investigate the pump for wear or damage, and listen for any grinding sounds that indicate internal issues.
In case of detergent not dispensing, verify that the soap setting is activated. Ensure that the solution is properly mixed and that the tank isn’t empty.
For tips on preventing these issues, engage in routine maintenance checks on seals, hoses, and filters. Clear any debris from the inlet and keep connections tight to maintain optimal performance.


