

For anyone aiming to achieve a spotless finish, the dilution ratio stands out as a focal point. I recommend mixing the cleaning solution at a 1:10 ratio with water. This ensures optimal viscosity and adhesion to surfaces, creating a thick layer that clings effectively, lifting dirt and grime for an effortless rinse-off.
Next, focus on the attachment setup. Choose a high-quality lance equipped with a dedicated container for the mixture. Ensure it’s securely fastened to prevent leaks. Activate the machine at a low pressure initially, allowing you to distribute the product evenly across the area without splashing or losing significant quantities of the agent.
When applying, steadily sweep the lance in a side-to-side motion to cover all surfaces uniformly. This not only enhances the coverage but also aids in preventing streaks. Wait a few minutes for the formula to do its magic before rinsing it away at higher pressure, ensuring that you wash away all residues effectively for a complete clean.
Choosing the Right Snow Foam Solution for Your Vehicle
Select a high-quality cleaning agent specifically designed for automotive surfaces. Look for pH-neutral solutions to prevent damage to wax and sealants. Ingredients should effectively break down dirt, grime, and road contaminants without harming your paintwork.
Factors to Consider
Before purchasing, consider the following:
| Factor | Description |
|---|---|
| pH Level | A balanced pH prevents corrosion and protects the finish. |
| Viscosity | A thicker solution clings better to surfaces, enhancing cleaning performance. |
| Concentration | Choose concentrated options for cost-effectiveness; mix according to instructions. |
| Biodegradability | Opt for eco-friendly formulas to reduce environmental impact. |
| Compatibility | Ensure compatibility with your cleaning apparatus for optimal results. |
Recommended Brands
Reputable brands include Auto Finesse, Bilt Hamber, and Kärcher’s own range. Conduct personal tests to find what works best for your specific needs, as different formulations may yield varying results on various paint types.
Setting up your Karcher pressure washer for snow foam application
Begin by ensuring the correct nozzle is attached to your device. For this task, a wide-angle nozzle is ideal, as it allows for even distribution of the cleaning solution. Make sure the nozzle is securely fastened to avoid any leaks during operation.
Next, connect the solution container compatible with your machine. If your model comes with a dedicated canister, fill it with the pre-mixed cleaning agent according to the manufacturer’s guidelines. Always measure the correct dilution to achieve optimal results–too concentrated may risk damage, while too diluted might not clean effectively.
Adjusting Pressure Settings
Adjust the settings to a lower pressure level. Using high pressure can lead to splattering rather than a thick, even coating. A gentle application allows the product to cling better to surfaces, giving it time to break down dirt and grime.
Applying Clean Water
Prior to applying the cleaning solution, it’s beneficial to rinse the vehicle lightly. This step prepares the surface by removing loose dirt and debris, enhancing the effectiveness of the subsequent application.
Once everything is set up, test the application on a small, inconspicuous area first. This way, I confirm that the chosen mixture is safe for the surface and adjust as necessary. After confirming safety, proceed to cover the entire vehicle, paying attention to heavily soiled areas. Allow the cleaning agent to dwell as per product instructions before rinsing thoroughly.
Proper Technique for Applying Snow Foam Evenly
.jpg)
Prioritise an overlap technique while dispensing the cleaning product. This ensures no area is left untreated. Begin from the top of the vehicle, moving downwards to prevent drips and runs.
Steps for Even Application

- Adjust the nozzle for a wide fan spray. This allows for a broader coverage on the surface.
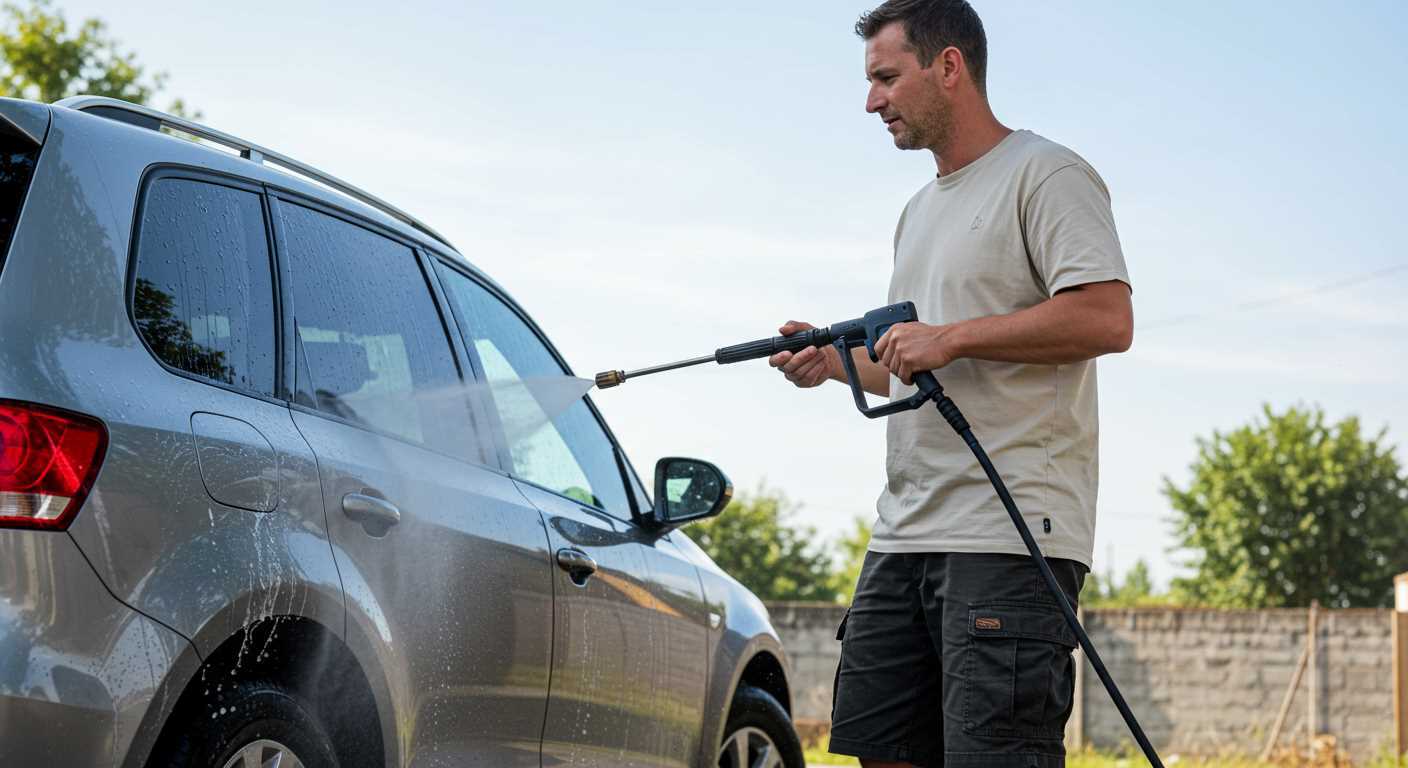
- Maintain a distance of around 2 to 3 feet from the vehicle to ensure a gentle application, minimising the risk of damage.
- Apply in horizontal strokes, ensuring that each stroke overlaps with the previous one by about 50%.
- Pay special attention to areas with heavy grime, repositioning if necessary to ensure thorough coverage.
- After the initial application, return to previously missed spots, ensuring no section is neglected.
Tips for Consistency
- Work on a cool surface; heat can cause the solution to dry too quickly, leading to uneven results.
- Experiment with your machine settings. A lower flow rate can help in achieving a thicker layer.
- Check the product dilution ratio as per the manufacturer’s instructions to ensure an optimal mixture.
Following these pointers will lead to a uniform layer, enhancing the effectiveness of the cleaning process and ensuring a spotless finish on your vehicle.
Optimal dwell time on different surfaces
The ideal contact time for the cleaning agent depends on the surface type. For painted car exteriors, a dwell time of 5 to 10 minutes is effective. It allows the solution to dissolve dirt without risking damage to the paint.
Glass and chrome surfaces
For glass and chrome, a maximum of 5 minutes is recommended. Prolonged exposure can lead to streaking or spotting. Rinse thoroughly before the cleaning agent dries.
Plastic and rubber trims
On plastic and rubber parts, aim for a dwell time of about 8 to 12 minutes. These materials can withstand a longer application, allowing for optimal dirt removal without degradation.
Monitoring the time actively ensures that the cleaning process is both efficient and safe across all surfaces. Adjustments may be necessary based on environmental conditions, such as temperature and humidity, to achieve the best results.
Rinsing and Finishing Touches After Snow Foam Application

Thorough rinsing is key after application. Adjust your nozzle to a wide spray pattern for an even distribution of water. Begin at the topmost section of the vehicle, working downwards to ensure that dirt and residues flow downwards, preventing streaks. Maintain a safe distance of about 2-3 feet from the surface to avoid scratches.
Final Inspection
After rinsing, inspect the vehicle for any remaining dirt particles or areas needing extra attention. If necessary, a gentle mitt wash with a pH-neutral shampoo can tackle spots that require further cleaning. Follow this with a careful rinse to remove any soap residue.
Drying Techniques
Utilise a microfiber drying towel for effective moisture removal, starting from the top and working your way down. For those hard-to-reach areas, consider a blower to prevent water spots. After drying, a wax or sealant application will provide added protection and enhance shine, completing the cleaning process.
Maintenance Tips for Your Karcher Pressure Washer and Foam Lance
Regular upkeep is paramount for longevity. After every cleaning session, detach the lance and nozzle. Rinse to dislodge any residues. This simple step prevents clogging and ensures optimal flow next time.
Routine Inspection
Examine hoses for wear and tear. Look out for cracks or leaks. Replace any damaged parts promptly to maintain pressure efficiency.
Storage Guidelines
- Store the unit in a dry location, protected from extreme temperatures.
- Coil the power cord and hoses without sharp bends to avoid damage.
- If storing for an extended period, consider using antifreeze through the system to prevent freezing in colder months.
Ensure your detergent tank is clean. Residues can hinder performance. Regularly flush it with water, especially after using different cleaning solutions.
Lastly, keep an eye on seals and gaskets. Replace them at the first sign of wear to prevent leaks during operation. This will enhance performance and ensure that your equipment operates smoothly.


