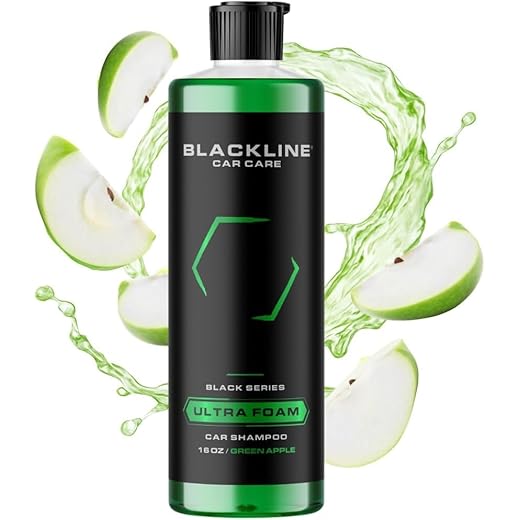


Start by selecting a detergent specifically formulated for high-pressure applications. These cleaners are designed to work in tandem with your device, enhancing its performance without causing damage. Always ensure compatibility with your equipment by consulting the manufacturer’s guidelines.
Before proceeding, prepare the area by removing any loose debris. This ensures that the cleaning solution can effectively penetrate stubborn grime. Mix the detergent according to the manufacturer’s instructions, paying close attention to dilution ratios to achieve optimal results.
Attach the detergent container to your machine, ensuring a secure fit to prevent leaks. Activate the machine and allow the solution to flow through the system, applying it from a distance of approximately 30 cm from the surface. This technique aids in even distribution while minimising risk of surface damage.
After a brief dwell time, switch to a high-pressure nozzle for rinsing. Always begin from the top of the surface and work downwards to avoid streaks. This final step effectively removes any remaining residue, leaving behind a clean finish.
Steps to Incorporate Cleaning Agents with High-Pressure Equipment
Begin with selecting the right cleaning agent that suits your application. Always opt for products specifically formulated for high-velocity equipment; these are designed to prevent damage while ensuring thorough cleaning.
Next, dilute the agent according to the manufacturer’s instructions. Over-concentration can lead to surface damage, while inadequate solution may hinder results. A typical dilution is around 10% cleaning agent mixed with 90% water, but always verify the concentration recommendations on the label.
Connecting the Solution Container
Attach the detergent container to your machine as per the manufacturer’s guidelines. Most modern units come equipped with dedicated tanks for liquids. Ensure that it fits snugly, preventing any leakage during operation.
Switch to the low-pressure nozzle before starting the machine, as this allows the cleaning agent to be evenly dispersed without causing damage to surfaces. Keep the nozzle about 30 to 60 cm away from the area being treated to avoid oversaturation and allow for thorough coverage.
Applying the Mixture
Activate the unit and apply the solution consistently across the surface, beginning from the bottom and moving upwards if dealing with vertical structures. This approach ensures that the solution doesn’t run down and cause streaking. Allow the agent to sit for several minutes to penetrate grime, but avoid letting it dry on surfaces, as this could lead to residue.
Following this application, switch back to a higher-pressure nozzle to rinse away the cleaning agent. Maintain a stable distance of approximately 30 cm from the surface to prevent damage during rinsing. Ensure thorough removal to avoid any residue, which might affect subsequent maintenance or cleaning tasks.
Selecting the Right Type of Cleaning Agent for Pressure Appliances
Choosing an appropriate cleaning solution hinges on the surface and type of dirt. For vehicles, opt for a pH-balanced formula that gently lifts grime without harming paint. These agents usually create a foam, aiding in adherence to vertical surfaces, ensuring dirt loosens effectively.
For outdoor furniture or decks, a biodegradable alternative helps break down organic stains such as mildew and algae. Additionally, ensuring compatibility with equipment prevents clogging or damage, which I’ve seen happen with harsh chemicals.
Concrete and stone surfaces require a stronger solution targeted at tough stains like grease or oil. Look for products specifically designed for such materials as they usually contain additives to penetrate and lift stubborn residues.
Always verify the manufacturer’s guidelines regarding dilution rates and application methods. Some agents are designed for use through a foam cannon, while others may perform better diluted in a bucket. Knowing the application process helps maximise the effectiveness of the cleaning process.
Lastly, environmental impact plays a role; prefer hypoallergenic and eco-friendly options whenever feasible. This consideration doesn’t compromise cleaning power but rather supports responsible maintenance practices.
Preparing Your Pressure Washer for Soap Application
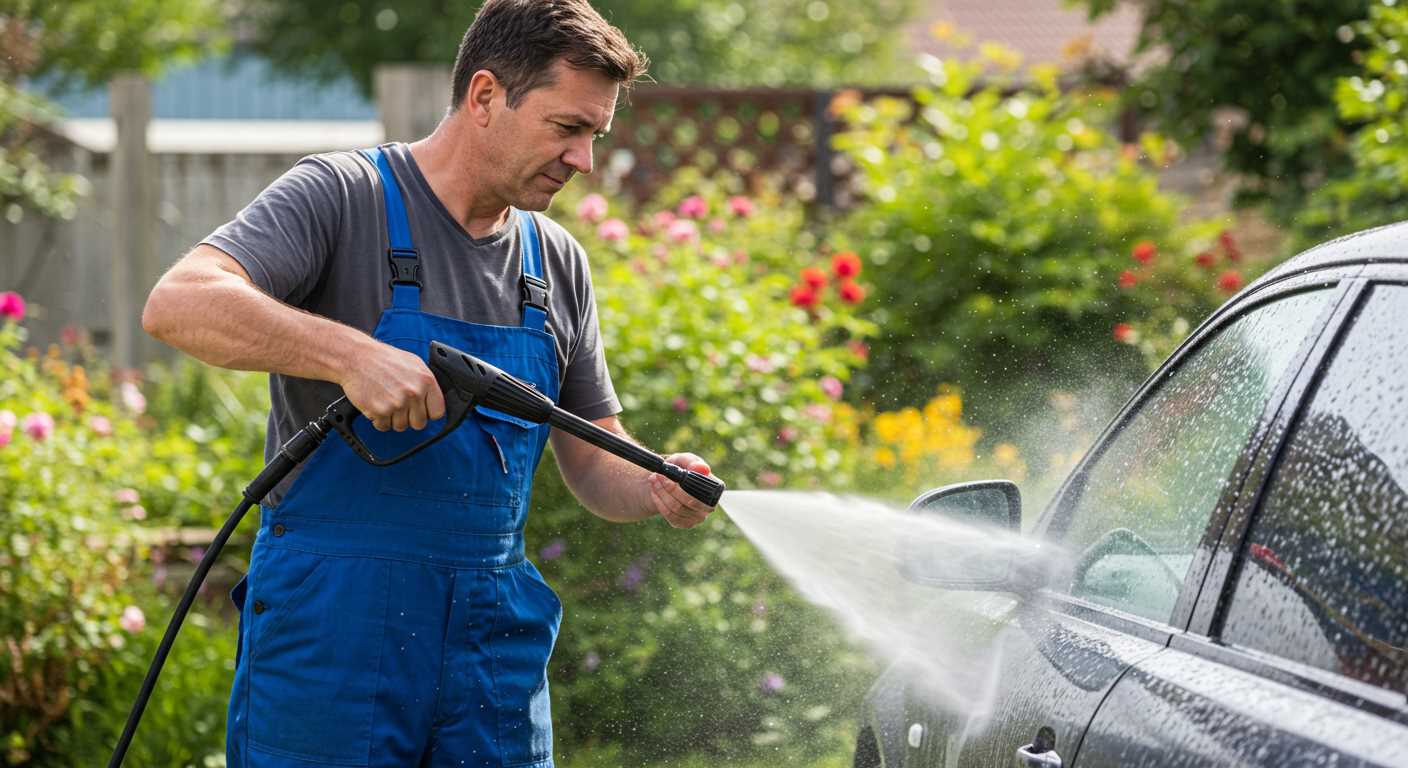
Ensure your machine is off and disconnected from the power source. Check the detergent tank and rinse it out with clean water to eliminate any residues from previous applications. This step prevents unwanted reactions from different chemicals.
Steps to Prepare the Unit
- Remove the nozzle from the lance. This allows for optimal flow when applying cleaning solutions.
- Attach the designated detergent nozzle, which typically has a wider opening to allow for a gentler application.
- If utilising an external detergent tank, connect it securely. Ensure there are no leaks.
Setting the Appropriate Pressure
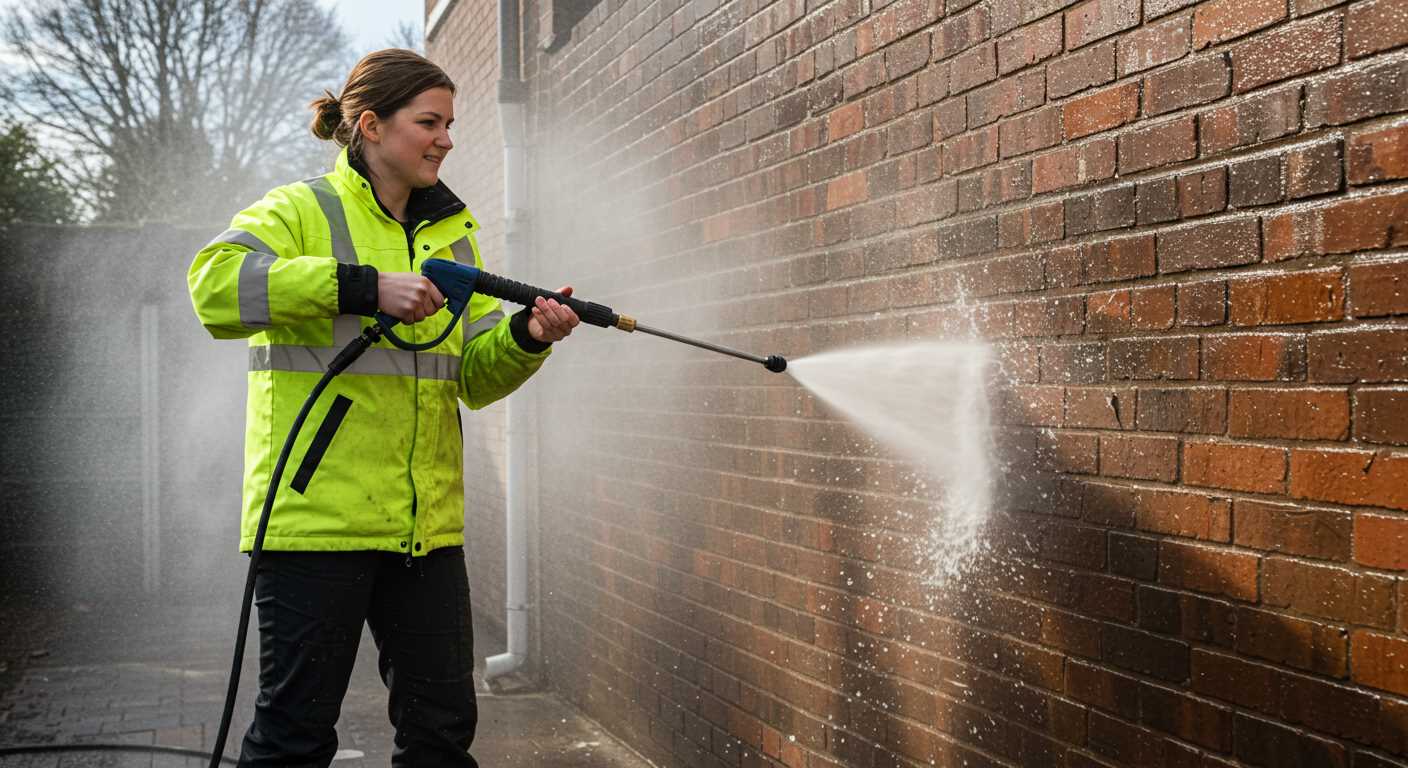
Adjust the pressure setting to a low or medium level. This prevents damage to surfaces and promotes even distribution of the cleaning agent. Always refer to the manufacturer’s guidelines for specific pressure recommendations regarding different types of surfaces.
Finally, check hoses and connections for any blockages. Clear any debris to guarantee smooth operation. Following these preparation steps will enhance the effectiveness of your cleaning experience.
Understanding the Correct Soap-to-Water Ratio
.jpg)
For optimal results, I recommend a soap-to-water ratio of 1:10. This means one part cleaning agent should be mixed with ten parts water, ensuring effective cleaning without leaving any residue. Always check the manufacturer’s guidelines for the specific detergent you’re using, as different formulations may require slight adjustments.
Measuring Your Ingredients
Using a measuring cup can provide precision when mixing. If you’re preparing a large batch, a 5-litre container works well. For a 1:10 ratio:
| Water (litres) | Cleaning Agent (ml) |
|---|---|
| 5 | 500 |
| 10 | 1,000 |
| 15 | 1,500 |
Keep in mind that thicker mixtures may not deliver the desired foam or spray, which can inhibit cleaning efficiency. Adjust as necessary and always test a small area first to assess the mixture’s performance.
Using the Right Equipment
Employ a chemical injector with clear markings for accurate dilution. This equipment allows for effortless switching between different mixtures as needed. Regular maintenance on this component ensures proper functioning and longevity.
Ultimately, the right ratio maximises both the cleaning effectiveness and the longevity of your cleaning equipment, leading to better satisfaction with the results.
Choosing the Appropriate Nozzle for Soap Dispensing
Opt for an adjustable soap nozzle, ideally one with a low-pressure setting. These nozzles allow for a wider spray pattern, making it easier to cover surfaces uniformly without causing damage. I recommend using a nozzle with a larger orifice size, ensuring adequate flow of cleaning solution without clogging. This prevents excess buildup and optimises the application of the detergent.
When selecting, consider the colour coding of nozzles. The white nozzle, typically a soap dispensing type, delivers a gentle spray suitable for applying the cleaning solution. Ensure compatibility with your machine model, as not all nozzles fit universally. A mismatched nozzle can impede performance and lead to ineffective cleaning.
Also, some machines feature an integrated detergent system that supports specific nozzles designed for this purpose. If your equipment falls into this category, confirm that you’re using the recommended nozzle for the best results. If utilising a standalone attachment, ensure it seals properly to avoid leaks and maximise suction of the cleaning solution.
Applying Cleaner to Different Surfaces Safely
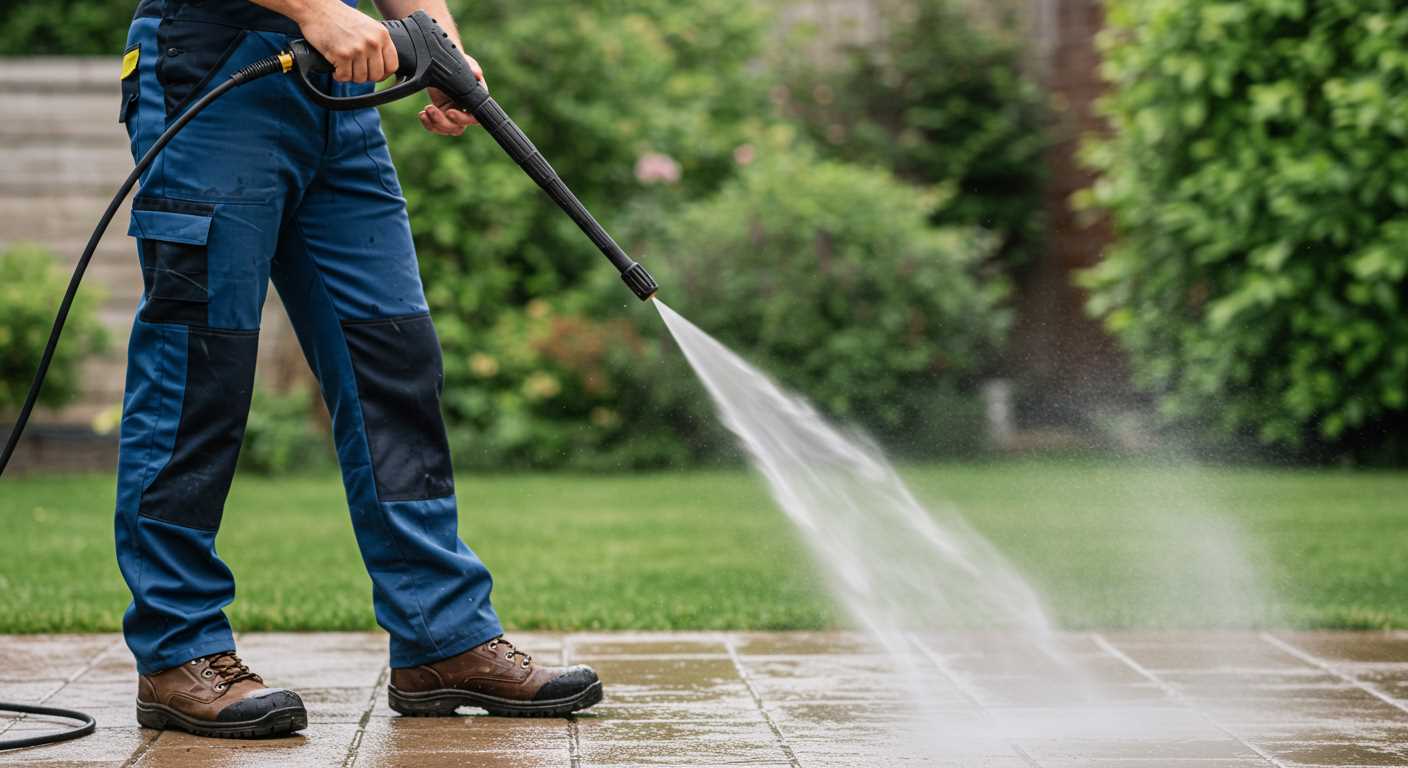
Begin by assessing the material of the surface you intend to treat. For painted surfaces, such as vehicles or garden furniture, always opt for a low-pressure settings to avoid damage. A fan spray nozzle will distribute the liquid evenly, ensuring thorough coverage without causing any harm.
When tackling concrete or brickwork, a more robust approach is often needed. In this case, utilise a dedicated cleaner formulated for tough stains. Allow the solution to dwell for a few moments before rinsing off. Use a wider nozzle to ensure an adequate flow, which helps to lift dirt effectively.
Vinyl siding requires a gentler touch. A diluted cleaner is best, with a focus on lower pressures to prevent dislodging the siding. Aim the stream at a downward angle, starting from the top and working downwards to avoid streaks. Be cautious around windows and doors to prevent liquid from entering.
For wooden decks, a specific wood cleaner is advisable. Apply it liberally but in a controlled manner. Use a wide spray pattern to distribute evenly, and follow up with a thorough rinse using a fan nozzle to remove any residue. Avoid prolonged exposure as this can lead to deteriorated wood integrity.
Glass surfaces benefit from a light cleaner and the widest nozzle available. This prevents streaks and enhances visibility. Always work in sections and follow up quickly with a rinse to ensure no product remains.
Lastly, check manufacturer instructions for specific materials, as they may offer tailored guidance for optimal results and surface protection.
Timing: How Long to Let Soap Sit Before Rinsing
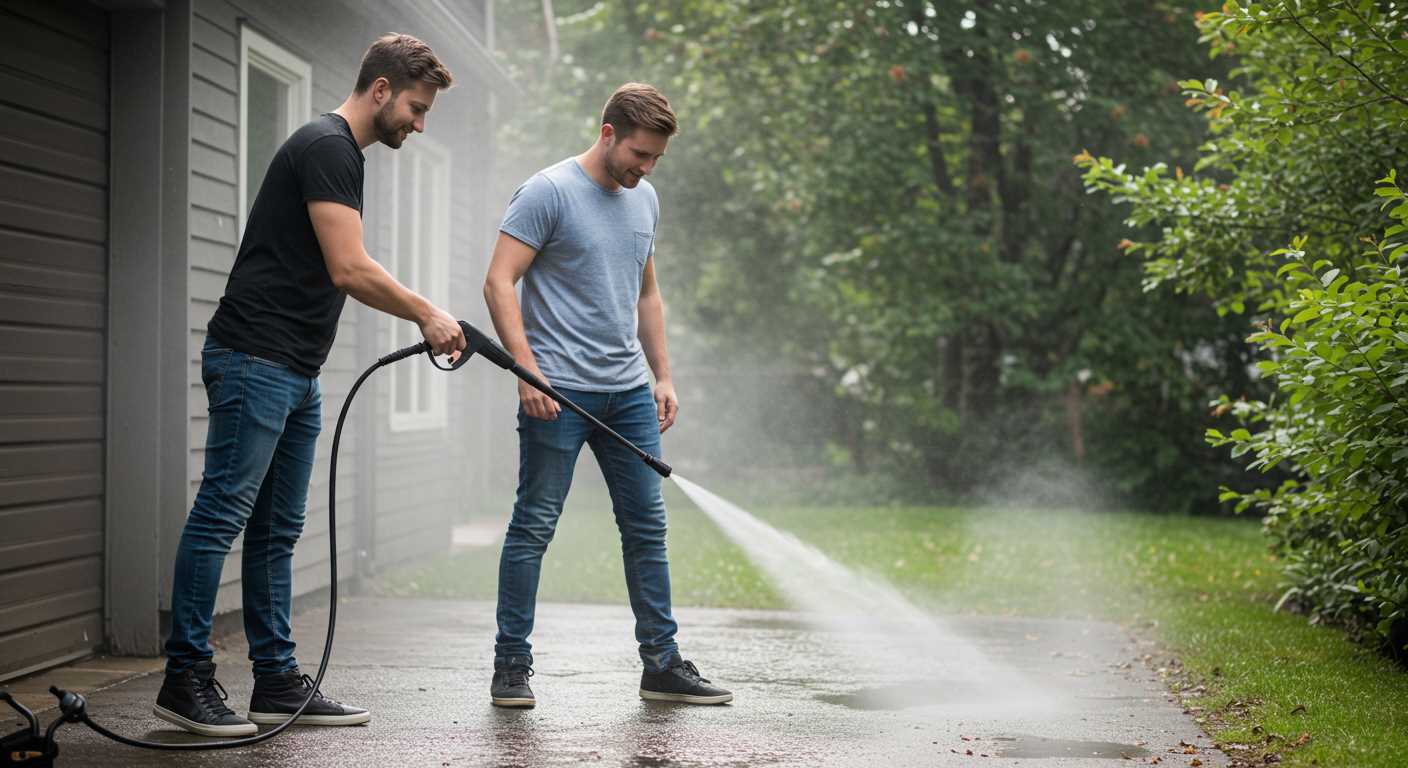
For optimal results, allow the cleaning agent to sit on the surface for 5 to 15 minutes, depending on the level of grime and the material being treated.
Consider the following points regarding timing:
- Delicate surfaces like vehicle paint require about 5 minutes, ensuring no damage occurs.
- Heavily soiled materials, such as concrete or brick, benefit from a full 15 minutes, enhancing penetration into the dirt.
- Factors like temperature and humidity impact the effectiveness of the cleaning solution. Higher temperatures may speed up the drying process, while high humidity can prolong it.
- Check the manufacturer’s instructions on the product label for specific recommendations as different formulas may have unique requirements.
- Always perform a spot test in an inconspicuous area before applying to the entire surface to avoid any adverse reactions.
Regularly check the surface during the waiting period to ensure the cleaning composition does not dry out. If it begins to dry, lightly mist the area with water to maintain effectiveness.
Rinsing Techniques for a Thorough Clean
After applying the cleaning agent, an efficient rinsing process is crucial for optimal results. Begin with a low-pressure nozzle to avoid damage to surfaces. This allows for precise control over the water flow, ensuring that the cleaning solution is removed without any lingering residues.
Maintain a consistent distance of about 12 to 18 inches from the surface. This helps in dispersing the water evenly and prevents concentrated jets that could harm sensitive materials. Sweeping motions are recommended rather than stationary spraying to effectively remove dirt and suds.
For vertical surfaces such as walls, start rinsing from the top and work downwards. This technique prevents dirty water from running down onto already cleaned areas, making your efforts more productive. Pay attention to corners and edges where residue tends to accumulate.
Adjust the pressure as necessary based on the surface type. While hard surfaces like concrete can withstand higher pressures, softer materials, such as wood or painted surfaces, may require a gentler touch. Always assess the condition of the material before selecting a pressure setting.
After rinsing, inspect the surface for any missed spots or remaining cleaner. If you find any, repeat the rinsing process on those areas to achieve a uniform finish. Final rinsing with clean water ensures there are no cleaning agent residues that could affect the surface over time.
Maintenance Tips for Your Equipment After Utilizing Cleaning Solutions
Immediately after finishing with the cleaning agent, empty the storage tank or tank connected to the unit. This prevents any residue from hardening or clogging the system. Rinse thoroughly with clean water to flush out any remaining solution.
Examine the nozzle for any buildup or deposits. Clean it if necessary, as blockages can obstruct the spray pattern or pressure. Use a small wire or toothpick to dislodge any material stuck in the nozzle.
Inspect hoses and connections for any signs of wear or damage. Rubbing against surfaces during operation can lead to leaks. Ensure they are properly secured and replace any defective components immediately.
Run the machine briefly with clean water after treating surfaces. This ensures all residual cleaning agent is expelled from the system. Operate for about 2-3 minutes to achieve optimal results.
Store the equipment in a dry environment away from direct sunlight. Protect it from freezing temperatures to prevent internal damage. Cover with a breathable material to keep out dust while allowing moisture to escape.
Consider performing a deeper inspection every few uses. Look particularly at internal parts and filters that may accumulate grime over time. Regular maintenance can prolong the life of your machine significantly.
| Component | Maintenance Tip |
|---|---|
| Storage Tank | Empty and rinse to avoid residue build-up. |
| Nozzle | Clean to maintain spray pattern. |
| Hoses | Check for wear and ensure all connections are tight. |
| Internal Parts | Inspect for grime every few uses. |
Following these guidelines will ensure that the equipment remains in peak condition and is ready for the next cleaning task. Regular upkeep enhances performance and extends the lifespan of your tool.


