


Before engaging with a cleaning apparatus, ensure all connections, particularly the water supply, are secure. A reliable flow is crucial for optimal functioning. I recommend checking that the water inlet filter is clear of debris to maximise pressure efficiency.
For surface cleaning, select the appropriate nozzle based on the material being treated. A wide-angle nozzle is ideal for large decks or driveways, while a narrower nozzle suits more delicate surfaces like vehicles or patio furniture. Adjusting the distance from the surface can prevent damage caused by excessive force.
Always remember to start with a low pressure setting, gradually increasing it only if necessary. This approach prevents any accidental damage and allows you to assess the cleanliness without risk. In case of stubborn stains, applying a suitable cleaning solution prior to high-pressure application often yields superior results.
Conclude your maintenance session by rinsing any remaining detergent residues and properly shutting down the equipment. This not only preserves the apparatus but ensures longevity and consistent performance for future tasks.
Operating a Karcher Cleaning Device
Always check for compatibility of nozzles and accessories before connecting them to the main unit. Attach the desired nozzle securely to ensure optimal performance.
Ensure the water inlet filter is clean to prevent clogging. Before plugging in the device, connect the water supply line tightly to avoid leaks during operation.
Switch on the main power and select the appropriate pressure setting for the task. Start with a lower setting to assess the surface condition, adjusting as necessary.
Maintain a consistent distance of approximately 30 cm from the surface while activating the spray. This distance allows for effective cleaning without causing damage.
To operate efficiently, use sweeping motions rather than direct sprays on stubborn stains. This technique enhances the cleaning effect while minimising the risk of damage.
| Task | Nozzle Type | Pressure Setting |
|---|---|---|
| Patio Cleaning | Rotary Nozzle | Medium |
| Vehicle Wash | Foam Lance | Low |
| Heavy Stains | Turbo Nozzle | High |
At the end of the session, switch off the machine and disconnect the water supply. Run the device briefly to remove any residual water from the pump.
Store the unit in a dry area, ensuring all attachments are neatly coiled or stored to prolong their lifespan. Regular checks for wear and tear can prevent future issues.
Choosing the Right Nozzle for Your Task
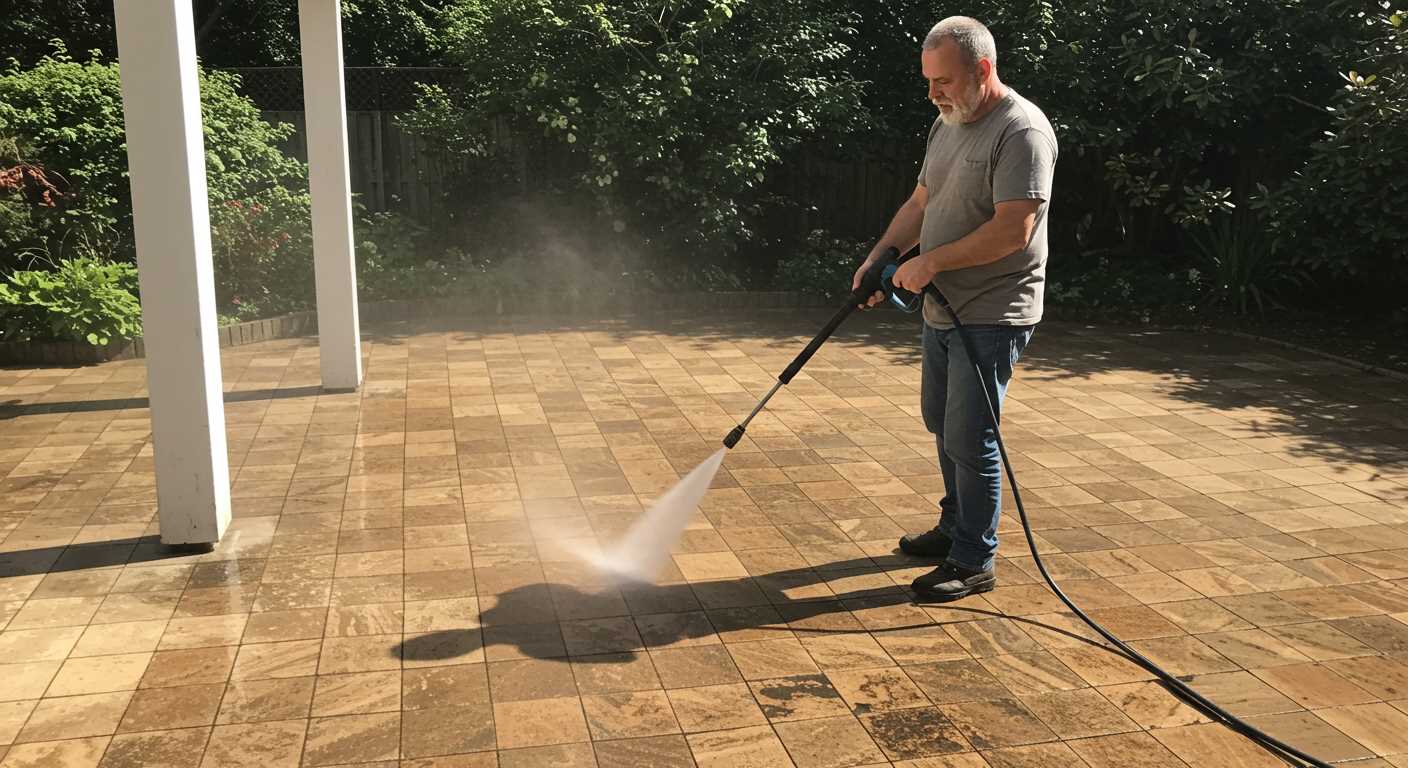
For optimal cleaning, selecting the appropriate nozzle is key. A 0-degree nozzle delivers a focused and powerful stream, best suited for tough spots like concrete or brick. However, exercise caution as this high pressure can damage sensitive surfaces.
The 15-degree variant works well for removing stubborn grime on hard surfaces and is ideal for deck cleaning. When aiming to tackle grease or oil, this nozzle is instrumental.
Opt for the 25-degree nozzle for general-purpose cleaning. It strikes a balance between pressure and coverage, making it effective for driveways, sidewalks, and patios. This is my go-to for a variety of tasks.
For delicate surfaces, such as cars or painted wood, use the 40-degree nozzle. Its wider spray pattern ensures thorough cleaning without risking damage.
Additionally, consider a soap nozzle for applying detergent. This attachment allows for wider coverage while applying cleaner, essential for moving dirt efficiently.
Keep in mind that nozzle selection can significantly affect cleaning time and results. Always assess the surface material and the level of dirt before proceeding. Remember, a little preparation can greatly enhance your effectiveness.
Preparing Your Surface Before Cleaning
Clear the area of any furniture, decorations, or obstacles that might impede access. Remove debris like leaves, dirt, and loose paint to avoid clogging the equipment during operation.
For surfaces such as patios, driveways, or decks, sweep thoroughly to eliminate loose particles. This prevents them from being propelled during cleaning, which can damage surfaces or create hazardous conditions.
Assessing Stains and Grime
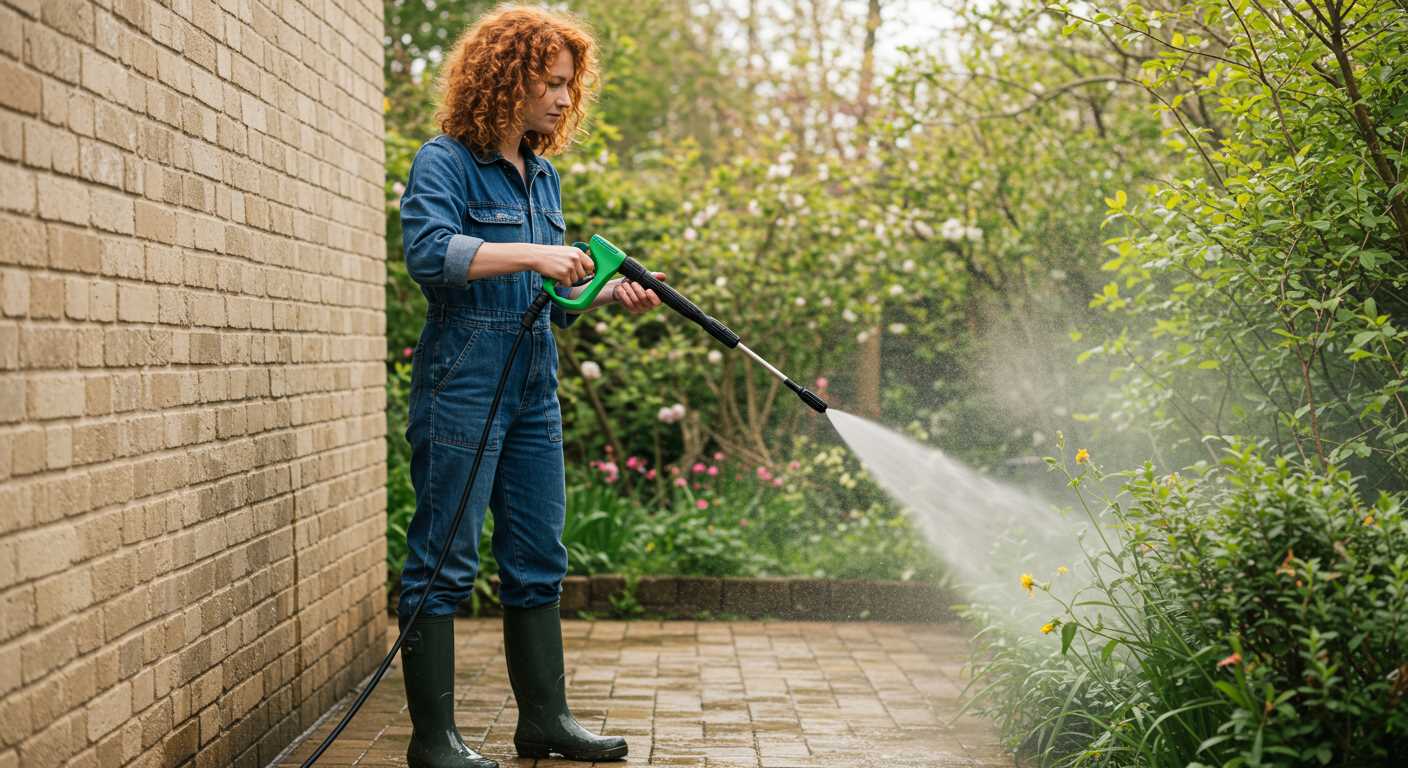
Identify specific stains, such as oil spots or mould. Use appropriate pre-treatment solutions on these areas to break them down effectively. Allow the solution to sit for a short time before rinsing with water to enhance removal.
Safety Precautions
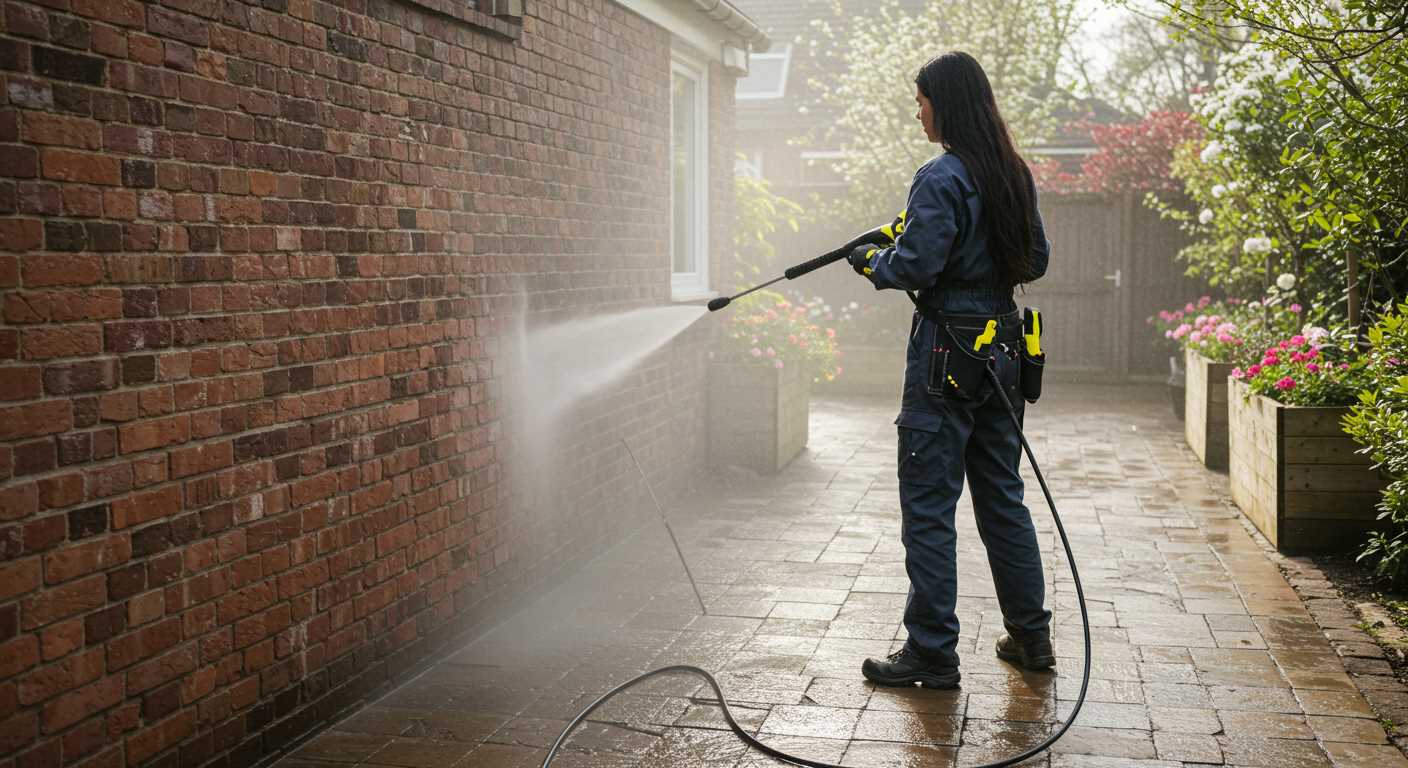
Wear protective gear, including goggles and gloves, to shield against debris and chemicals. Ensure no pets or children are in the vicinity during the cleaning process to avoid accidents.
Connecting to Water Supply
.jpg)
Choose a suitable source for water, ensuring it meets the specifications outlined in the user manual. A garden hose is often ideal, with an inside diameter of 12 mm for optimal flow. Connect one end to the water inlet on the unit, ensuring a tight fit to prevent leaks.
Steps for Proper Connection
- Start by locating the water inlet, typically marked clearly on the device.
- Ensure the water source tap is turned off before making any connections.
- Attach the garden hose securely to the inlet. You may need a hose connector for a seamless fit.
- Turn on the water supply at the tap slowly to check for any leaks.
- If there’s no leakage, proceed to turn on the device and let it prime. Keep the trigger released during this process.
Additional Tips
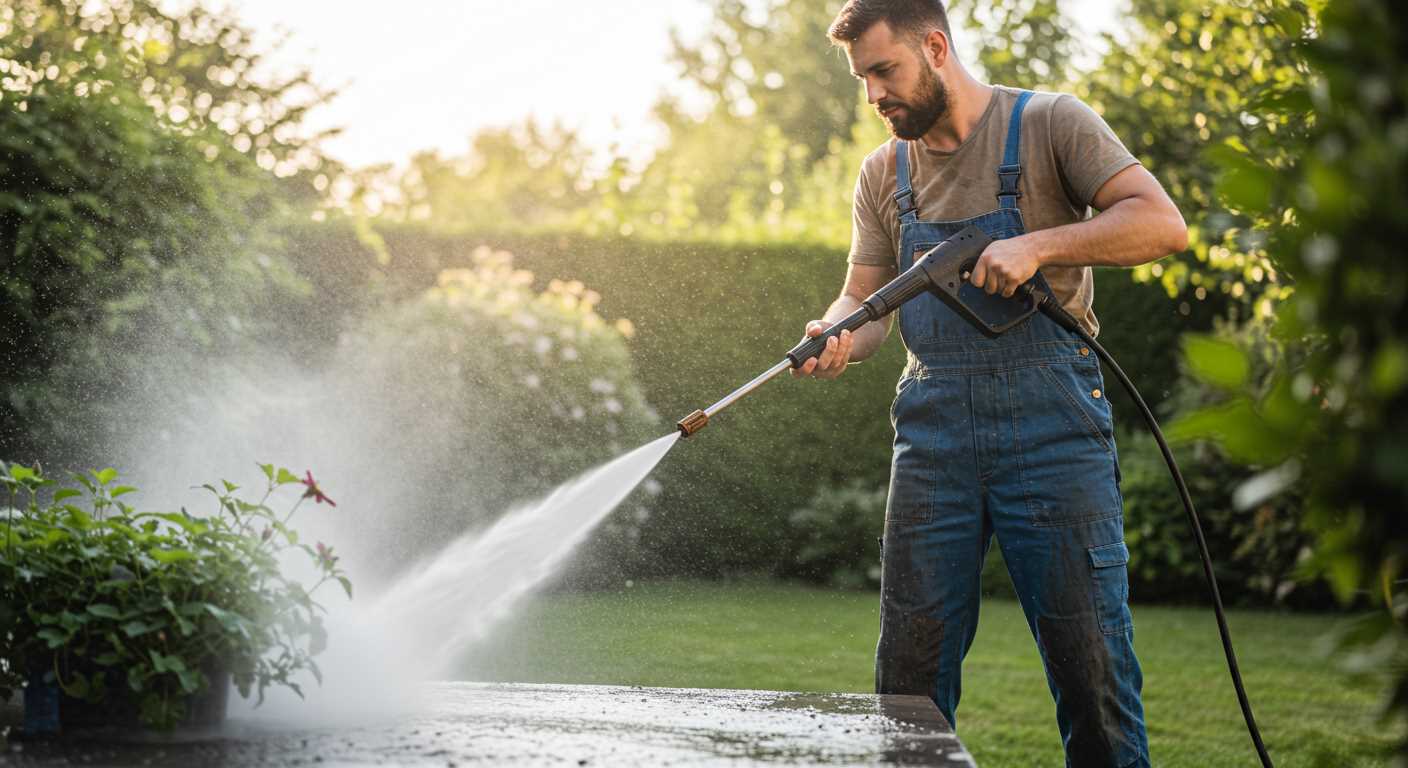
- Always check the hose for kinks or damage before connecting.
- Ensure the tap is fully open; insufficient water supply can cause the motor to overheat.
- If using a water source from a tank or barrel, a submersible pump may be necessary.
- Consider attaching a filter to prevent debris from entering the internal system.
By following these clear steps, you’ll ensure a reliable water connection, crucial for effective cleaning performance.
Adjusting Pressure Settings for Different Materials
For delicate surfaces like painted wood or vinyl siding, select a low-pressure setting, typically around 1200 PSI. This prevents damage while effectively removing dirt and grime. Always test on a small area first to ensure safety.
For concrete patios or driveways, a mid-range adjustment of 2000-2500 PSI works well. This level is strong enough to handle moss and stubborn stains without causing pitting or surface damage. Move the nozzle at a steady distance of around 12 inches to maintain an even clean.
Metal surfaces can generally withstand higher pressure. A setting of 2500-3000 PSI is suitable for cleaning metal fences or garage doors. However, angle the nozzle carefully to avoid chipping paint or compromising rust protection.
Glass structures require a gentle approach; maintain a maximum of 1500 PSI. Use a 25-degree nozzle to provide a wide spray pattern that effectively cleans without streaking or shattering.
For vehicles, set the pressure to around 1400-1600 PSI. This is sufficient for automotive cleaning without risking the integrity of the paintwork. A foam lance can augment this setting for enhanced cleaning and protection.
Adjustments are essential for optimal results. Familiarise yourself with your equipment’s specific capabilities to tailor your cleaning experience effectively.
Techniques for Operating the Pressure Washer Safely

Before starting, ensure personal protective equipment (PPE) is donned, including safety goggles, gloves, and appropriate footwear to shield against debris and chemical exposure.
Maintaining a safe distance from surfaces is crucial; keep the nozzle at least 30cm away from cleaner materials to prevent damage. For tougher stains, adjusting the distance gradually can help gauge the safest proximity.
Establish a stable footing while working. Avoid slippery or uneven ground to maintain control. Stand firmly and position yourself to prevent accidental slips when operating under high pressure.
Always direct the nozzle away from yourself and others. If adjustments are needed, switch off equipment first; this minimizes risk during changes. Additionally, untangle and secure hoses to avoid tripping hazards.
Prior to each operation, inspect cables and connections. Look for signs of wear, fraying, or damage. Replace any faulty components to prevent electrical hazards that might arise during use.
Understand the risks associated with chemicals. When using detergents or cleaners, follow manufacturer’s guidelines meticulously. Mixing chemicals can create dangerous fumes, so never combine products unless specified.
Keep a first aid kit nearby and know the location of emergency shut-off switches for quick access should an accident occur. This preparedness can significantly reduce response time in critical situations.
Lastly, after concluding, disconnect equipment from the power source and water supply. Allow the machine to cool down adequately before stowing it away, reducing fire risk and extending its lifespan.
Cleansing and Maintenance Tips After Use
Detach all accessories and nozzles post-cleaning to prevent damage. Rinse these components with clean water to remove any detergent residue or debris.
Empty the water tank thoroughly to prevent stagnation and potential algae growth. Once drained, leave the lid off for air circulation.
Inspect hoses for any cracks or wear. If any damage is spotted, replace the hose to avoid leaks during future operations.
Clean the filter located at the water inlet. Clogged filters restrict water flow, reducing efficiency. Remove it and rinse under running water until clear.
Store the equipment in a cool, dry place, away from direct sunlight. Protect it from extreme temperatures, which can cause damage to internal components.
Check power cables for fraying or other damage before storage. A damaged cable poses a safety hazard and should be replaced immediately.
Run the system briefly to drive out any water remaining in the pump before storage. This process prevents freezing in colder climates and minimises wear.
Finally, perform a routine inspection every few months. Regular assessments help identify potential issues early, ensuring optimal performance during the next operation.
FAQ:
What are the key steps to set up a Karcher pressure washer?
To set up a Karcher pressure washer, begin by placing the machine on a stable and flat surface. Ensure that the water inlet is connected to a suitable water source, such as a hose. Attach the high-pressure hose securely to the washer, and then connect the other end to the spray gun. If your model requires detergent, fill the detergent tank with the appropriate cleaning solution. Finally, plug the unit into an electrical outlet and turn on the water supply. Perform a quick test spray to make sure everything is functioning well before starting your cleaning task.
Can I use a Karcher pressure washer for cleaning my car?
Yes, you can use a Karcher pressure washer to clean your car. However, it’s advisable to use a low-pressure setting and a suitable nozzle to avoid damaging the paintwork. Start by rinsing the vehicle to remove loose dirt. Apply a car shampoo specifically designed for pressure washers through the detergent tank, if available. Allow it to sit briefly before rinsing it off thoroughly with the spray gun. Avoid spraying directly on sensitive areas, such as windows and delicate fittings.
What types of surfaces can a Karcher pressure washer clean?
A Karcher pressure washer can clean various surfaces effectively, including concrete driveways, patios, garden furniture, and brick walls. It is also suitable for cleaning vehicles, such as cars and motorbikes. For more delicate surfaces, like wood decking or painted furniture, it is wise to use lower pressure settings to prevent damage. Always check the manufacturer’s guidelines and choose the appropriate nozzle for the surface you are cleaning to achieve the best results.
How do I maintain my Karcher pressure washer for long-lasting use?
To keep your Karcher pressure washer in good condition, regularly check and clean the filter to prevent blockages. After each use, ensure that you flush the system with clean water to remove any detergent residues. Store the washer in a dry place, and protect it from freezing temperatures in winter. Inspect the hoses and connections for wear and tear, replacing any damaged parts promptly. Regular maintenance will help enhance the lifespan and performance of your pressure washer.
What safety precautions should I take while using a Karcher pressure washer?
When using a Karcher pressure washer, it’s important to follow safety guidelines to prevent accidents. Always wear protective gear, such as goggles and gloves, to shield yourself from debris and chemicals. Keep children and pets away from the work area. Make sure the power cord isn’t exposed to water to prevent electric shock. Never aim the spray gun at anyone or use it for unintended purposes. Finally, always refer to the user manual for specific safety instructions related to your particular model.


