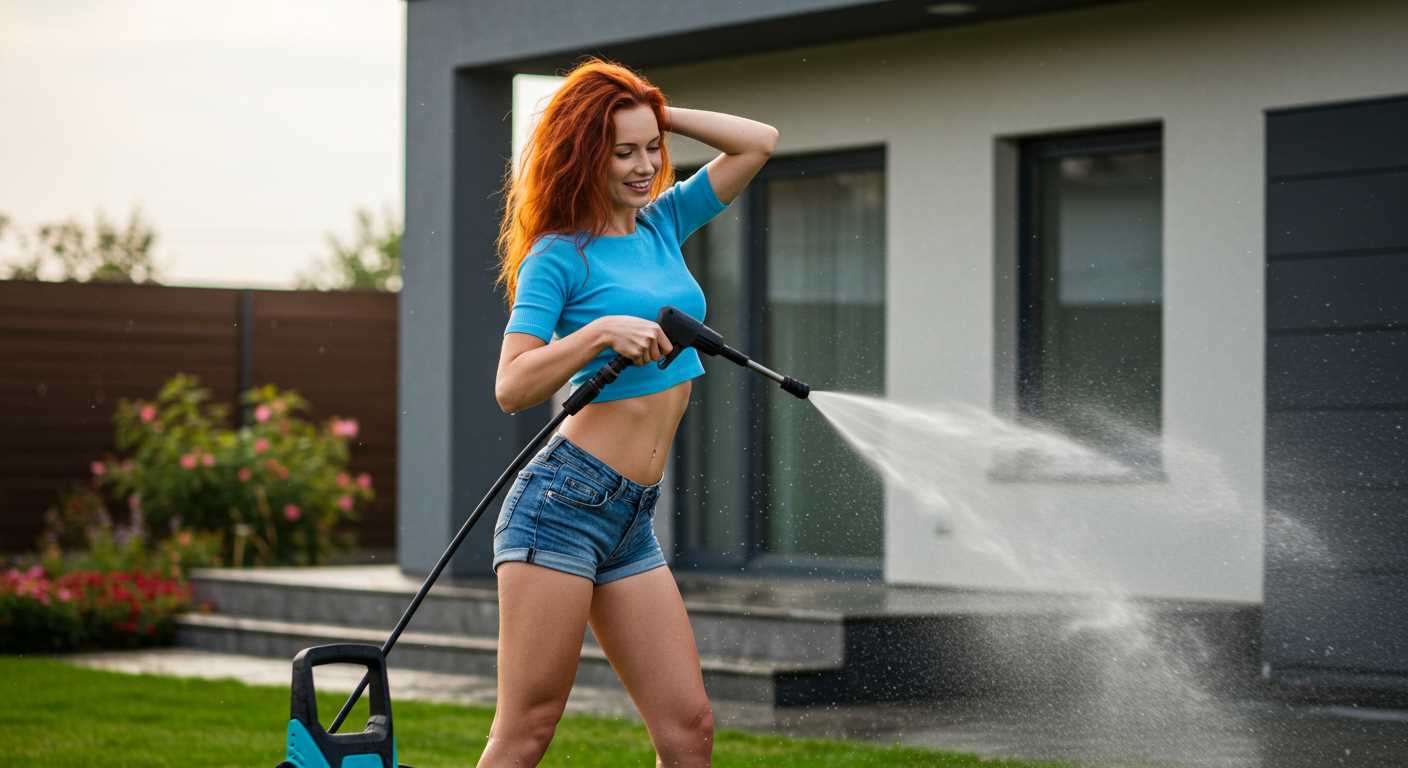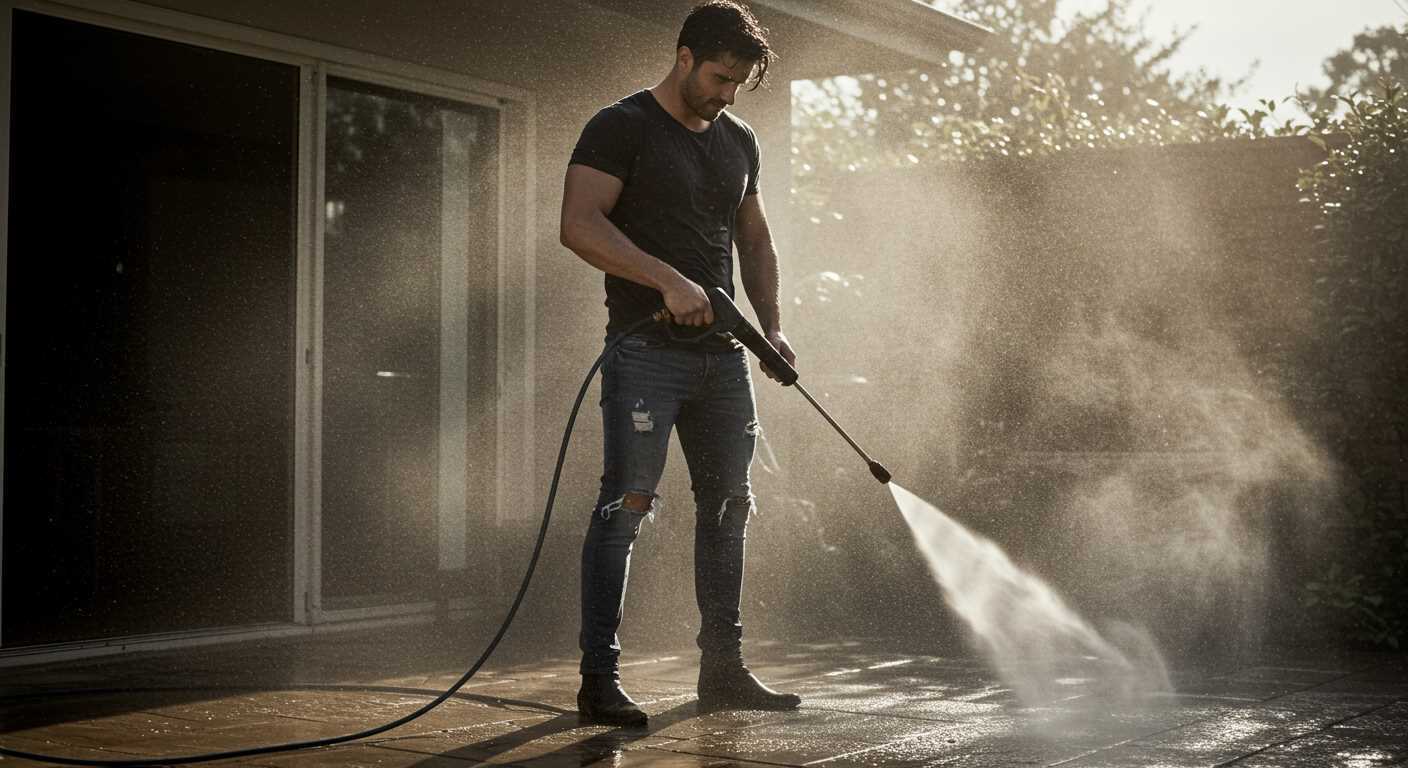


Before turning on your device, ensure that you have connected the right nozzles suitable for the task ahead. Selecting the appropriate nozzle influences the intensity and spread of the water stream, making it imperative to tackle different surfaces effectively.
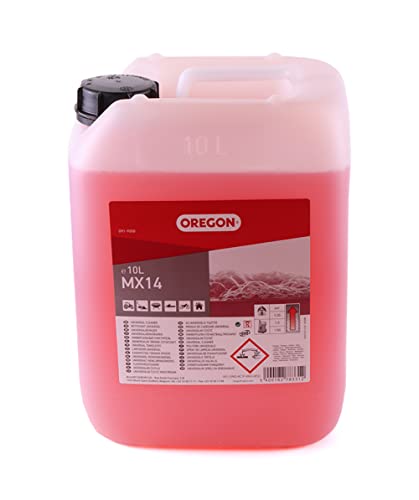
Next, check the detergent compartment. For optimal results, it’s essential to use a compatible cleaning solution designed for your specific model. This will enhance cleaning power, especially on oil or grease stains, ensuring that surfaces emerge spotless after use.
While preparing, do not overlook the significance of safety gear. Donning gloves and goggles adds an extra layer of protection against potential splashes or debris. Taking these precautions ensures a seamless cleaning experience without any unintended mishaps.
Once you’ve ensured everything is in order, stand at a slight distance while starting. This prevents damage to surfaces and allows you to gauge the effectiveness of the water spray effectively. Moreover, moving systematically across the area will help achieve a thorough clean.
Operating Instructions for Your Cleaning Device
Before activating, ensure that your equipment is connected to a suitable water source. Check hoses and connections for any leaks. If everything appears in order, plug the unit into an electrical outlet.
Preparation Steps
- Attach the desired nozzle for your specific cleaning task.
- Set the desired pressure level, assessing your project’s needs.
- Fill the detergent tank if cleaning agents are to be employed.
After setup, perform a brief test. Aim the nozzle away from any surfaces and squeeze the trigger slightly to allow water flow. This action purges air from the system.
Operational Guidelines
Position yourself at a comfortable distance from the surface being cleaned, generally between 2 to 3 feet. This distance minimises the risk of damage while ensuring effective debris removal. For stubborn stains, adjust your stance closer, maintaining no less than 1 foot distance.
- Begin moving in a sweeping motion from side to side, gradually overlapping previous strokes.
- Rinsing off detergent should occur from the bottom up, ensuring thorough coverage.
- For vertical surfaces, tackle from the bottom to the top, allowing cleaning agents to work effectively without dripping.
Once finished, turn off the unit and disconnect the water supply before storing the equipment. This will prolong longevity and ensure safety during subsequent uses.
Selecting the Right Nozzle for Your Task
Choosing an appropriate nozzle significantly impacts cleaning outcomes. For optimal performance, match the nozzle type to the surface and task. The following are common nozzle types and their specific uses:
Standard Nozzle Types
| Nozzle Type | Angle | Best For |
|---|---|---|
| 0 Degree | Red | Removing stubborn stains on hard surfaces like concrete |
| 15 Degrees | Yellow | Heavy-duty tasks such as stripping paint or grime |
| 25 Degrees | Green | General cleaning on decks, patios and vehicles |
| 40 Degrees | White | Washing delicate surfaces like windows or siding |
| Soap Nozzle | Black | Applying soap for pre-treatment on tough dirt |
Specific Recommendations
For patios and driveways, I recommend a 25-degree nozzle. Its wide spray pattern effectively cleans without risking damage. If tackling wooden surfaces like decks, opt for the 40-degree attachment to avoid splintering.
For stubborn oil stains, the 15-degree option delivers focused pressure. Combine with a degreaser for the best results. When applying soap, always switch to the black nozzle and ensure it’s set to low pressure to maximise cleaning solution effectiveness.
Each task may require a different approach. Experiment with various nozzles to determine what works best for specific surfaces and debris types.
Connecting the Water Supply and Power Source
.jpg)
Ensure a stable connection by attaching a garden hose to the water inlet of your equipment. Use a hose that meets the required diameter specifications; typically, 3/4 inch works best. Check for leaks at the connection, as a secure seal is vital for optimal performance.
Turn on the water supply before starting the machine to avoid damage. I recommend running the water for a few seconds to eliminate any debris that may have accumulated in the hose. After that, you can connect the other end of the hose to your tap.
For the power supply, if your model is electric, plug it into a grounded outlet. A 15-amp circuit is standard, but always refer to the manual for specific requirements. If using an extension cord, select one rated for heavy-duty use to prevent overheating.
Before switching on the unit, confirm the power indicator light is operational. Also, check that the water supply is steady and free from obstructions. These steps ensure reliability and longevity.
Understanding Pressure Settings for Different Surfaces
Match pressure settings with surface materials to avoid damage while ensuring effective cleaning. For delicate surfaces like wood decks or painted fences, keep the pressure low, ideally between 1000 to 1500 PSI. This prevents splintering or stripping paint.
Concrete surfaces, such as driveways and patios, can withstand higher pressure levels, typically ranging from 2500 to 3000 PSI. These settings efficiently remove tough stains, grease, and grime
Specific Recommendations
For vehicles, aim for around 1500 to 2000 PSI to avoid damaging the paintwork. Use a wide nozzle to reduce concentrated force. For outdoor furniture made of plastics or metals, approximately 1800 PSI works effectively without risk of harm.
Surface Type and Nozzle Selection
Adjusting the nozzle type also plays a vital role in cleaning efficacy and surface safety. A fan pattern nozzle spreads the impact over a larger area, making it suitable for soft materials. A pinpoint nozzle directs concentrated power, ideal for stubborn stains on hard surfaces.
Always test pressure effectiveness on a small, inconspicuous area before proceeding with extensive cleaning. This cautious approach ensures optimal results and protects your surfaces from unintended damage.
Preparing the Area for Pressure Washing

Clear the workspace of any furniture, decor, or obstacles. Items like potted plants and outdoor furniture should be moved to prevent damage or interference during cleaning.
Close all windows and doors to prevent water intrusion into the building. For added protection, cover any outdoor electrical outlets and appliances with waterproof material.
Inspect the surface to be cleaned. Look for cracks, loose materials, or any contaminants that may require special attention or removal before you begin. Treat any stains or mould with appropriate cleaners beforehand.
Ensure adequate drainage in the area to allow water to flow freely without pooling. If necessary, create channels using barriers or squeegees to guide water away from sensitive areas.
Finally, check for overhanging branches or obstacles that can obstruct the spray. Trim or clear any foliage to ensure a safe and thorough cleaning process.
Techniques for Proper Washing
Begin with consistent overlap of each stroke. This ensures full surface coverage and prevents streaks. Maintain a distance of 12 to 18 inches between the nozzle and the surface for optimal cleaning results, particularly on delicate areas.
Utilize a slow, sweeping motion rather than a rapid back-and-forth action. This technique helps avoid damage while allowing the cleaning solution or water to penetrate effectively. Adjust your positioning–keeping feet planted and using your arms to move the nozzle can enhance control.
Angle the nozzle at around 15 to 30 degrees relative to the surface. This positioning maximises efficiency, directing the water flow towards dirt and grime without risking damage. For vertical surfaces, start from the top and work your way down to prevent streaking.
For stubborn stains, spot-treat with a suitable cleaner beforehand. Allow it to dwell for a few minutes, then rinse with a high-pressure blast for best results. Always follow the manufacturer’s instructions on cleaning agents to maintain equipment integrity.
Adjust pressure settings according to the task at hand. Softer surfaces, such as wood or vehicles, require lower settings to prevent gouging, while concrete or brick can typically handle higher pressures. It’s vital to consult the user manual for specific guidelines.
Complete the process by thorough rinsing. This step removes any left-over detergents and ensures a clean finish. After washing, store equipment properly, ensuring all connections are dry and eliminating potential nozzle blockages.
Cleaning and Maintaining Your Equipment
Regular upkeep is crucial for longevity and optimal performance. After each session, thoroughly rinse the nozzle and wand with clean water to remove any debris. Disconnect the water supply and power source beforehand.
Inspect the hoses for any signs of wear or damage. If kinks or leaks are present, replace the affected sections immediately. Store hoses properly to prevent twists or breaks.
Every few months, check the filter located at the water inlet. Clean it with water to ensure unobstructed flow. If the filter shows significant wear, replace it.
Cleaning the Pump and Nozzle
Maintaining the pump is vital. Run a pump protector through the system in off-seasons to prevent freezing and damage. Use lubricants specifically designed for these devices in the designated points.
For nozzle upkeep, soak them in vinegar to dissolve any buildup. Use a small pin to clear out any blocked holes that could affect the spray pattern. This small step can significantly improve cleaning efficiency.
Storing Your Equipment

When storing, keep the unit in a dry area. Avoid exposure to direct sunlight for prolonged periods. Cover it with a protective tarp if outside storage is necessary. Rewind and store hoses to prevent tangling, and ensure the machine is clean and free from soap residues.
Safety Tips When Operating a Pressure Cleaning Device
Always wear appropriate personal protective equipment. This includes safety goggles, gloves, and sturdy footwear to prevent injuries from debris and chemicals.
Maintain a safe distance from the surface being cleaned. Typically, a distance of 2 to 3 feet is advisable, depending on the nozzle being employed. This method reduces the risk of injury.
Before starting, inspect the area thoroughly to remove any loose objects, including toys, furniture, or decorations. This prevents projectiles that could cause injury or damage.
Verify that connections for water supply and electricity are secure. This reduces the risk of leaks or electrical faults during operation.
Utilise the recommended pressure settings for specific surfaces. Higher pressure can damage delicate materials, while too low can be ineffective for tougher stains.
Avoid pointing the nozzle at individuals, animals, or plants. Always direct the spray away from yourself and others to minimise the risk of accidents.
Be mindful of wet surfaces; they can become slippery and hazardous. Exercise caution when moving around the area being cleaned.
Never operate the equipment indoors or in enclosed spaces without proper ventilation, as fumes can lead to hazardous conditions.
Shut off the machine and relieve pressure before changing nozzles or performing maintenance. This ensures safety and prevents unintended sprays.
Store the equipment safely, away from children and pets, and ensure that all components are properly maintained to prevent malfunctions in the future.


