

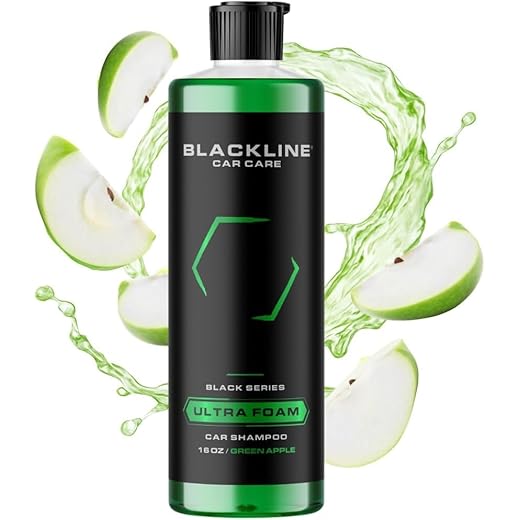

To achieve optimal results, ensuring proper dilution is key. I typically recommend mixing the cleaning solution following the manufacturer’s guidelines–this ensures effective cleaning without damaging surfaces. A ratio of one part cleaner to four parts water often works well for most tasks.
Once mixed, fill the container carefully, avoiding overfilling. It’s crucial to keep the lid sealed until ready, preventing spills or contamination of the solution. Make sure the application nozzle is fitted properly to avoid any leaks during operation.
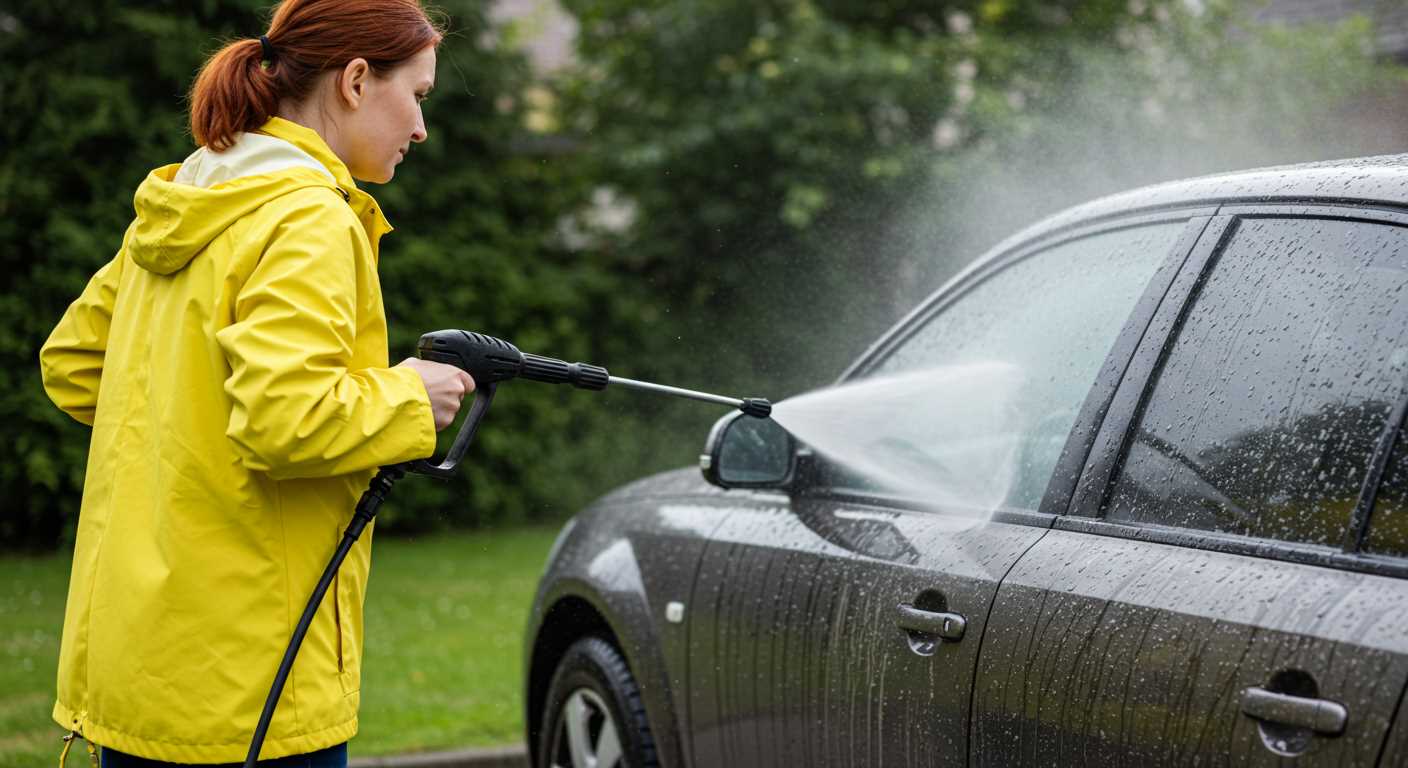
During operation, position the nozzle at a distance of approximately 2–3 feet from the surface being treated. This distance strikes a balance between coverage and intensity, ensuring an even application without causing harm. Sweeping motions can enhance the distribution of the solution, making sure every part of the surface gets the attention it needs.
After application, allow the solution to dwell for a few minutes to penetrate tough grime. Monitoring the surface during this time is essential; avoid allowing the solution to dry completely, as this could lead to residue buildup. Rinse thoroughly with clean water following the dwell time for a sparkling finish.
Identifying Your Cleaning Solution Reservoir
Locating the container for your cleaning solution is straightforward. Typically situated near the front of the unit, this component may vary in appearance depending on the model. Look for a transparent or semi-transparent tank, often marked with a label indicating it’s for detergent.
Common Features to Look For
- Container usually has a screw-on or click-in lid.
- Often made from plastic; check for any colour coding.
- Some models include a dial or switch for adjusting the amount of solution dispensed.
Additional Tips
- Examine the user manual; it contains illustrations and descriptions specific to your model.
- For those with interchangeable accessory nozzles, the cleaning solution chamber might be integrated into the nozzle.
- After identifying, ensure it’s clean and free from residue before adding your solution.
Choosing the Right Cleaning Solution for Your Equipment
Always select a product designed specifically for use with equipment. Avoid household cleaners or industrial-strength chemicals, as these can cause damage or void warranties. Instead, opt for biodegradable and environmentally friendly options that can effectively lift dirt without harming surfaces.
Consider Surface Compatibility
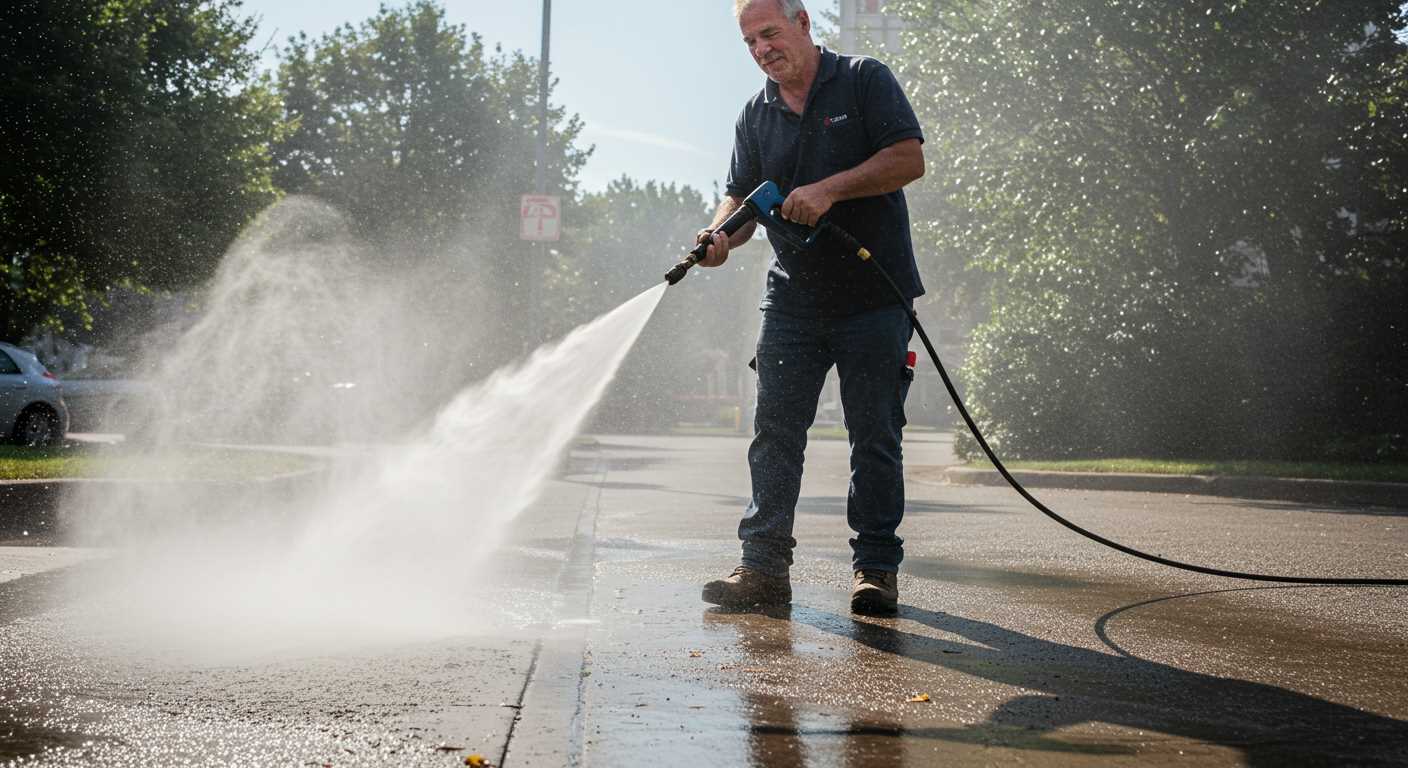
Evaluate the surfaces you’ll be cleaning. For vehicles, car shampoos that generate foam are ideal. For patios or decks, concentrate on products targeting mould and mildew. Always check for labels indicating compatibility with various materials including concrete, wood, or metal.
Viscosity and Concentration
Choose a product with the right viscosity for your system. Thin, concentrated formulas are easier for the equipment to draw through systems, while thicker options may require dilution. Always follow the manufacturer’s recommendations for dilution ratios to ensure optimal performance.
Connecting the Soap Dispenser to Your Pressure Washer
Begin by ensuring your cleaning unit is turned off and disconnected from the power source. Locate the designated inlet for cleaning solutions on the machine. This usually appears as a clear tube or a fitting near the nozzle or lance attachment point.
Next, take the container designed for the cleaning agent and securely attach it to the inlet. Depending on your model, this may involve twisting the container into place or pressing it firmly until you hear a click. Ensure that the connection is airtight to prevent leaks during operation.
Consulting Manufacturer Guidelines
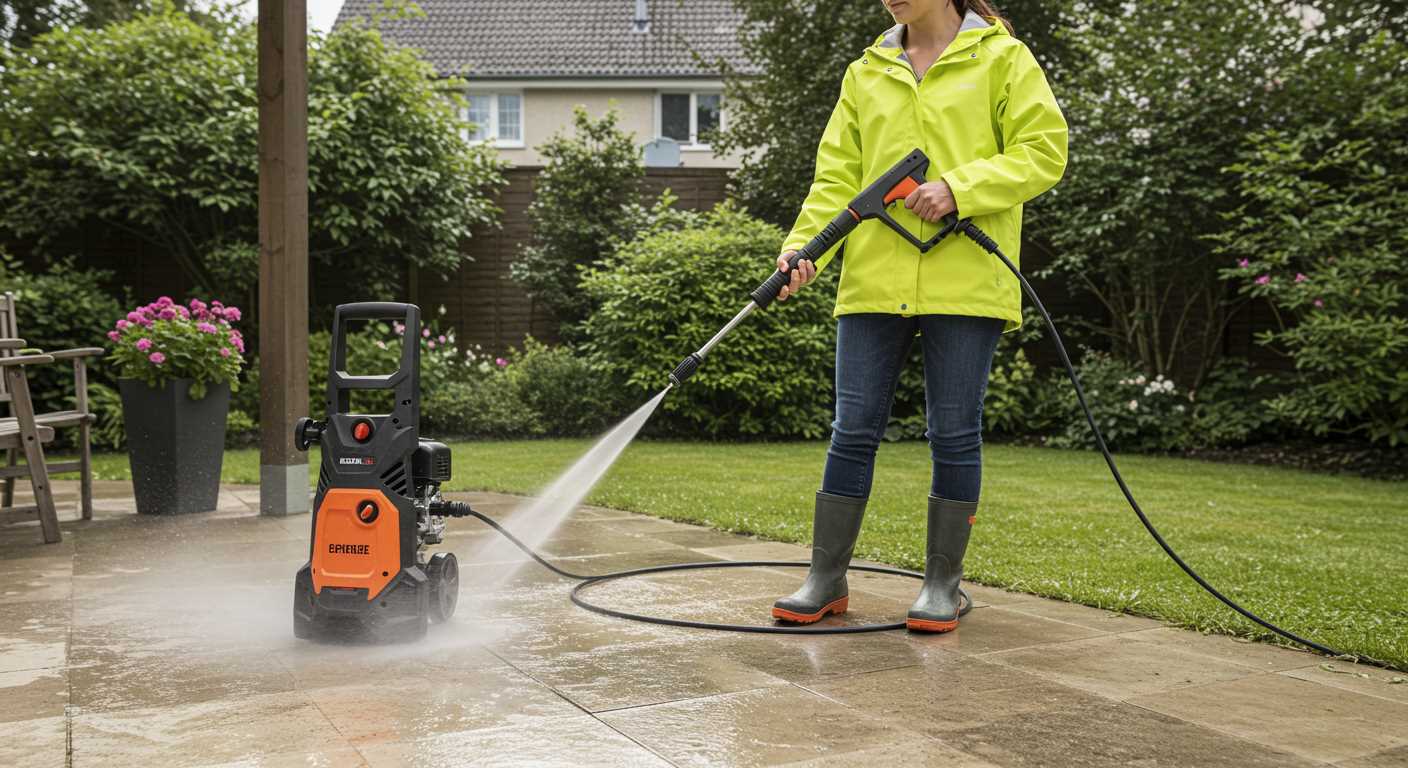
Refer to the user manual to confirm the specific method of connection for your equipment. Each brand may possess unique features or locks that must be engaged to enable proper functionality. Familiarising yourself with these details guarantees optimal performance and longevity of the unit.
Testing Connections
Once connected, perform a quick test by briefly activating the machine while holding the nozzle away from any surfaces. Observe for any drips or leaks around the connection. If you notice any issues, disconnect and reattach, ensuring that all parts are aligned correctly and securely fastened.
With everything in place, you’re ready to proceed without concerns about leakage or ineffectiveness. A well-connected system lays the foundation for successful cleaning tasks ahead.
Adjusting the soap flow rate for optimal performance
The flow rate should be tailored to achieve the best results during cleaning tasks. Starting with a lower setting is advisable, gradually increasing it based on the surface being treated and the type of grime encountered. Always observe the reaction of the cleaning solution on the surface to find the perfect balance.
Flow Rate Recommendations
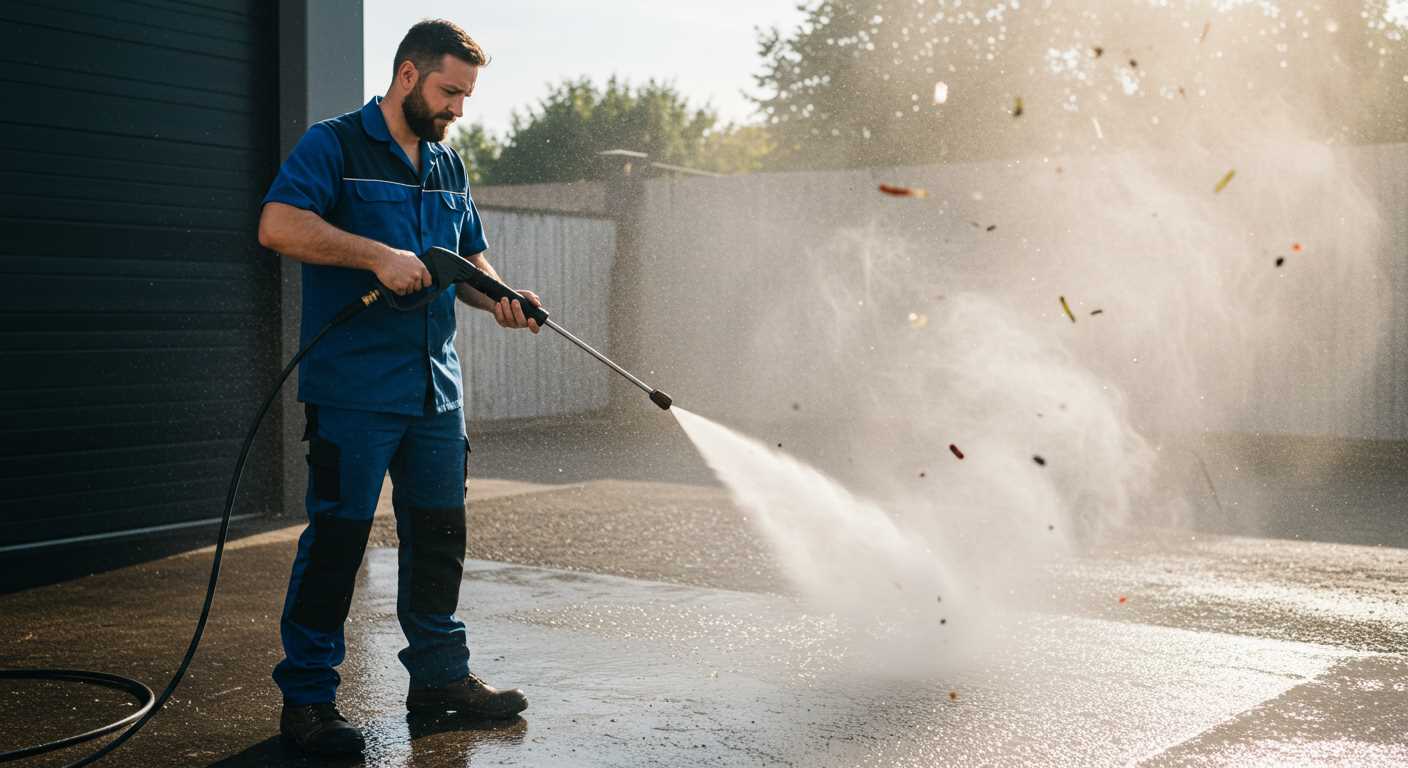
Here’s a quick reference table for adjusting the flow rates based on common tasks:
| Task | Suggested Flow Rate |
|---|---|
| Light cleaning (e.g., windows, vehicles) | Low (1-1.5 oz/min) |
| Medium cleaning (e.g., patios, decks) | Medium (2-3 oz/min) |
| Heavy cleaning (e.g., oil stains, grease) | High (4-5 oz/min) |
Fine-tuning the Flow
After adjusting the flow, test on a small area first. This helps ensure effectiveness without damaging surfaces. Monitor the results, making further adjustments in small increments to avoid oversaturating the area with liquid. In cases where the cleaning agent isn’t penetrating adequately, consider increasing the flow slightly. If too much foam builds up, dial it back to avoid waste and improve rinsing efficiency.
Cleaning After Application of Cleaning Solution
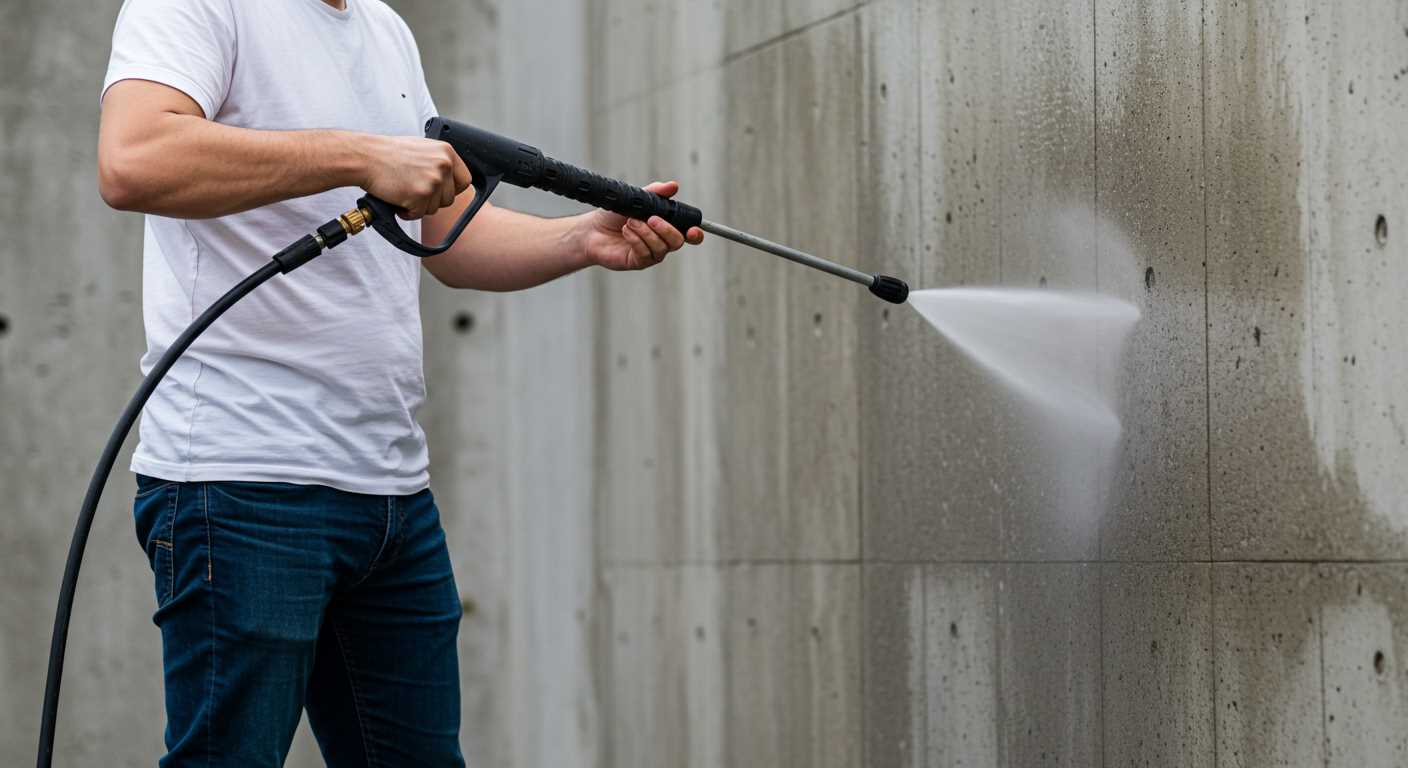
Immediately after applying detergent, detach any accessories involved in the process to avoid contamination. Rinse out the container thoroughly with fresh water to remove leftover residue. Run clear water through the machine to flush any remaining solution in the system, ensuring no blockage or damage occurs in the future. This procedure not only preserves the performance of the unit but also extends its lifespan.
Once rinsing is complete, inspect all components for any signs of wear or residue build-up. Pay special attention to hoses and nozzles, which should be cleaned and checked for clogs. Accumulation of cleaning agents can affect functionality, so it’s prudent to maintain these parts regularly. Regularly lubricate moving parts as per manufacturer guidelines to ensure optimal operation.
Don’t forget to store any leftover cleaning liquid properly, following disposal guidelines to avoid environmental hazards. A clean machine works much better; take these steps seriously to maintain your equipment’s reliability and functionality.
Troubleshooting common soap dispenser issues
If suds aren’t appearing during operation, check these aspects:
- Verify detergent compatibility and concentration; some blends might be too thick or inadequate for proper flow.
- Inspect for clogs in the delivery tube; dirt or residue can block the path.
- Ensure the attachment is seated correctly; any gaps can hinder liquid transfer.
- Check the suction filter; if blocked or dirty, clean it or replace if necessary.
Inconsistent application may arise from the following:
- Adjust the flow control knob; improper settings can lead to low output.
- Review the pressure setting; excessive force can disrupt soap flow.
- Confirm the liquid chamber is filled adequately; insufficient levels can cause interruptions.
If foaming abruptly stops:
- Make sure the soap level has not depleted; refill as needed.
- Inspect the nozzle; a worn or damaged tip can affect spray patterns.
- Evaluate the hose for kinks or bends; any restriction may disrupt flow.
Address foul odours from the tank:
- Empty any remaining liquid and rinse thoroughly; build-up can lead to unpleasant smells.
- Consider using a mild vinegar solution for cleaning; this can eliminate residues effectively.
- Ensure proper drying after cleaning to prevent future issues.
If issues persist despite troubleshooting:
- Refer to the manufacturer’s manual for specific guidelines related to your model.
- Consult with a technician or customer support for expert assessment.
- Consider replacement parts if components appear damaged or worn.


