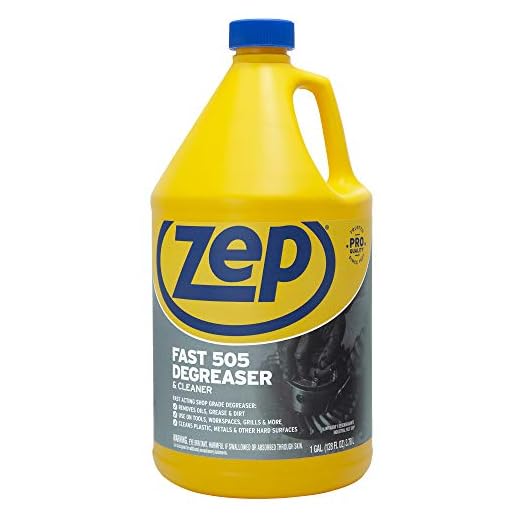
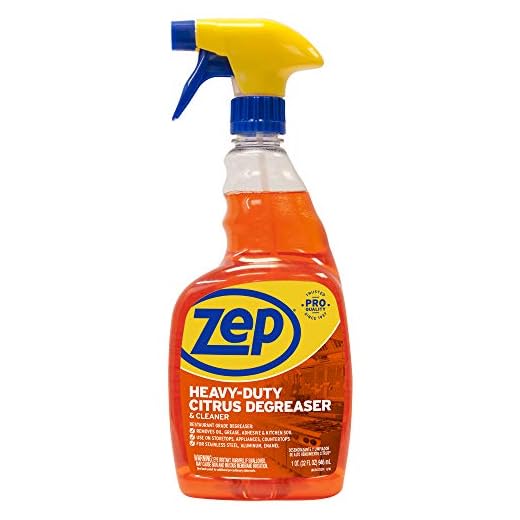


The first step in achieving pristine surfaces is choosing the right formulation, specifically designed for high-velocity washing instruments. Opt for a concentrated solution to maximise cleaning power. Dilute according to the manufacturer’s guidelines, maintaining the recommended ratio to ensure a balance between effectiveness and potential damage to surfaces.
Prepare the area by removing loose debris and protecting nearby items to prevent overspray. Attach the cleaner directly to the equipment or in a separate tank if your model allows. For optimal results, switch to the lowest pressure setting initially to saturate the surface, then gradually increase intensity, ensuring the solution penetrates ingrained dirt.
Always keep a safe distance from delicate surfaces to avoid abrasion. For stubborn stains, let the cleaning agent sit for a few minutes before rinsing thoroughly. After cleaning, flush the system with water to prevent residue build-up in the hoses. Implementing these straightforward techniques will enhance your cleaning routines and maintain the longevity of your equipment.
Using the Zep Cleaner with a High-Pressure System
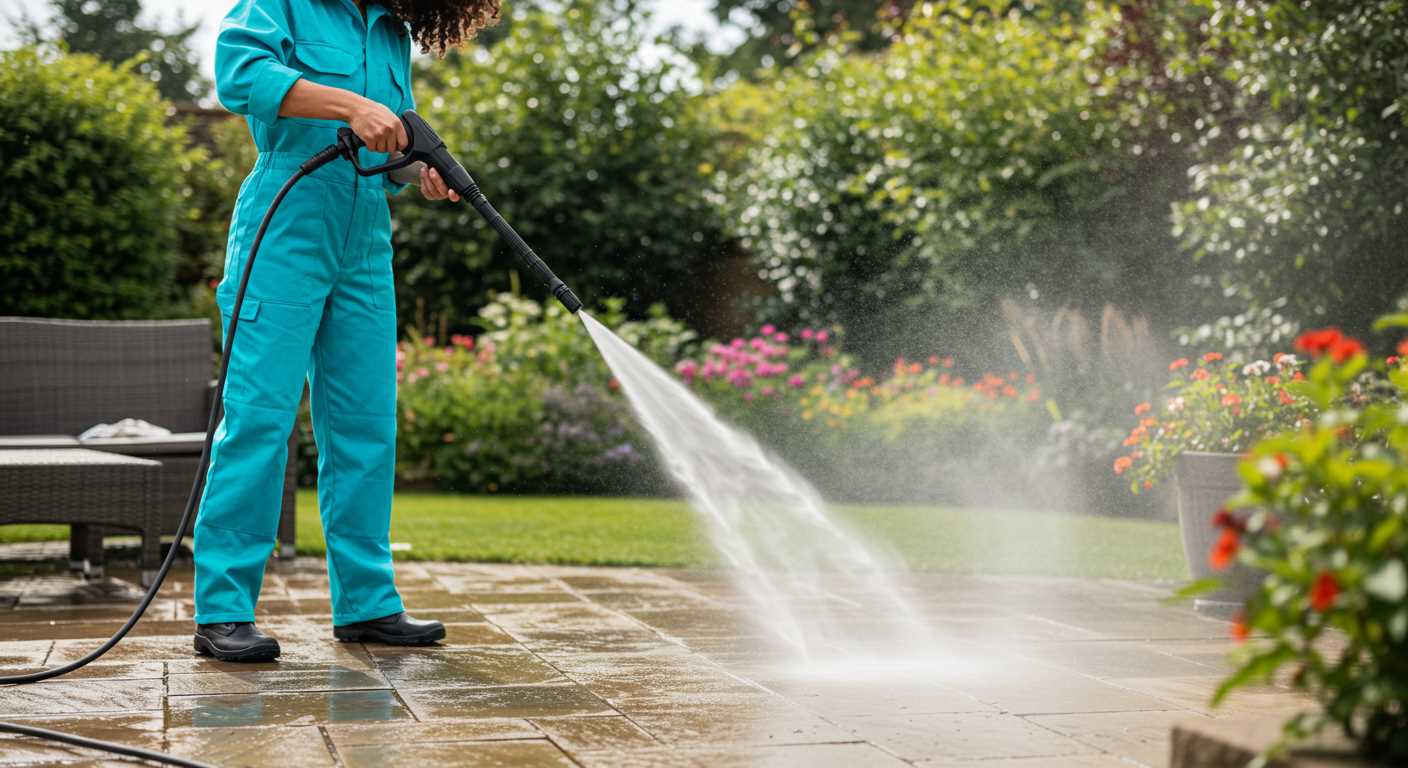
Begin by ensuring the system is off and disconnected from the power source. Mix the cleaning solution according to the instructions on the container, typically a specific ratio of concentrate to water. Use a clean bucket for accurate measurements.
Attach the appropriate nozzle for the task; a wider fan spray is ideal for delicate surfaces, while a narrow jet is suited for tougher grime. Insert the solution hose or attachment into the mixture, if available, ensuring a secure fit.
After connecting everything, turn the machine on and allow it to build pressure. As it starts, test the spray on a small, inconspicuous area. Adjust the nozzle distance based on the surface type to prevent damage.
Maintain consistent movement while spraying to avoid soaking any single area. Overlap each stroke slightly for uniform coverage, and periodically check the output to ensure the mixture is dispensed properly.
Once the task is complete, turn off the equipment and detach the cleaning solution hose. Rinse the area with plain water to remove any residue, if necessary. Store any unused cleaner according to the manufacturer’s guidelines, keeping it in a cool, dry place.
Regularly inspect and clean the nozzle and hoses after each use to maintain optimal performance. Keeping the equipment in good condition enhances longevity and reliability for future cleaning operations.
Selecting the Right Zep Cleaner for Your Task
Opt for specific formulations based on the surface and grime type. For example, a degreaser works wonders on oily stains, while a concrete cleaner effectively tackles tough dirt on driveways.
Surface Types
- Wood: Choose a gentle cleaner designed to protect the finish and structure.
- Metal: Select products that prevent rust while cutting through oxidation.
- Brick and Masonry: Look for heavy-duty options specially formulated to penetrate porous surfaces.
Cleaning Tasks
- General Cleaning: An all-purpose solution handles various surfaces efficiently.
- Stain Removal: Target specific types of stains with concentrated cleaners for carpets or fabrics.
- Surface Restoration: Use formulations that not only clean but also restore the surface’s appearance.
Check the manufacturer’s recommendations for dilution ratios to achieve optimal results without damaging surfaces. Always test on an inconspicuous area first to assess compatibility.
Preparing Your Cleaning Equipment for Action
Ensure all components are securely assembled to prevent any leaks or malfunctions during operation. Check hoses, nozzles, and connections for any signs of wear or damage; replace if necessary to maintain optimal performance.
Fill the tank with appropriate liquid according to the specific recommendations for the task ahead. Dilution ratios are crucial; adhere strictly to guidelines to avoid ineffective results or potential equipment damage.
Connect the device to a suitable power source, taking care to use the correct settings based on the surface type and level of dirt. Test the settings on a small, inconspicuous area first to gauge effectiveness.
Before starting, clear the area of any obstacles or debris that might obstruct your work or create hazards. A clean workspace will contribute significantly to a more efficient cleaning session.
Finally, wear protective gear, including gloves and goggles, to safeguard yourself against splashes and debris while cleaning. This step is often overlooked but is critical for safety during operation.
Mixing Cleaner with Water Properly
I always emphasise the importance of achieving the right dilution ratio when combining your cleaning solution with water. For most formulations, a general guideline is to mix one part cleaner with five parts water. However, for tougher stains or heavy grime, consider adjusting the ratio to one part cleaner to three parts water for enhanced potency.
Preparation Steps
Start by pouring the required amount of cleaning agent into a clean container. Use a measuring cup for accuracy. Then, add the appropriate volume of water. It’s best to use clean, lukewarm water to ensure proper mixing and maximise the solution’s effectiveness.
After mixing, stir gently to achieve a uniform solution. Avoid vigorous shaking, as it can create excessive foam which may hinder the application process.
Testing the Mixture
Before proceeding with your task, I recommend testing a small amount of the mixture on an inconspicuous area to check for any adverse reactions or damage. This step can save time and resources by ensuring that the solution works well with the surface you’re treating.
With the mixture properly prepared, you’re ready to tackle your cleaning project with confidence.
Applying Cleaner with the Pressure Equipment
Begin by ensuring the mixture is filled into the detergent tank of the apparatus. Gradually adjust the nozzle to a low-pressure setting. This will enable a gentle application of the solution without risking damage to surfaces. Aim the spray towards the area requiring attention, maintaining a distance of approximately 24 inches for optimal results.
Activate the device and allow the cleaning agent to coat the surface. It is advisable to work in sections, especially on larger areas, ensuring even distribution. For exceptionally stubborn grime, letting the formula sit for a few minutes can enhance its efficacy, but do not permit it to dry completely.
After applying the solution, switch to a high-pressure setting to rinse away the residue. Use sweeping motions to avoid missing spots and ensure a thorough clean. Follow up with a fresh rinse of water to eliminate any remaining cleaning agents that might compromise surfaces if left to dry.
Finally, inspect the cleaned area. For persistent stains, repeat the process, adjusting the concentration of the formula if necessary. Regular maintenance will prolong the lifespan of your surfaces and keep them looking their best.
Adjusting Pressure Settings for Different Surfaces
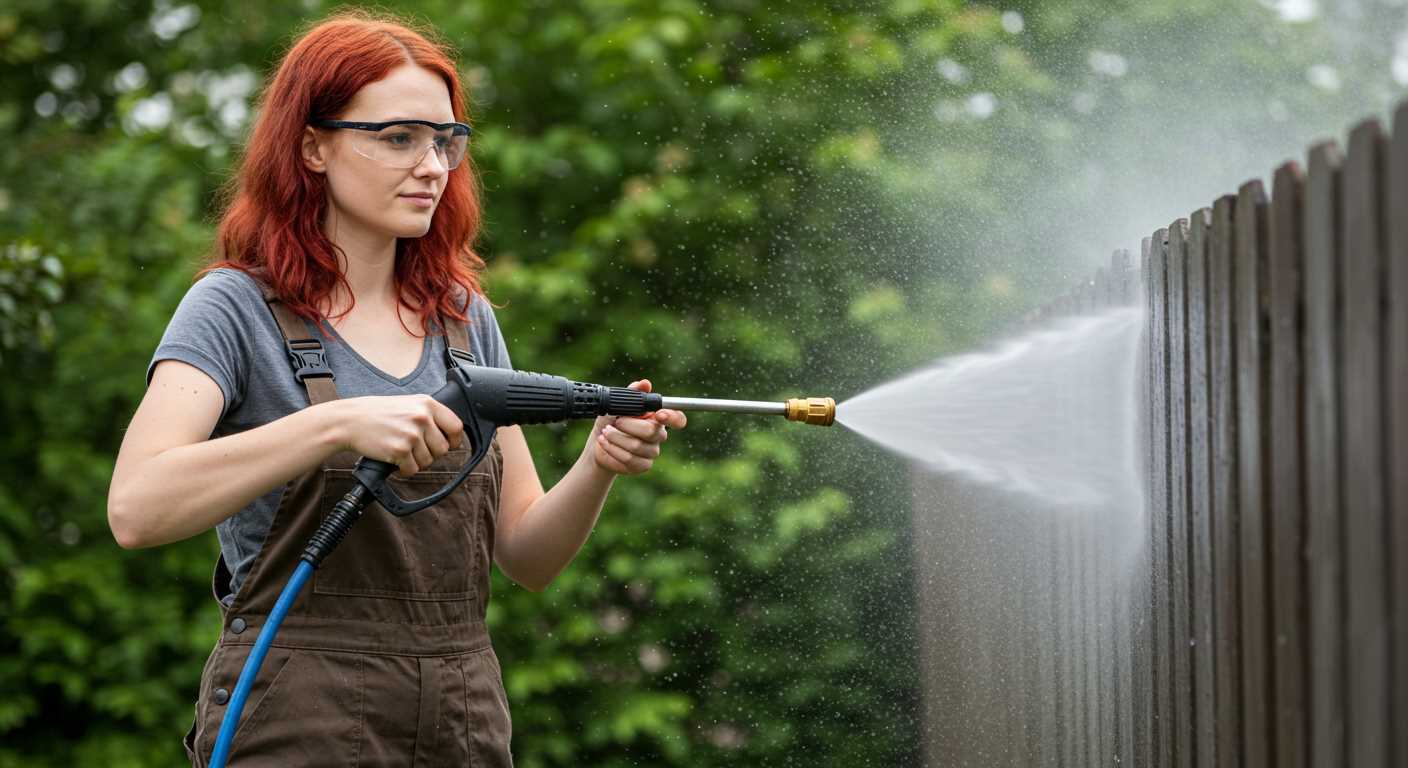
Choose the right pressure setting based on the surface to avoid damage and ensure thorough cleaning. For delicate areas like wooden decks, set the pressure between 1200 to 1500 PSI. This lower pressure effectively cleans without risking splintering or gouging the wood.
For painted surfaces, adjust to around 1500 to 2000 PSI. This setting helps remove dirt and grime while preserving the paint finish. Test a small area first to ensure compatibility.
Concrete and driveways typically require higher pressure, around 2500 to 3000 PSI. This setting efficiently tackles tough stains, grease, and oil without concern for damage.
For vehicles, a gentle pressure of 1300 to 1600 PSI is ideal. This protects the paint and reduces the risk of causing scratches. Use a fan tip for broader coverage.
The following table summarises the recommended settings:
| Surface Type | Recommended Pressure (PSI) |
|---|---|
| Wooden Decks | 1200 – 1500 |
| Painted Surfaces | 1500 – 2000 |
| Concrete/Driveways | 2500 – 3000 |
| Vehicles | 1300 – 1600 |
Always begin at the lower end of the pressure recommendations and increase as necessary. This approach minimizes the risk of damage while ensuring effective cleaning. Remember to maintain a steady distance from the surface to achieve consistent results.
Safety Precautions While Using Zep Cleaner
Wearing appropriate protective gear is a must. Always don safety goggles to shield your eyes from debris and splashes. Thick gloves will protect your hands from chemicals, while sturdy footwear will ensure safety against slipping.
Verify the workspace before commencing the cleaning task. Clear the area of obstacles, and ensure that all electrical connections are secure and away from water exposure. Inspect the equipment for any visible damage that might cause leaks or malfunctions.
- Read and follow the instructions on the product label carefully to ensure proper use.
- Keep children and pets at a safe distance while working to avoid accidents.
- Avoid pointing the nozzle at yourself or others, even when turned off, to prevent accidental activation.
Use caution when handling chemicals. Always dilute the solution in a well-ventilated area, and avoid mixing products unless specified, as this can create harmful reactions.
In case of contact with skin or eyes, rinse immediately with plenty of water and seek medical attention if irritation persists.
Store all cleaning solutions and equipment out of reach of minors and in a cool, dry place to prevent degradation or accident.
Be aware of your surroundings, particularly the terrain. Uneven surfaces can lead to slips and falls. Ensure the area is stable before applying rigorous cleaning techniques.
Finally, remember to discontinue the cleaning operation if adverse weather conditions arise, such as rain or high winds, to avoid losing control of the equipment.
Cleaning Up After Using the Pressure Washer
After completing the job, detach the nozzle and ensure any residual solution is expelled from the unit. Inspect hoses, connections, and attachments for any leaks or damage.
Rinse the machine thoroughly with clean water to remove any remaining cleaning agents. Run the water through for a few minutes, allowing it to flush out systems. Pay special attention to the detergent tank, ensuring it’s completely emptied and rinsed.
Clean the filter regularly by detaching it and rinsing under running water. If there’s visible buildup, a soft brush can help remove stubborn debris. This prevents clogs that may hinder performance during future tasks.
Store the device in a dry area, preferably indoors, to avoid exposure to elements that could deteriorate components. If possible, keep attachments in a designated storage case to protect them from damage.
Inspect the power cord and any attachments before storage. Replace or repair any frayed cords or broken components to ensure reliability for your next cleaning project.
Keep an eye on water quality in your area, as hard water can lead to scaling inside the machine. Using a descaler periodically can help maintain efficiency and longevity.


