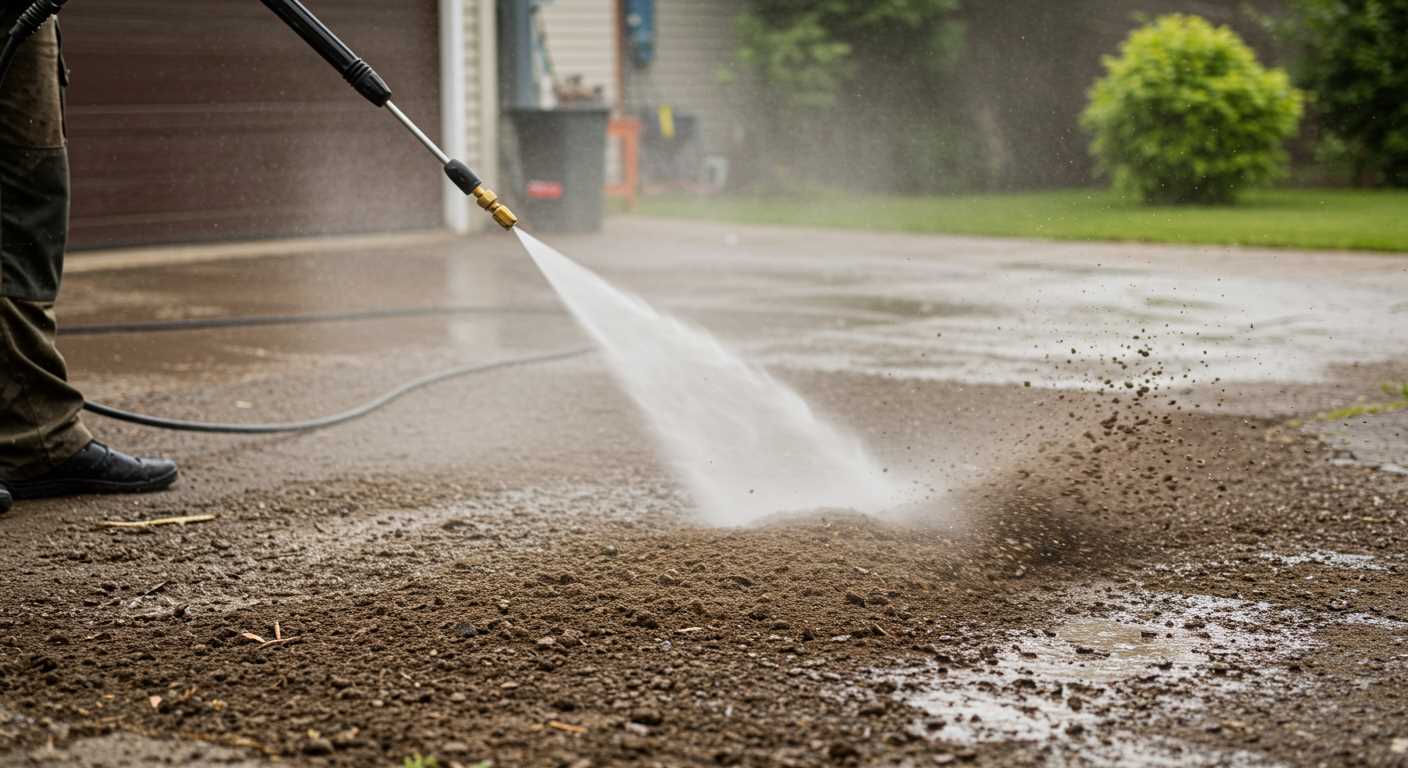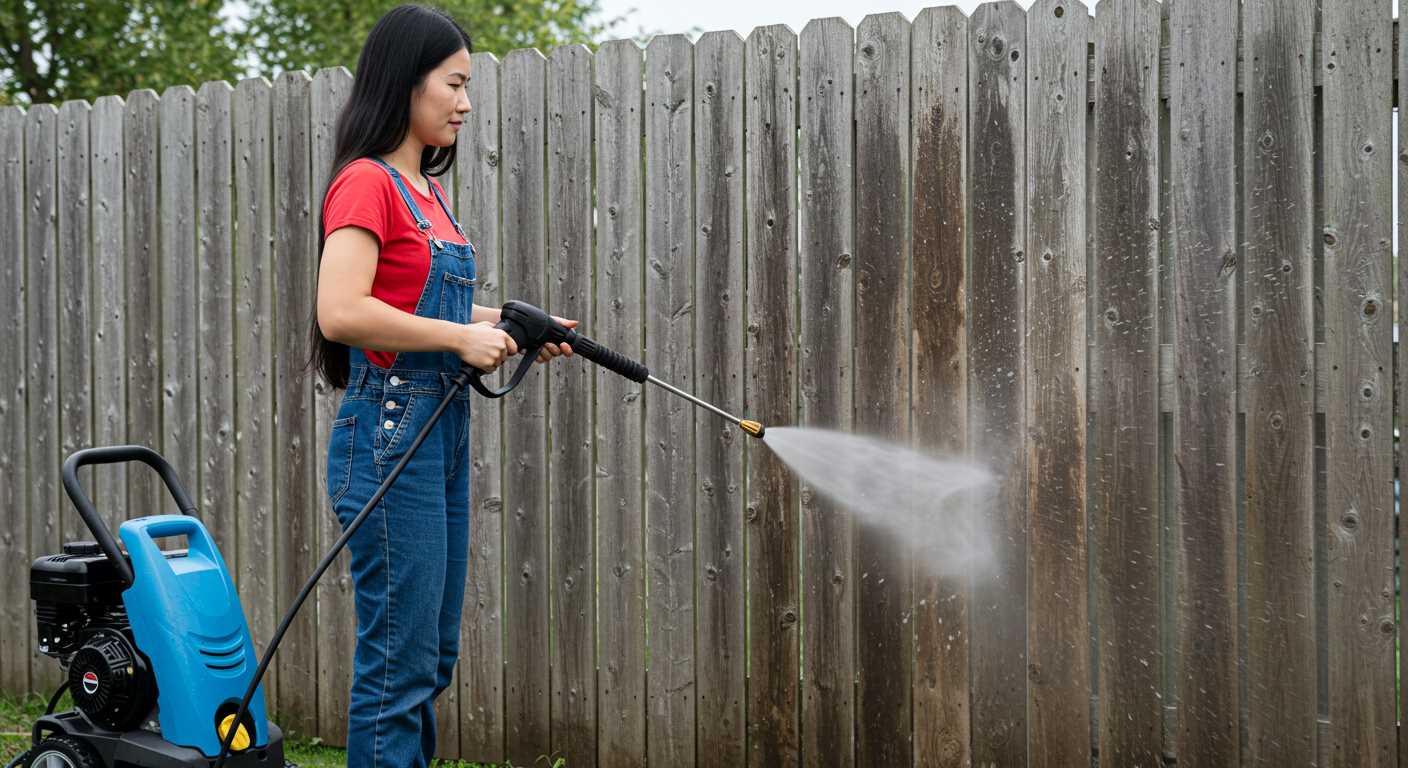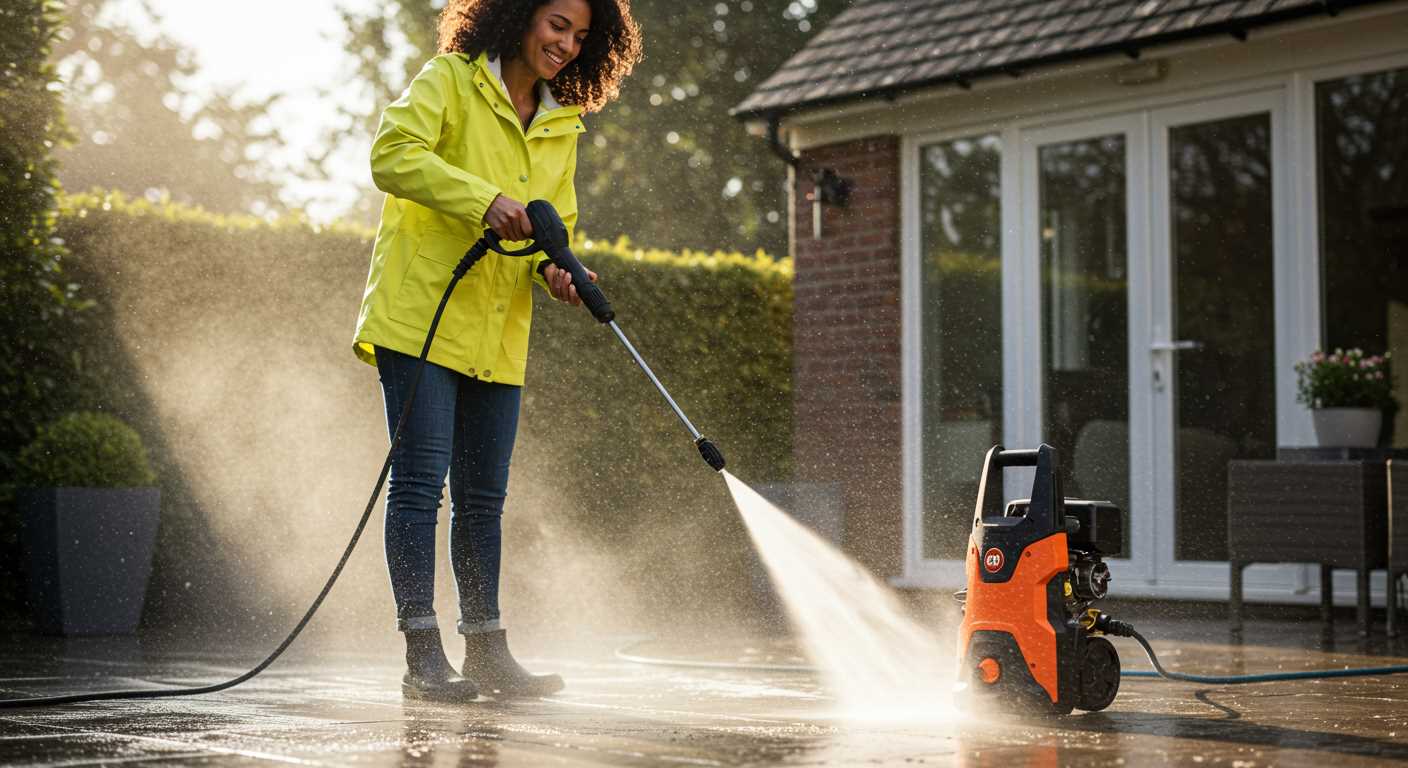


Begin by preparing your work area. Ensure that the surface underneath is free from loose debris or gravel to prevent scratches during the cleaning process. Additionally, gather all necessary tools such as a suitable detergent, a wash brush, and a high-pressure device.
Prior to commencing, it’s wise to rinse the exterior using a gentle spray. This initial step helps to remove loose dirt and dust, reducing the risk of scratches during the deeper clean. When selecting a nozzle, opt for a 25-degree or 40-degree tip to ensure an even dispersal of water that won’t damage the paintwork.
Adhere to a thorough cleaning routine by applying a pH-neutral detergent appropriate for your vehicle’s finish. Work systematically, starting from the top and moving downwards, to prevent dirt from flowing over already cleaned areas. Utilize the wash brush to agitate stubborn grime, ensuring you limit contact with sensitive areas such as around the tyres or windows.
Finally, rinse the vehicle thoroughly to eliminate all soap residue. A second pass over the surface with clean water ensures that all cleaning agents are washed away, preserving the finish and shine of your vehicle. After drying, consider applying a wax or sealant for extra protection and lasting shine.
Techniques for Effective Cleaning
Utilise a foam cannon for the best results. This attachment provides a thick layer of detergent that clings to surfaces, allowing dirt to lift away with minimal effort. Choose a pH-neutral soap specifically designed for automotive finishes to prevent damage.
Application Method
Begin by thoroughly rinsing the exterior to eliminate loose debris. Adjust the spray nozzle to a wide fan setting, as this reduces the risk of damaging the paintwork. Maintain a distance of approximately 2 to 3 feet from the surface while spraying.
Final Procedure

Once the foam has acted for several minutes, rinse from the top down. This prevents dirty water from running over already cleaned areas. After rinsing, dry the surface using a microfibre towel to prevent water spots and ensure a polished finish.
Choosing the Right Pressure Washer for Car Cleaning

Select a model with a pressure rating between 1200 to 1900 PSI. This range effectively removes dirt without risking damage to paint and delicate surfaces.
Consider the flow rate as well. Aim for a minimum of 1.2 gallons per minute (GPM). A higher flow rate aids in rinsing while maintaining safety for the vehicle’s finish.
Pistons are crucial; opt for an electric unit featuring a brass pump for reliability and longevity. This design can handle varied tasks without overheating.
Attachments play a significant role in versatility. A foam cannon is essential for pre-soaking and lubricating dirt, making the wash process smoother and more efficient.
Pay attention to mobility. Choose one with durable wheels and a manageable weight. Portability is key for reaching every angle easily, so consider your storage setup as well.
Evaluate noise levels. If you live in a residential area, a quieter model will reduce disturbances while still delivering the necessary power.
Finally, look for warranties and service availability. Ensure support is accessible in your area, as this can save headaches in the long run.
Preparing Your Vehicle for High-Pressure Cleaning

Ensure all windows and doors are fully closed to prevent water penetration. I recommend checking for any cracks or unsealed areas that may allow moisture inside. It’s wise to remove any personal items from inside the vehicle as well.
Clear the Surrounding Area

Before starting, clear the vicinity of any obstacles or items that could obstruct your movement. This includes removing garden hoses, furniture, or anything else that might get in the way. Additionally, it’s prudent to check your surroundings for any electrical outlets or outdoor equipment that could be sensitive to water exposure.
Check the Cleaning Solutions
Choose the appropriate cleaning agents that can safely be used with high-pressure equipment. I advise selecting a biodegradable soap specifically designed for outer surfaces. Always read labels to ensure compatibility with your chosen machine and avoid harsh chemicals that could damage the finish.
Setting Up the Pressure Washer Properly
First, ensure the machine is placed on a stable surface to avoid any tipping during usage. Check the hose connections; they should be secure to prevent leaks. Attach the appropriate nozzle for the job–usually a wide fan spray for cleaning. This helps distribute the water evenly and prevents damage to surfaces.
Next, connect the water supply to the inlet of the unit. Make sure the water source is turned on before starting the machine. This helps prevent dry running, which can damage the pump. If the model has a filter, clean it to avoid clogs that could impede performance.
It’s essential to check the power settings; use the recommended voltage and never exceed the manufacturer’s specifications. If using an electric variant, plug it into a ground-fault circuit interrupter (GFCI) outlet for safety. For petrol units, verify that the fuel is fresh and properly mixed if required.
Once everything is connected, test the trigger mechanism without pointing it at any surface. This ensures that the machine is functioning correctly and allows you to get a feel for the force of the spray. Adjust the pressure as necessary before starting the cleaning process, aiming for a lower setting initially to avoid any potential damage.
Finally, prepare an area around you by removing any obstacles and ensuring adequate drainage. This will provide a safer and more efficient environment for the cleaning task ahead.
Selecting the Appropriate Nozzle for Vehicle Surfaces
Begin with a 25-degree nozzle for general cleaning. This option provides a good balance of pressure and coverage without damaging delicate finishes. Ideal for removing dirt and light grime, it’s effective on most exterior surfaces.
For stubborn contaminants, such as bug splatter or tar, opt for a 15-degree nozzle. This narrower spray angle concentrates the force, allowing for deeper cleaning without excessive risk to paintwork if used correctly and at a safe distance.
A 40-degree nozzle is recommended for sensitive areas, like windows and painted trims. This wider spray reduces pressure and minimizes the potential for scratches or chips, ensuring safe use on fragile surfaces.
When dealing with composite bodywork or areas where water could enter, consider a turbo nozzle. This rotating spray pattern combines the gentleness of a wide nozzle with the effectiveness of a narrow one, ensuring thorough cleaning without compromise.
Always test the selected nozzle on a small, inconspicuous area first. Adjust your distance accordingly to avoid damage. The right nozzle is key to achieving a clean surface while keeping finishes intact.
Washing Techniques to Avoid Damage
Avoid using excessive pressure, as this can harm delicate areas such as paintwork and trim. Stick to moderate settings, typically around 1200 to 1500 PSI, to ensure a safe cleaning experience.
Prior to applying water, remove loose dirt and debris manually. Utilize a soft brush or microfiber cloth on rough surfaces. This step helps prevent scratches and swirl marks.
Always maintain a distance of at least two feet between the nozzle and the surface. Adjust your angle to avoid direct contact, particularly near sensitive components like badges and emblems.
Use a low-pressure detergent setting for any cleaning agents. This allows the solution to lift grime without the abrasiveness associated with high pressures.
Consider the order of cleaning; start from the top and work your way down. This technique reduces the likelihood of dirt running onto already cleaned areas.
Implement a sweeping motion rather than a direct blast. This method distributes the water more evenly and lowers the risk of concentrating pressure in one spot.
Avoid using hot water unless explicitly stated by the manufacturer, as heat can cause certain surfaces to warp or discolour.
After completion, dry surfaces immediately with a clean, soft towel to prevent water spots and streaks, especially on windows and mirrors.
Regular maintenance is essential; inspect for any signs of damage such as faded paint or peeling stickers. Address these issues promptly to prevent further deterioration.
Lastly, always refer to the specific manual or guidelines of your vehicle for particular considerations concerning its surfaces and finishes.
Cleaning the Wheels and Tyres Effectively
Focus first on dry debris removal. Use a stiff brush to dislodge dirt and brake dust from the wheels and tyres before applying any liquid treatment. This will help prevent scratches during washing.
Tools and Supplies
- Stiff-bristle brush
- Soft sponge or wash mitt
- Wheel cleaning solution
- Tyre shine product
- Water source for rinsing
Choose a dedicated wheel cleaner that effectively dissolves grime. Avoid all-purpose cleaners which may damage the wheel finish. Apply it liberally to all wheel surfaces, including the tyre sidewalls.
Washing Technique
- Spray the cleaning solution directly onto the wheels and tyres, allowing it to sit for a few minutes to break down the dirt.
- Utilise a stiff-bristle brush for wheel surfaces, ensuring to reach into crevices and around the spokes. Use a soft sponge for the tyre edges.
- Rinse thoroughly with a targeted stream of water, ensuring no residue remains.
- Apply the tyre shine product to the sidewalls for a polished finish. Use a separate applicator to prevent contamination of your wheel surfaces.
Regular maintenance of wheels and tyres enhances both appearance and longevity. Set a routine for comprehensive cleaning to maintain optimal condition and performance.
Finishing Touches: Drying and Waxing
After rinsing off any cleaning agents, the next step entails thorough drying to prevent water spots and streaks. Microfibre towels are my first choice for this purpose due to their absorbent properties and gentle texture. Start from the roof and work down, ensuring all areas are dry, including hidden spots like door jambs and around mirrors.
Once the vehicle is fully dried, it’s time to apply a protective wax coating. This not only enhances the shine but also acts as a barrier against environmental elements. I recommend using a high-quality paste or liquid wax. Apply it with a soft applicator pad in a circular motion, ensuring an even layer across the surfaces. After allowing it to haze, buff with a clean microfibre cloth for a brilliant finish.
The following table provides a quick guide to the drying and waxing process:
| Step | Action | Tip |
|---|---|---|
| 1 | Dry the car | Use microfibre towels for best results. |
| 2 | Check for hidden water | Pay attention to door jambs and mirrors. |
| 3 | Apply wax | Use a soft applicator pad in circular motions. |
| 4 | Buff the wax | Use a clean microfibre cloth for a pristine finish. |
This final touch transforms the appearance, making it gleam and ensuring prolonged protection against dirt and debris. Regularly maintaining this routine will enhance the longevity of the finish and keep the vehicle looking its best.


