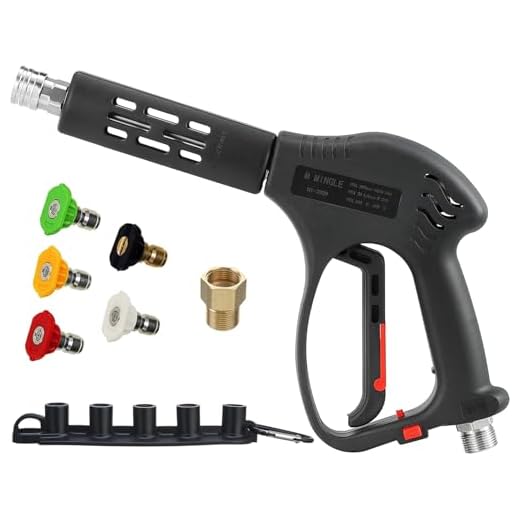


For optimal results, choose a pressure level between 2000 and 3000 PSI, as this range effectively removes dirt and grime from various surfaces without causing damage. Start by selecting the appropriate nozzle–a 25-degree nozzle works well for siding, while a 40-degree nozzle is better for delicate areas.
Prior to commencing the task, ensure all windows and doors are securely closed. Cover any plants or garden features that could be affected by the high-powered stream. It’s advisable to begin from the top of the exterior and work your way down, allowing dirt and debris to fall away as you clean.
Utilize a detergent specifically formulated for exterior cleaning; mixing it with water in the soap tank will create a solution that breaks down stubborn stains. After applying the detergent, let it sit for a few minutes before rinsing to maximise its effectiveness. Rinse thoroughly to ensure no residue remains, as this can lead to unsightly spots.
Maintaining a safe distance, typically around 24 inches from the surface, will prevent damage while still providing effective cleaning. Use sweeping motions rather than concentrating on one spot to ensure an even finish.
Optimal Technique for Cleaning Surfaces
Begin by assessing the material of the façade. Different textures and finishes require tailored approaches. For softer surfaces like wood, use a lower pressure setting to prevent damage. Harder surfaces such as brick or concrete can handle higher pressures.
Gather necessary accessories to enhance the job. A 25-degree nozzle is ideal for most tasks, while a surface cleaner can expedite the process for flat areas. Ensure your equipment has a sufficient length of hose to prevent constant repositioning, maximising efficiency.
Mix a suitable cleaning agent according to the manufacturer guidelines. Let this solution sit on the surface for a short while to loosen dirt and grime before rinsing. Avoid over-application; it can lead to streaks and residue.
Maintain a consistent distance from the surface while operating the device, typically around 30 to 50 cm. Start at the top and work downwards to allow debris to wash away, preventing streaks.
| Surface Type | Recommended Pressure (PSI) | Nozzle Type |
|---|---|---|
| Wood | 1300-1600 | 40-degree |
| Vinyl Siding | 1500-2000 | 25-degree |
| Brick/Concrete | 2000-3000 | 15-degree |
Once completed, always thoroughly rinse the area to ensure all soap residues are removed. Use a gentle stream to prevent any potential damage to the newly cleaned surface.
Selecting the Right Cleaning Equipment for Your Home
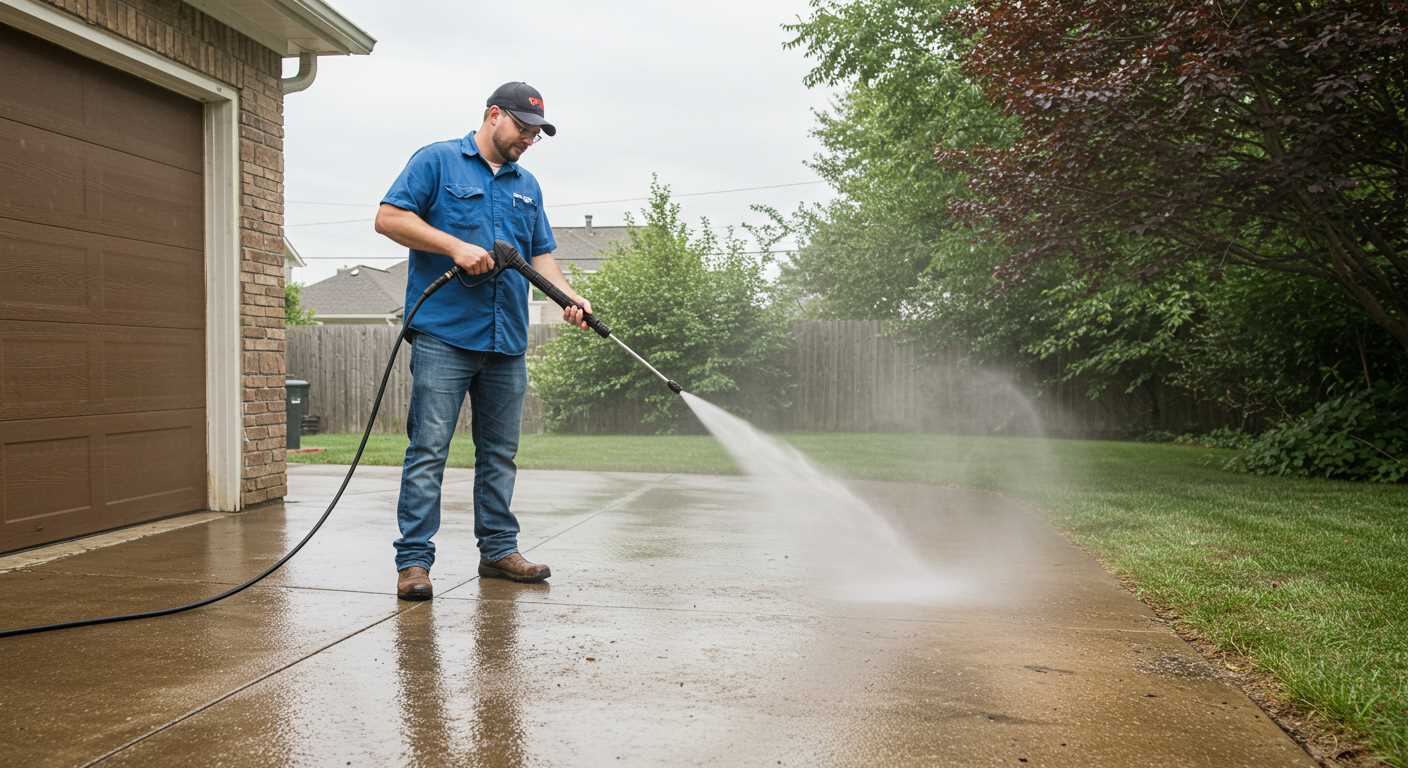
For effective exterior cleaning, choose equipment rated between 1500 to 3000 PSI (pounds per square inch), ensuring it meets your surface’s demands without causing damage. Generally, softer materials such as wood require lower pressure, while concrete and brick can handle higher settings.
Consider flow rate, measured in GPM (gallons per minute). A higher GPM enhances efficiency, allowing you to cover more area quickly. Aim for a minimum of 1.5 GPM for moderate tasks, while more intensive projects might benefit from 2.5 GPM or higher.
Electric models are ideal for residential purposes, operating quietly and requiring less maintenance. For larger areas or tough stains, a gas variant provides more power and mobility but may involve higher fuel and upkeep costs.
Assess the nozzle types available; interchangeable nozzles offer versatility for various tasks. A 25-degree nozzle works well for most cleaning needs, while 0-degree nozzles tackle particularly stubborn grime. Always follow the manufacturer’s guidelines to prevent damage.
Review the weight and manoeuvrability of the unit. Compact designs make it easier to navigate around tight spaces and ladders. Look for features like onboard storage for hoses and nozzles, which enhance convenience during use.
Finally, warranty and customer service are paramount. A reliable brand offers peace of mind, ensuring support for repairs or replacements. Research user reviews for insights into performance and durability over time.
Preparing Your Property for High-Pressure Cleaning
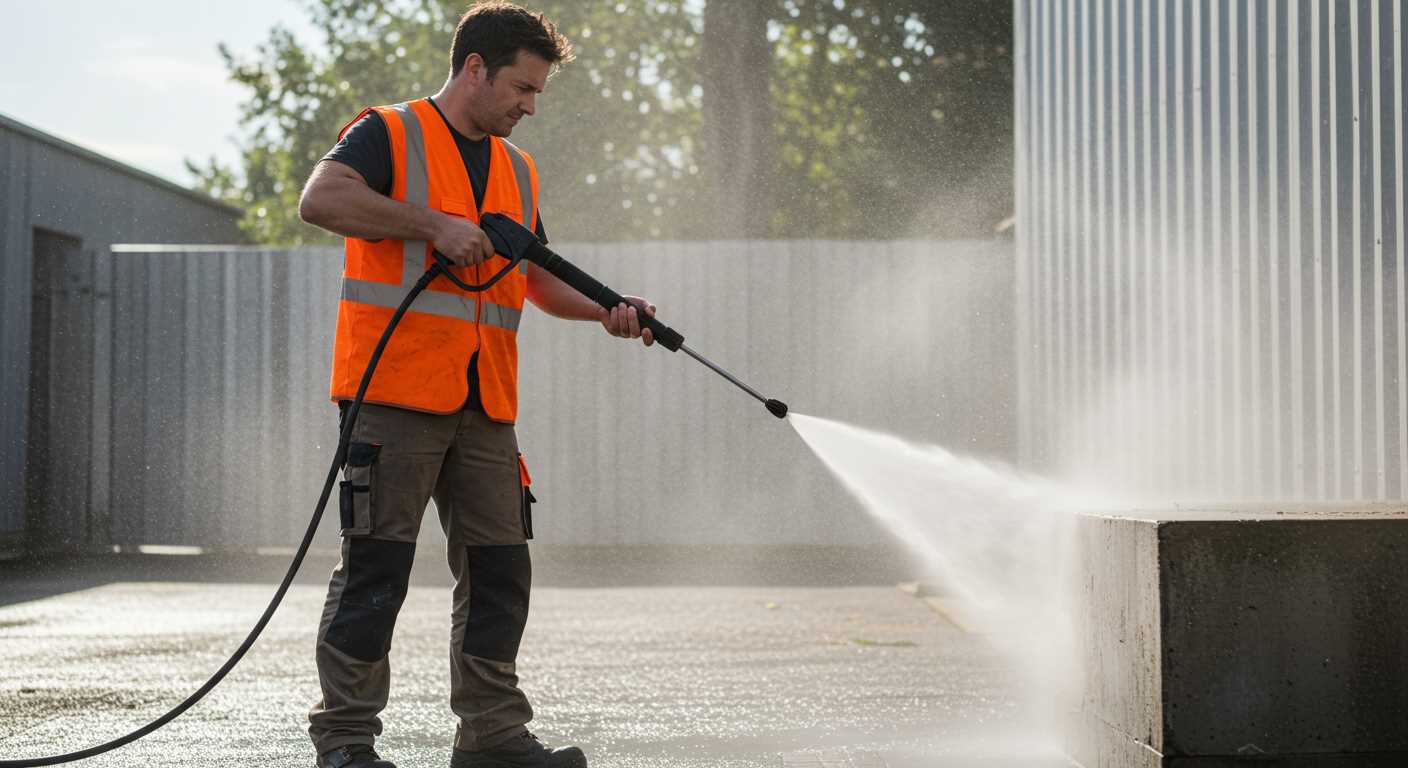
Prior to commencing any high-pressure cleaning, it’s crucial to clear the vicinity of any loose items. Move furniture, potted plants, and decorations away from the walls to prevent damage and ensure an unobstructed workspace. Assess the area for overhead obstructions such as power lines or tree branches that may interfere with the cleaning apparatus.
Inspect and Repair
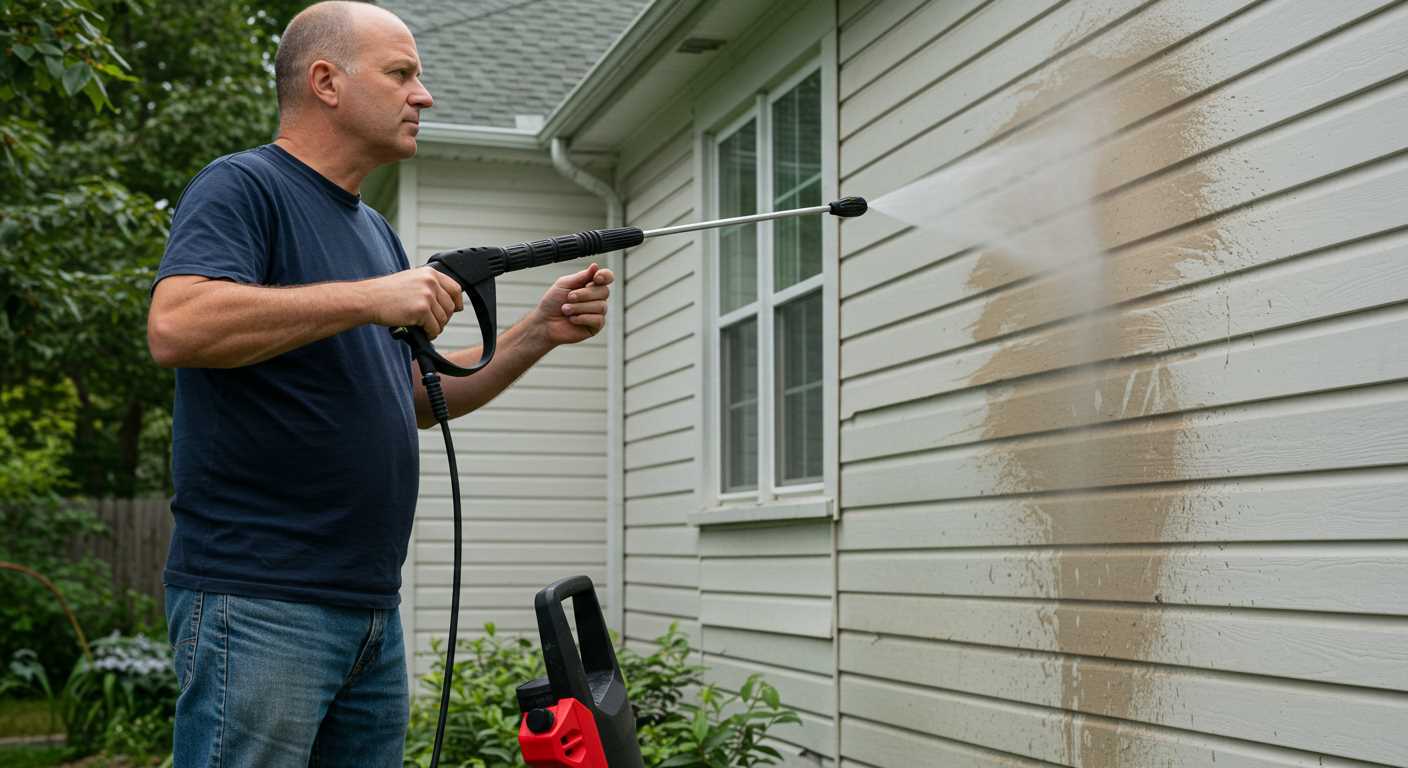
Examine the exterior surfaces for signs of damage. Cracks, peeling paint, or loose siding should be repaired before applying any high-pressure technique. This will not only enhance the efficacy of the task but also protect against further deterioration.
Protect Vulnerable Areas
Shield windows, doors, and any delicate fittings like light fixtures or outdoor electrical outlets. Use painter’s tape and plastic sheeting to cover these surfaces, reducing the risk of water ingress or damage from cleaning solutions. Ensure to check seals around windows and doors for any weaknesses that could allow water to enter.
Choosing the Appropriate Cleaning Solutions
For optimal results, selecting the right cleaning solutions is paramount. Avoid generic soaps and detergents; instead, choose products specifically formulated for exterior cleaning tasks. These solutions are designed to break down dirt, grime, and algae efficiently.
Types of Cleaning Solutions
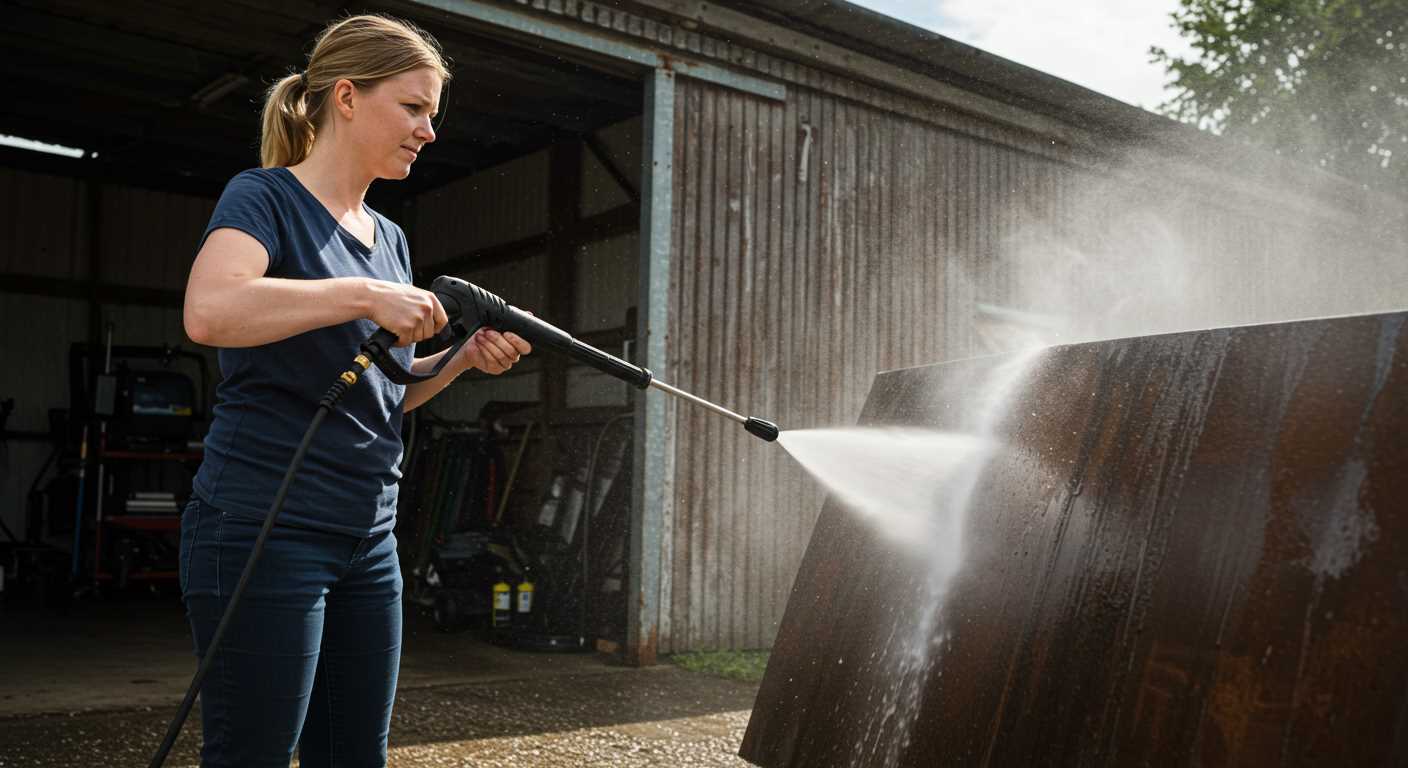
First, consider biodegradable detergents for a more environmentally friendly approach. Many of these products are potent against stains while being safe for plants and wildlife. Concentrated formulas often require dilution, ensuring effective adherence to surfaces without causing damage.
Secondly, for tough stains such as mildew, opt for chlorine-based solutions, provided it’s safe for your exterior materials. Always test a small area first to prevent any adverse reactions. Vinegar can also be an alternative for a more natural approach, often effective against light mould and mildew.
Application Techniques
When applying the chosen solution, use a low-pressure setting to prevent damage. A detergent nozzle is ideal for even distribution. Allow the cleaner to sit for the recommended time, typically 5 to 10 minutes, but avoid letting it dry to prevent streaking.
Afterward, rinse thoroughly to remove any residue. This step is critical to prevent lingering chemicals from altering the appearance or texture of surfaces.
By selecting the appropriate cleansing agents, the likelihood of achieving a spotless exterior increases substantially, reflecting your efforts while preserving the integrity of your property.
Understanding Spray Patterns and Nozzle Types
Selecting the right nozzle type is key for optimal results. Each nozzle creates distinct spray patterns that dictate the cleaning effectiveness and safety on various surfaces.
Nozzle Types
- 0° Nozzle: Produces a concentrated stream; ideal for tough stains on hard surfaces like concrete, but can damage softer materials.
- 15° Nozzle: Offers a narrow spray that works well for peeling paint and grime removal; suitable for brick and stone.
- 25° Nozzle: A versatile option for general cleaning; effective on decks, patios, and siding without causing damage.
- 40° Nozzle: Provides a wide spray pattern; perfect for delicate surfaces such as cars or sealer-coated wood.
- Soap Nozzle: Low-pressure setting designed to apply cleaning solutions evenly.
Understanding Spray Patterns
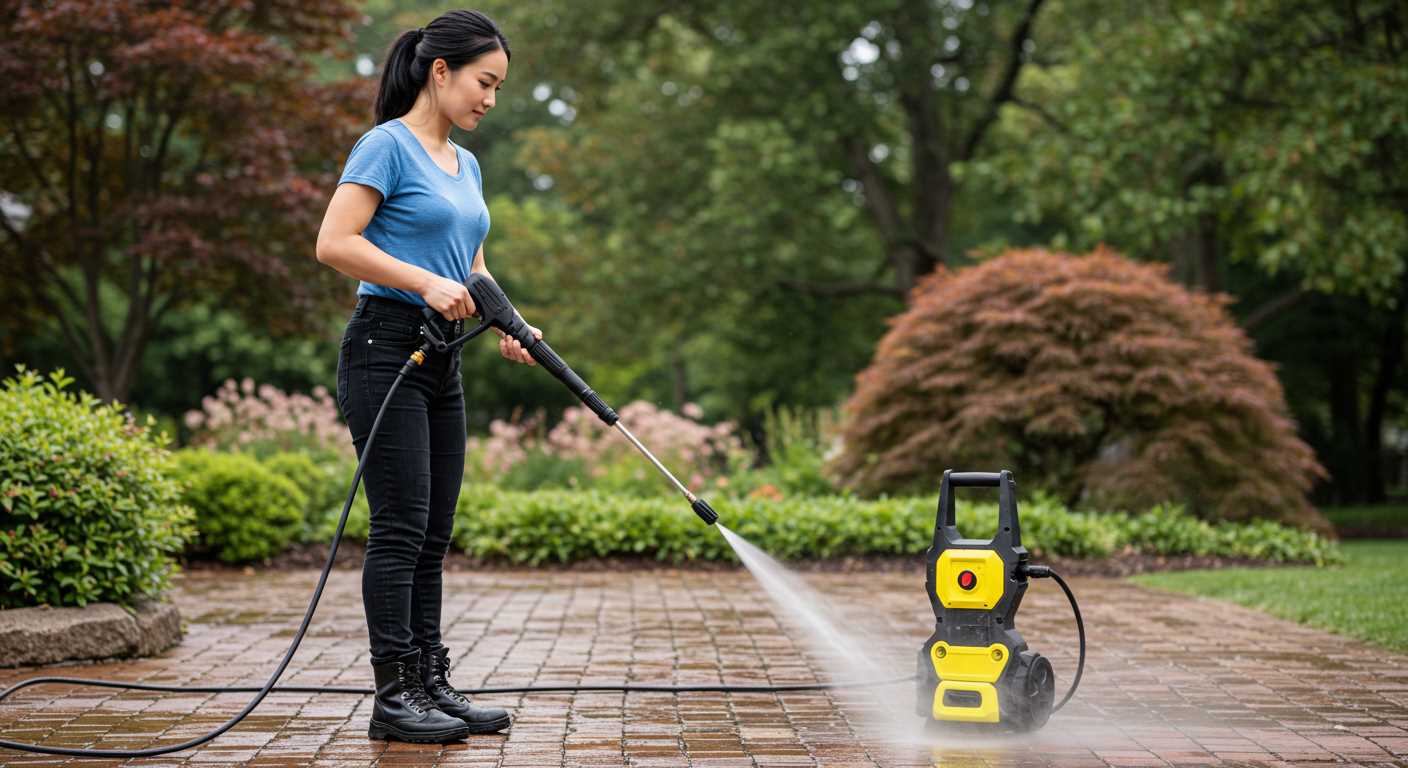
Spray patterns influence how effectively you can clean surfaces. Here’s a breakdown:
- Direct Stream: Concentrated for maximum power; use sparingly on durable surfaces only.
- Fan Spray: Wider coverage; balances power and area cleaned, minimising risk of damage.
- Low Pressure: Utilised for applying detergents; ensures even distribution while protecting surfaces.
Testing various nozzles can provide insights into what works best for your specific cleaning tasks. Always start with the least aggressive option to avoid damage, particularly on fragile surfaces.
Safety Measures and Protective Gear During Cleaning
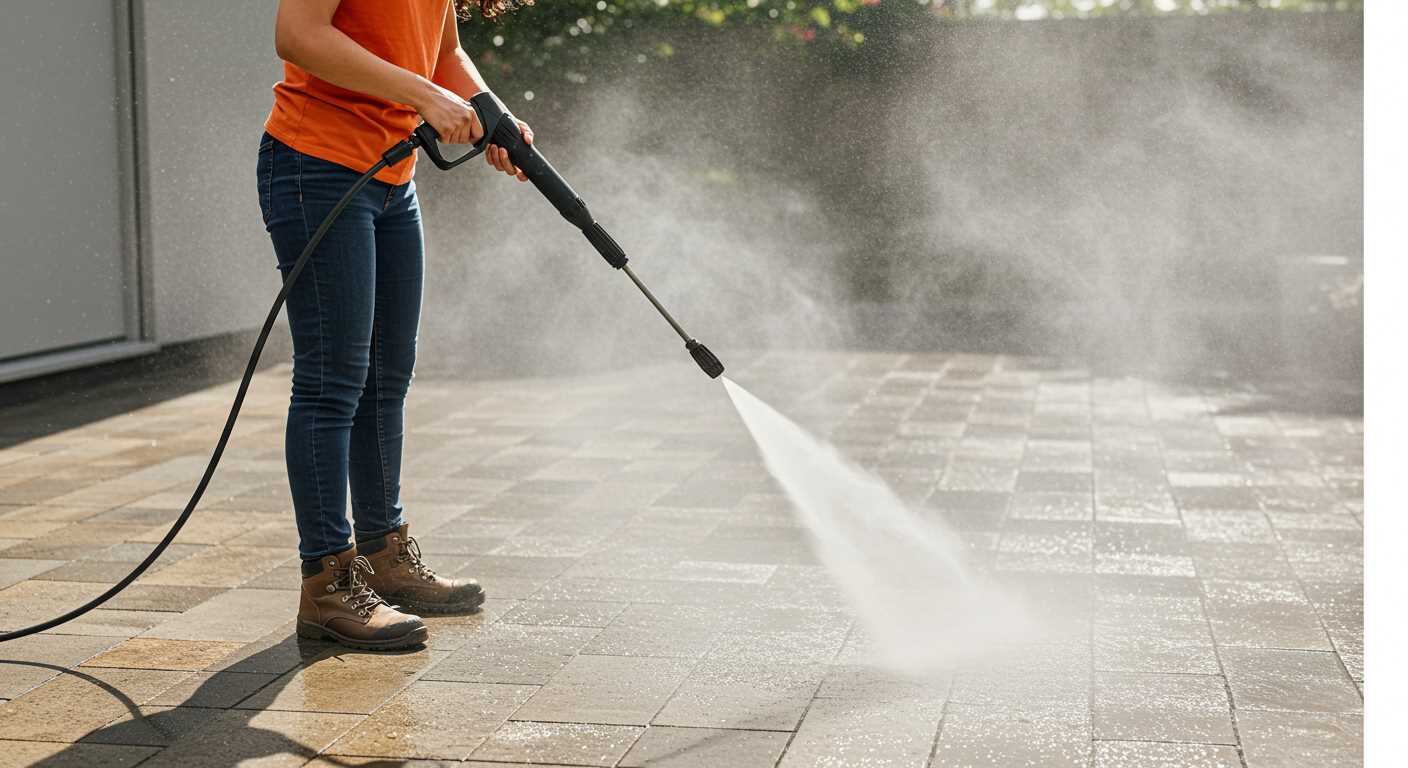
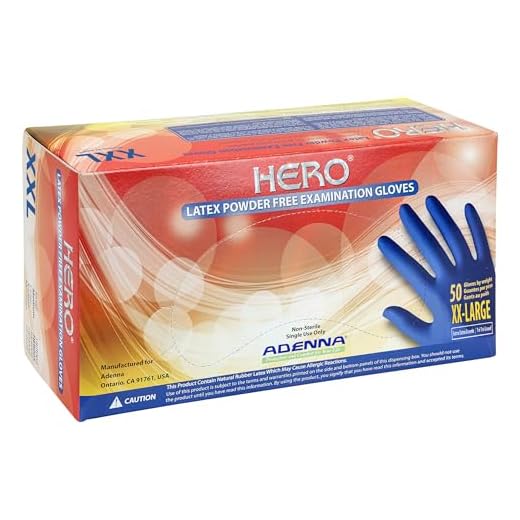
Always wear safety goggles to shield your eyes from debris and chemical splashes. A pair of sturdy gloves is vital to protect your hands from sharp objects and irritating substances. Opt for closed-toe shoes with a non-slip grip to provide support and stability on wet surfaces.
Additional Protective Equipment
Consider using a mask to prevent inhalation of dust and harmful particles, especially when applying cleaning agents. A hearing protector is advisable as well, given the noise level from the equipment. Lastly, long sleeves and trousers can add an extra layer of protection against flying debris and chemicals.
Site Safety Considerations
Ensure the area is clear of obstacles and that all electrical outlets are away from the potential spray zone. Establish a safe distance from windows and delicate surfaces to avoid damage. If working on a ladder, use a buddy system; having someone nearby enhances safety in case of emergencies.
Post-Wash Maintenance and Inspection
After completing the exterior cleaning, it’s crucial to carry out a thorough inspection and maintenance routine to ensure long-term benefits.
- Inspect Surfaces: Check for any overlooked areas or remaining stains. Pay attention to the joints and seams to confirm no debris is lodged.
- Check for Damage: Look for any signs of wear, such as chipped paint, cracked siding, or damaged windows. Addressing these issues promptly can prevent further deterioration.
- Assess Cleanliness: Evaluate if the desired cleanliness level was reached. If not, reconsider the cleaning solutions used or the techniques applied.
Regular upkeep is vital.
- Schedule Future Cleanings: Depending on environmental factors, determine a frequency for future cleaning sessions. Generally, every six months to a year suffices.
- Seal Surfaces: If applicable, applying a protective sealant can enhance durability and resistance against mould and mildew.
- Maintain Surrounding Areas: Keep flower beds and landscaping clear of dirt and debris that may affect the structure.
Ensure the equipment used is properly cleaned and stored after use. Check hoses for leaks and make sure nozzles are free of blockages. This will prolong the life of your cleaning tools and ensure readiness for the next task.
Stay vigilant about any changes over time. Periodic visual assessments can often reveal unnoticed problems before they escalate.


