

For a thorough clean, blend warm water with a mild detergent and use a soft-bristled brush. This combination effectively removes grime and stains from surfaces without causing damage. Apply the solution generously, allowing it to sit for several minutes to break down hardened residue.
After the initial soaking, scrub the damp areas systematically, paying extra attention to corners and crevices. Using a bucket attached to a long handle allows for thorough cleaning of high walls and ceilings. Rinse sections off with a garden hose, and maintain a steady but gentle water flow to avoid any potential harm to surfaces.
Investing time in this method invites excellent results while saving your exterior finishes from unnecessary wear caused by high-pressure alternatives. Maintaining a regular cleaning schedule will keep your surfaces in good condition and reduce the build-up of dirt over time.
Alternative Methods for Cleaning Exteriors
The simplest approach I recommend involves a bucket filled with warm water and a suitable mild detergent. Use a long-handled scrub brush to apply the mixture, working in sections to ensure thorough coverage. Opt for a brush with stiff bristles to tackle stubborn dirt and grime effectively. This method is ideal for various surfaces, including wood, vinyl, and brick.
Utilising a Garden Hose
<p Incorporating a standard garden hose enhances the cleaning process significantly. Attach a nozzle to adjust the water flow and pressure according to the surface you're addressing. Directing a strong stream towards the cleaned area rinses away residues left by the detergent, leaving the surface spotless. Remember to rinse from the top down to prevent streaking.
Homemade Cleaning Solutions
<p For more effective results, create a cleaning solution using household vinegar and baking soda. Mix one part vinegar with one part water, and add a few tablespoons of baking soda. This combination acts as a natural abrasive, making it suitable for tough stains. Apply this paste with a sponge or cloth, allow it to sit for a few minutes, then scrub and rinse with water.
Choosing the Right Cleaning Solutions for Different Surfaces
Opt for a gentle detergent for painted or vinyl surfaces. These formulations effectively cut through grime without damaging the finish. Mix one part detergent with five parts water for optimal use.
For wood surfaces, such as decks or fences, I recommend a mild bleach solution to eliminate mould and mildew. A ratio of one cup of bleach to a gallon of water works well. Always rinse thoroughly to avoid residue.
For concrete, brick, or stone, use a heavy-duty cleaner designed for these materials. Products containing trisodium phosphate (TSP) can penetrate tough stains and restore colour. Follow manufacturer instructions for dilution; a common mix is one cup of TSP to a gallon of water.
Consider using eco-friendly solutions for an environmentally conscious approach. Vinegar mixed with baking soda creates a natural abrasive cleaner that can effectively lift stains on various surfaces.
In case of stubborn stains, such as oil or grease, spot-treat with a degreaser. Apply directly to the area, allowing it to sit before scrubbing and rinsing.
For glass and windows, a simple solution of vinegar and water ensures streak-free clarity. Combine equal parts vinegar and water in a spray bottle for easy application.
Lastly, always test any cleaning solution on a small, inconspicuous area before full application to ensure compatibility with the surface. This prevents unexpected damage and maintains the integrity of the material.
Gathering Necessary Cleaning Tools and Supplies
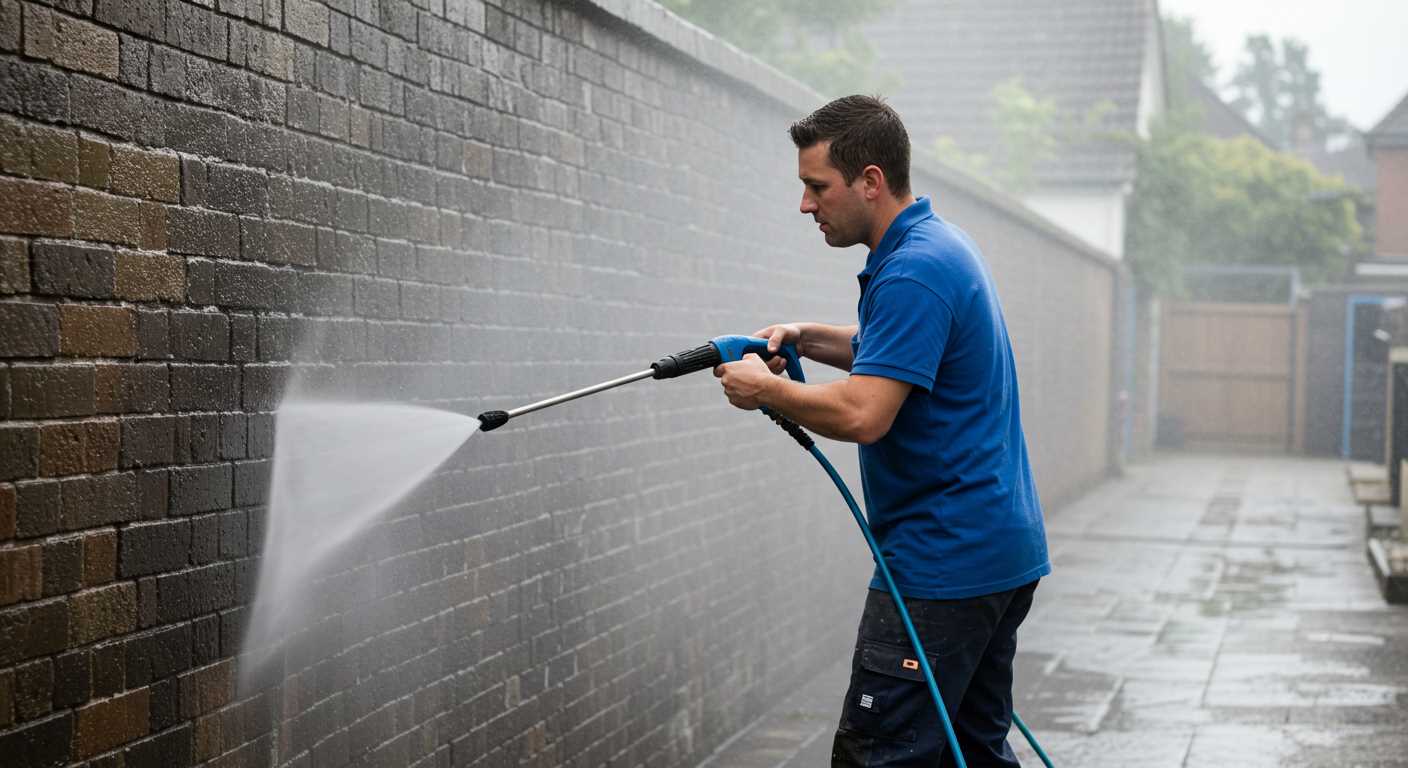
I recommend assembling a few key items for an effective cleaning session. Start with a sturdy bucket, ideally five gallons, to hold your cleaning solutions and water efficiently. A long-handled soft-bristle brush is crucial; it allows you to reach higher areas while protecting surfaces from scratches.
For applying your mixtures, a garden hose with a spray nozzle provides flexibility in controlling water flow and pressure. Make sure to select a nozzle that offers multiple spray patterns for versatile applications. Additionally, consider a sponge or microfiber cloth for detailed scrubbing on smaller areas or stubborn stains.
Choosing the Right Cleaning Solutions
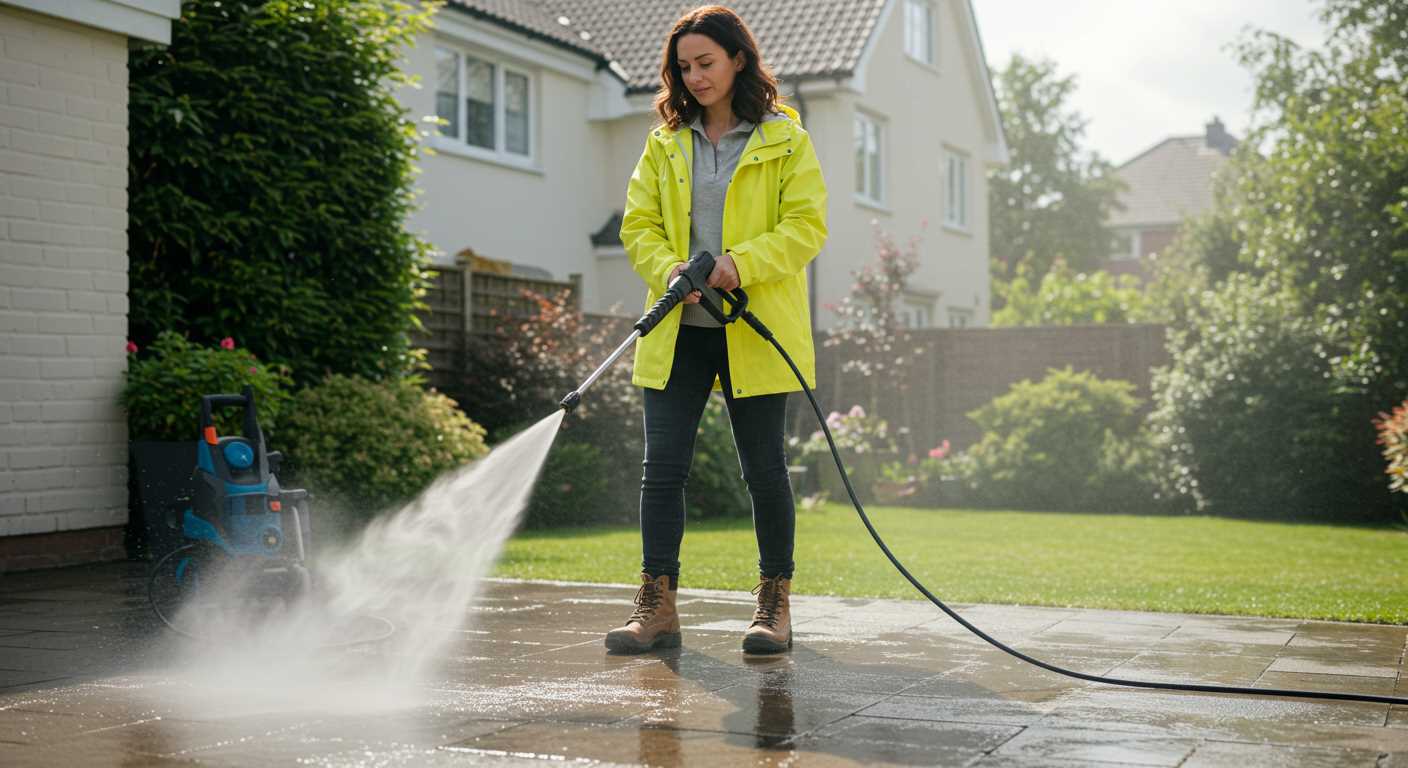
Select biocompatible detergents, especially when dealing with sensitive environmental areas. Vinegar mixed with baking soda is a natural alternative that works well for various grime types. For tougher tasks, look for a commercial cleaner designed for specific materials, ensuring compatibility with your structure.
Protective Gear
<p Don't forget to wear gloves and safety goggles to shield your skin and eyes during the process. If working with powerful cleaning products, consider a mask to protect your lungs from harmful fumes. Being prepared is key to a seamless cleaning experience.
Preparing the Area for Cleaning Your Home
Begin by removing all furniture, decorations, and items that could obstruct the process. This ensures a clear workspace and prevents any unintended damage to personal belongings. Move planters, ornaments, and outdoor rugs at least a few metres away from the walls to avoid splatter.
Protect Surrounding Areas
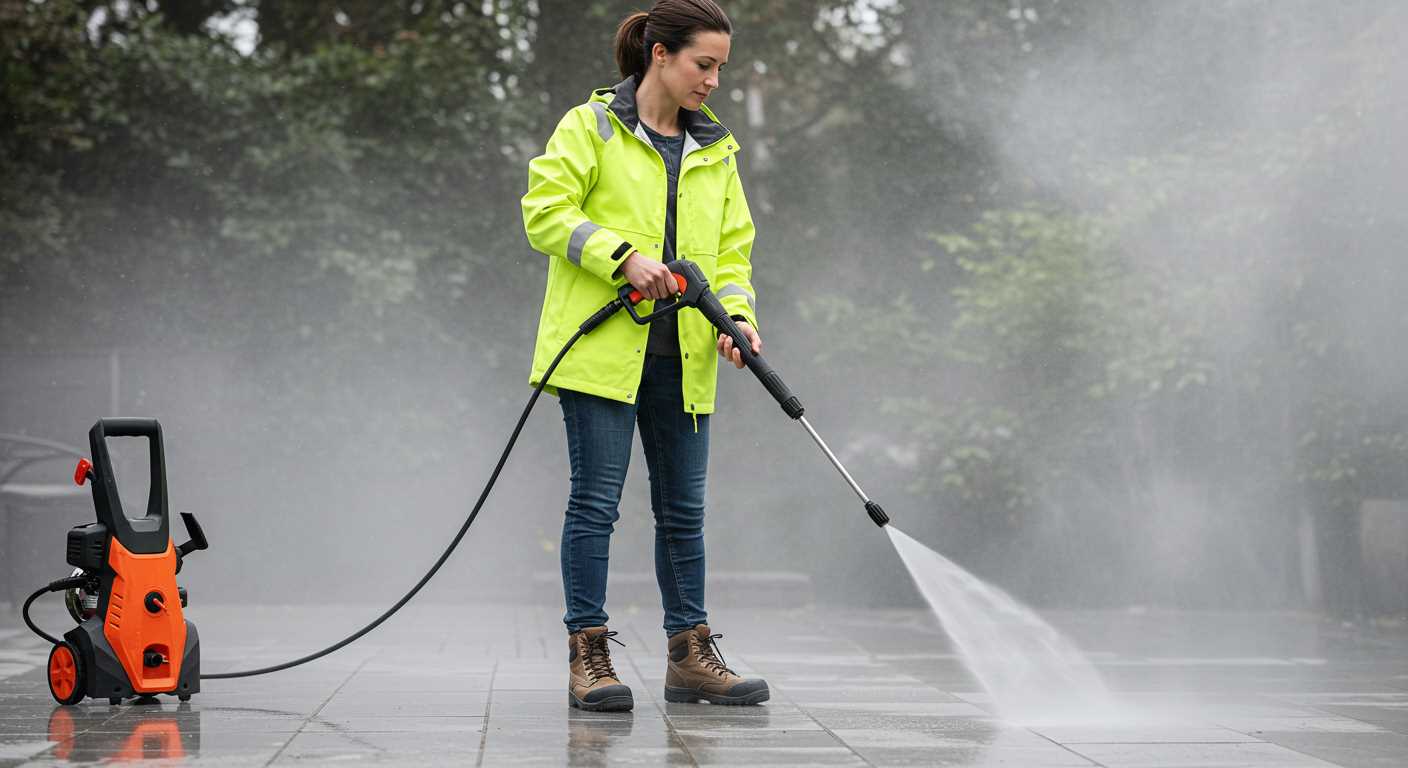
Use tarps or plastic sheets to shield delicate plants, windows, and fixtures from cleaning solutions and debris. Pay special attention to electrical outlets and fixtures; cover them with waterproof tape or plastic bags to prevent water exposure. If your property has outdoor lighting or cameras, consider disconnecting them temporarily.
Assess Surface Conditions
Examine the surfaces for any damage or wear. Identify areas with loose paint, mould, or mildew. Address these issues beforehand to ensure optimal results. If necessary, apply a suitable treatment for mould or mildew and allow it to act before commencing. This proactive approach improves the effectiveness of the cleaning process significantly.
Techniques for Hand Washing Walls and Sidings
Begin with a thorough inspection of the exterior surfaces to identify any specific stains or problem areas. This assessment will guide your cleaning strategy.
Staging the Process
- For painted surfaces, use a mild detergent mixed with warm water. Apply the solution with a soft sponge or cloth to avoid damaging the paint.
- For vinyl and aluminium materials, a solution of equal parts vinegar and water can effectively address grime without harming the surface.
- Use a bucket to hold the cleaning mixture and a long-handled scrub brush for tough spots. This tool is particularly beneficial for reaching high areas.
Application Techniques
- Soak the scrub brush in your cleaning solution and work in sections. Start from the top and move downwards to prevent streaks.
- For textured surfaces, ensure you work the brush into all crevices. This thoroughness is key for a complete clean.
- Rinse each section immediately after scrubbing to remove soap residues and avoid streaking. Use a garden hose with a regular nozzle for controlled rinsing.
In instances of stubborn stains, pre-soak the area with your cleaning solution and let it sit for several minutes before scrubbing. This technique helps to lift dirt and grime more easily.
Post-cleaning, inspect the surfaces again to ensure cleanliness. If necessary, repeat specific areas to achieve the desired outcome.
Safe Window Cleaning Techniques
Use a mixture of warm water and a few drops of dish soap for an effective and gentle solution. This prevents streaking while ensuring surfaces remain unharmed. Employ a soft cloth or a non-abrasive sponge to apply this solution, working from top to bottom to avoid drips. Rinse with clean water using a second cloth to pick up any residue.
Tools for the Task
A squeegee is invaluable for achieving a streak-free finish. Opt for one with a rubber blade for smooth strokes. For higher windows, a telescopic pole with an attached squeegee or soft brush facilitates safe and easy reach. Microfiber cloths are ideal for detailing edges and removing any stubborn marks.
Safety Precautions
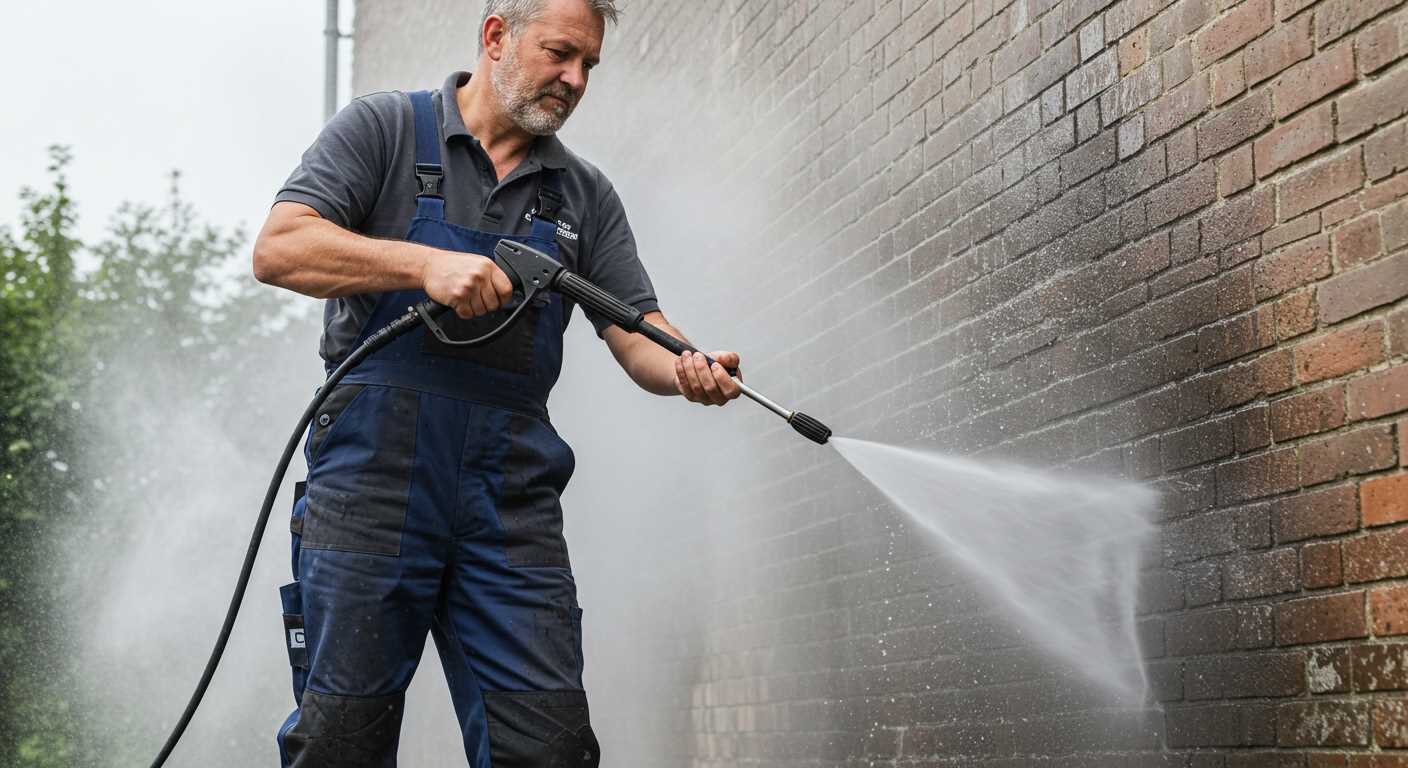
Ensure stable footing using a sturdy ladder or scaffolding for elevated areas. Always position equipment on level ground. Refrain from leaning awkwardly or overreaching; adjust your ladder as needed. If working indoors, protect furnishings and floors with drop cloths or towels to catch drips. For enhanced safety, consider working during overcast weather to prevent solution from drying too quickly on the glass.
Post-Cleaning Care and Maintenance Tips
To extend the results of your cleaning effort, it is crucial to apply a protective sealant on surfaces such as wood, stucco, or masonry. This creates a barrier against dirt accumulation and weathering. I recommend evaluating the surfaces carefully before application – some materials might require special products.
Routine Checks and Touch-Ups
Conduct regular inspections of the exterior after your cleaning. Look for signs of mildew, peeling paint, or any surface wear. Early detection can save time and effort, allowing for quick touch-ups instead of major renovations.
Seasonal Maintenance
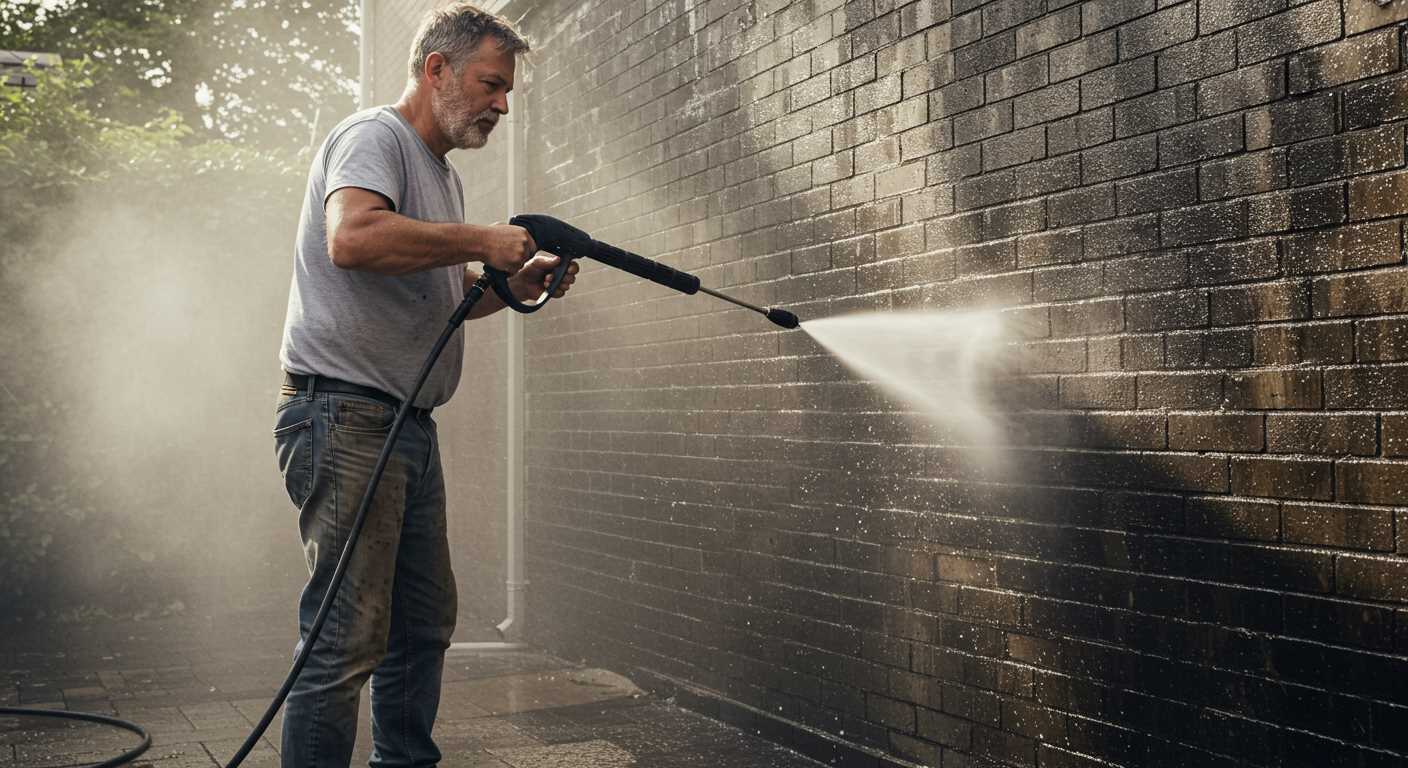
Adjust your maintenance strategy based on seasonal changes. In autumn, clear debris like leaves that can trap moisture and lead to mould growth. In spring, check for any damage from winter weather. Schedule a thorough inspection every spring and autumn.
| Task | Frequency | Notes |
|---|---|---|
| Inspect for mildew and damage | Monthly | Focus on shaded areas prone to dampness |
| Touch up paint or sealant | Annually | Use matching colours for seamless results |
| Clean gutters and downspouts | Seasonally | Prevents water pooling and damage |
| Inspect window seals | Twice a year | Replace any damaged weather stripping |
By keeping up with these straightforward maintenance tasks, you will not only preserve the appearance of your property but also protect its integrity over time.


