


Begin by gathering your equipment. You will need a reliable high-pressure cleaning unit, a suitable nozzle, and detergents specifically designed for automotive use. Ensure your appliance is capable of producing at least 1500 PSI to effectively eliminate dirt and grime without causing damage.
Prior to commencing, remove any loose debris from the exterior, including leaves and dust. This initial step prevents scratches during the cleaning process. Position your machine on a flat surface, ensuring a stable setup. Attach the correct nozzle to achieve the optimal spray pattern–usually a fan spray is best for broad surfaces, while a pinpoint stream is ideal for stubborn stains.
Start from the top and work your way down, focusing on one section at a time. Applying detergent directly from the container can help loosen embedded dirt. Allow the solution to sit for a few minutes before rinsing. This not only enhances the cleaning effect but also minimises the need for excessive scrubbing. Maintain a distance of at least 2 feet to protect sensitive areas from potential damage.
Regular maintenance and thorough cleaning of your vehicle can significantly extend its lifespan and preserve its appearance. Following these methods can transform your routine into an effortless experience while ensuring your ride stays in peak condition.
Steps for Cleaning Your Vehicle Using a High-Pressure System
.jpg)
Start by selecting the right attachment for your device; a wide-angle nozzle is best for large surfaces, while a narrower one works wonders on stubborn grime.
Ensure the vehicle is parked in an area with good drainage. Rinse the exterior thoroughly, using a sweeping motion, keeping the nozzle at least two feet away from the surface to prevent damage.
Apply a specialised cleaning solution suited for automotive finishes. Allow it to dwell for a few minutes without letting it dry. Use the nozzle’s low-pressure setting to activate the foam. This enhances the cleaning process by breaking down dirt particles.
For the wheels, switch to a dedicated wheel cleaning attachment if available, which helps to agitate dirt in tight spaces. Pay special attention to the brake dust that accumulates on rims.
When rinsing, use the nozzle to maintain an even distance, ensuring all detergent is completely washed away. This step is crucial to avoid residue that can detract from the finish.
Finally, dry the surface using a microfibre towel or chamois leather to prevent water spots and streaks. This final touch enhances the overall appearance and shine of your vehicle.
Choosing the Right Pressure Washer for Car Washing
Opt for a model with adjustable pressure settings; this feature is vital to avoid damaging surfaces. A range of 1200 to 2000 PSI is generally suitable for automotive cleaning without risk. In addition, consider a unit with a flow rate of at least 1.4 GPM for effective rinsing.
Types of Pressure Cleaners
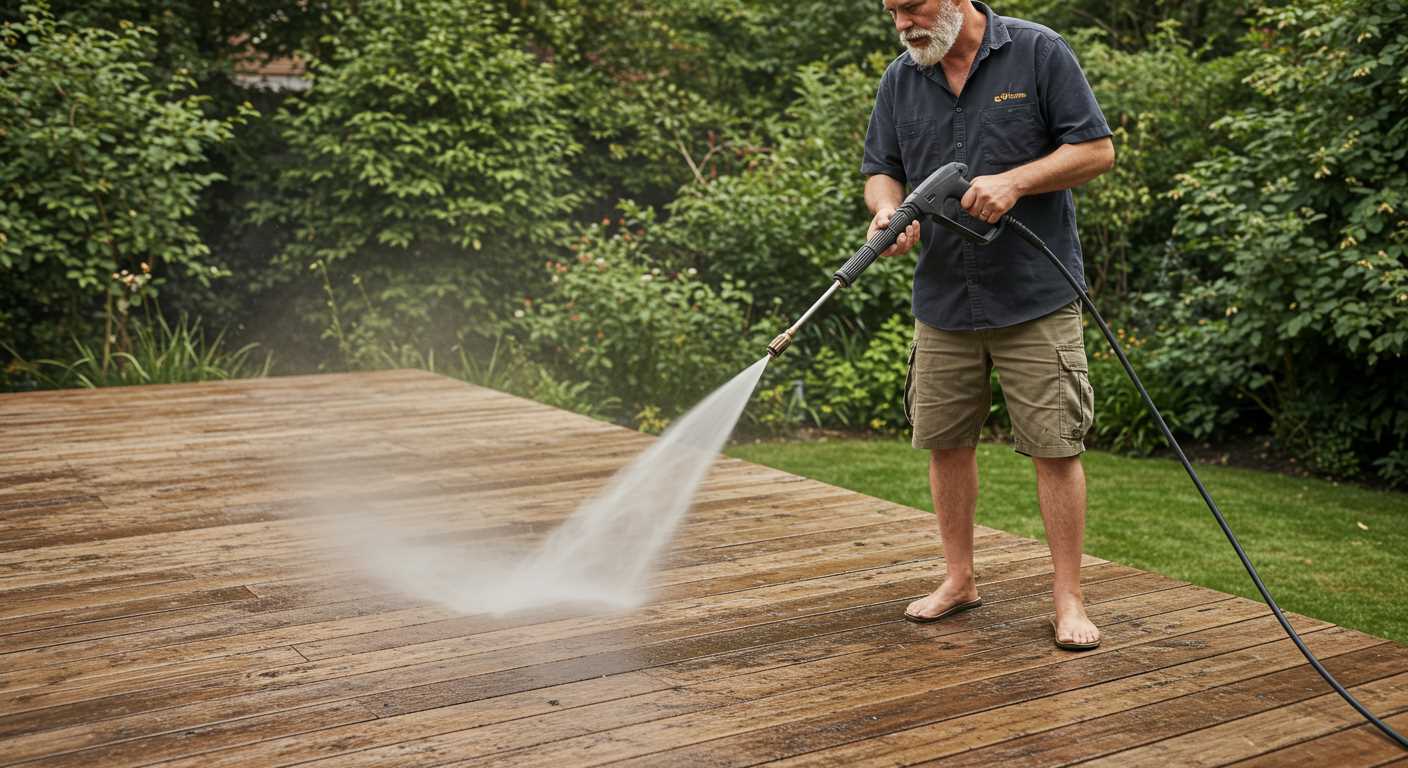
There are mainly electric and petrol variants. Electric cleaners are quieter, lighter, and easier to store, making them ideal for casual use. Petrol options offer greater power and portability but require more maintenance and produce fumes.
| Type | Advantages | Disadvantages |
|---|---|---|
| Electric | Quiet, lightweight, low maintenance | Limited pressure, corded |
| Petrol | High pressure, portable | Louder, requires maintenance, fumes |
Additional Features to Look For
.jpg)
Inspect the nozzles that come with the machine. A variety of nozzle types allows for greater flexibility in cleaning tasks. A detergent tank simplifies applying cleaning solutions effectively. Ensure the model includes a long hose and power cord for extended reach.
Preparing Your Vehicle for the Cleaning Process
Before initiating the cleaning task, secure all loose items inside the cabin. This includes personal belongings, any detachable accessories, and valuables that could be damaged by water or movement.
Next, inspect and close all openings such as windows and doors. Make sure there are no gaps that might allow water to penetrate and cause interior damage.
Consider removing any aftermarket add-ons, like external mirrors or spoilers, as these components may not handle high-pressure water well. Ensuring that everything is properly secured will help avoid accidents during the process.
Check for any existing damage to the exterior. Dents, chips, or scratches should be noted before proceeding. This will help prevent further issues during the cleaning, especially in areas where debris may be lodged.
Rinse off any loose dirt and debris using a bucket of water or a gentle hose spray. This pre-treatment reduces the risk of scratching the paint during the main cleaning phase.
Gather necessary tools and materials, including a suitable detergent specifically formulated for automotive surfaces. Have a microfiber towel or chamois ready for drying once the cleaning is complete, ensuring no water spots remain.
Lastly, consider the environment. Perform this task in an area where water drainage is unobstructed and away from sensitive locations. It’s advisable to check any regulations regarding water use or discharge in your community before proceeding.
Essential Supplies for Cleaning Your Vehicle at Home
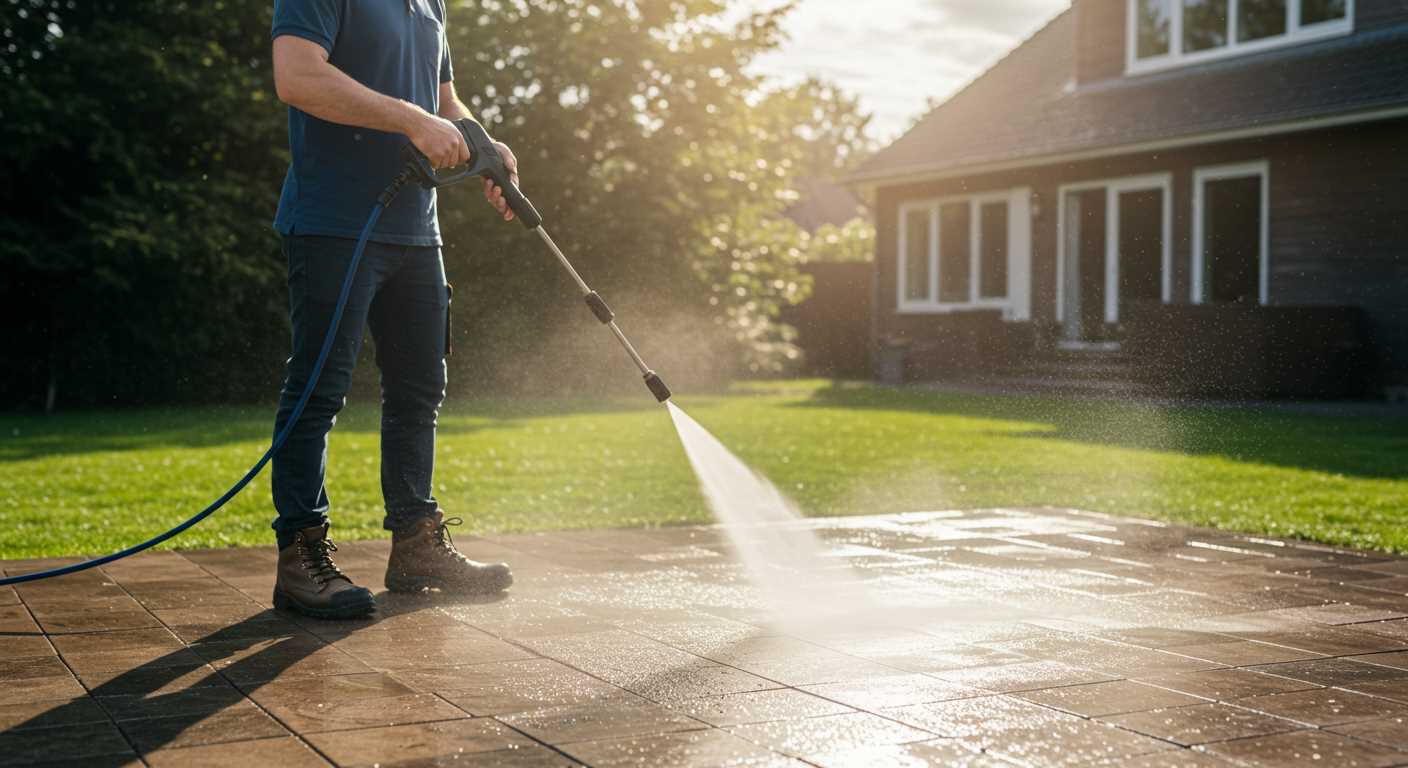
Start with a reliable pressure cleaner. Choose one that offers adequate PSI and GPM for effective dirt removal. An electric model suffices for most personal vehicles, while gas-powered ones are appropriate for larger tasks.
A specific car shampoo is crucial. Ensure it’s pH-balanced to protect your paint yet effective in lifting grime. Avoid dish soaps, as they can strip wax and sealants.
Consider a foam cannon or a nozzle attachment. These tools create a thick foam that clings to surfaces, breaking down stubborn contaminants.
A wheel cleaner is vital for tackling brake dust and tar. Pair it with a dedicated wheel brush to access tight areas without scratching.
Utilise microfiber towels for drying. They absorb water efficiently and reduce the risk of scratches. Have a few on hand for buffing and detailing as well.
Inspect your garden hose. A quality spray nozzle with adjustable settings enhances flexibility while rinsing. Additionally, consider a water filter to prevent mineral spots on your finish.
Lastly, stock up on protective gear: gloves and eye protection guard against chemicals and flying debris. Focus on safety while ensuring a spectacular finish.
Step-by-Step Guide to Washing Your Vehicle with a Pressure Washer
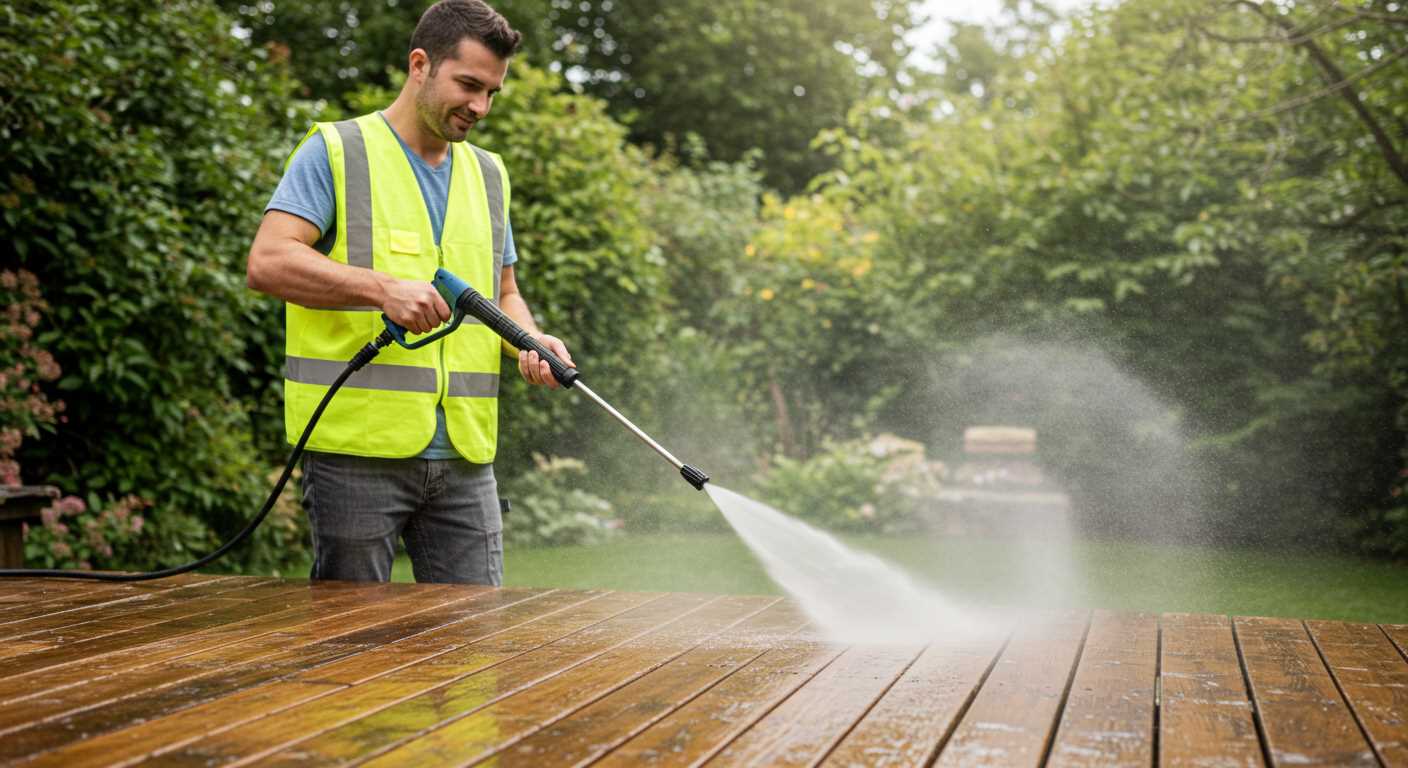
To achieve optimal results, follow these precise steps:
-
First, select the correct nozzle for your equipment. A 25-degree or 40-degree nozzle is ideal for avoiding damage to various surfaces.
-
Ensure the object is dry and free from debris. Use a soft brush or cloth to eliminate loose dirt around sensitive areas, such as sensors and mirrors.
-
Employ a pre-soaking solution. Spray a foam or detergent designed for automotive cleaning, avoiding sensitive parts. Let it sit for the recommended duration to break down grime. This step enhances the subsequent cleaning process.
-
Commence rinsing using a sweeping motion. Keep the spray wand at a slight angle, holding it approximately 2-3 feet from the surface to prevent damage. Avoid focusing on one spot too long to decrease the risk of abrasion.
-
Pay attention to wheels and wheel wells. Use a dedicated brush and appropriate cleaner to treat these areas to eliminate brake dust and debris effectively.
-
After rinsing, dry the surfaces using microfibre towels. This helps to prevent water spots and streaks, ensuring a polished finish.
-
Inspect for any remaining dirt. If needed, spot clean stubborn areas using a soft cloth and detailer spray to complete the process.
By adhering to these steps, I consistently achieve satisfactory outcomes, extending the life of my automobile’s finish and maintaining its aesthetic appeal.
Common Mistakes to Avoid When Using a Pressure Washer
Avoiding incorrect angles is crucial; keep the nozzle at a 45-degree tilt against the surface. Shooting straight at the paint may cause damage or chipping.
- Ignoring proper distance can lead to severe issues. Maintain a distance of at least 2 feet to prevent creating undue stress on the exterior.
- Using high-pressure settings for delicate areas can harm sensitive parts. Opt for lower settings to protect trims and decals.
- Neglecting to pre-soak the vehicle can result in inadequate dirt removal. Apply a soap solution before engaging the sprayer for comprehensive results.
- Failing to clean the nozzle frequently can obstruct spray patterns. Regularly check and clear out any debris to ensure optimal function.
Understanding Safety Precautions
- Overlooking protective gear is a common error. Always wear safety glasses and gloves to shield yourself from potential splashes.
- Not checking for damages beforehand can lead to further issues. Inspect your vehicle’s surface for scratches or vulnerabilities.
- Utilising inappropriate cleaners may damage finishes. Stick to products that are specifically designed for your vehicle’s exterior.
Consistently reviewing best practices will enhance the effectiveness while minimising risks associated with the cleaning process.
Maintenance of Your High-Pressure Cleaner for Optimal Performance
Regular inspections are key. Check for leaks in hoses and connections; a simple visual examination can save time and water. If you notice any damp spots, replace the faulty part immediately.
Keep the nozzles clean. Residue build-up can impede performance. Use a small wire or needle to clear any blockages within the nozzle tips regularly.
Inspect the filter. A clogged filter reduces water flow and pressure. Remove it, rinse under running water, and reinstall it to maintain proper operation.
Store the appliance properly. In colder months, ensure that all water is drained to prevent freezing. This includes the pump and hoses, which should be coiled loosely to avoid kinks.
Use the right detergent. Avoid harsh chemicals that may cause damage. Use only those specifically designed for high-pressure tools to ensure longevity of both the unit and the surfaces being cleaned.
Regularly test the pressure switch. This component controls the operational pressure of the device. If you notice any fluctuations, it might need recalibration or replacement.
Ensure that the power cord is not frayed or damaged. A compromised power source can lead to malfunctions and pose safety risks.
Every few uses, run a maintenance cycle according to the manufacturer’s guidelines. This will help keep internal components in peak condition.
Lastly, refer to the user manual for specific maintenance tips tailored to your model. Always follow the manufacturer’s recommendations to extend the lifespan of your equipment.
FAQ:
What equipment do I need to wash my car at home with a pressure washer?
To wash your car at home using a pressure washer, you will need a few essential items. Firstly, you’ll require a pressure washer capable of delivering sufficient water pressure, ideally between 1200 to 1900 psi for car washing. Additionally, a foam cannon or detergent attachment can help apply car shampoo effectively. Make sure to have a suitable car wash soap that is pH-balanced to avoid damaging the paint. You should also prepare two buckets—one for soapy water and another for rinsing. Finally, don’t forget microfiber cloths or drying towels to prevent scratches while drying the car.
Can using a pressure washer damage my car’s paint?
Using a pressure washer to wash your car can be safe if done correctly, but there are risks involved. If the pressure is too high or if the nozzle is held too close to the surface, it can potentially strip paint or cause other damage. It’s advisable to keep the nozzle at least 2 feet away from the car’s surface and to use a wide spray pattern rather than a concentrated jet. Moreover, always make sure to adjust the pressure according to the car’s specific needs, as some vehicles may have more delicate finishes.
What is the correct technique for washing my car with a pressure washer?
To effectively wash your car with a pressure washer, start by rinsing the vehicle to remove loose dirt and debris. Next, attach the foam cannon filled with car wash soap and apply the foam from the bottom to the top of the car to avoid dirt running down onto already cleaned areas. Allow the soap to dwell for a few minutes to break down grime. Afterward, rinse off the foam from the top down, ensuring thorough removal. Finally, dry the car using microfiber cloths to prevent water spots. It’s best to wash your car in a shaded area to prevent the soap from drying too quickly.


