

Choosing the right preparation is key; ensure you disconnect the battery before you proceed. This not only protects the electrical systems but also mitigates risks associated with moisture exposure. Cover sensitive components such as the air intake, alternator, and exposed wiring with plastic bags or cling film to prevent water damage.
Select an appropriate nozzle; a wide spray pattern reduces the intensity and chances of damaging delicate parts. I recommend using a fan spray setting at a distance of approximately 2-3 feet to maintain a safe pressure level while effectively removing grime.
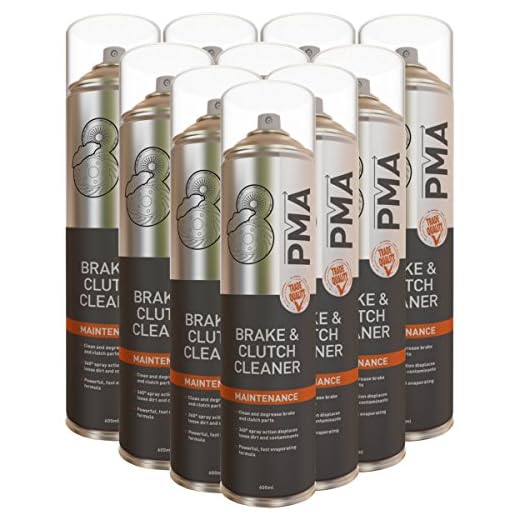
Utilise a suitable cleaning agent formulated for automotive applications to enhance the process. Apply it directly to the soiled areas and allow it to sit briefly, letting it penetrate and loosen stubborn deposits. Avoid caustic or harsh chemicals that could corrode metals or plastics.
After pre-soaking with the cleaning solution, commence rinsing from the top downwards. This method ensures that the dirt flows away from more sensitive areas, preventing it from settling back into crevices. Maintain a steady hand and continuous movement to avoid concentrating the water pressure on a single spot.
Once you have completed the initial rinsing, take a closer look at specific areas that may require additional attention, such as around the battery holder or oil filter. For stubborn stains, a brush may assist in agitating the dirt, making it easier to wash away without excessive force.
Finally, allow everything to dry completely before reconnecting the battery or starting the vehicle. This drying phase helps prevent moisture buildup that could lead to longer-term electrical issues. Keep an eye on any leaks or unusual behaviour after cleaning; immediate attention may be necessary to ensure everything is functioning properly.
Effective Techniques for Cleaning Your Vehicle’s Engine Bay
Always disconnect the battery before starting. Remove the negative terminal to prevent any electrical mishaps.
Cover sensitive components, including the air intake, battery terminals, and exposed wiring, with plastic bags to shield them from moisture.
Use a degreaser on heavily soiled areas. Apply it generously and allow it to sit for a few minutes to break down tough grime.
Adjust your nozzle to a wide fan spray setting to avoid directing a concentrated stream at delicate parts. Maintain a safe distance of at least 2 feet from surfaces to avoid damage.
Begin rinsing from the top, allowing dirt and debris to flow downwards. Work systematically across the bay for uniform cleaning.
After rinsing, inspect for remaining spots. A soft brush can help dislodge stubborn dirt from crevices.
Once satisfied with the cleanliness, thoroughly dry components using compressed air or a lint-free cloth to prevent moisture buildup.
Reconnect the battery, ensuring all terminals are secured and free of corrosion. Restart the vehicle to confirm everything operates smoothly.
Preparing Your Vehicle for Component Cleaning
Begin by disconnecting the battery to prevent any electrical issues. Remove any covers or shields that may obstruct access to the components. This ensures thorough cleaning without damaging sensitive areas.
Next, inspect the surroundings. Choose a suitable outdoor location away from drainage systems to avoid contaminating the environment. Lay down a plastic sheet to catch debris and dirt. This not only aids in cleanup but also helps protect the ground.
Cover sensitive parts such as the air intake, exposed wiring, and distributor cap with plastic bags or cling film. Secure them with tape to ensure they remain watertight. This step is critical to avoid water ingress that can lead to costly repairs.
Gather Required Tools and Products
Before you start, assemble a few essential items. You will need:
| Item | Purpose |
|---|---|
| Soft brushes | To loosen dirt and grime from surfaces |
| Degreaser | To break down stubborn grease |
| Microfiber cloths | To wipe down affected areas |
| Water source | For rinsing and cleaning |
Check the pressure settings on the cleaning device, ensuring they are appropriate for sensitive areas. Read the manufacturer’s instructions for any specific recommendations. Safety goggles and gloves should also be worn to protect against splashes and chemicals.
Following these steps prepares your vehicle effectively, minimising risks while enhancing the cleaning process.
Choosing the Right Pressure Washer Settings
The optimal setting for high-pressure cleaning depends on the specific task. For delicate components, a lower pressure setting around 1200-1500 PSI is advisable. This range is sufficient for removing debris without risking damage.
When tackling tougher grime, I recommend adjusting the pressure between 1500-2300 PSI. This level balances power and safety, allowing for effective cleaning while minimising the chance of harming sensitive parts.
Always utilise a 25 to 40-degree nozzle for a wide spray pattern. This feature ensures even cleaning and reduces the risk of concentrated force that could lead to harm. A narrow nozzle may be required for stubborn spots, but use caution to avoid applying excessive pressure.
Maintaining an appropriate distance–approximately 12 to 18 inches from the surface–ensures optimal effectiveness while preventing unwanted impacts. Moving in sweeping motions keeps the pressure applied consistent, further protecting delicate areas.
Water temperature can enhance the cleaning process. If your equipment permits, using hot water helps dissolve stubborn contaminants more effectively than cold water alone. Aim for temperatures around 140°F (60°C) for the best outcome.
Lastly, consider the type of detergent used. A biodegradable choice tailored for your equipment can aid in loosening stuck debris significantly. Ensure compatibility with your model to avoid damaging components.
Applying Pre-Cleaning Solutions Safely

Before tackling the grime, select water-based or biodegradable solutions that break down grease and dirt without harming sensitive components. Always read the label for compatibility with various surfaces. I recommend using a spray bottle or foam applicator for even distribution.
Protective Measures
Wear protective gear like gloves and safety goggles to ensure skin and eyes are shielded from chemicals. Cover exposed electrical connections and sensitive parts with plastic bags or waterproof tape. Doing this prevents moisture from causing unintended damage.
Application Technique
Apply the cleaning solution from a distance of at least 30 cm to avoid direct contact with sensitive components. Allow the solution to sit for the recommended time to effectively penetrate dirt. Rinse thoroughly with plenty of water to remove any residue, ensuring no soap remains that could attract dirt later.
Avoid spraying directly on electrical systems or components; instead, use a damp cloth or sponge to gently clean those areas. Following these practices will help maintain integrity while achieving a clean, well-maintained appearance.
Utilising the Pressure Washer Technique
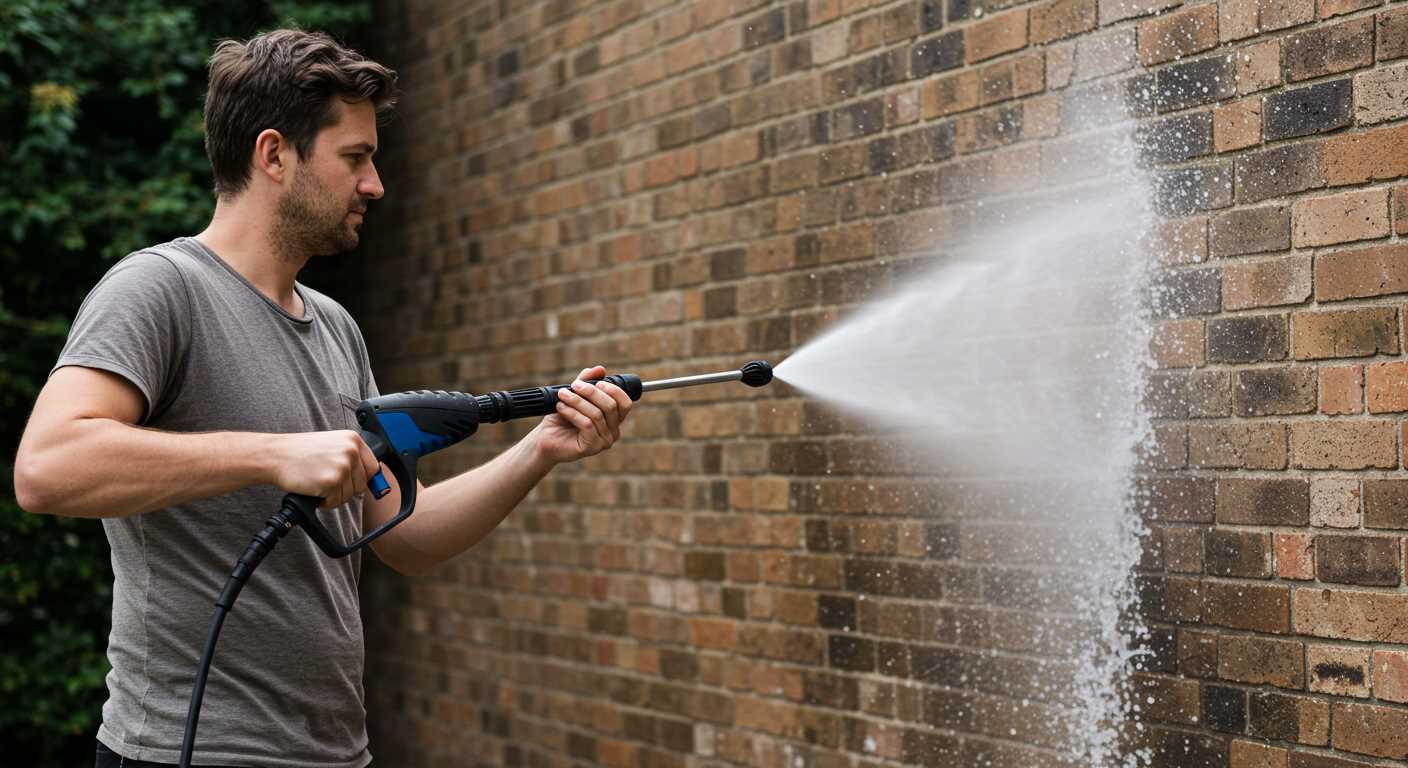
Anchor the nozzle at a safe distance of around 2 feet from the surface to prevent damage. A wider spray pattern helps disperse water evenly and reduces the likelihood of forcing moisture into sensitive components.
Optimal Approach

- Aim the spray at an angle rather than directly at the components to effectively dislodge dirt while minimizing risk.
- Start at the top and work your way downwards. This method ensures that debris is pushed away from areas already cleaned.
- Utilize short, controlled bursts instead of a steady stream. This provides better control and reduces the chance of water accumulation in critical areas.
Post-Clean Technique
- After rinsing, inspect for areas that may need further attention. Touch up any stubborn spots as necessary using a softer setting.
- Dry the area using compressed air or a microfiber towel to eliminate moisture and prevent potential corrosion.
- Check all connections and components to ensure they remain secure and undamaged after the cleaning process.
Avoiding Common Mistakes During Cleaning
Always disconnect the battery before starting. This prevents any electrical shorts during the process. Use a plastic cover to shield sensitive components like the air intake and alternator from moisture exposure.
Avoid using excessively high pressure, as it can damage delicate parts and seals. It’s crucial to maintain a safe distance between the nozzle and the surface being cleaned, ideally around 12 to 18 inches.
Neglecting to pre-treat grease spots can lead to unsatisfactory results. Use a dedicated degreaser on these areas and allow it to sit for a few minutes before rinsing.
Keep in mind that working in sections is more effective than trying to clean everything at once. Focusing on smaller areas ensures thorough cleaning and prevents inadvertently missing spots.
Don’t underestimate the importance of proper rinsing. Ensure all cleaning agents are completely removed, as residues can cause corrosion over time. Rinse thoroughly and take extra care around electronics and sensitive components.
Lastly, avoid cleaning in direct sunlight, which can cause cleaning solutions to dry too quickly, leaving streaks or an uneven finish. Aim to carry out the task in shaded conditions for the best outcomes.
Drying and Protecting Engine Components
Immediately after completing the cleansing process, ensure that all surfaces are thoroughly dried to prevent moisture-related issues. I recommend using a high-velocity blower or compressed air to displace water from crevices and hard-to-reach areas. Pay particular attention to electronic components, connectors, and wiring to avoid corrosion and malfunction.
Following drying, apply a protective coat to enhance longevity and performance. Consider these options:
- Silicone-Based Sprays: These create a barrier against moisture and contaminants, making it easier for dirt to slide off during future maintenance.
- Engine Dressings: Non-greasy products that restore a factory-like sheen while offering some degree of protection against dirt and grime.
- WD-40 or Similar Lubricants: Effective in preventing rust on metallic surfaces, coatings can also displace moisture from connectors.
When applying these products, ensure even coverage to maximise protection. A microfiber cloth can assist in distributing dressings uniformly. Avoid excessive application to prevent overspray onto surrounding components.
Regular inspections post-cleaning will help maintain component integrity. Check for signs of wear, corrosion, or moisture build-up every few weeks. This proactive approach significantly reduces long-term maintenance issues.
Maintaining Your Engine After Pressure Washing
Immediately after the cleaning, inspect all components for any water accumulation. Pay special attention to electrical connections, sensors, and delicate parts. Use a soft cloth to gently pat dry surfaces, ensuring no moisture remains, particularly in vulnerable areas.
Reapply Protective Coatings
Once the components are dry, consider applying a silicone-based spray or oil to metal surfaces to prevent rust and corrosion. Ensure that the application is even and that excess product is wiped away to avoid attracting dirt and grime.
Check Fluid Levels
Inspect fluid levels such as oil, coolant, and brake fluid. After intensive cleaning, it’s wise to verify that there are no leaks or discrepancies. Topping up fluids may be necessary, and replacing any that appear contaminated is also advisable.
After carrying out maintenance, start the motor and let it idle for a few minutes. This allows any remaining moisture to evaporate and helps ensure that all systems operate correctly. If any warning lights appear on the dashboard during this process, investigate immediately.


