
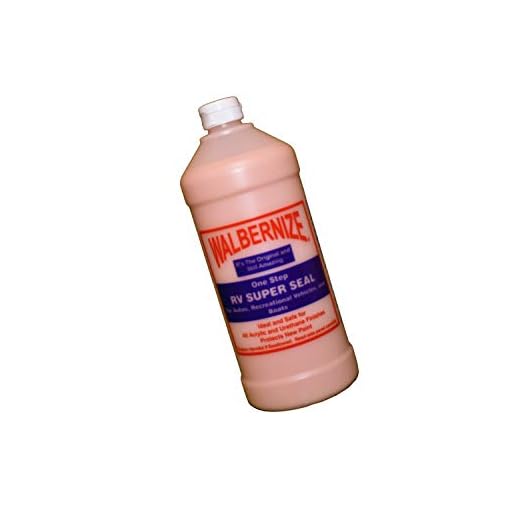
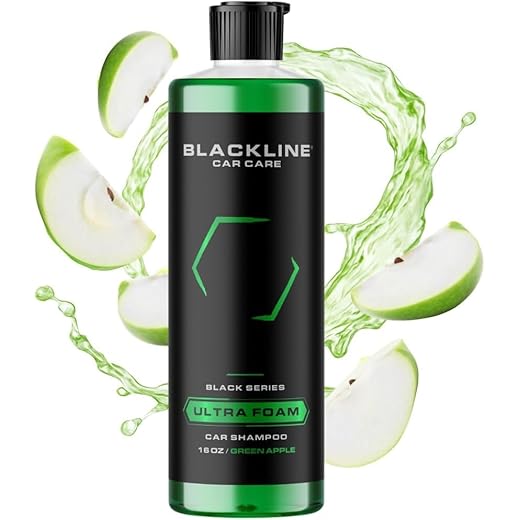

Begin by preparing your workspace. Ensure your vehicle is parked in a shaded area to prevent soap from drying too quickly and leaving streaks. Gather your materials: a suitable detergent, a bucket, a brush with soft bristles, and, of course, a high-pressure cleaner tailored for automotive tasks.
Attach the appropriate nozzle for detailing. A wider spray angle often works best for initial rinsing and pre-soaking, while a narrower nozzle is ideal for tackling stubborn grime. Position the cleaner about two feet away while spraying, directing water in a sweeping motion to avoid concentrated pressure that could damage paintwork.
Mix the automotive soap with water according to the manufacturer’s recommendations. Use a brush to apply the soapy solution, focusing on one section at a time. This method ensures thorough cleaning without allowing the soap to dry out. After washing, follow up with a rinse, being mindful to wash from the top down to ensure dirt and soap flow away from clean areas.
For a final touch, dry the surface using a microfiber cloth to prevent water spots. A dedicated glass cleaner will provide a crystal-clear finish on windows. Follow these steps for impeccable results and a vehicle that shines like new.
Car Detailing Using Greenworks Equipment
For optimal results, attach a suitable nozzle to the unit before proceeding. A soap nozzle is highly recommended for applying cleaning agents effectively, while a fan nozzle helps rinse surfaces thoroughly.
- Prepare the vehicle by removing any loose dirt or debris, paying attention to the wheels and undercarriage.
- Select a gentle detergent designed specifically for automotive applications to avoid damage to the paint.
- Fill the detergent reservoir with the appropriate cleaning solution.
- Begin by applying the detergent from the bottom upwards, ensuring even coverage on all surfaces.
Let the detergent dwell for a few minutes to break down grime, but avoid allowing it to dry completely on the surface.
- Switch to the fan nozzle for rinsing, starting from the top and working your way down to prevent soap streaks.
- Focus on areas that attract more dirt, such as wheel wells, bumpers, and low sections.
After rinsing, consider drying the surfaces with a microfiber cloth to prevent water spots. Always store the equipment properly to prolong its lifespan and functionality.
Regular maintenance enhances the performance of the pressure unit; check hoses and connections for wear and tear before and after use.
Choosing the Right Pressure Washer Settings
Use a nozzle with a wider spray pattern, ideally 25 or 40 degrees, to avoid damaging the vehicle’s surface. A wider angle allows for a gentler rinse while still providing adequate cleaning. Adjust the distance between the nozzle and the surface; maintaining a distance of 2 to 3 feet is advisable to prevent chips and scratches.
Setting the Pressure
For optimal results, lower the pressure setting to approximately 1200-1900 PSI. This level is sufficient for most dirt and grime removal without risking damage. High pressure can strip wax or harm delicate components, so it’s best to err on the side of caution.
Adding Cleaning Agents
When incorporating detergents, opt for those specifically designed for your task. Dilute as instructed on the label, and avoid high concentrations that might leave residues. Always rinse thoroughly after application to ensure no soap film remains.
Preparing Your Vehicle for Cleaning
Begin by removing all personal items from the interior and trunk. Check under the seats and in the glove compartment for loose belongings that could be damaged or cause clutter.
Next, clear the exterior of any accessories like antennae, bike racks, or loose decorations. Inspect for any damages, such as dents or scratches, as this is an ideal time to assess the condition before any equipment usage.
Cover sensitive areas, such as mirrors, grills, and windows, using protective tape or plastic. This precaution helps prevent accidental damage caused by fluctuating water pressure.
Pre-Rinse Consideration
If you have access to a standard hose, give the surface a gentle pre-rinse. This process loosens dirt and debris, reducing the risk of scratches during the main cleaning process. Focus on areas where dirt tends to accumulate, like wheel arches and lower panels.
Gather Necessary Materials
Assemble all required supplies, such as a bucket, cleaning detergent designed for automotive use, and soft brushes. This ensures a smooth procedure without delays. Keep them within reach to maintain efficiency throughout the cleaning session.
| Material | Purpose |
|---|---|
| Bucket | To mix cleaning solution. |
| Soft Brushes | For gentle scrubbing of surfaces. |
| Microfiber Towels | To avoid scratches when drying. |
This preparation ensures that the entire experience is both gratifying and effective, leaving your vehicle in pristine condition. A little effort at this stage yields significant benefits later on.
Selecting the Appropriate Cleaning Solution
Opt for a pH-balanced detergent specifically formulated for automotive use. These products effectively lift grime while being gentle on finishes. Look for biodegradable options that are environmentally friendly and less harmful to surfaces.
Prioritise solutions that are safe for the materials used in vehicles, such as paint, glass, and plastic trim. Avoid harsh chemicals that could strip wax or damage coatings, as this will compromise your paint’s protection over time.
Concentration and Applicability
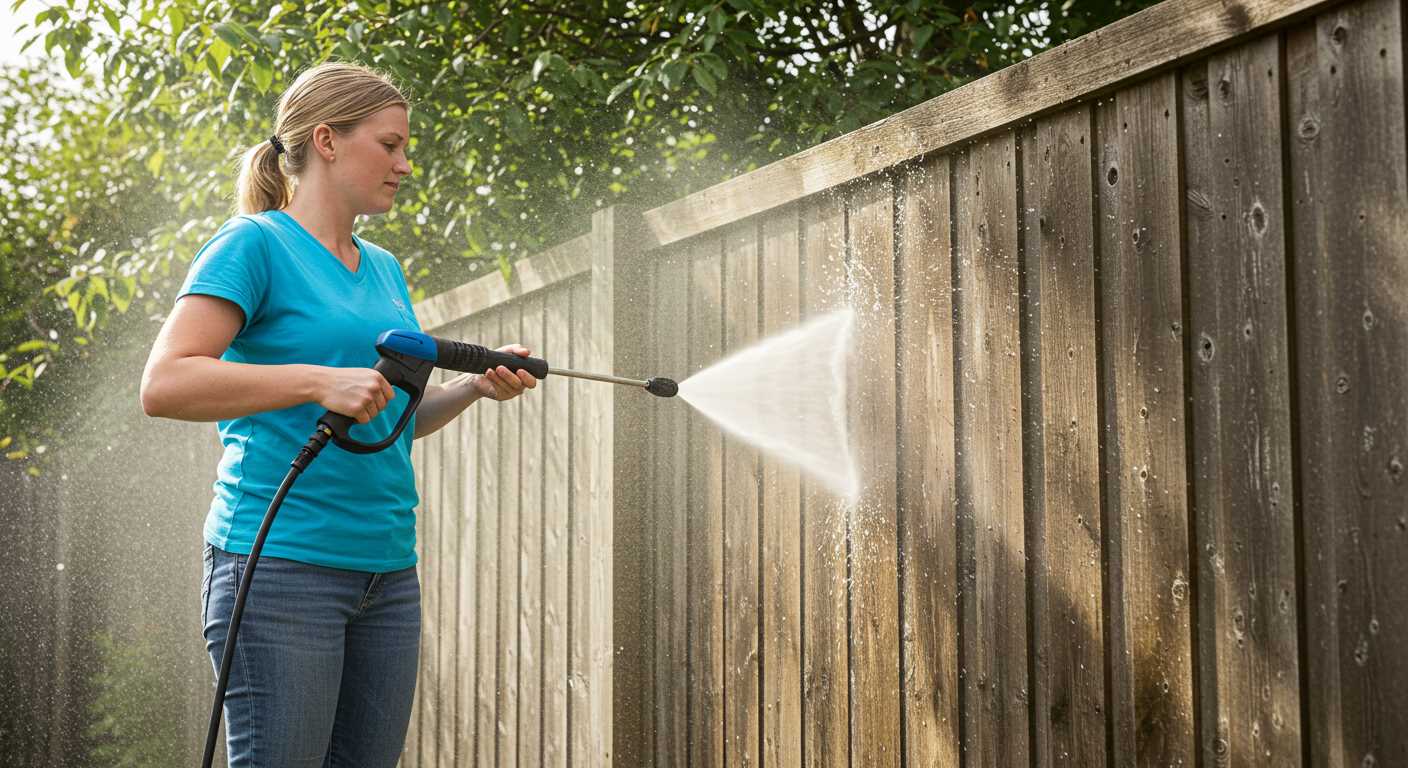
Choose a cleaning product that specifies its concentration level. Typically, higher concentrations allow for dilution with water, enabling versatility based on the amount of dirt present. Some cleaners are designed for direct application, while others require mixing; follow manufacturer instructions closely to ensure proper use.
Compatibility with Equipment
Ensure the cleaning solution is compatible with the device’s cleaning mechanism. Some formulations may cause foaming or clogging in certain machines. Always check for compatibility labels or descriptions on the packaging to avoid any operational issues.
Using the Equipment Safely and Effectively

Always wear protective gear, including safety goggles and gloves, to shield against debris and chemicals. Maintain a secure grip on the lance to avoid losing control during operation. Stand at an adequate distance, typically around 2-3 feet, from the surface to prevent damage.
Inspect hoses, connections, and nozzles before each session. Look for wear or damage to avoid unexpected failures. Ensure the nozzle is appropriate for your task; a narrow stream can cause injury, while a wider spray might not deliver the necessary force.
Utilise a low-pressure setting for rinsing and pre-soaking, and only switch to high pressure if required for stubborn stains. Always test on an inconspicuous area to assess the impact on the finish.
Maintain a consistent motion when applying the cleaning solution; avoid lingering in one spot to reduce the risk of surface etching or streaking. Keep the nozzle moving to achieve even coverage and ensure effective cleaning.
If using an outdoor outlet, ensure that it’s properly grounded and fitted with a residual current device (RCD) for enhanced safety. Avoid operating the unit in wet conditions or around standing water.
Disconnect the power before changing attachments or performing any maintenance to mitigate risks. Store the equipment in a cool, dry place to prolong its lifespan and ensure reliability in future uses.
Techniques for Cleaning Different Car Parts
Use adjustable nozzles to tailor the intensity for specific areas. For wheels and tyres, apply a degreaser first, then employ a concentrated jet. This method dislodges brake dust and grime efficiently.
Body Panel Cleaning
Begin with a broad spray to gently remove dirt, then focus on stubborn sections. A fan nozzle is ideal for larger areas, preventing damage to the paint. Place the wand at least 12 inches away from the surface to avoid streaks.
Windows and Glass
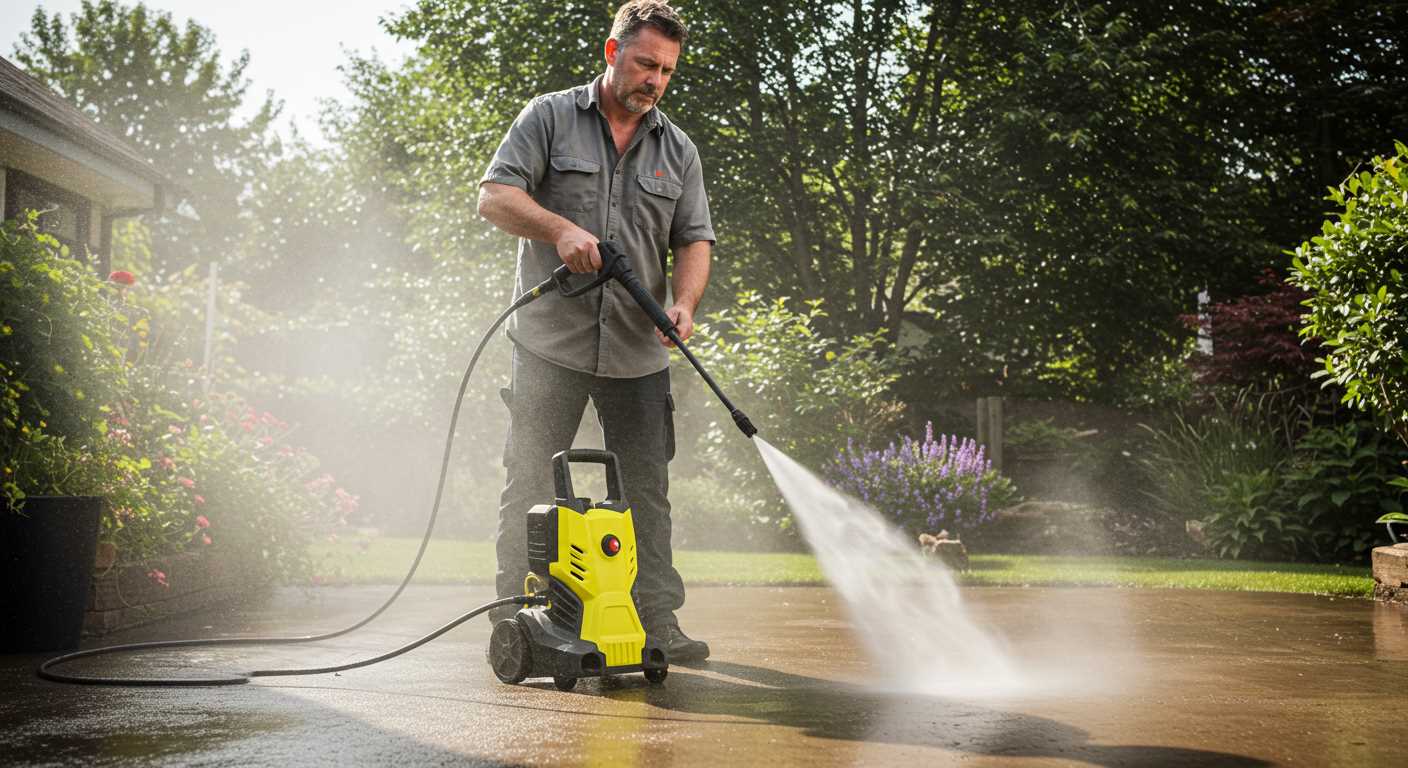
Utilise a less intense setting to prevent breakage. A detergent designed for glass can be advantageous. Always work from top to bottom to ensure that drips don’t soil already cleaned sections. Finish with a clean, dry cloth for streak-free clarity.
Underbody Maintenance
A high pressure setting is valuable for undercarriages. Direct the hose at a 45-degree angle to eliminate dirt and debris. Make sure to inspect the area for rust after cleansing to maintain integrity.
- Use a specific attachment for tight spots, like the engine bay.
- Rinse components thoroughly to prevent cleaning agent residue.
- Allow areas to dry or use a cloth before applying any protectant.
Wrapping up these techniques ensures your vehicle remains in top condition, preserving both aesthetics and longevity.
Rinsing and Drying Your Vehicle After Cleaning
Begin the rinsing phase by using a nozzle that offers a wide spray pattern. This helps dislodge any remaining cleaning agents and debris while ensuring a gentle flow on the surface. Move from the top down, allowing gravity to assist in carrying dirt away as the water cascades downwards.
Final Rinse Tips
Provide special attention to areas where soap may accumulate, such as door sills and undercarriages. It’s advisable to check and rinse these zones thoroughly. For an optimal finish, consider using a continuous flow of water rather than turning the spray on and off repeatedly, as this ensures complete removal of residues.
Following the rinsing, drying requires care. Employ a microfiber towel or chamois, which are excellent at absorbing moisture without causing scratches. Start at the top and work your way down to avoid water spots. Ensure to frequently wring out the towel to maximise its effectiveness.
Techniques for Drying
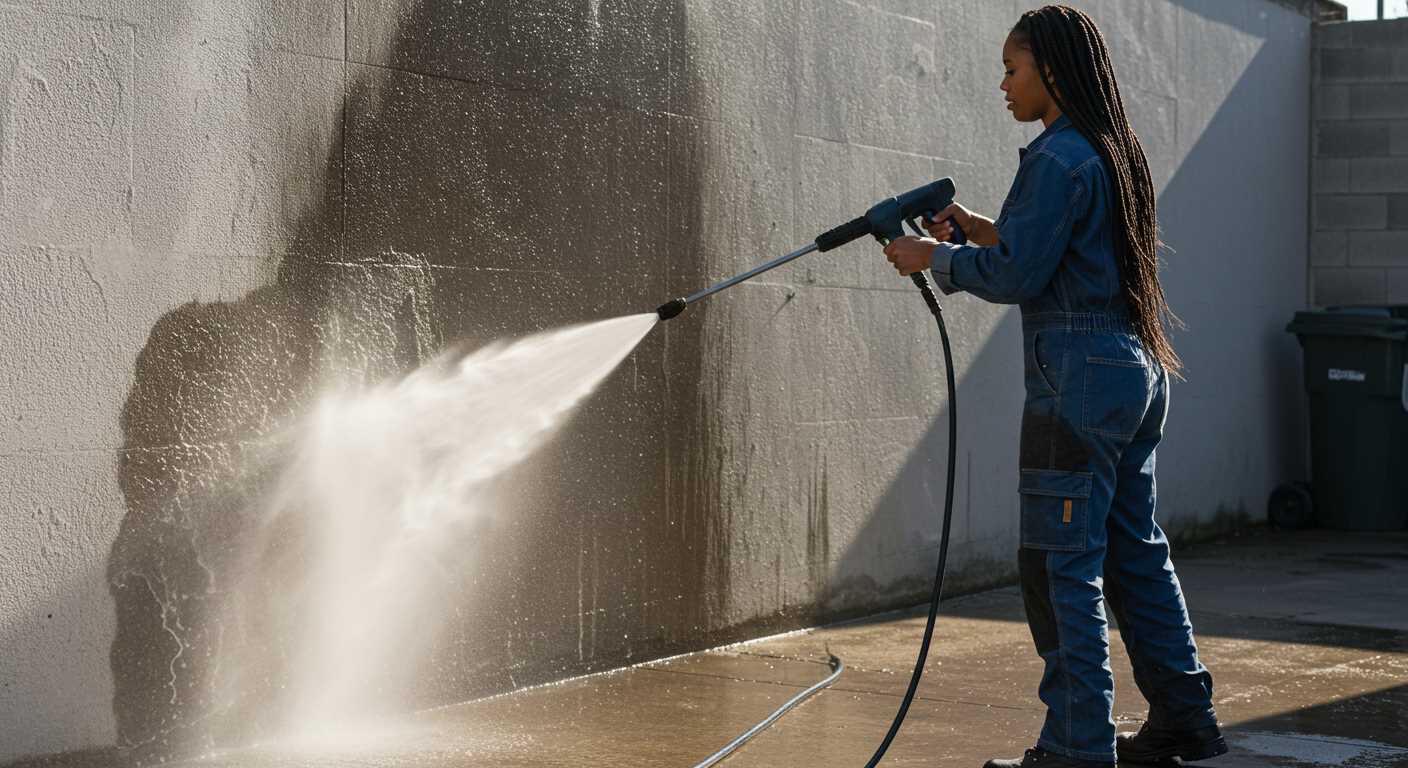
If a blower is available, it can assist in removing water from tricky spots like mirrors, grilles, and wheel wells. This method prevents water from pooling and enhances the overall appearance. Remember to keep the blower a safe distance from the surface to avoid damage.
After you’ve dried the vehicle, consider applying a wax or sealant to protect the paint. This step not only enhances the shine but also helps in repelling dirt and grime during future cleanings.
Maintaining Your Greenworks Pressure Washer
After each use, ensure to disconnect the machine from its power source and water supply. Rinse the nozzle thoroughly to remove any debris, preventing clogs that can affect performance. I recommend checking the filter regularly; a clean filter promotes optimal operation.
After extended usage, inspect the high-pressure hose for cracks or kinks. Any damage can lead to leaks, so replace a faulty hose immediately. Store the washer in a dry, cool place to prevent any moisture-related issues, especially during colder months.
Cleaning the unit periodically is crucial–use a damp cloth to wipe down the exterior. Avoid using strong solvents as they might damage the casing. For the pump, consider adding a pump protector if the unit will sit unused for a while; it will extend its lifespan.
Always refer to the manufacturer’s manual for specific maintenance recommendations and ensure you have the right tools for minor repairs. Following these steps can significantly enhance longevity and performance, keeping your equipment in prime condition for every task.


