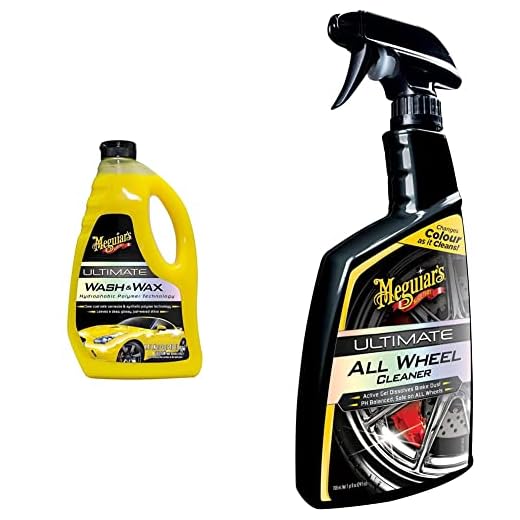


Begin with gathering a bucket filled with warm water and a high-quality car shampoo. This combination is key to dissolving dirt and grime effectively. Use a soft sponge or microfibre cloth to gently scrub the surface, paying attention to areas where dust and mud tend to accumulate, such as the wheel arches and around the windows.
After scrubbing, rinse thoroughly with a hose or a watering can to remove soap residue. Employ a second clean bucket filled with water for rinsing the sponge or cloth to prevent scratching the paintwork. If you have access to distilled water, utilise it for rinsing, as this prevents water spots and mineral deposits.
For stubborn stains or bird droppings, consider making a paste from baking soda and water. Apply it directly to the affected area, allowing it to sit for a few minutes before gently wiping it away. Lastly, dry the surface with a microfibre towel to prevent any streaks, giving your vehicle a polished finish.
Optimal Techniques for Vehicle Cleaning Without High-Pressure Equipment
Begin with a well-prepared setup. Gather a bucket, a high-quality sponge or wash mitt, microfiber towels, and a gentle automotive soap. Avoid household cleaners as they can damage surfaces. Fill the bucket with warm water and the recommended soap ratio based on the product instructions.
Use the two-bucket method for superior results. One bucket holds soapy water, while the second contains clean water for rinsing your sponge. This prevents dirt from recirculating on the surface. Start at the top, working downwards, ensuring that you rinse the sponge regularly in the clean bucket.
For wheels and tyres, consider a separate brush designed specifically for those areas. Apply a dedicated wheel cleaner to help dissolve brake dust and grime, which can be more stubborn. Scrub with your brush, then rinse thoroughly to avoid any residue.
Whenever you complete a section, dry it immediately with a microfiber towel to prevent water spots. For glass surfaces, utilise a dedicated glass cleaner and a clean, dry cloth for streak-free clarity.
If stubborn stains or bird droppings persist, employ a detailing spray. This can lubricate the surface, allowing you to safely remove contaminants without scratching the finish. Always work in small sections and follow up with a wipe to maintain gloss.
Lastly, consider applying a wax or sealant to protect the paintwork after cleaning. This creates a barrier against environmental factors and enhances the shine. Follow the product instructions for the best application method.
Choosing the Right Cleaning Supplies for Hand Washing
Start with a quality car wash shampoo. Look for pH-balanced formulas that are designed specifically for automotive finishes. These help lift dirt without stripping away waxes or sealants. Brands like Meguiar’s or Chemical Guys offer reliable options that I’ve personally tested over the years.
Next, select a microfibre wash mitt instead of traditional sponges. Microfibre traps dirt and debris effectively while minimizing swirl marks on the surface. Ensure you have at least two mitts: one for the upper sections and another for the lower, dirtier areas.
Don’t overlook bucket selection. Use two buckets for the best results–in one, combine water with shampoo, and in the other, rinse the mitt. This reduces the chance of reintroducing dirt back onto the surface. Look for buckets with grit guards; these help keep sediment at the bottom.
A hose nozzle with adjustable settings also proves invaluable. Opt for one that allows for a gentle shower spray, which is ideal for rinsing off soap without risking damage. You might also consider a foam cannon attachment for enhanced lubricity during the cleaning process.
To finish, invest in a soft drying towel made of microfibre or a waffle weave. These materials absorb moisture quickly, reducing the risk of water spots and ensuring a streak-free finish. Avoid using any old towels, as they can scratch the surface.
Finally, consider a wheel cleaner that doesn’t contain harsh acids. Many products are designed to be safe on alloy wheels while still being effective against brake dust and grime. A dedicated brush for application will help reach tight spaces.
Preparing Your Vehicle for a Thorough Clean
Begin by parking the vehicle in a shaded area. This prevents the cleaning solution from drying too fast, which can lead to streaks and spots on the finish.
Next, remove any personal items within the cabin and boot. This step ensures that nothing gets damaged or accidentally mixed with cleaning agents.
Take a moment to check for loose debris, such as leaves or twigs, around the wheels and undercarriage. Use a soft brush or cloth to dislodge any debris that could scratch surfaces during the process.
Inspecting for Damage
Before proceeding, inspect the exterior for any scratches or chips. It is important to treat these areas properly before applying cleaning products to avoid exacerbating the damage.
Consider masking off vulnerable areas, such as rubber trim or weatherstripping, with painter’s tape. This will protect them from harsh chemicals that could cause deterioration or discoloration.
Water Source Readiness
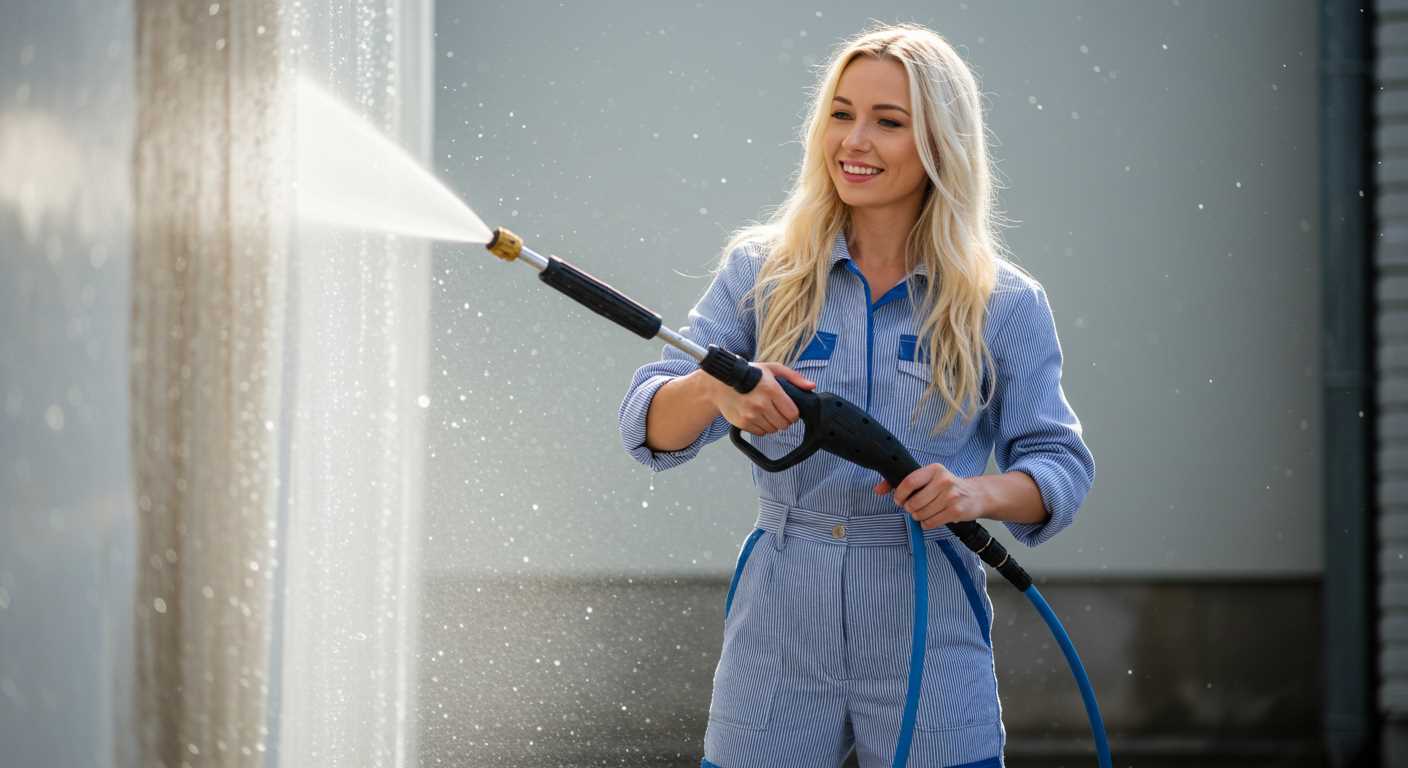
Ensure a suitable source of water is readily available. Testing the flow rate ensures you have enough to thoroughly rinse surfaces without interruption. A hose with a nozzle is ideal for maintaining control over water flow.
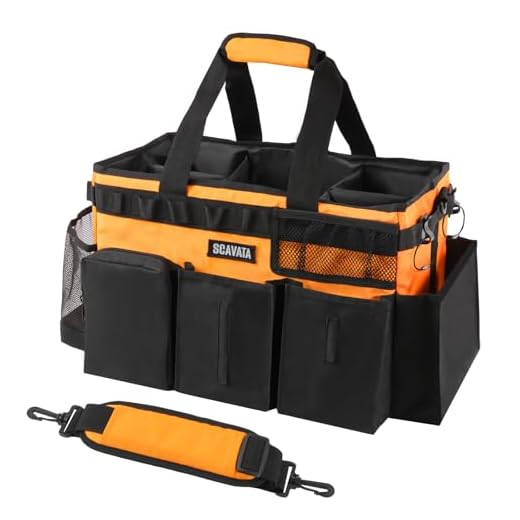
Lastly, gather your cleaning supplies. Have a bucket ready for mixing solutions and a sponge or mitt for application. Organising everything in advance results in a smoother experience.
Best Techniques for Rinsing Your Vehicle Without a Pressure Washer
Utilising a bucket and a hose can yield great results for rinsing. Begin by filling a bucket with clean water and submerging a sponge or mitt to facilitate effective removal of residual soap and grime.
Here are proven methods to enhance your rinsing process:
- Bucket and Hose Technique: Use a hose attached to a spray nozzle. Adjusting the nozzle to a gentle stream allows for even water distribution without excessive force. Start from the top, working your way downwards to prevent dirt from re-depositing on cleaned areas.
- Two-Bucket System: As you rinse, keep a separate bucket for soapy water. After cleaning with soap, thoroughly rinse the mitt or sponge in the clean bucket before dipping it back into the soapy mix. This prevents dirt from scratching surfaces.
- Garden Sprayer: For stubborn spots, consider using a garden sprayer filled with water. This tool provides controlled application and can reach crevices effectively.
- Microfibre Wipes: After initial rinsing, use damp microfibre cloths to wipe down surfaces. This can help catch any missed soap residues while being gentle on paint.
- Water Broom: If available, a water broom attachment can significantly enhance coverage area, making the rinsing process quicker. It’s especially useful for larger vehicles.
For optimal results, always use clean water to prevent introducing more contaminants during this process. Each technique mentioned improves efficacy while ensuring a thorough clean. Prioritising technique will yield impressive results, even without pressure equipment.
Applying Car Shampoo for Maximum Cleansing
To achieve the best results with car shampoo, always mix it according to the manufacturer’s instructions, typically using a bucket with water and the recommended amount of shampoo. This is crucial for creating a proper cleaning solution that will lift dirt and grime effectively.
Technique for Application
Using a soft sponge or microfibre mitt is essential for applying the solution. Start at the top and work your way down, ensuring you rinse the sponge regularly to avoid scratching the surface. Apply the shampoo in straight lines, which helps prevent swirl marks and ensures even coverage.
Timing Matters
Avoid letting the shampoo sit on the surface for too long, especially in direct sunlight, as this can lead to streaks or even damage the paint finish. Rinse sections as you go, ensuring that the residue is removed promptly.
For heavily soiled areas, like wheel arches and lower body panels, consider using a dedicated wheel cleaner or a more concentrated mix. Always rinse these areas thoroughly after application to prevent any chemical reaction that could harm the finish.
Once completed, follow with a clean water rinse using a hose or bucket to ensure all shampoo residue is eliminated, leaving a clean and gleaming surface. This approach maximises cleaning effectiveness while protecting the vehicle’s exterior.
Methods for Rinsing Off Soap Thoroughly
Opt for a high-quality bucket filled with clean water for rinsing. Fill the bucket with fresh water, ensuring it’s cool, as hot water can cause soap to set. Use a soft sponge or lint-free cloth, dipping it into the bucket, and gently squeeze excess water to avoid saturation.
Begin rinsing from the top and work your way down, allowing the flow of water to naturally guide soap away from the surface. Use a hose with a spray nozzle set to a gentle setting for a controlled rinse. This method provides a steady stream that helps wash away suds without the forceful jet that could cause damage.
Consider using a waterless rinse solution for areas that may require additional attention. Dilute according to the manufacturer’s instructions and apply it with a microfiber towel. This not only removes soap but also imparts a shine. Keep the surface damp while rinsing to prevent streaks.
For stubborn spots where soap may linger, use a soft bristle brush dipped in clean water, ensuring the bristles aren’t too stiff to avoid scratching. Lightly brush the area, rinsing the brush frequently to prevent reintroducing soap. Follow this with a final rinse from the hose to ensure no residue remains.
Be thorough around crevices and wheel wells where soap tends to accumulate. Direct the rinse nozzle strategically into these areas, utilising the hose’s pressure to dislodge trapped suds. After rinsing, dry the surface with a clean, dry microfiber towel to avoid water spots and enhance shine.
Cleaning Different Areas: Wheels, Windows, and Trim
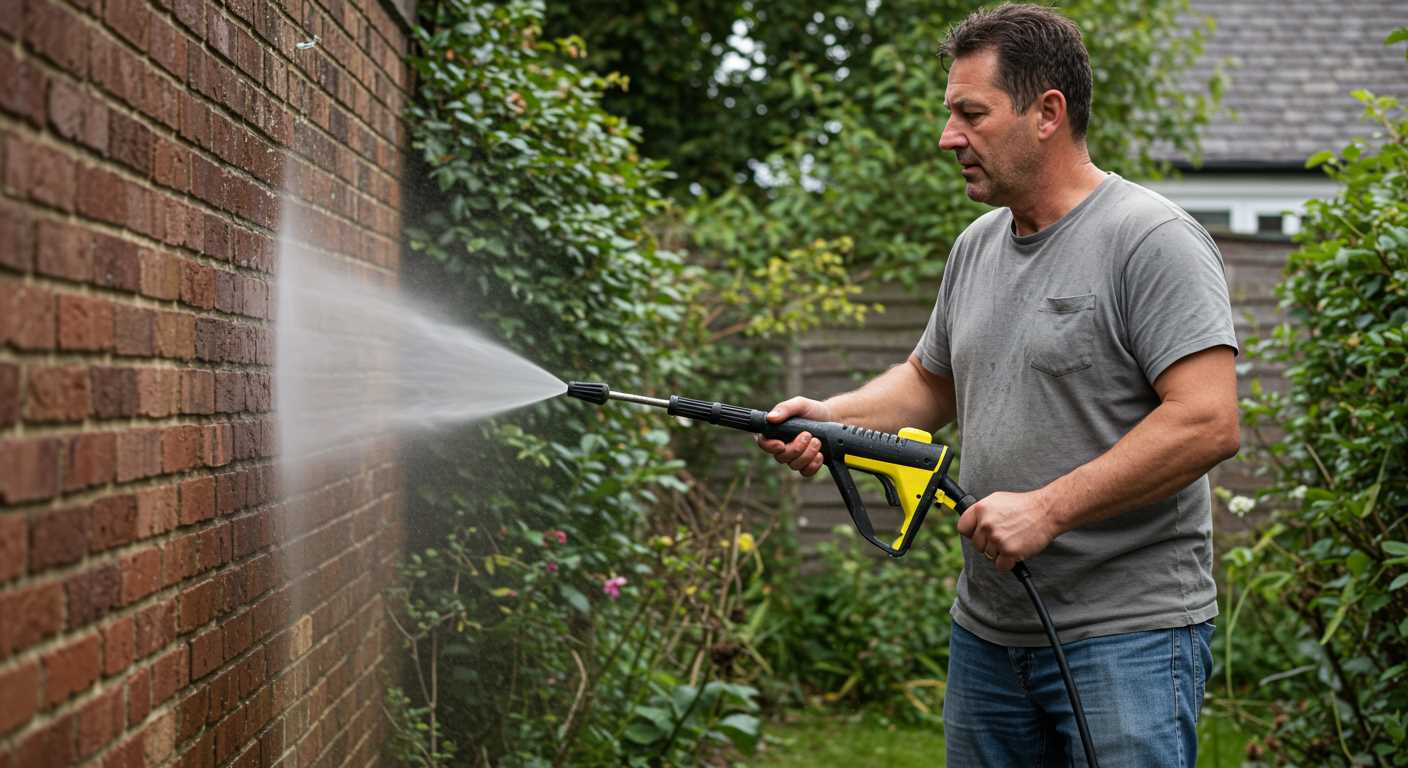
To tackle wheels effectively, utilise a dedicated wheel cleaner that targets brake dust and grime. Spray the cleaner generously and allow it to dwell for a few minutes. Use a soft-bristled brush for scrubbing, ensuring to get into the intricate designs of the wheel. Rinse with a high-pressure hose or a bucket of clean water, making sure no residue remains.
Windows and Exterior Glass

Select a glass cleaner to eliminate streaks and smudges from windows. Apply it to the surface and use a microfiber cloth to wipe in a circular motion. For hard-to-reach areas, a smaller cloth can be advantageous. Ensure you do this in shaded conditions to prevent the cleaner from drying too quickly, which can create streaks.
Trims and Detail Areas
For trims, opt for an all-purpose cleaner that’s safe for various materials. Apply it using a soft cloth, gently scrubbing to remove dirt without causing scratches. Pay attention to crevices where grime often accumulates. Rinse the cloth frequently to avoid redistributing dirt back onto the surface, leaving the trims clean and well-maintained.
Drying After Cleaning: Tools and Techniques
Microfiber towels are your best asset for drying surfaces effectively. They absorb significant moisture and reduce the risk of scratches. Opt for a plush, high GSM variant for optimal results.
For larger areas, consider using a drying chamois. This tool pulls water away from the surface without streaking, ensuring a flawless finish. Squeeze it frequently to maintain its effectiveness.
Utilising a leaf blower can expedite the drying process. The force of air removes water from crevices and hinges where towels might not reach. Adjust the nozzle to control airflow and avoid excessive pressure.
Always start from the top and work downwards. This approach prevents water from running onto dried sections. Pay extra attention to areas around mirrors, lights, and door handles, as these spots often trap water.
Incorporating a drying aid can enhance the process. Products that create a hydrophobic layer help repel water and speed up drying. Apply these sprays before using towels for an even better finish.
After drying, inspect the surface for missed spots or streaks. A quick final buff with a clean microfiber cloth ensures a gleaming, polished look.
Store all tools properly to maintain their condition. Dry towels before putting them away to prevent mildew and odours. Regularly wash microfiber cloths to sustain their absorbency.
- Microfiber towels for gentle absorption
- Drying chamois for streak-free results
- Leaf blower for hard-to-reach areas
- Start from the top, moving downwards
- Inspect and buff for gloss
This systematic approach transforms a mundane task into an efficient routine, leaving surfaces spotless and free of water spots.
Maintaining Your Car’s Shine
Regular upkeep of exterior surfaces is crucial for preserving that showroom-like gloss. A simple routine can extend the life of the finish. Here are tailored techniques to keep the shine intact.
Daily Care
Wipe down the surfaces with a soft, clean microfiber cloth to eliminate dust and light debris. This prevents scratches and keeps the paint surface smooth. For quick touch-ups, consider using a spray detailer designed for maintenance between thorough treatments.
Periodic Waxing
Apply a quality carnauba or synthetic wax every few months. Wax acts as a protective barrier against UV rays and environmental contaminants. For application, use a foam applicator in circular motions, allowing it to haze before buffing with a clean cloth. Always check the manufacturer’s recommendations for drying times.
| Wax Type | Benefits | Application Frequency |
|---|---|---|
| Carnauba Wax | Deep shine, excellent water beading | Every 3 months |
| Synthetic Wax | Long-lasting protection, easier application | Every 6 months |
Invest time in polishing as well, ideally using a dual-action polisher for optimal results. This will eliminate minor imperfections and enhance clarity. As an added measure, consider applying a sealant for increased longevity between wax applications.
Protection from Elements
Park in shaded areas or use car covers to shield from direct sunlight, which can fade and damage paint over time. Additionally, ensure to remove bird droppings, tree sap, or any contaminants immediately, as they can harm the finish if left unattended.
By adhering to these practices, I have consistently maintained the finish of my vehicles, ensuring they always look their best. Apply these tips diligently for a radiant appearance that reflects pride in ownership.


