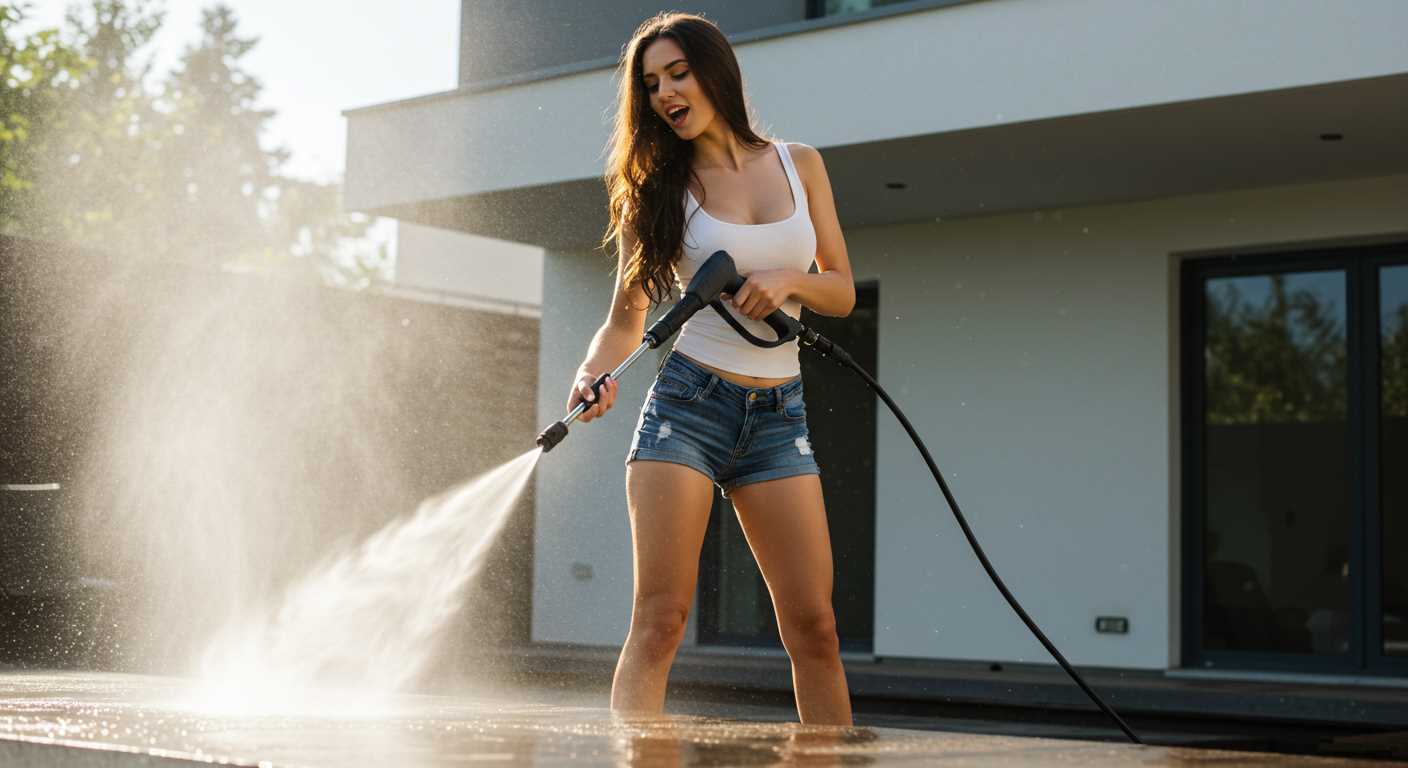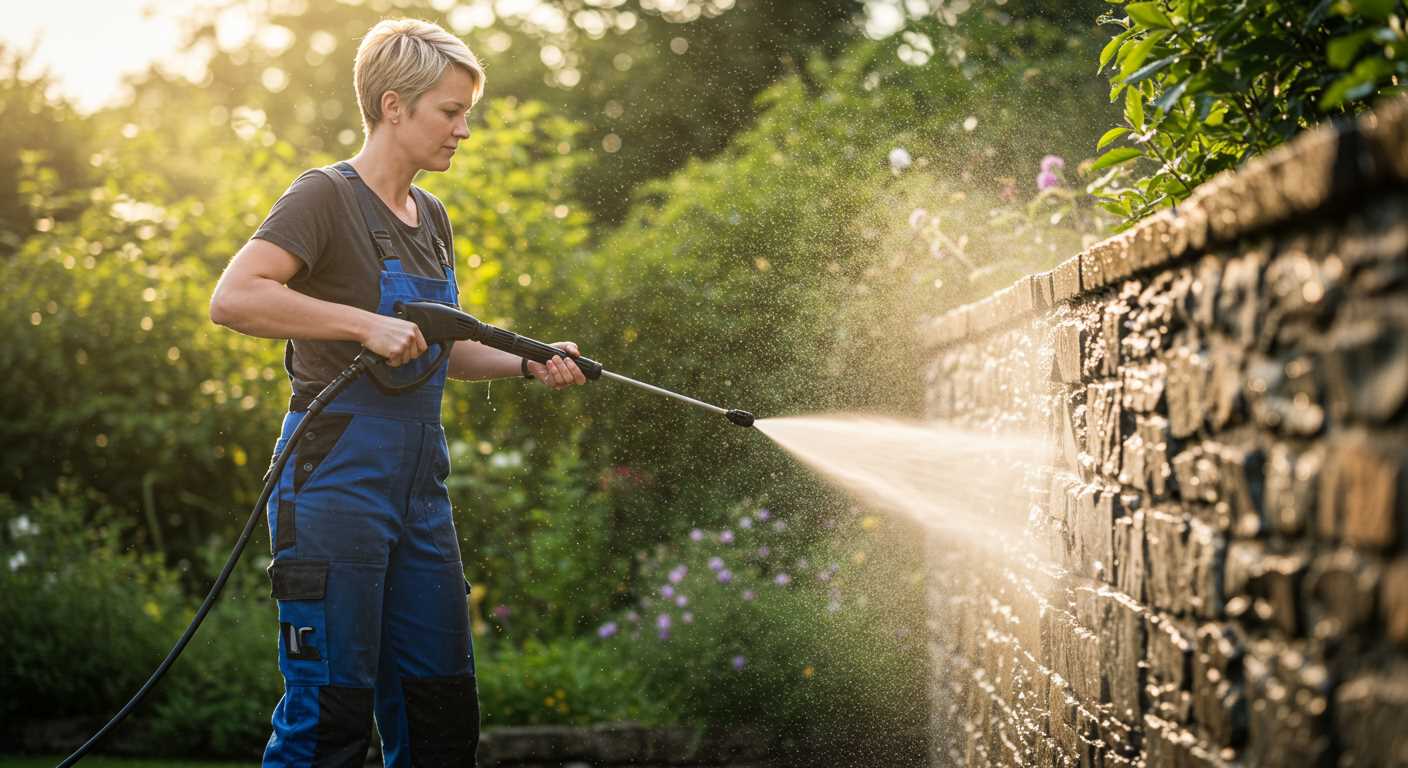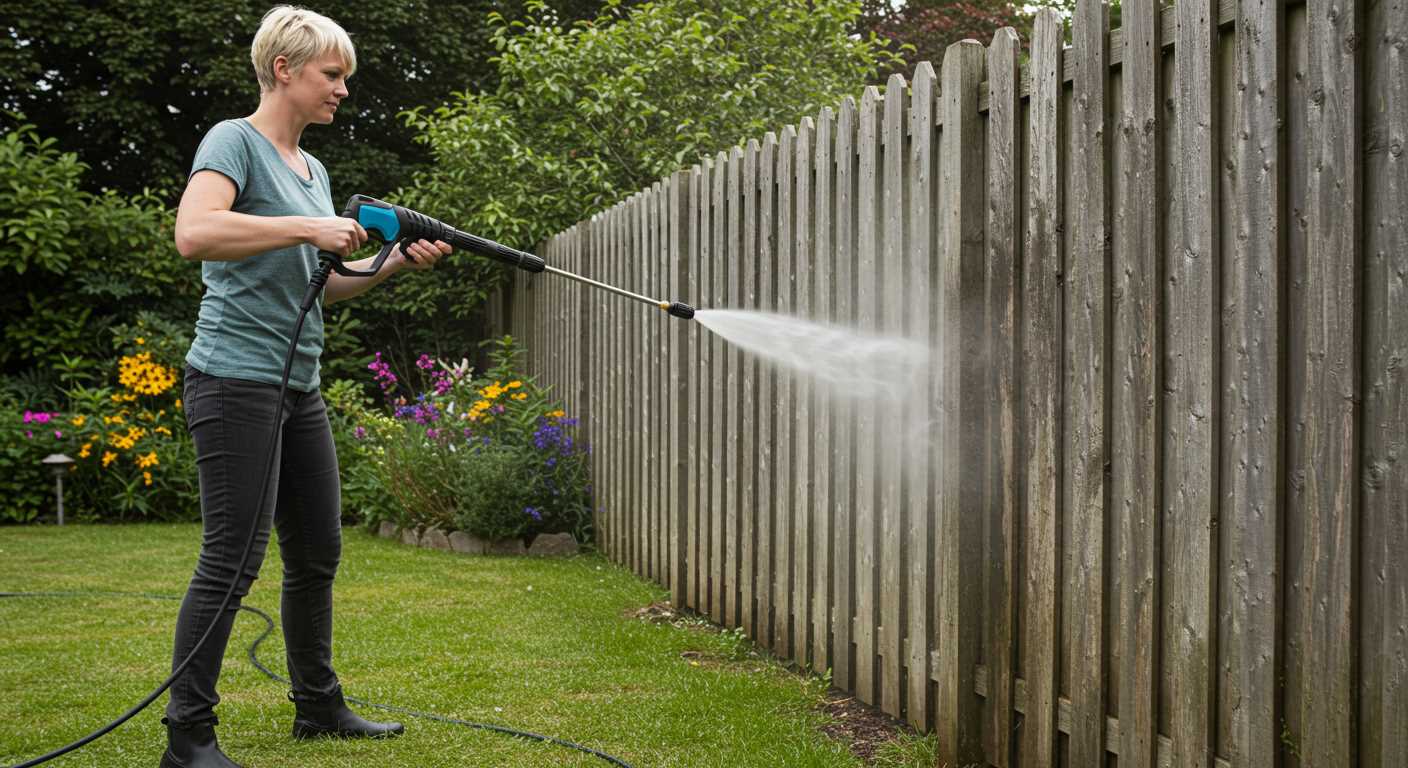


Draining the water from the unit is the first critical step. This prevents freezing, which can cause cracks and damage. Use the garden hose to empty any remaining liquid, ensuring you tilt the unit so that all moisture escapes.
Next, consider running a pump protector through the system, which lubricates the internal components and prevents corrosion during the colder months. This solution is widely available and should be used according to the manufacturer’s instructions for the best results.
Don’t forget about the hoses and accessories. Store them in a dry, frost-free area to extend their lifespan. If you have any rubber parts, applying a small amount of silicone lubricant can help prevent them from drying out and cracking.
Finally, overwinter the equipment in a sheltered spot, ideally indoors, where temperatures remain stable. If that’s not possible, at least cover it with a protective tarp to shield it from snow and moisture.
Winter Preparation for Your Cleaning Equipment
Begin with draining any remaining fluids from the machine. Flush the system with clean water to eliminate detergent residues. Once the tank is empty, locate the drain plug and ensure all water is removed from the pump and hoses.
Protecting Internal Components

After draining, use a pump protector or antifreeze solution specifically designed for such devices. This prevents internal damage from freezing temperatures. Pour the solution into the inlet, run the unit briefly to circulate it through the system, and then turn it off.
Maintenance of Accessories
.jpg)
Store all attachments and hoses in a dry, sheltered location. Check for wear and tear, and replace any fittings or connectors that appear damaged. Keeping these parts in optimal condition prolongs their life and ensures functionality when the season changes.
Drain the Water from the System
To prevent damage during cold months, it’s critical to remove all water from the unit and its components. Begin by disconnecting the garden hose and any attached accessories. This allows you to examine and access the water inlet and outlet without obstructions.
Next, lift the machine to allow any residual water to flow out. Tilt it slightly, ensuring maximum drainage from the pump and hoses. Remove the nozzle and trigger gun, holding each component downwards to release any trapped moisture. Allow everything to drain completely for at least five minutes.
Check Filters and Attachments
While the system is draining, inspect the filters and other attachments. Clean any debris or buildup to prevent future clogs. Rinse them under warm water if necessary, ensuring they dry thoroughly before storing.
Final Steps
After completing the drainage, reconnect the trigger gun but leave it unattached from the power source. Store the cleaning equipment in a dry location, preferably indoors, to protect it from low temperatures. This thorough approach will extend the lifespan of your device, ensuring it’s ready for use come spring.
Flush the Pump with Antifreeze
.jpg)
An effective method to protect your cleaning machine during freezing temperatures is to flush the pump with antifreeze. Use a non-toxic, biodegradable antifreeze specifically designed for this type of equipment to prevent any damage. Begin by ensuring the machine is turned off and disconnected from the power source.
Remove the water inlet filter, then take a funnel and insert it into the inlet. Pour antifreeze into the funnel slowly until it begins to flow out of the outlet. This process may take a few minutes. Make sure the antifreeze circulates through all parts of the pump. Reinstall the water inlet filter after you’ve completed this step.
Be cautious not to use automotive antifreeze, as it can cause corrosion. After you’ve flushed the pump, run the machine for a few seconds to circulate the antifreeze further and ensure full coverage. This will help protect seals and internal components from harsh winter conditions.
Clean the funnel and ensure that no residual antifreeze is left in or around the machine. Store your equipment in a dry, protected area to further enhance its longevity during the colder months.
Clean the Filters and Nozzles
Start with the filters. Remove them from the machine and carefully clean off any debris or buildup. Use warm, soapy water for thorough cleaning. If the filters are damaged or excessively worn, replace them to ensure optimal functionality.
Nozzle Maintenance
Next, focus on the nozzles. Detach them from the wand and rinse under warm water to dislodge any clogs. For stubborn blockages, a fine needle or pin can help. Make sure to clear the orifice completely, as any obstruction will affect spray pattern and pressure.
Inspect the nozzles for any signs of wear or corrosion. If any are compromised, consider replacing them to maintain performance standards. Keeping your filters and nozzles clean paves the way for effective operation when the cleaning season returns.
Final Check
After cleaning, ensure all components are dry before reassembling. This helps prevent moisture accumulation that could lead to corrosion during the off-season.
Inspect and Store the Hoses Properly
Before storage, I always inspect the hoses meticulously. Look for any cracks, cuts or signs of wear. Small damages can lead to significant leaks when the unit is used again, resulting in water damage or reduced efficiency.
Proper cleaning is equally critical. I rinse the hoses with clean water to remove any detergents or debris that may have accumulated during use. Allow them to dry completely to prevent mildew growth.
For storage, roll the hoses rather than folding them. This helps to avoid kinks and retains their shape, enhancing longevity. Store them in a cool, dry place, ideally hanging on a hook or in a suitable storage bin. Avoid placing heavy items on top, as pressure can cause permanent deformities.
Additionally, I suggest using hose reels or holders for better organisation. This not only keeps them untangled but also makes them readily accessible for future tasks. Consider investing in protective covers if the hoses will be stored outdoors; these can shield against UV rays and harsh weather conditions.
Finally, if using multiple hoses, label them clearly to identify their specific purpose. This makes locating the right one quicker and saves time during setup.
Protect the Engine and Fuel System

Drain the fuel tank to prevent any residue from gumming up the system. Starting with a clean tank helps to avoid issues in spring. After draining, run the engine until it stalls, ensuring any remaining fuel is used up.
Next, add a fuel stabiliser to a fresh batch of fuel. This additive keeps the fuel from deteriorating, protecting the fuel lines and carburettor from corrosion and blockages. Follow the instructions on the stabiliser’s label for the correct amount to mix.
Change the Oil
Replacing the oil is crucial for maintaining engine health. Old oil can contain contaminants that may cause damage during storage. Use the type recommended in the owner’s manual, and ensure that you fill to the proper level.
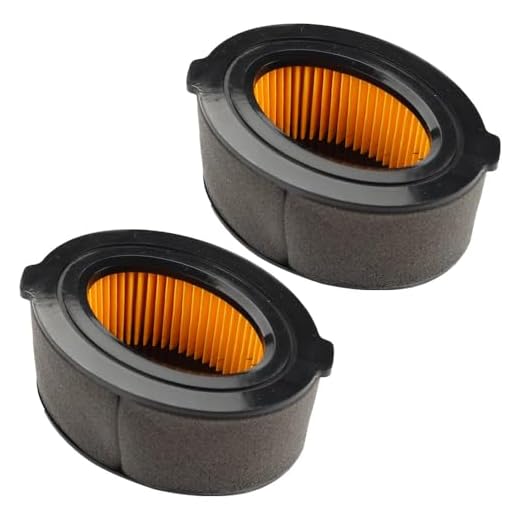
Check the Air Filter
Inspect and clean the air filter before storage. A clogged filter restricts airflow, hindering engine performance. If the filter appears damaged or excessively dirty, consider replacing it to ensure optimal function when you start up again.
Finally, consider storing the equipment in a dry area away from extreme temperatures. A consistent temperature helps prevent expanding and contracting materials, ultimately extending the life of the engine and fuel system.
Clean the Exterior and Remove Detergents
Start by cleaning the outer surfaces of the appliance. This step prevents residue accumulation and potential corrosion during the colder months. Use a mild detergent mixed with water and a soft brush or cloth. Focus on areas where dirt and grime tend to build up, such as around the nozzle and connections.
Steps for Cleaning

- Detach any accessories and wash them separately.
- Use a damp cloth to wipe down the housing and control panel.
- Clean the wheels and base to ensure they’re free from debris.
Next, it’s critical to purge any remaining cleaning agents from the system. Residual detergents can harden or damage the internal components over time. To do this effectively:
Detergent Removal Process
- Run clean water through the machine for several minutes.
- Direct the water output into a bucket to monitor cleanliness.
- Check for any foam or detergent traces, continuing until only pure water flows.
This thorough exterior cleaning and the removal of any lingering solutions ensure longevity and optimal performance of the equipment, safeguarding it through the winter season.
Choose an Appropriate Storage Location
To ensure optimal preservation of your cleaning equipment, select a storage area that is dry, insulated, and away from direct sunlight. Avoid places like garages or sheds that may experience temperature fluctuations or humidity. Instead, consider storing it in a climate-controlled space.
A dedicated storage nook can safeguard against rust and deterioration of components. Position the unit on a flat surface to prevent damage or leaks from causing issues with neighbouring equipment or surfaces.
Key Storage Considerations
| Factor | Recommendation |
|---|---|
| Temperature | Stable, ideally between 10-20°C |
| Humidity | Low humidity to prevent corrosion |
| Accessibility | Easy access for maintenance and operation |
| Protection | Cover the equipment with a breathable tarp |
Ensure the storage area is clean and free from debris to prevent critters from making a home out of your gear. Check the space periodically to avoid water accumulation or pest infestations. Properly selecting a location is a fundamental step that contributes to the longevity and functionality of your equipment.
Check for Damages Before Use in Spring
Begin your assessment by examining the entire unit for any visible signs of wear or damage. Look closely at the body for cracks, rust, or dents that might affect the machine’s performance. Ensure all components are tightly secured and that there are no loose parts that may hinder operation.
Inspect Hoses and Connections
Inspect the hoses for any kinks, cuts, or abrasions. A damaged hose can lead to leaks or reduced pressure during operation. Check the connections at both ends for tightness and integrity. Replace any compromised hoses immediately to avoid complications while in use.
Evaluate the Nozzle and Lance
Examine the nozzle and lance for blockages or damage. Clean them thoroughly to ensure consistent water flow. Any obstruction can diminish efficiency and cause uneven spraying. If the nozzles are worn out, replacements should be considered to maintain optimal functionality.


