

To prevent damage during the frosty months, it’s essential to ensure your high-pressure cleaner is properly cared for. Begin by thoroughly emptying the unit of any remaining water. Use the trigger gun to release any trapped moisture within the system. This step significantly reduces the risk of internal cracking and freezing.
Next, it’s prudent to purify the machine using a suitable antifreeze solution. Mix this with water according to the manufacturer’s instructions, and run the cleaner to ensure the solution circulates through the pump and hoses. This step not only protects the internal components from freezing temperatures but also provides lubrication that helps prolong the lifespan of the unit.
Don’t forget to store the device in a designated, frost-free location. Ideally, place it indoors or in a heated area to avoid exposure to the cold. Storing the power cord and accessories carefully will also prevent damage and make the unit ready for action when warmer weather returns.
Regular checks on seals and hoses before stowing away the equipment will help in early identification of wear or leaks. By taking these precautions now, your tool will be ready for effective use as soon as the cleaning season rolls around again.
Preparation Steps for Your Cleaning Machine
Drain any residual water from the system. Disconnect the hose and let it sit for a few minutes. This action prevents potential freeze damage. After draining, remove the nozzle and run the unit briefly. This expels additional water trapped in the pump.
Introduce anti-freeze into the pump. Use a non-toxic fluid specifically designed for this purpose. Inject it through the water inlet. Ensure you follow the manufacturer’s recommendations for the right product and quantity, as this will enhance the longevity of the internal components during cold months.
Store the device in a sheltered location, preferably indoors. Exposure to extreme temperatures can lead to significant wear and complicate maintenance later. Aim for a garage or basement where temperatures are more stable.
Disconnect all accessories and clean them thoroughly. This includes hoses, nozzles, and filters. Dry them completely to prevent mould or mildew, which could lead to obstructions or damage over time.
Check the oil levels in the machine. If applicable, replace old oil with fresh lubricant appropriate for winter conditions. This ensures smooth operation when spring arrives.
Inspect the power cord for any sign of wear or damage. Repair or replace if necessary. A safe power source will help avoid accidents or shocks when it’s time to use the machine again.
Draining the Water from the Pump
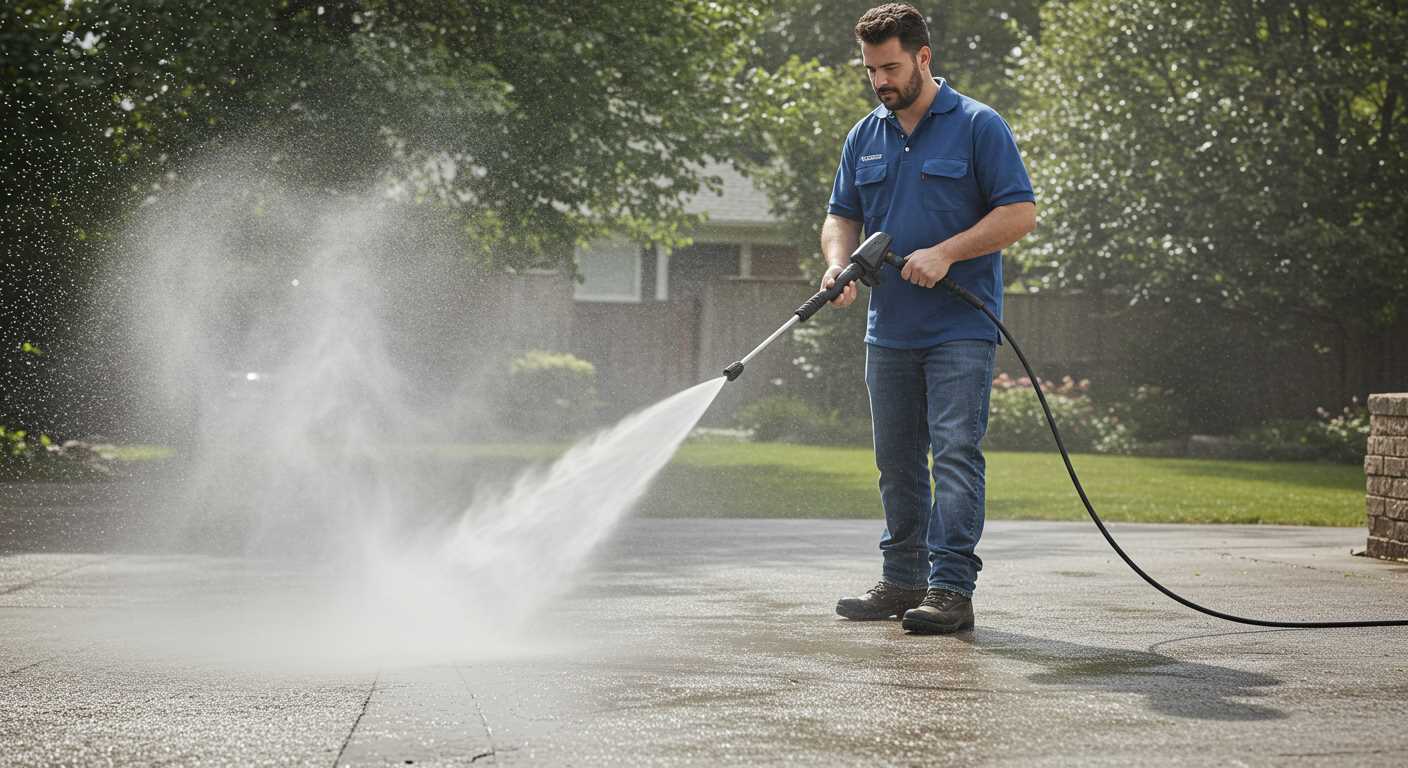
Begin by disconnecting the water supply from the machine. This ensures no additional water enters the system during the draining process.
Next, locate the pump outlet. Attach a garden hose to the outlet to facilitate efficient water drainage. Make sure the hose directs the water into an appropriate drainage area to avoid creating a mess.
With the garden hose connected, start the machine without the high-pressure nozzle. Allow it to run for approximately one minute. This action will expel residual water trapped in the pump.
Ensuring Complete Drainage
After running the unit, turn it off and disconnect the power source. Check for any remaining water in the pump by tilting the machine slightly. If you notice any water still present, repeat the process until the pump is completely emptied.
While draining, inspect the pump for any signs of wear or damage. If any issues are detected, take the necessary steps for repair or replacement before storing the equipment.
Final Steps
.jpg)
Once the pump is clear of water, remove the garden hose and securely replace any caps or plugs. This will prevent dirt and debris from entering the system during storage. Finally, store the equipment in a dry, sheltered location to protect it from harsh environmental conditions.
Adding Antifreeze to the System
Prepare a high-quality, nontoxic antifreeze, specifically designed for use with water pumps. Look for products that are safe for use in pumps and will not damage any internal components.
Begin by mixing the antifreeze with water in a clean container as per the manufacturer’s instructions. This will ensure optimal protection against freezing temperatures.
Locate the inlet hose that connects to the pump. Disconnect it gently to avoid damaging any fittings. Pour the antifreeze mixture into the inlet, allowing it to flow through the system. This will coat all internal parts, preventing ice formation.
Reconnect the inlet hose securely. To ensure the antifreeze has circulated throughout the pump, briefly start the unit without connecting a water source. Let it run for 20-30 seconds, allowing the liquid to move through the entire system.
Finally, inspect the system for any leaks or issues post-addition. This step will confirm that the antifreeze has been properly integrated and that the equipment is adequately safeguarded against low temperatures.
Cleaning the Filter and Nozzles
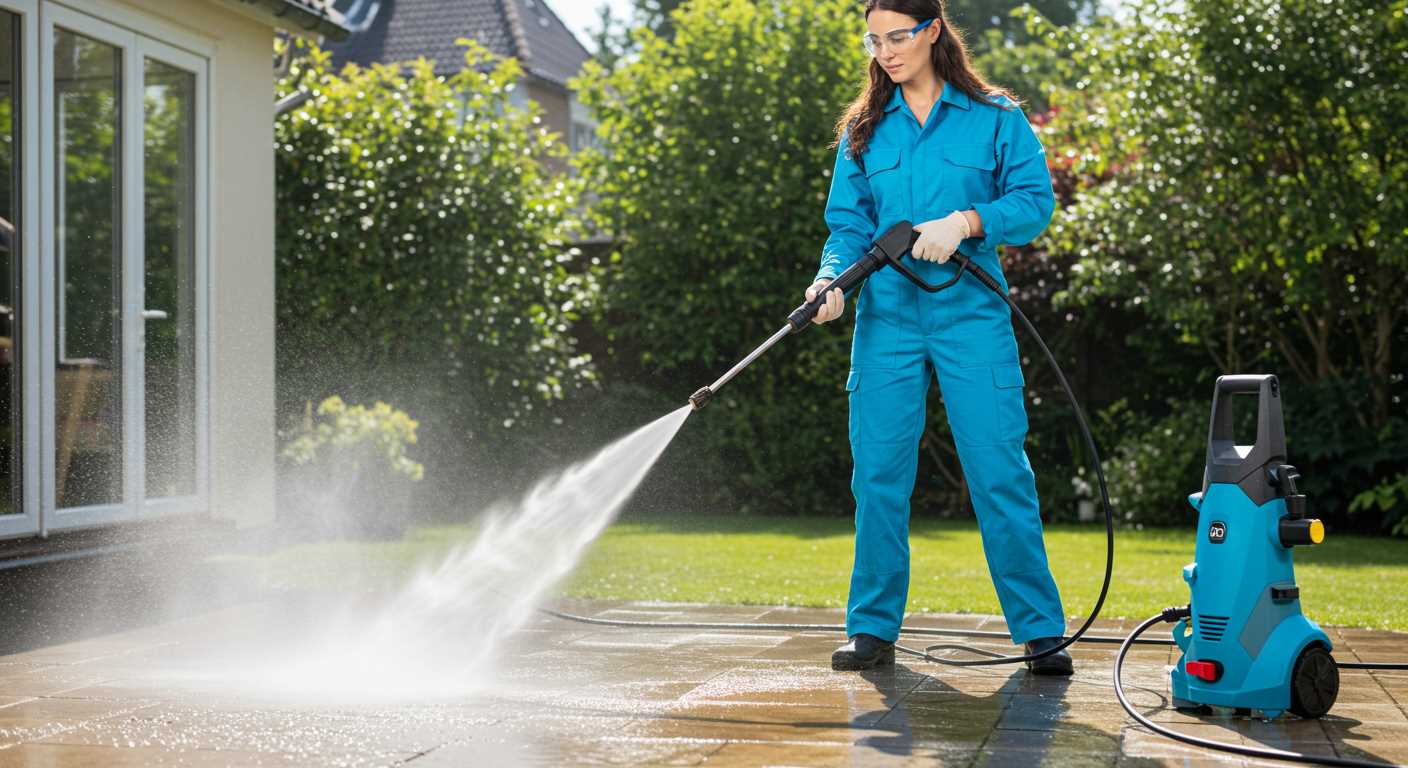
First, disconnect the equipment from the power source and ensure all remaining liquid has been drained. Removing debris is key to maintaining performance. Start with the filter, which can become clogged over time. Here’s how to go about it:
- Locate the filter, usually found on the water inlet.
- Carefully unscrew the filter cover, taking care not to damage any mounting hardware.
- Extract the filter mesh and rinse it under warm running water to remove sediment and contaminants.
- If the filter is heavily soiled or shows signs of damage, consider replacing it to ensure optimal water flow.
Next, focus on the nozzles, which significantly affect the performance of your machine. Blocked or dirty nozzles can lead to uneven spray patterns. Follow these steps for thorough cleaning:
- Detach the nozzle from the spray wand.
- Inspect for any obstructions; a pin or a needle can help clear debris in tight spots.
- Soak the nozzle in warm, soapy water for 15-20 minutes.
- Use a soft-bristle brush to clean the nozzle opening and rinse well under running water.
- Reattach the nozzles securely after they are completely dry.
Cleaning these components will enhance the longevity of the equipment and maintain its high-performance standards for future use.
Storing the Equipment Properly
To ensure longevity, secure your cleaning device in a dry, sheltered location, away from direct sunlight and extreme temperatures. A garage or shed works well. Avoid areas where moisture can accumulate, as this could lead to internal rust and damage.
Before storing, clean the exterior thoroughly with a damp cloth to remove any dirt or debris. Allow it to dry completely to prevent mildew growth. Store the unit upright to prevent leaks and ensure proper alignment of internal components.
For added protection, consider using a cover specifically designed for this type of machinery. This will shield it from dust and other contaminants while in storage.
When placing accessories such as hoses and nozzles, wrap them neatly and store them in a separate container or alongside the equipment. This keeps everything organised and easily accessible for the next use.
Finally, keep the owner’s manual handy in your storage space. This provides valuable information for maintenance and troubleshooting when it’s time to bring your device out of storage.
Below is a summary of storage tips:
| Storage Tip | Description |
|---|---|
| Location | Choose a dry, sheltered area away from moisture. |
| Cleaning | Wipe down the equipment and ensure it’s completely dry. |
| Positioning | Store upright to prevent leaks and damage. |
| Protection | Use a suitable cover to guard against dust. |
| Organisation | Store accessories neatly in a separate container. |
| Manual | Keep the owner’s manual accessible for future reference. |
Protecting the Electric Components

Immediately disconnect the power supply to safeguard electrical parts. This measure prevents damage from moisture and freezing conditions.
Use a suitable cover or insulated bag to shield the electric connections, as these components are susceptible to exposure. Ensure that the cover is weather-resistant and fits snugly to keep out moisture.
- Check for any signs of wear or damage on wires and connectors. Replace any damaged components before storing.
- Utilise silica gel packets or moisture-absorbing agents around electrical areas to reduce humidity and prevent corrosion.
- Inspect the extension cords for any fraying or damage. Properly store them to prevent tangling and potential short circuits.
Periodically check the electric components during the storage period. Look for any signs of moisture accumulation or corrosion, addressing any issues promptly.
If your model has a dedicated storage procedure for electrical components, follow that guidance meticulously. This attention to detail will extend the lifespan of the equipment and ensure it functions flawlessly once reactivated.
Inspecting Hoses and Connections
Examine the hoses for any signs of wear, cracks, or leaks. Even minor damage can lead to poor performance or hazards. Replace any compromised sections immediately to ensure a reliable system.
Check all connections for tightness. Loose fittings can cause pressure drops and inefficiency. Use a wrench to secure them as needed.
Inspect the quick-connect fittings for debris or corrosion. Clean these components with a soft cloth to maintain a proper seal and prevent water ingress.
If your model has an inlet filter, ensure it is free of clogs. Removing any obstructions allows for optimal water flow and minimizes stress on the mechanism.
Consider storing hoses coiled loosely to prevent kinks or pinched areas that might compromise functionality during the next use.
Scheduling Maintenance Tasks for Spring
Incorporate a checklist for spring readiness. Prioritise checking oil levels and changing the oil to ensure optimal performance. This small task can significantly extend the life of your equipment.
Inspect and Replace Filters
Inspect air filters and replace them if they appear clogged or dirty. A clean filter promotes efficient operation and prevents potential damage. Schedule this task early in the spring to avoid delays during peak usage times.
Testing the Equipment

Before full-scale use, run a test on your machine to identify any issues. Monitor performance and listen for unusual sounds. Address any irregularities promptly to prevent further complications down the line. Allocate time for possible repairs before heavy usage starts.


