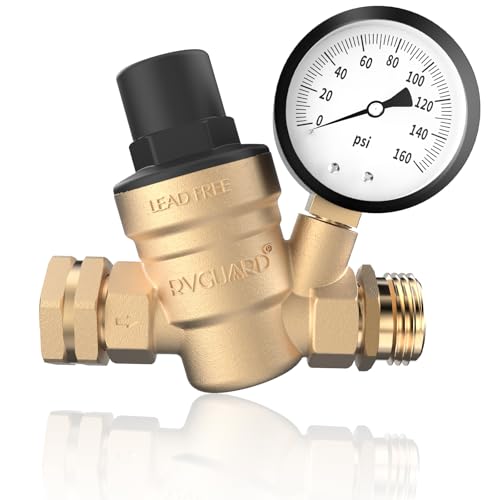

Before the cold weather sets in, it’s imperative to take proactive measures to safeguard your cleaning tools. To prevent damaging frost, remove all water from the unit by running it for a few minutes without any liquid. This simple step helps expel residual water from internal components and hoses.
Next, disconnect and drain the garden hose and any other attachments. To protect vital parts, consider applying a pump protector or antifreeze solution specifically designed for cleaning devices. This solution lubricates components while preventing freezing, ensuring optimal performance when you’re ready to use your equipment again.
Storing the equipment indoors is highly recommended. If this isn’t viable, cover it with an appropriate tarp to shield it from harsh weather conditions. Keep an eye on the forecast to bring the unit indoors before extreme temperatures hit. Following these measures will enhance the longevity of your equipment and save you from costly repairs.
Preparing Your High-Pressure Cleaning Device for Cold Months
Drain all water from the system to prevent freezing damage. Disconnect the device from the power source and remove any hoses or attachments. Ensure the unit is completely dry by using a soft cloth to wipe down any moisture around the inlet and outlet ports.
Using Anti-Freeze Solutions

Purchase a non-toxic antifreeze solution specifically designed for cleaning machines. Mix it according to the manufacturer’s instructions. Pour the solution into the detergent tank, then run the unit for a few minutes without a nozzle attached, allowing the mixture to circulate through the internals.
Protection and Storage
Store the equipment in a dry, insulated location. Cover it with a breathable fabric cover to guard against dust and dampness which can cause corrosion over time. Ensure that the storage area is free from extreme temperatures to avoid potential damage to the internal components.
| Step | Action |
|---|---|
| 1 | Turn off and unplug the machine. |
| 2 | Remove hoses and attachments. |
| 3 | Drain all water and dry thoroughly. |
| 4 | Mix and apply antifreeze solution. |
| 5 | Store in a dry, insulated area. |
Drain and Clean the Water Input
Begin by disconnecting the water supply hose from the inlet. This enables any residual water to flow out freely. Tilt the machine slightly to help drain any water trapped inside the inlet. Ensure you have a towel handy to soak up any remaining moisture.
Cleaning the Inlet Filter
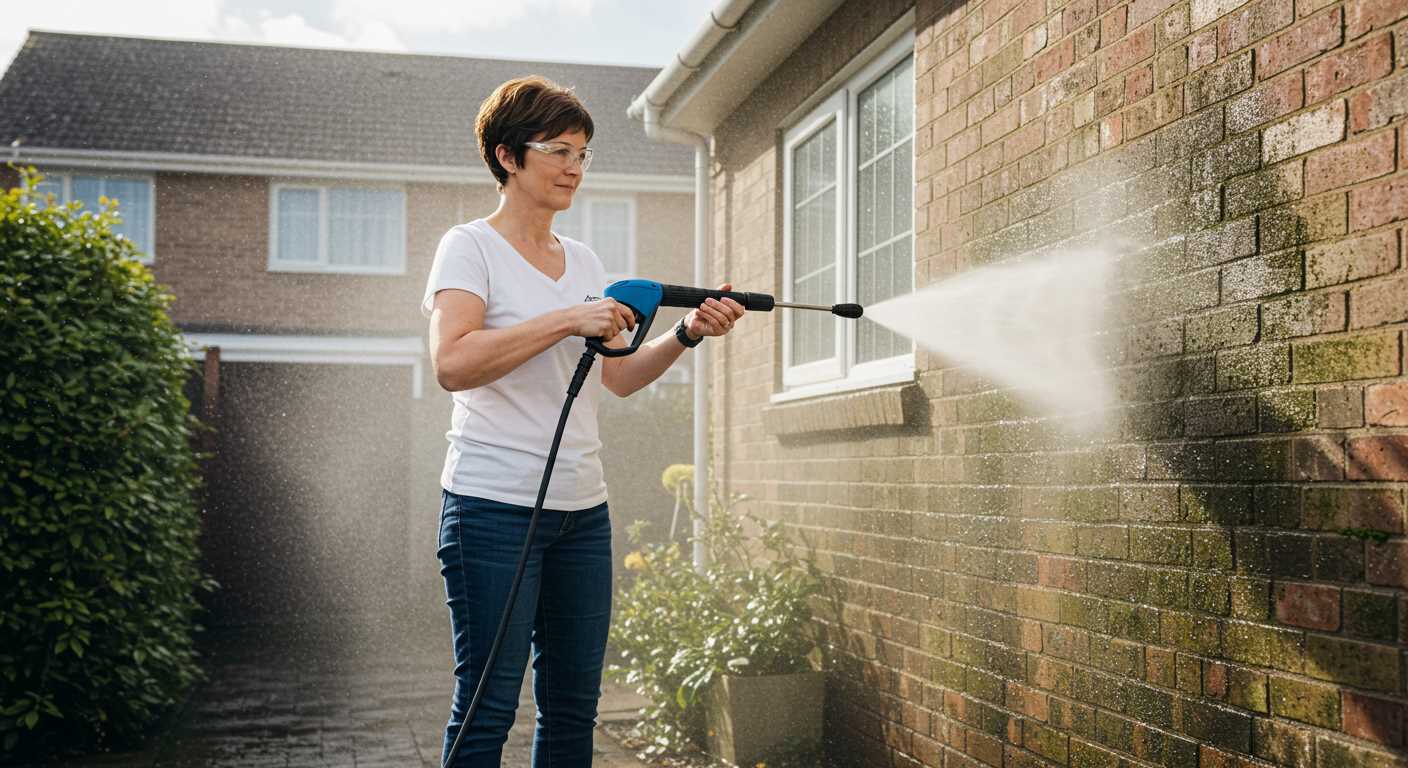
The inlet filter accumulates debris, which can impede performance. Gently remove the filter using pliers or your fingers, depending on its design. Rinse it under warm water to dislodge dirt. If the filter appears damaged or overly clogged, consider replacing it for optimal operation.
Inspecting for Damage
Examine the water inlet thoroughly for signs of wear or cracks. Any damage can lead to leaks or operational issues once the unit is back in use. Replace any compromised components as necessary to maintain efficiency. Store the machine in a dry place, ensuring the inlet remains protected from potential moisture accumulation during the colder months.
Remove and Store the Detergent Tank
Detach the detergent tank from the machine for storage. First, ensure the unit is off and unplugged. Locate the release mechanism, which is usually a simple pull or slide feature. Carefully lift the tank away from the body, taking care not to damage any connectors.
After separating the tank, empty any leftover cleaning solution. Rinse it thoroughly with warm water to prevent residue buildup. Allow the tank to dry completely before storing it, as moisture can lead to mould or degradation of materials.
Store the tank in a cool, dry place, ideally in its original packaging or a suitable container. This protects it from physical damage and extreme temperatures. Ensure that any remaining components, like the cap or hose attachments, are kept together to avoid misplacement. Regular checks can help maintain its condition over time.
Flush the System with Antifreeze
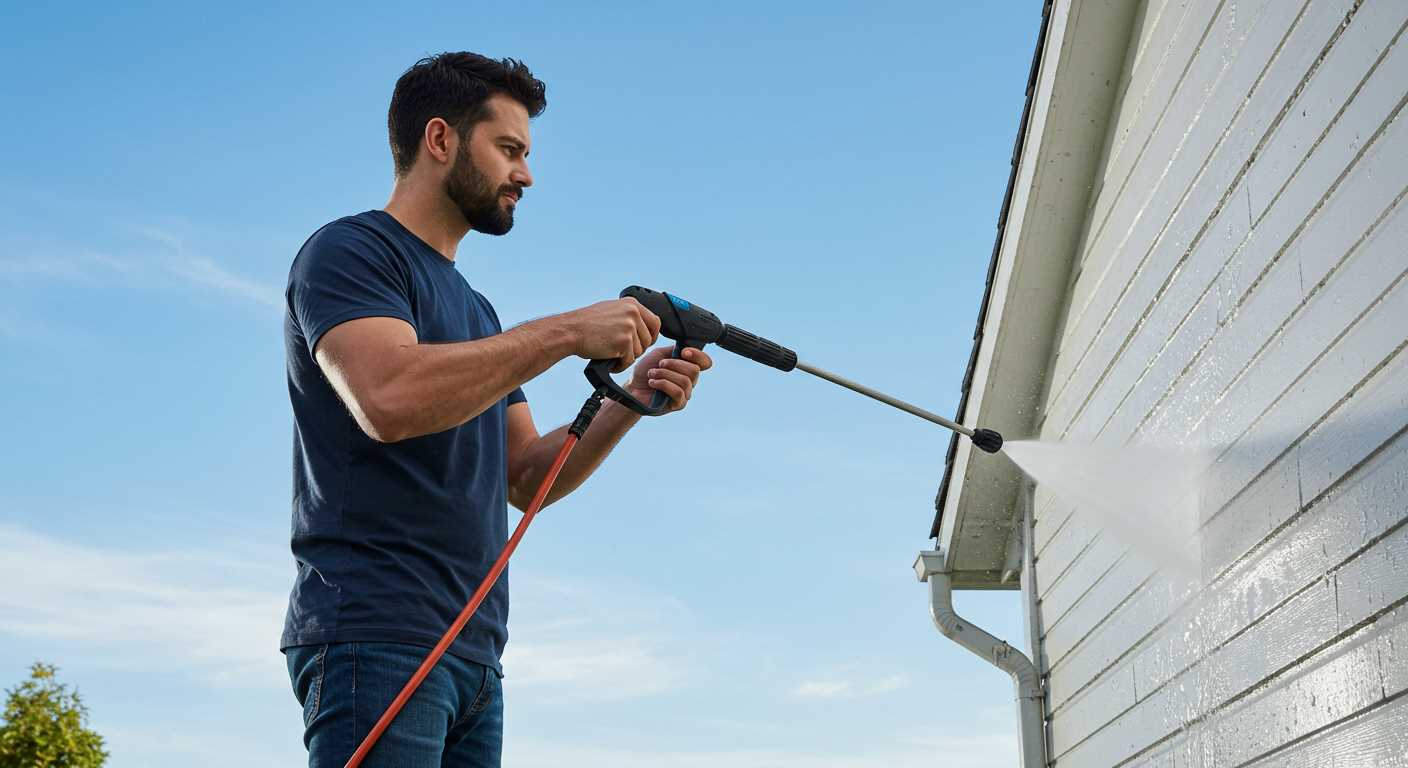
To protect the internal components, it’s crucial to introduce antifreeze into the system. Start with connecting a funnel to the garden hose attachment of the machine. Then, pour the antifreeze solution slowly through the funnel until it fills the water circuit.
Procedure
Next, engage the trigger gun to allow the fluid to circulate throughout the hoses and pump. Keep the gun activated until you notice antifreeze exiting through the nozzle. This process ensures that every part of the water system is adequately treated.
Antifreeze Selection
Using a non-toxic antifreeze specifically designed for cleaning equipment is recommended. Check the manufacturer’s guidelines to ensure compatibility. Avoid automotive antifreezes as they may contain harmful chemicals that can damage the washer.
After completing the flushing process, disconnect the funnel and ensure that no antifreeze remains in the inlet. This step is vital to avoid any potential leaks during storage. Follow this procedure, and your machine will be well-prepared to withstand the cold months ahead.
Disconnect and Clean the Hose
Detach the water hose from your device, ensuring it’s completely disconnected from both the machine and the water source. This simple step prevents freezing water from damaging the hose during colder months.
Inspection and Cleaning
Carefully inspect the hose for any signs of wear, damage, or blockage. Run water through the hose to flush out any debris or contaminants. If you notice any stubborn blockages, use a gentle brush or a cloth to clear them without causing damage to the interior lining.
Drying and Storage
After cleaning, leave the hose to air dry completely before storing it. Roll it up neatly to avoid kinks, which can lead to premature wear. Store it in a dry, sheltered place away from direct sunlight to maintain its integrity over time.
Protect the Pump from Freeze Damage
To safeguard the pump from freeze damage, follow these steps:
- Locate the pump inlet and outlet where water usually flows.
- Inspect for any remaining water inside the pump. If water is present, run the machine briefly to mitigate harm.
- Remove any filters or strainers connected to the pump to ensure thorough draining.
- Once emptied, introduce non-toxic antifreeze through the inlet using a funnel.
- Operate the machine briefly to allow the antifreeze to circulate and coat internal components adequately.
This method tends to preserve the internal mechanisms and extends the lifespan of the unit through harsh winter conditions.
Store the device in a dry, sheltered location to further reduce the risk of freezing. A temperature-controlled area is optimal.
Before using the equipment again in warmer months, flush the system with clean water to remove antifreeze residue. This ensures optimal performance and safety for your cleaning tasks.
Store the Machine in a Suitable Environment
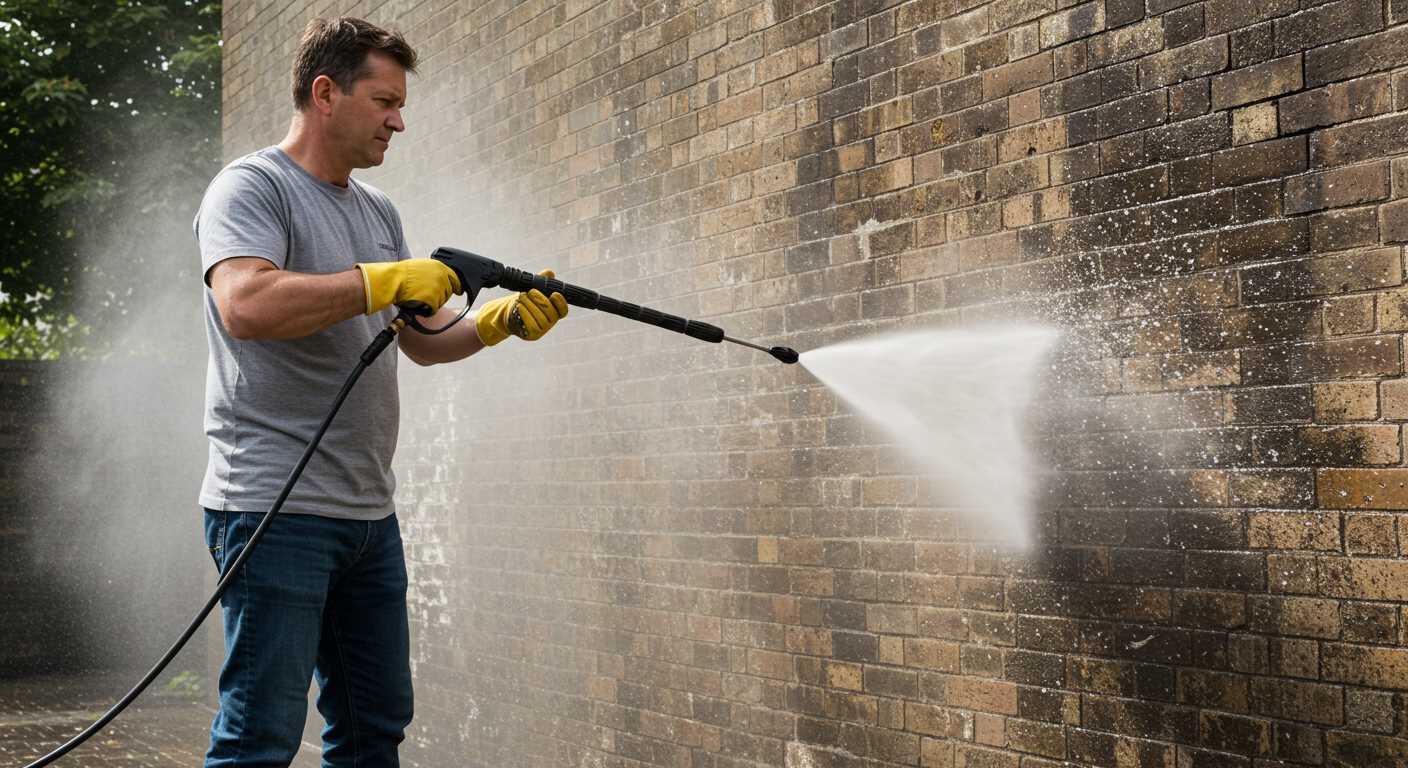
Keep your device in a sheltered, climate-controlled area. A garage or shed works well, provided it’s not subject to extreme temperature fluctuations. Ideal storage temperatures range from 5°C to 20°C, as this prevents internal components from cracking or warping.
Ensure the environment is dry to avoid moisture buildup, which can lead to corrosion and damage. Use a dehumidifier if necessary.
Tips for Proper Storage
- Place the machine on a flat surface to maintain stability.
- Avoid stacking heavy items on top to prevent potential damage.
- Keep it away from direct sunlight to protect plastic components from fading and becoming brittle.
Additional Considerations
- Store the unit upright to prevent any residual fluid from settling in the motor.
- Consider using a dust cover to shield it from dust and debris.
- Regularly inspect the storage area for signs of pests or extreme conditions that could impact the equipment.
Check and Maintain Accessories During Winter
Inspect all accessories for wear and tear. Ensure no cracks or damage exist in items such as nozzles, foam cannons, and extension wands. Replace any compromised components to avoid functionality issues when it’s time to use the equipment again.
Cleaning and Drying
Thoroughly clean the accessories to remove any residue or debris. Use warm, soapy water for the cleaning process. Rinse and dry them completely to prevent mould growth or corrosion during storage.
Storage Recommendations
Store accessories in a dry, temperature-controlled area. Use storage bins or containers to keep them organised and protected from potential moisture. Ensure items are not stored under heavy objects to avoid deformation, which could affect performance later on.


