

Before the frost arrives, it’s crucial to ensure your cleaning equipment is ready to face the winter months. First, remove the water from the device completely. Start by running it until all fluid has exited the system. This reduces the risk of freeze damage.
Next, consider using a winterizing solution specifically designed for these types of machines. Pour it into the detergent tank and run the device for a few moments to allow the mixture to circulate through the pump. This step prevents internal corrosion and keeps seals lubricated during the cold season.
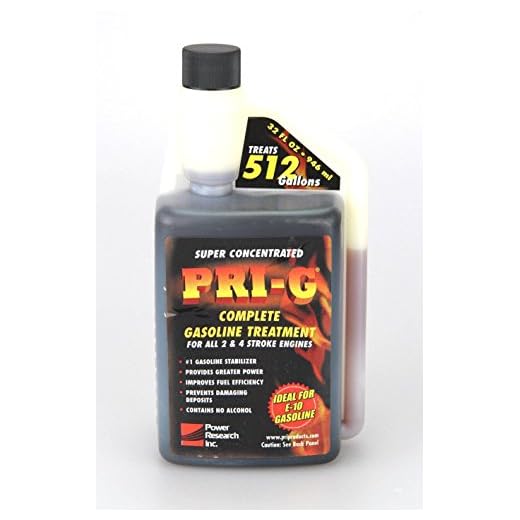
The fuel system also requires attention. If your model has a gasoline engine, drain the fuel tank or add a fuel stabiliser to prevent gumming. Regular maintenance will extend the equipment’s lifespan and ensure it’s ready for use as soon as the weather improves.
Finally, store the machinery in a sheltered environment, away from harsh conditions. A garage or shed offers protection and maintains optimal working conditions for when the warmer months return.
Preparation for Cold Weather Storage
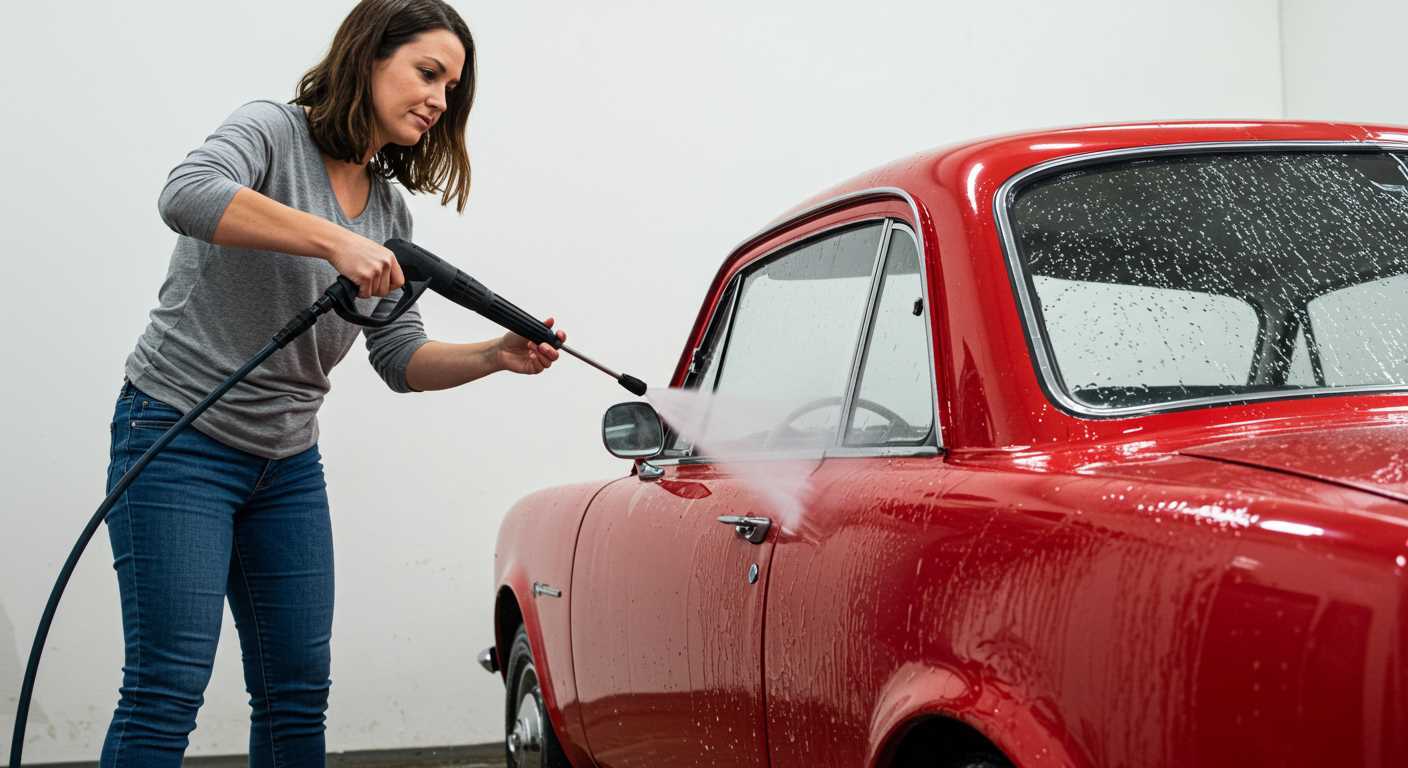
Drain all water from the machine. Disconnect the water supply and remove hoses. Turn on the machine for a few seconds to purge residual water from the pump and hoses. This prevents freezing in the components.
Next, remove the detergent tank and clean it thoroughly. Any leftover detergent can solidify and cause blockages during the next use. Rinse it out with warm water, ensuring no residue remains.
Maintenance of Internal Components
Inspect the oil level if applicable. Change it if it appears dirty or is nearing the recommended change interval. Use the manufacturer’s specified oil type for optimal performance.
Apply a few drops of oil to the pump’s input and output ports. This lubricates the internal parts, protecting them during cold months.
Protecting from the Elements
- Store the equipment in a dry and temperature-controlled environment.
- Cover with a breathable tarp to prevent dust accumulation.
- If storing outside, elevate slightly off the ground and ensure it’s under a shelter.
Review the user manual for any specific instructions regarding winter storage. Following these guidelines ensures readiness when needed again.
Drain the Water from the Pump
Begin by locating the pump’s drain plug, typically situated at the bottom of the unit. Use a wrench to carefully loosen and remove the plug, allowing any residual water to escape. Have a bucket or a suitable container ready to catch the water.
Next, tilt the machine slightly to encourage complete drainage. This step is vital to prevent any ice formation that can lead to severe damage during colder months. After draining, securely replace the drain plug to avoid any potential leaks.
Additionally, activate the trigger on the spray gun for approximately 10 seconds to release remaining water trapped in the system. This method effectively removes any lingering moisture that could freeze.
To further ensure all water is eliminated:
- Detach any hoses and accessories from the unit.
- Inspect these attachments for remaining water, and shake them out if needed.
- Store all components in a dry location away from freezing temperatures.
Completing this procedure will significantly extend the life of your equipment and maintain its performance for the next use.
Flush the System with Antifreeze
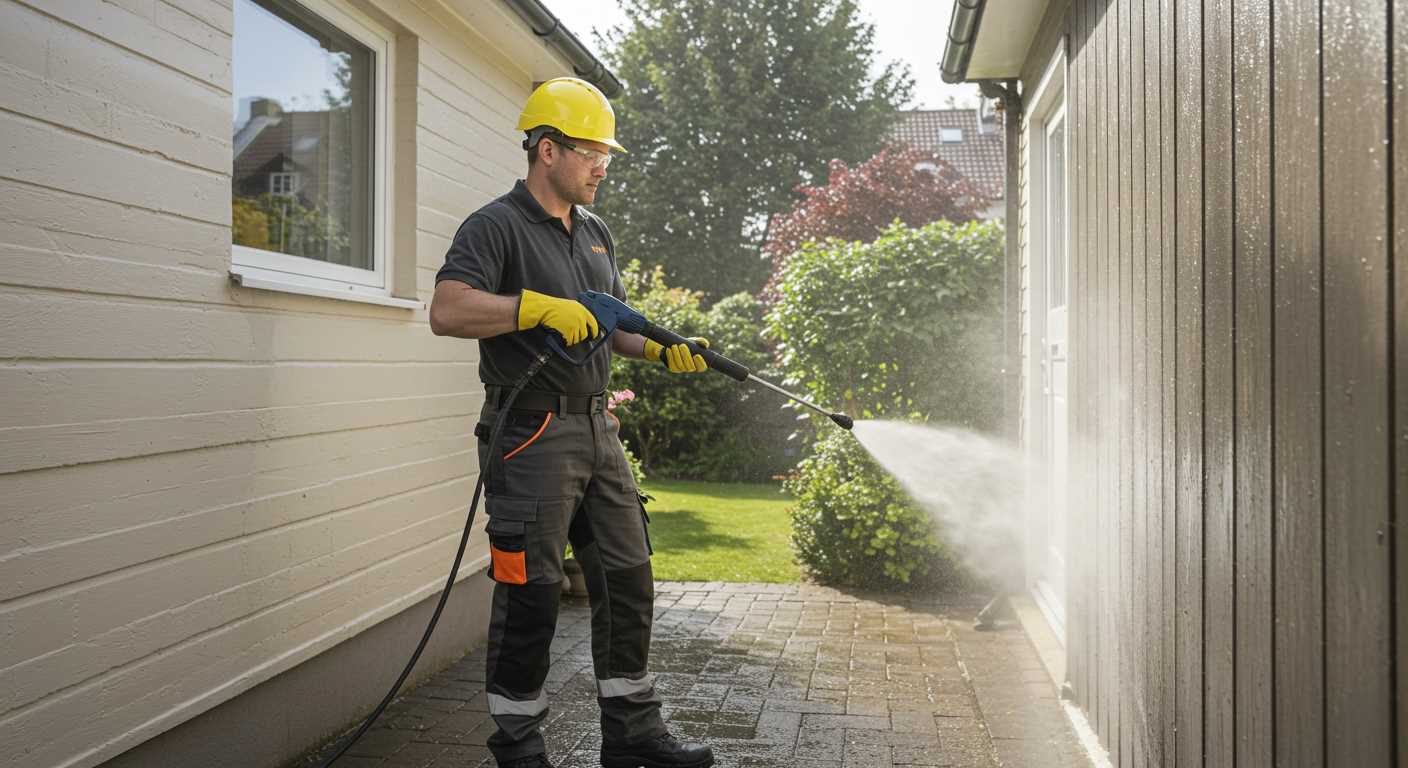
To protect internal components from freezing temperatures, use a non-corrosive antifreeze solution suitable for small engines. Begin this process after draining all water from the pump. Mix the antifreeze according to the manufacturer’s instructions.
Reattach the garden hose to the inlet of the unit. Ensure that the end not connected to the water source is submerged in the antifreeze solution. Start the engine and allow it to run for a short period, typically about 2-3 minutes. This will help circulate the antifreeze throughout the system, coating crucial parts.
While the engine runs, monitor the discharge to ensure that the antifreeze is making its way through the system. Once you see a steady stream of the coloured liquid from the spray gun, switch off the engine and detach the hose.
Finally, pull the trigger on the spray gun to release any remaining liquid pressure and ensure all antifreeze has made its way through the entire mechanism. Store the equipment in a dry and protected area until it’s time for use again.
Inspect and Clean the Nozzles
Regular examination of the nozzles is vital for maintaining optimum performance. Begin by removing each nozzle from the wand. Inspect for any blockages or damage, such as cracks or chips. A blocked nozzle can severely reduce efficiency and create uneven spraying patterns.
Use a small wire or a needle to gently clear any debris lodged inside the nozzle openings. Rinse them thoroughly under warm water to dislodge any stubborn particles. For a deeper clean, a solution of vinegar can be utilized to dissolve mineral deposits.
Reassemble and Test
After cleaning, reattach the nozzles while ensuring a snug fit. Check for proper alignment to prevent leaks. Once assembled, perform a short test run to ensure that each nozzle sprays correctly and the water flow is steady. If any nozzle continues to show issues, replacement may be necessary.
Maintenance Tips

Store the nozzles in a dry location away from moisture to avoid corrosion. Additionally, consider marking the different nozzles with their respective spray patterns to streamline future use. Regular inspections before and after each season will help prolong their lifespan and maintain high efficiency.
Store the Power Cord and Hose Properly
Carefully coil the power cord and hose to prevent kinks and ensure longevity. Start at one end and make even loops, securing them with Velcro straps or rubber bands to keep them organised. Avoid wrapping the cord tightly around any object, which can damage the insulation over time.
For the hose, consider using a hose reel or organiser if available. This will not only keep it neat but also protect it from potential wear while in storage. Ensure all connectors are free from dirt and debris before storing, as this can lead to corrosion or blockages when you use the equipment next.
Store both the cord and hose in a dry, cool place, away from direct sunlight and extreme temperatures. Moisture can lead to electrical hazards and mildew, so a protective case can be beneficial if keeping them in a garage or shed.
Check the Oil Level and Change if Needed
Ensure the motor operates smoothly by inspecting the oil level regularly. To check, remove the dipstick, wipe it clean, and reinsert it without screwing it back in. Remove it again to inspect the oil level against the markings. If the oil appears dark or gritty, or if it’s below the recommended level, a change is necessary.
Use the manufacturer’s specified oil type for optimal performance. Drain the old oil by locating the oil drainage plug, typically found near the base of the engine. Tilt the unit slightly to encourage complete drainage. After emptying, replace the plug securely.
Fill with fresh oil using a funnel, ensuring not to overfill. Always refer to the owner’s manual for the exact oil capacity. After changing, let the engine run for a minute, then check the level again to confirm it’s proper. Performing this step prevents engine wear and enhances longevity during the cold months.
Protect the Engine and Components from Moisture

To shield the engine and components from moisture accumulation, I recommend using a quality waterproof cover. This acts as a barrier against rain and humidity, ensuring that internal parts remain dry throughout the colder months.
Additionally, consider placing silica gel packets inside the engine compartment. These packets absorb excess moisture and can help prevent rust and corrosion on vital components. Ensure they are safely secured and won’t interfere with any moving parts.
After applying a protective cover, inspect rubber seals and gaskets for wear or damage. Replace any that appear cracked or compromised, as these could allow moisture to enter and cause damage over time.
Routine Maintenance Steps
Regularly check the environment where the equipment is stored. A damp garage or shed can heighten the risk of moisture-related issues. If possible, use a dehumidifier in enclosed spaces to control humidity levels.
| Action | Details |
|---|---|
| Use Waterproof Cover | Protects from rain and humidity. |
| Silica Gel Packets | Helps absorb excess moisture inside the engine compartment. |
| Inspect Seals | Check and replace worn rubber seals and gaskets. |
| Humidity Control | Consider a dehumidifier in storage areas. |
Following these steps significantly reduces the risk of moisture affecting the engine and components, ensuring the longevity of your equipment.
Choose an Appropriate Storage Location
Locate a dry, temperature-controlled area for your equipment. Avoid placing it in spaces prone to extreme cold or humidity, such as uninsulated garages or sheds. A basement or a climate-controlled storage unit offers superior protection against environmental damage.
Ensure the selected spot is clean and free from dust and debris, as this can impact performance. Elevate the unit off the ground using a wooden pallet or shelf; this prevents moisture absorption from concrete or earthen surfaces.
If storing indoors, keep it away from direct sunlight to avoid heat exposure. For outdoor storage, consider using a weather-resistant cover designed specifically for your model, providing extra protection against rain and snow.
Regularly check the storage environment for signs of moisture, pests, or temperature fluctuations. Address any issues immediately to prolong the life of your equipment.


