


To achieve optimal results, always begin by selecting the right nozzle for the task at hand. For delicate surfaces like cars or windows, employ a fan pattern nozzle to prevent any surface damage. Reserve a narrow stream nozzle for stubborn grime on concrete or brickwork, ensuring efficient cleaning without excessive water usage.
Prior to operation, check the equipment for any leaks or blockages. Regular maintenance enhances longevity and performance, allowing the device to operate at peak efficiency. Ensuring that the water inlet filter is clean can significantly impact water flow and cleaning power.
It’s critical to use the correct cleaning agent designed specifically for your machine. Introducing unsuitable chemicals can result in damage to both the device and the surfaces you’re cleaning. Always refer to the manufacturer’s guidelines for compatible solutions that can boost cleaning effectiveness without compromising the integrity of your equipment.
Lastly, employing a systematic approach while cleaning saves time and improves outcomes. Begin at the top of the surface and work downwards to prevent dirt and grime from falling onto already cleaned areas, maximising efficiency and minimising rework.
Utilising a High-Pressure Cleaning Device
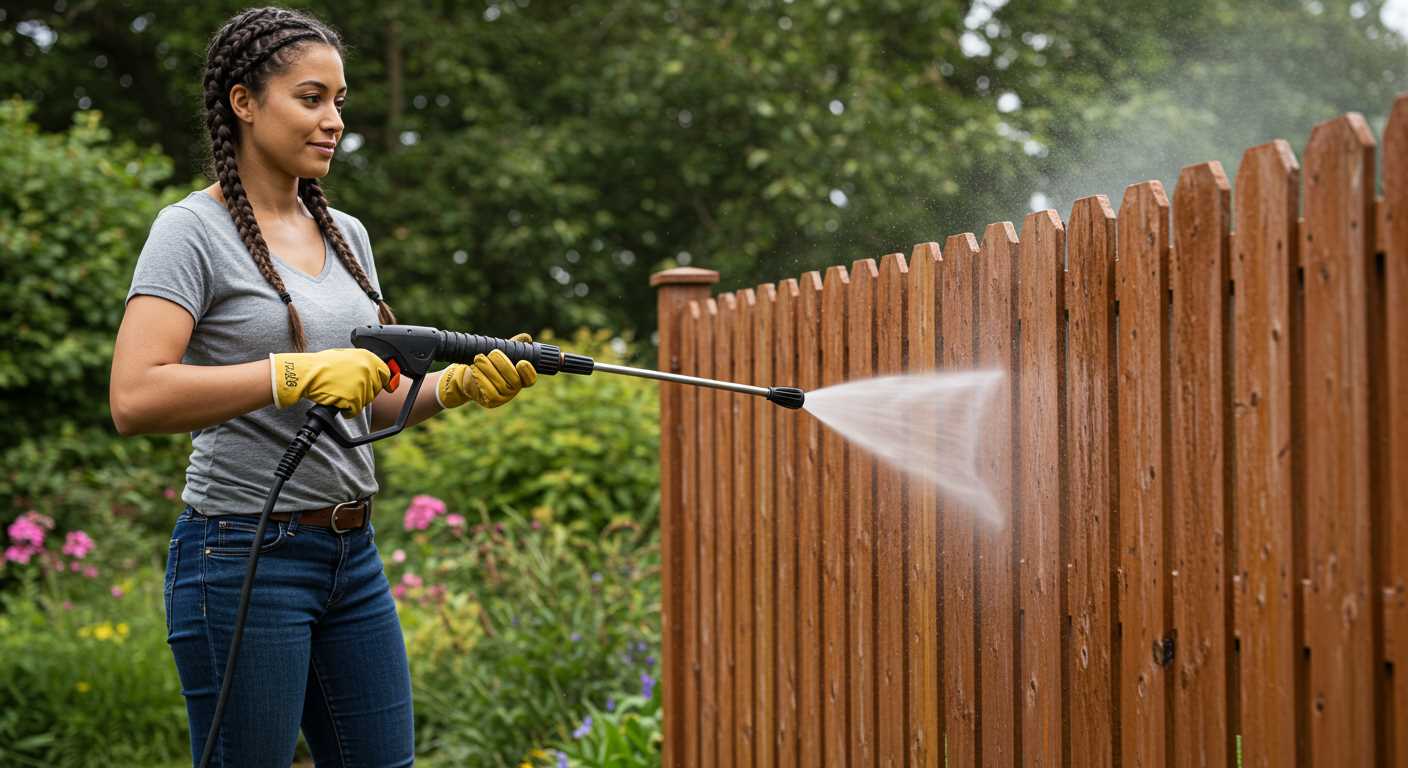
Ensure safety gear: goggles, gloves, and non-slip footwear are essential.
Gather cleaning supplies: detergents suitable for your surface, extension cords, and a hose with a suitable length are vital.
Connect the unit to a water source before turning it on. Always inspect hoses and connectors for any signs of wear. Make sure the nozzle is correctly fitted.
Select the right nozzle attachment based on the task. A wide spray for delicate surfaces, and a narrow jet for stubborn grime. Adjust settings according to your cleaning needs.
Spraying Technique
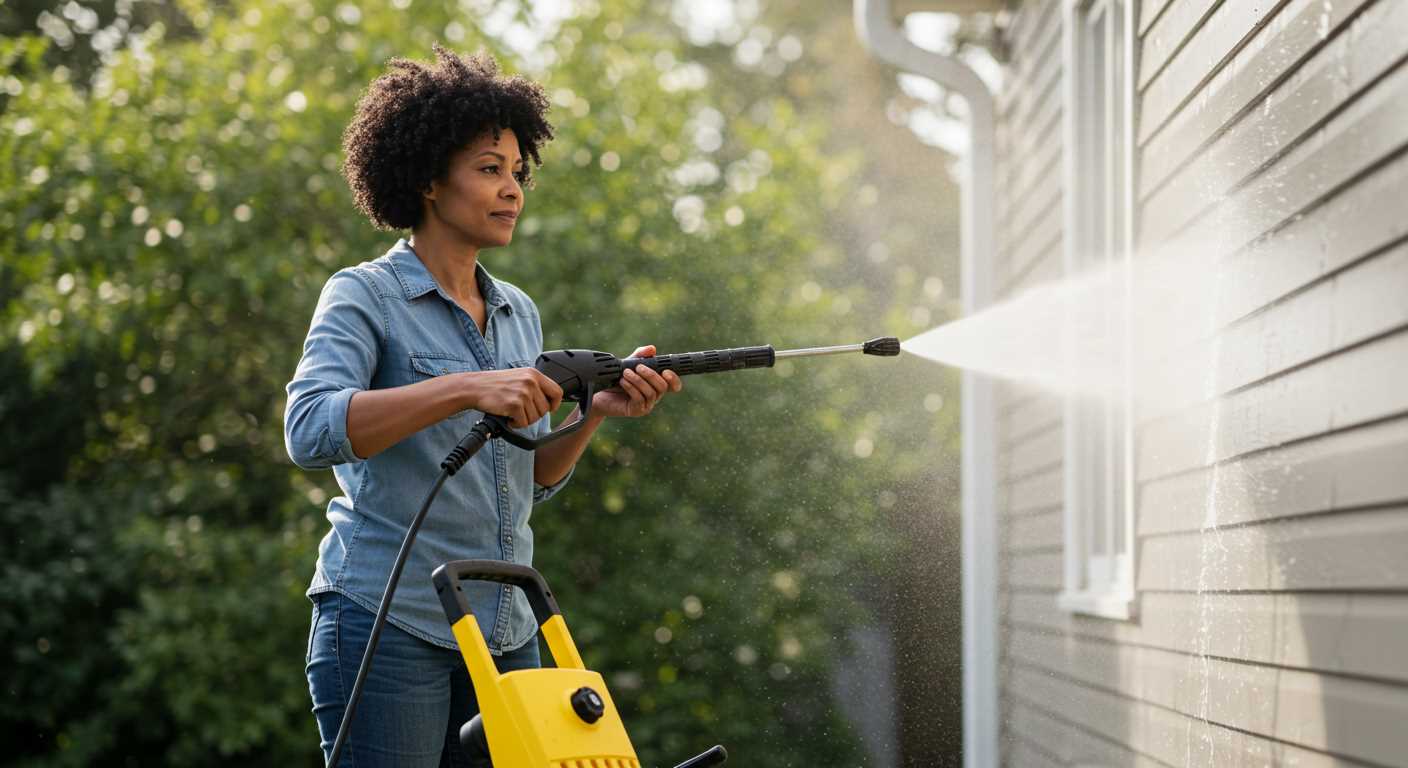
Stand a safe distance from the surface, typically between 2 to 3 feet. Begin from the top working downwards to prevent streaks. Use sweeping motions to cover the entire area.
For heavy stains, allow the cleaner to dwell for a few moments prior to rinsing. Maintain a consistent pace to enhance cleaning efficiency.
Post-Cleaning Maintenance
Once finished, disconnect the device and empty the water from the hose. Rinse nozzles with clean water and store the equipment in a dry place. Regular maintenance prolongs unit lifespan and performance.
Working smarter enhances the cleaning process, saving time and effort while achieving remarkable results.
Preparing Your Workspace for High-Pressure Cleaning
Clear the area of any obstacles, including furniture, plants, and decorative items. This prevents damage and allows unrestricted movement.
Consider covering nearby surfaces, such as windows and plants, with plastic sheeting or tarps to protect them from debris or chemicals.
Ensure that your water source is accessible and can provide the required flow rate, typically around 5 to 8 litres per minute.
Check for proper drainage in the cleaning area to avoid water pooling, which can cause slipping hazards or damage.
Gather all necessary equipment before starting:
- Safety goggles to shield your eyes from debris
- Gloves to protect your hands from chemicals and hot surfaces
- A sturdy extension cord to power your equipment safely
- Appropriate nozzles for different surfaces
- A detergent if using a cleaning solution
Inspect the surroundings to identify any delicate surfaces that may require special attention or alternative cleaning methods.
Check weather conditions; avoid working in rain or excessive wind which can hinder efficiency and safety.
Lastly, inform anyone nearby of the planned cleaning activity to ensure they remain at a safe distance while you operate your equipment.
Selecting the Right Nozzle for Your Task
Select the nozzle based on the surface and the type of dirt. For delicate areas like vehicles or painted surfaces, use a 25-degree nozzle to avoid damage while ensuring effective cleaning. Grass and wood should be tackled with a 40-degree attachment, which provides a gentle spray for safe usage on softer materials.
If you’re dealing with stubborn stains or heavy grime on concrete or brick, opt for a 15-degree nozzle. This offers a concentrated stream that dislodges tough dirt efficiently. For extremely tough jobs, consider a turbo nozzle. It combines the power of a narrow jet with a rotating feature, amplifying cleaning results.
Always keep in mind that the wider the spray angle, the less pressure exerted. Conversely, a narrow angle delivers focused force but could harm sensitive surfaces. Adjust your choice based on both the task at hand and the material you’re working with.
Switching nozzles is straightforward, but ensure the machine is turned off and disconnected for safety. While all nozzles have specific applications, understanding their unique functions can dramatically improve your cleaning outcomes.
Setting Up the Equipment: Step-by-Step Guide
Begin by selecting a suitable location away from obstacles and with easy access to water and electricity. Ensure the surface is even to prevent any tipping during operation.
Assembling Components
Attach the spray gun to the trigger hose. Securely attach the hose to the machine’s inlet, ensuring there are no kinks. Connect the other end to a water source, using a garden hose with the appropriate fittings for a watertight seal.
Filling the Detergent Tank
If your unit includes a detergent tank, fill it with the recommended cleaning solution. Follow the manufacturer’s guidelines regarding dilution ratios. Do not exceed the tank’s capacity, avoiding any spillage. Always ensure the tank is closed tightly before starting.
| Step | Action |
|---|---|
| 1 | Select location |
| 2 | Assemble hose and gun components |
| 3 | Connect to water source |
| 4 | Fill detergent tank |
| 5 | Check all connections |
Once setup is complete, check all connections for leaks and ensure the machine is on a stable surface. Test the water flow by turning it on briefly. This will help identify any issues before commencing washing tasks.
Tips for Cleaning Different Surfaces
For wooden decks, a green soap solution and a wide spray pattern work best. Start from one end and move systematically to avoid missing sections. Maintain a distance of about 2 feet to prevent damage to the wood grain.
Concrete and Masonry
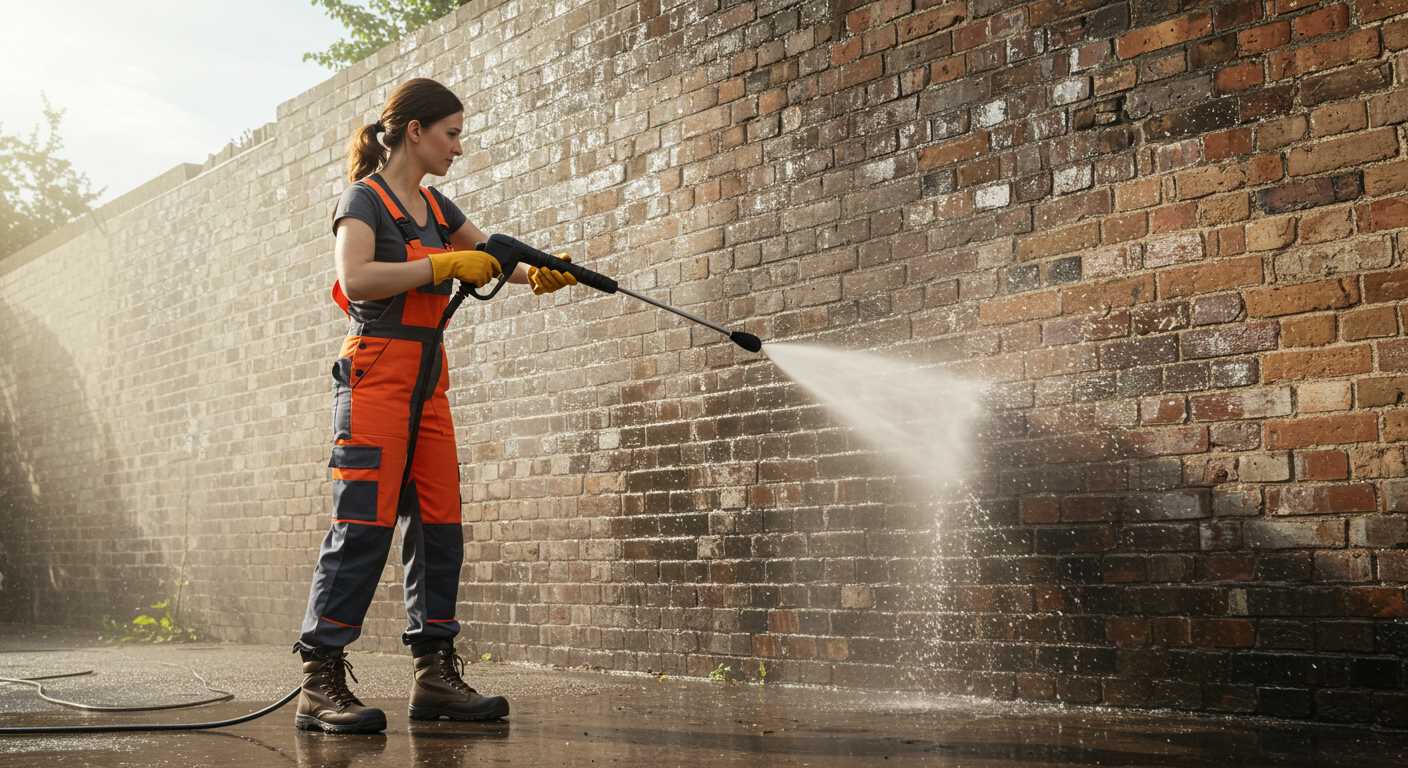
For concrete, use a narrow nozzle that directs high pressure to remove stains effectively. Begin with a preset distance of 12 inches, adjusting as needed based on the surface condition. A degreaser may be added for oil stains.
Vehicles
Vehicles require a gentle touch due to the risk of scratches. Opt for a low-pressure nozzle and maintain a distance of at least 3 feet. Using a specific automotive cleaner can enhance results without causing harm to paintwork or finishes.
For glass, modify your approach by utilising a special attachment designed for windows. This will help avoid any potential shattering. Keep the nozzle at least 2 feet away and use a moderate flow to preserve integrity.
Outdoor furniture benefits from a mixture of soap and water at low pressure. Start at a distance of around 18 inches to avoid damaging fragile materials. Rinse thoroughly to remove any cleaning residue.
Treating siding requires a gradual sweep. Use a wide nozzle and start at the bottom, moving upwards to prevent water from entering seams. In areas with heavy dirt accumulation, let the cleanser sit for a few moments before rinsing.
For brick or stone, never use narrow nozzles directly, as this could dislodge materials. Instead, utilise wide sprays, keeping a distance of at least 2 feet. A pre-treatment with a soft brush can also assist in removing built-up grime effectively.
Safety Precautions While Using a High-Pressure Cleaning Device
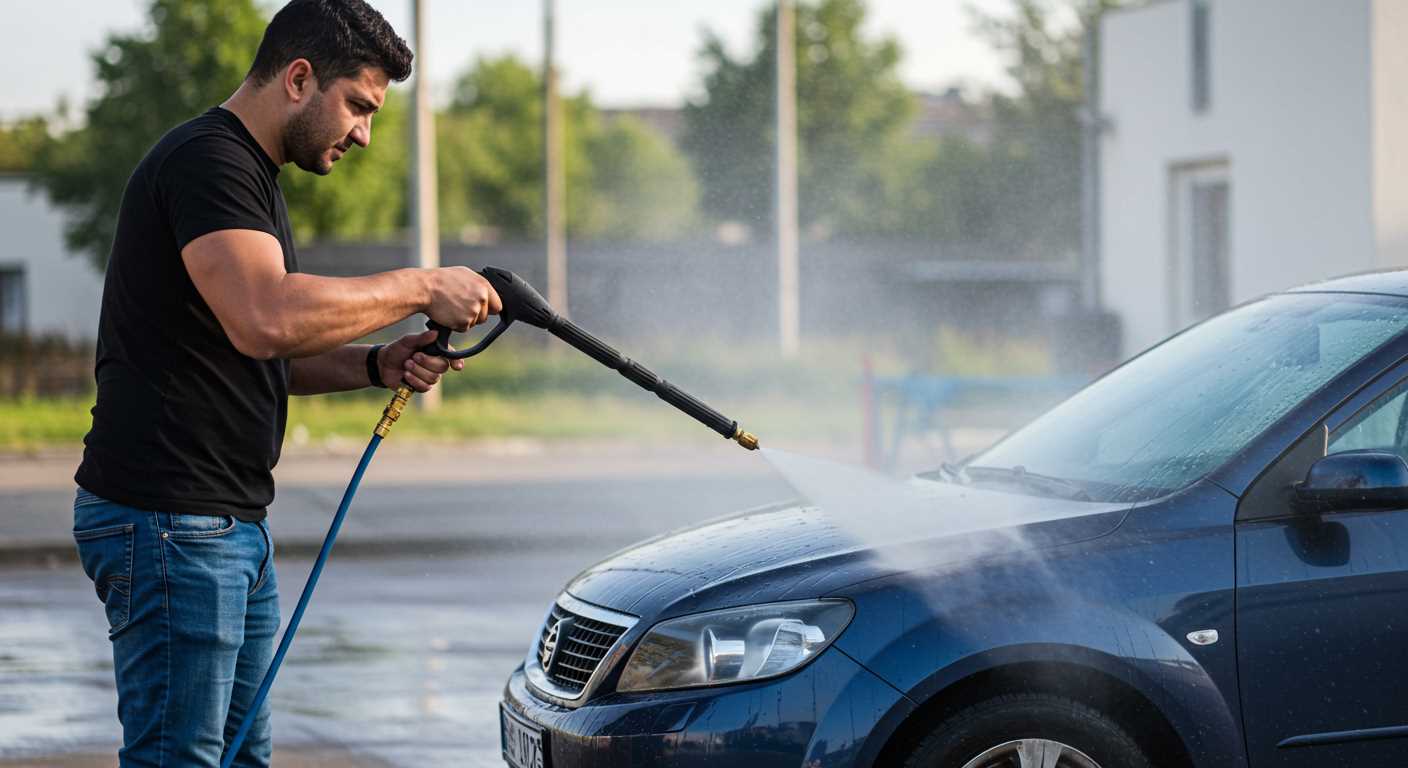
Always wear protective gear, including safety goggles and gloves, to shield against debris and high-pressure water. Ensure the footwear has a non-slip sole to prevent accidents.
Equipment Inspection
Before operation, inspect all components for damage. Look for frayed hoses or loose connections, which can lead to mishaps. Ensure the safety latch on the trigger is functional to avoid accidental discharge.
Operational Guidelines

Keep a safe distance from surfaces to prevent injury and damage. Use the machine on firm ground; avoid slippery or unstable surfaces. Never direct the spray towards yourself or others. Be aware of your surroundings and avoid electrical hazards.
Ensure children and pets are at a safe distance. If using extensions, secure cables to prevent tripping hazards. Always turn off the unit before connecting or disconnecting hoses and nozzles.
In case of a malfunction, refer to the manual for troubleshooting; never attempt to fix mechanical issues while the equipment is running. After use, store the device in a dry place, away from freezing temperatures to prolong its life.
By following these guidelines, I minimise risks and ensure a safe and productive cleaning experience.
Maintenance Checklist for Your High-Pressure Cleaner
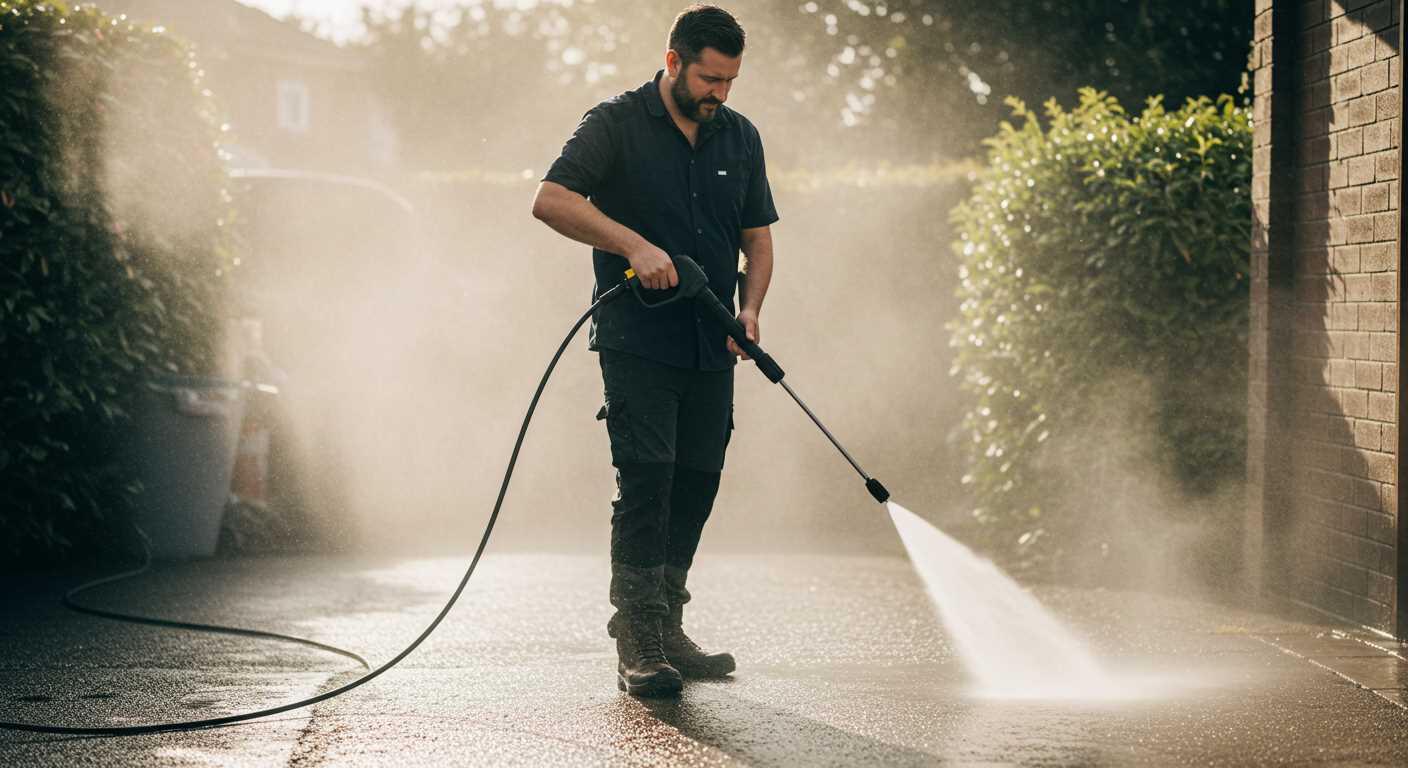
Inspect the oil level regularly. If you are using a gas-operated device, ensure the engine oil is within the recommended range. Change it according to the manufacturer’s guidelines to keep the motor running smoothly.
Check the hoses for any signs of wear or damage. Look for cracks, kinks, or leaks. Replace any compromised hoses immediately to prevent further issues.
Ensure the filter is free from obstructions. A clogged filter can hinder performance, so clean or replace it as needed to maintain optimal function.
Inspect the connections and coupling points. Tighten any loose fittings to prevent leaks, which can lead to a decrease in pressure and efficiency.
Examine the spray gun and nozzle for blockages. Use a straightened paper clip to clear any debris that may be obstructing water flow.
Store the unit in a dry location. Protect it from harsh weather conditions to prevent corrosion and damage to sensitive components.
Run a cleaning solution through the system if recommended. This can help dissolve any buildup inside the pump and hoses, keeping the internal mechanisms in prime condition.
Lastly, schedule regular professional servicing. A qualified technician can identify potential problems that may not be immediately obvious, ensuring longevity and reliability.


