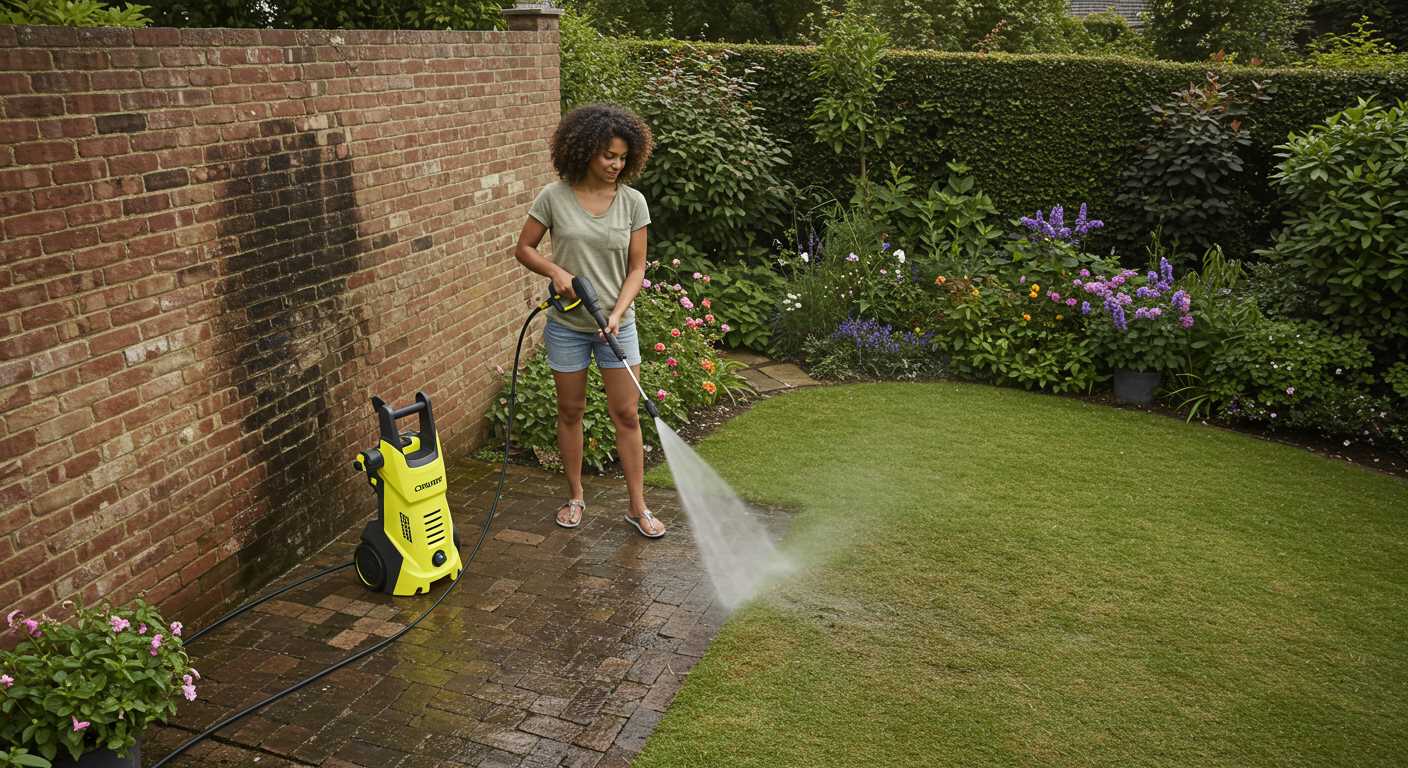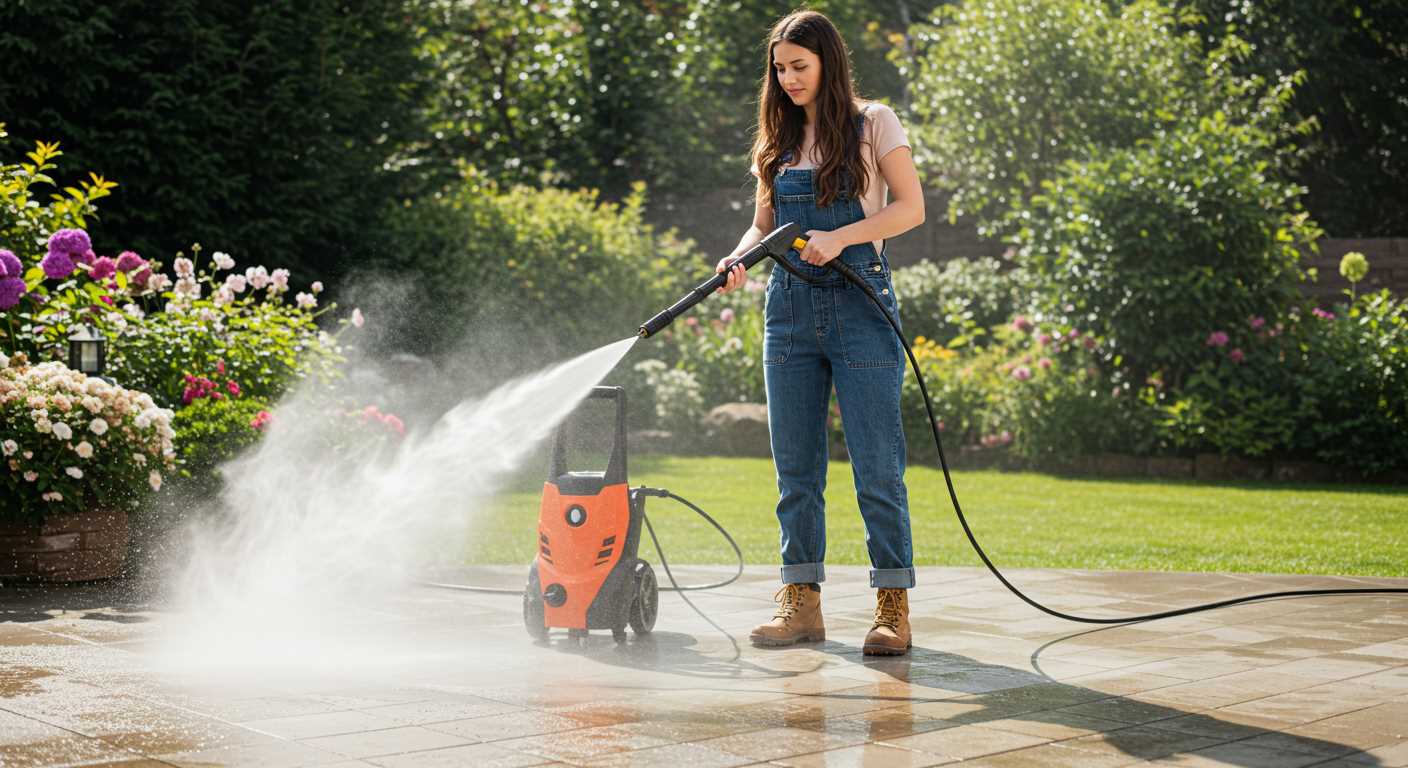


For optimal results, ensure the device is placed on a flat surface and firmly supported. This prevents any movement during operation and enhances stability. Before activating, it’s crucial to connect the water supply and check for any leaks in hoses or fittings; this simple precaution saves time and prevents unplanned interruptions.
Always commence with adjusting the spray nozzle. Selecting the appropriate nozzle affects both efficiency and safety. The wider the spray angle, the gentler the impact, which is ideal for delicate surfaces. Conversely, a narrow spray is powerful enough to tackle tough grime on concrete or driveways.
Before starting the engine, be certain to verify the fuel and oil levels. Proper maintenance significantly impacts performance and longevity. A clean air filter is equally essential; it promotes better airflow and reduces strain on the motor. Regular checks will ensure a consistent output.
Engaging the trigger should be done cautiously; once activated, maintain a firm grip. This tool requires control to ensure precision in cleaning and safety. Lastly, always follow the manufacturer’s guidelines regarding pressure settings and usage to avoid damage to both the appliance and the surfaces being cleaned.
Operating a Troy Bilt Cleaning Device
Before activating the machine, ensure that the water supply is connected securely to the inlet. Check for any leaks, as this could affect performance. The garden hose must be free of kinks and plugged into a reliable water source.
Starting the Engine

Ensure the fuel tank is filled with fresh gasoline. Engage the choke if the engine is cold. Move the throttle to the ‘Fast’ position. Pull the starter cord firmly until the engine ignites. If it doesn’t start after a few pulls, adjust the choke and try again.
Selecting the Nozzle

Utilise the adjustable nozzle to switch between spray patterns. For delicate surfaces, opt for a wide spray; for stubborn grime, use a narrow spray. Match the nozzle to the task to optimise cleaning efficiency.
Inspect the detergent tank if needed. Add the appropriate cleaning solution, ensuring compatibility with the machine. Always rinse the tank post-usage to prevent residues.
When finished, turn off the device, disconnect the water supply, and run the machine briefly to clear the hose of any standing water. Store it in a dry location for longevity.
Understanding the Pressure Washer Components
The first component to grasp is the motor. This is the powerhouse that drives the entire system. Whether it’s an electric or gas engine, maintaining it is crucial for optimal performance. Ensure the motor is free of debris and that any necessary oil levels are checked regularly.
Next, I focus on the pump, which pressurises the water. A well-functioning pump is vital for generating the expected cleaning force. Check for leaks and listen for any unusual noises, as these may indicate wear or potential failure. Regular maintenance, including flushing out the system after use, helps prolong pump life.
The nozzle selection significantly affects cleaning results. Different nozzles create different spray patterns. For instance, a narrow nozzle delivers a focused beam that can penetrate tough grime, while a broader pattern is suitable for larger surface areas. I recommend keeping an assortment handy to adapt to various tasks quickly.
Next, pay attention to the hose. This flexible conduit carries pressurised water to the nozzle. Before each use, inspect for kinks or abrasions. If any wear is detected, replace the hose, as a damaged one can lead to reduced pressure and unsafe operation.
The trigger gun allows for precise control over water flow. I advise testing this component periodically for functionality. Look for signs of leaks and ensure the safety lock is operational, preventing accidental discharge.
Lastly, the accessories–brushes, surface cleaners, and extension wands–enhance versatility. Invest in quality attachments for specific tasks, as these can improve efficiency and cleaning effectiveness. Always clean and store these accessories properly to extend their life.
Understanding these components enables better care and enhances performance. Regular checks and maintenance will ensure your equipment continues to function optimally.
Setting Up Your Pressure Washer Correctly
Begin with assembling the unit according to the manufacturer’s instructions. Ensure all connections are secure; a loose hose can lead to leakage and reduce performance.
Attach the water intake hose to a clean water source. This must be done before connecting the unit to power. Check for any obstructions in the hose that might hinder water flow.
Next, connect the high-pressure hose to the spray gun. Ensure that the fitting is tightly secured to avoid disconnection while in use. The spray gun should be held firmly during operation to maintain control.
Fill the detergent tank with the appropriate cleaning solution. Only use soaps or detergents recommended for the machine, as incompatible products can damage the internal components.
Adjust the nozzle according to the task at hand. Different tasks require various spray patterns–ranging from a narrow jet for tough stains to a wide fan for gentle cleaning.
Before starting the engine, check the oil level if required. For models with petrol engines, ensure fuel is in the tank and that it is fresh. Stale fuel can lead to operational issues.
Perform a leak check by running the machine for a few moments. Inspect all connections for any signs of water escaping. Address leaks immediately to maintain performance and safety.
After ensuring everything is set, switch on the equipment, and allow it to build pressure before adjusting the trigger on the gun. This initial step will help you avoid sudden bursts of water.
Keep a steady stance and maintain your grip while using the equipment. Aim carefully and operate at the appropriate distance from the surface to optimise cleaning without causing damage.
Finally, once the task is completed, follow the manufacturer’s guidelines for shutting down the device and disconnecting hoses. Always store the equipment in a dry place to prolong its lifespan.
Selecting the Appropriate Nozzle for Your Task
For optimal results, choose the correct nozzle based on the surface and grime type. A red nozzle with a 0-degree spray provides concentrated power for stubborn stains on concrete or metal. Utilize this sparingly, as it can damage delicate surfaces.
The yellow nozzle, offering a 15-degree angle, is suitable for removing paint or heavy mildew from harder materials such as brick or stone. This nozzle strikes a balance between power and safety, ensuring effectiveness without compromising integrity.
For general cleaning tasks, the green nozzle with a 25-degree pattern is ideal. It delivers a broad spray, perfect for washing cars, decks, and siding. This option provides sufficient pressure while being gentle enough for painted surfaces.
Lastly, the white nozzle, exhibiting a 40-degree spray, suits light cleaning chores like rinsing windows or siding. This nozzle allows for maximum coverage with minimal force, making it convenient for reaching high places or cleaning delicate items.
When selecting nozzles, also consider using chemical injectors or foam cannons for additional cleaning power. These attachments can apply detergents efficiently, enhancing the cleaning outcome on stubborn stains or dirt.
Always test nozzles on a small, inconspicuous area first. This ensures that the selected angle and pressure will not cause any unintended damage. By matching the nozzle to your specific cleaning needs, you can achieve impressive results with minimal effort.
Connecting the Water Supply and Power Source
First, ensure the water supply is turned on before connecting the hose to the inlet. Check that the garden hose is free of kinks or obstructions to allow for optimal water flow.
Securely attach the garden hose to the water inlet using your hand, ensuring it is snug but not over-tightened, which can cause damage. If available, use a washer inside the connection to help prevent leaks.
Next, position the unit close to the water source for convenience. It’s advisable to use a hose that is at least 3/4 inch in diameter for best results.
Move to the power connection; make sure the equipment is switched off. Plug the power cord into a grounded outlet that meets the voltage requirements specified in the user manual. Avoid using extension cords, unless they are rated for outdoor use and meet the appropriate ampacity.
Before powering on, confirm that there are no water leaks at the hose connections. Any leaks might lead to decreased performance during operation.
Finally, ensure the unit is positioned on a stable, level surface for safety and effective use. After these connections are secured and inspected, you are ready for operation.
Adjusting the Pressure Settings for Different Surfaces
To achieve optimal results, select the correct pressure level for each surface. For delicate materials such as wood, set the unit to a low-pressure setting, typically between 1000 to 1500 PSI. This prevents damage while effectively removing grime.
For standard cleaning tasks on concrete, brick, or resilient flooring, utilise a mid-range setting around 2000 to 2500 PSI. This provides sufficient force to lift dirt without excessive wear.
When tackling tough stains or heavily soiled surfaces, such as driveways or asphalt, increase the setting to 3000 PSI or higher. This ensures you can remove stubborn accumulations efficiently.
It is critical to adjust the pressure depending on the surface material and the nature of the task. Always start at a lower pressure and increase gradually until you find the effective level without causing damage.
Remember to consult the manufacturer’s guidelines for specific recommendations based on the model you are using. Adjustments will vary by equipment type, so tailoring the settings is key to preserving the integrity of the surface being cleaned.
Safe Operating Procedures During Use
Always wear protective gear, including gloves, goggles, and non-slip footwear, to prevent injuries from direct spray or debris. Ensure that all bystanders, especially children and pets, maintain a safe distance while the equipment is in operation.
Before starting the unit, check the area for loose objects that may be caught in the spray. Secure any coverings or plants that could be damaged by high-pressure streams.
Maintain a firm grip on the gun at all times to avoid sudden recoil. Keep the nozzle aimed at a safe angle, never to yourself or others. Avoid directing the stream at windows, electrical outlets, or delicate surfaces.
In case of hose kinks, turn off the device before attempting to fix them. Unplug from power and turn off water supply when not in active use to prevent unintentional activation.
If using chemicals, ensure they are suitable for the task and compatible with the machine. Follow instructions regarding dilution and application, and never mix different cleaning agents to avoid harmful reactions.
Finally, after completing your task, allow the motor to cool down before conducting any maintenance. A thorough inspection of hoses and connections for wear or damage is advisable to ensure safety on future uses.
Conducting Regular Maintenance on Your Equipment
Cleaning and inspecting your machine after each use is vital. Always flush the system with clean water to prevent residual soap and debris build-up, which can lead to clogs.
Routine Checks

- Examine hoses for wear and tear. Replace any cracks or leaks immediately.
- Inspect the nozzle for blockages. Clear any debris that might affect performance.
- Check for leaks around connections and fittings.
Every few months, depending on usage, conduct a thorough inspection. This includes:
- Changing the oil if applicable, following the manufacturer’s guidelines.
- Cleaning or replacing the air filter to ensure optimal operation.
- Inspecting the spark plug for signs of wear.
Seasonal Maintenance
At the end of the season, or if the equipment is to be stored for an extended period, perform the following:
- Drain all water from the system to eliminate the risk of freezing damage.
- Store in a dry, shaded area to protect from the elements.
- Cover with a protective tarpaulin to avoid dust accumulation.
Maintaining your machine not only prolongs its lifespan but also ensures peak performance for your next demanding task.
Troubleshooting Common Issues While Operating
For unexpected shutdowns, check if there’s enough fuel in the tank and inspect the oil level. Low oil or a clogged air filter can cause engine stalls. Clean or replace the filter if necessary.
If the motor won’t start, ensure the ignition switch is set to the ‘On’ position. Inspect the spark plug for wear or dirt; replacing it can often resolve starting issues.
When experiencing low water pressure, ensure the hose is free from kinks and that the inlet screen is clean. Also, check for any blockages in the nozzle and clean as needed.
If there’s excessive vibration during use, make sure the nozzles and wand are securely attached. Loose components can lead to unstable operation.
| Issue | Possible Cause | Solution |
|---|---|---|
| Unexpected Shutdown | Low fuel or oil, clogged air filter | Add fuel/oil, clean or replace air filter |
| Won’t Start | Ignition off, worn spark plug | Set ignition to ‘On’, replace spark plug |
| Low Water Pressure | Kinked hose, dirty inlet screen, clogged nozzle | Straighten hose, clean screen/nozzle |
| Excessive Vibration | Loose components | Tighten connections |
If the detergent isn’t dispensing, ensure that the soap suction hose is submerged and that the proper nozzle is installed. Clogged soap filters can also impede flow, so check and clean them as needed.
For a persistent leak, inspect all connections and seals. Tighten or replace as necessary. Continuous leakage can affect pressure and cleaning efficiency.
Monitor the temperature of the equipment. Overheating can signal low oil levels or prolonged operation without breaks. Allow it to cool down and check oil levels regularly.
Address any strange noises immediately, as these can indicate mechanical issues. Pay attention to unusual sounds during operation and consult the manual for troubleshooting guidance.
FAQ:
How do I prepare my Troy Bilt pressure washer for use?
Before using your Troy Bilt pressure washer, it is important to perform a few preparatory steps. First, ensure that you have checked the oil level in the engine. If necessary, add the correct type of oil as specified in the owner’s manual. Then, fill the fuel tank with fresh, untreated petrol; avoid using fuel that has been sitting for a long time. Next, connect the high-pressure hose to the washer and the spray gun, ensuring they are tightly secured. It’s also wise to choose the correct nozzle for your specific cleaning task, as different nozzles provide varying spray patterns and pressures. Once everything is connected and filled, you can move on to starting the unit.
What maintenance should I perform on my Troy Bilt pressure washer?
Maintaining your Troy Bilt pressure washer is essential for its longevity and performance. Regular maintenance tasks include checking and changing the oil after every 50 hours of use, and replacing the air filter as needed, typically at the beginning of each season. You should also inspect the high-pressure hose and connections for any signs of wear or leaks. Clean the nozzle to prevent clogs, and check the fuel quality, replacing it if it has been in the tank for more than a month. Finally, store the pressure washer in a dry place to avoid moisture-related issues. Following these maintenance steps will keep your pressure washer in good working condition.
What should I do if my Troy Bilt pressure washer won’t start?
If your Troy Bilt pressure washer fails to start, there are several troubleshooting steps you can take. Start by checking if the fuel is fresh and at an adequate level. If the fuel is stale or low, replace it. Next, inspect the oil level; low oil can prevent the engine from starting. Make sure the spark plug is clean and functional, and replace it if needed. Check the choke position; it should be closed for starting. Additionally, verify that the safety features, like the trigger lock, are not engaged. If these steps do not resolve the issue, consulting the owner’s manual or seeking assistance from a technician may be necessary.


