


Begin with a thorough review of the user manual specific to your model. Knowing the manufacturer’s guidelines ensures you understand the necessary precautions and setup procedures. Each device has its own specifications regarding water supply, connection types, and suitable cleaning agents, which are crucial for optimal performance.
Before turning on the machine, ensure all connections are secure and the unit is on a stable, level surface. Check the water source; a consistent flow is essential to maintain the pressure needed for effective cleaning. Remember, the device typically requires a certain minimum water flow rate to function properly, so confirm this aspect before proceeding.
Adjust the nozzle based on the task at hand. Different nozzles produce varying spray patterns and pressure levels, allowing you to select the right one for your surface. For delicate materials, such as wood or painted surfaces, opt for a wide-angle nozzle to avoid damage. Conversely, for tougher stains on concrete or brick, a narrow nozzle provides the concentrated pressure needed to tackle grime efficiently.
When ready to begin, maintain a fluid motion while working the cleaning device. Move continuously to avoid stripe marks and ensure that the detergent (if used) has the opportunity to break down the grime effectively before rinsing. Perform a test on a small, inconspicuous area if you are uncertain how the cleaned surface will respond to the selected pressure and cleaning agent. This small step can save you from potential mishaps.
Calculating Your Cleaning Equipment Needs
Begin by assessing the area requiring attention. Measure the square footage of surfaces, noting any factors like texture and material type, as these influence the amount of pressure and flow necessary. For standard outdoor cleaning tasks, such as driveways and patios, a force of around 3000 PSI is generally sufficient.
Next, consider the water supply at your disposal. A flow rate of 2.5 GPM is typical for most applications; verify that your source can deliver this amount without issues. Calculate the time needed to complete your project by dividing the total area by your estimated cleaning speed. For example, if cleaning a driveway of 500 square feet and you can cover about 200 square feet per hour, expect to spend at least 2.5 hours on this task.
Selecting the Right Equipment
Based on your calculations, choose an appropriate model that meets your power and flow requirements. A unit with adjustable pressure settings allows for versatility across different surfaces, which is advantageous for varied cleaning tasks. Additionally, assess ease of use features like portability and nozzle variety; these will enhance the overall experience during operation.
Maintenance for Longevity
Regular maintenance prolongs the lifespan of your machinery. Schedule routine checks on hose integrity, nozzle condition, and pump functionality. Prior to seasonal use, flush the system to prevent residue build-up, ensuring optimal performance. Store the unit in a dry place to avoid damage from weather or humidity.
Selecting the Right Nozzle for Your Pressure Cleaner
The nozzle you choose significantly affects performance and efficiency. Selecting the correct one ensures optimal cleaning results and prevents damage to surfaces. I recommend understanding the type of nozzle based on your task:
Types of Nozzles
There are mainly four types of nozzles you can use:
| Nozzle Type | Angle | Use Case |
|---|---|---|
| 0-degree | Red | For heavy-duty tasks like removing stubborn stains. |
| 15-degree | Yellow | Ideal for tough cleaning on hard surfaces such as concrete. |
| 25-degree | Green | Good for general cleaning on surfaces like decks or patios. |
| 40-degree | White | Light cleaning for more delicate surfaces like vehicles. |
Matching Nozzle to Task
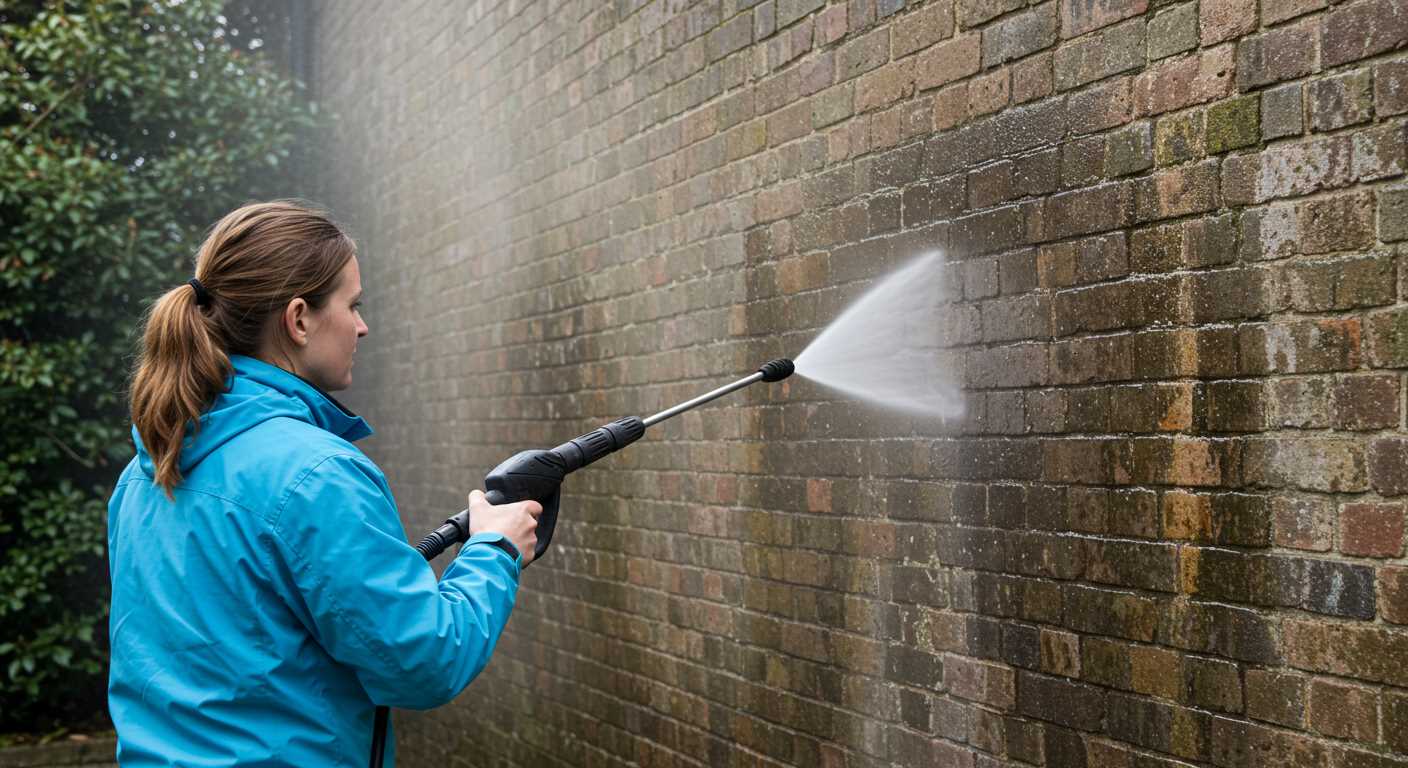
Selecting the right nozzle involves matching the nozzle type to the cleaning task at hand. For stubborn grime on concrete, opt for the 15-degree option. For vehicles, the 40-degree nozzle provides gentler spray, preventing damage. Consider also the type of detergent being used – some nozzles work better with particular cleaning solutions, enhancing effectiveness.
A wrong selection can lead to poor outcomes or surface damage. Always test a new nozzle on a small, inconspicuous area. Adjusting distance and angle during operation will further ensure optimal results. Invest time in understanding these details for efficient cleaning experiences.
Understanding Pressure Ratings and Their Impact on Cleaning
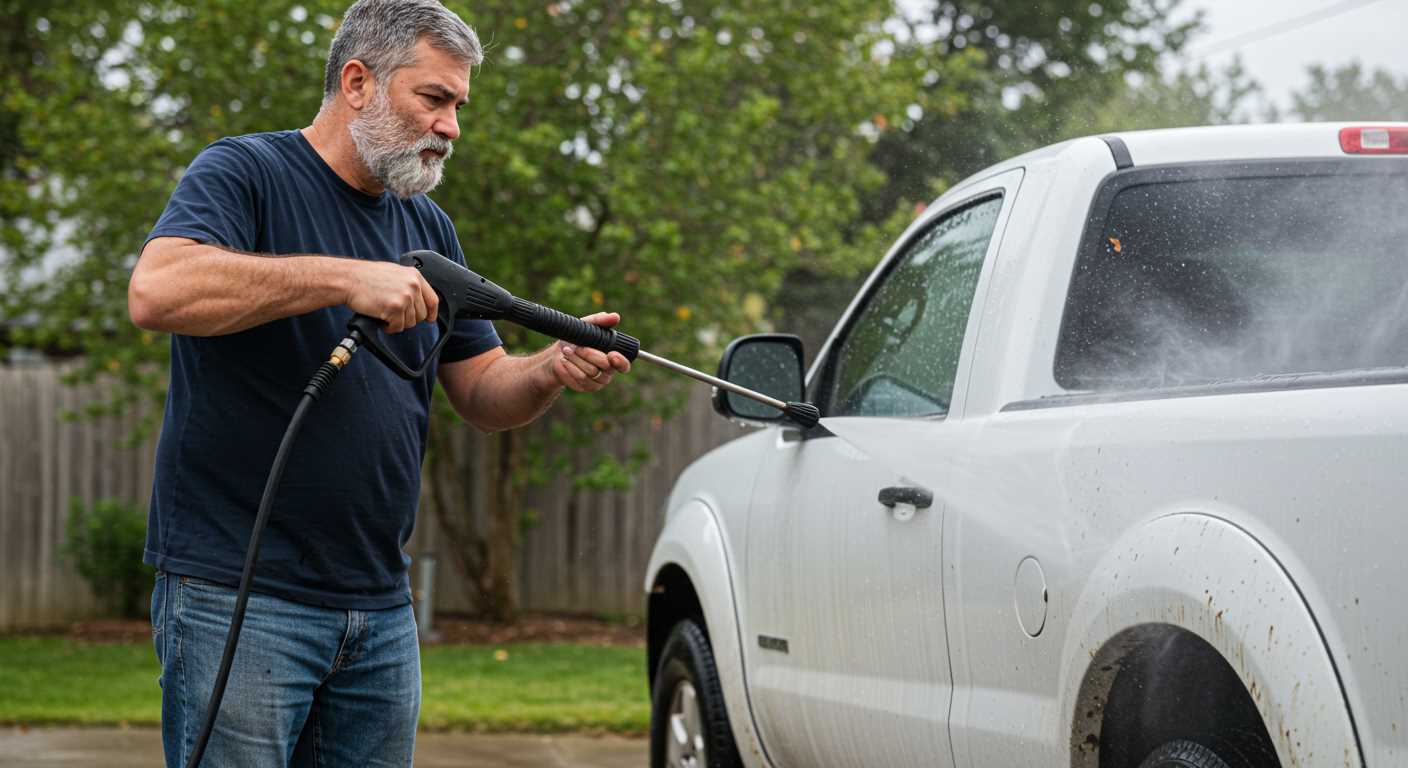
For optimal cleaning outcomes, it’s crucial to grasp the significance of pressure ratings in cleaning devices. High pressure is suitable for tougher jobs like removing grease or grime, while lower settings are more appropriate for delicate surfaces or softer materials.
Pressure and Cleaning Tasks
Each cleaning project requires a different approach. For concrete or stone surfaces, a rating of 2500 PSI or above effectively removes heavy dirt. Conversely, for wooden decks or painted surfaces, keeping it around 1500 to 2000 PSI prevents damage while still delivering satisfactory results. Choosing the right PSI ensures both effectiveness and safety for the surfaces involved.
Flow Rate Considerations
Equally important is flow rate, measured in litres per minute (LPM). A higher flow rate means more water is delivered, enhancing the cleaning process. Selecting a device with at least 8 LPM is advisable for efficient dirt removal. This balance between pressure and flow rate optimises the cleaning experience and maximises efficiency.
Setting Up Your Pressure Washer for Optimal Performance
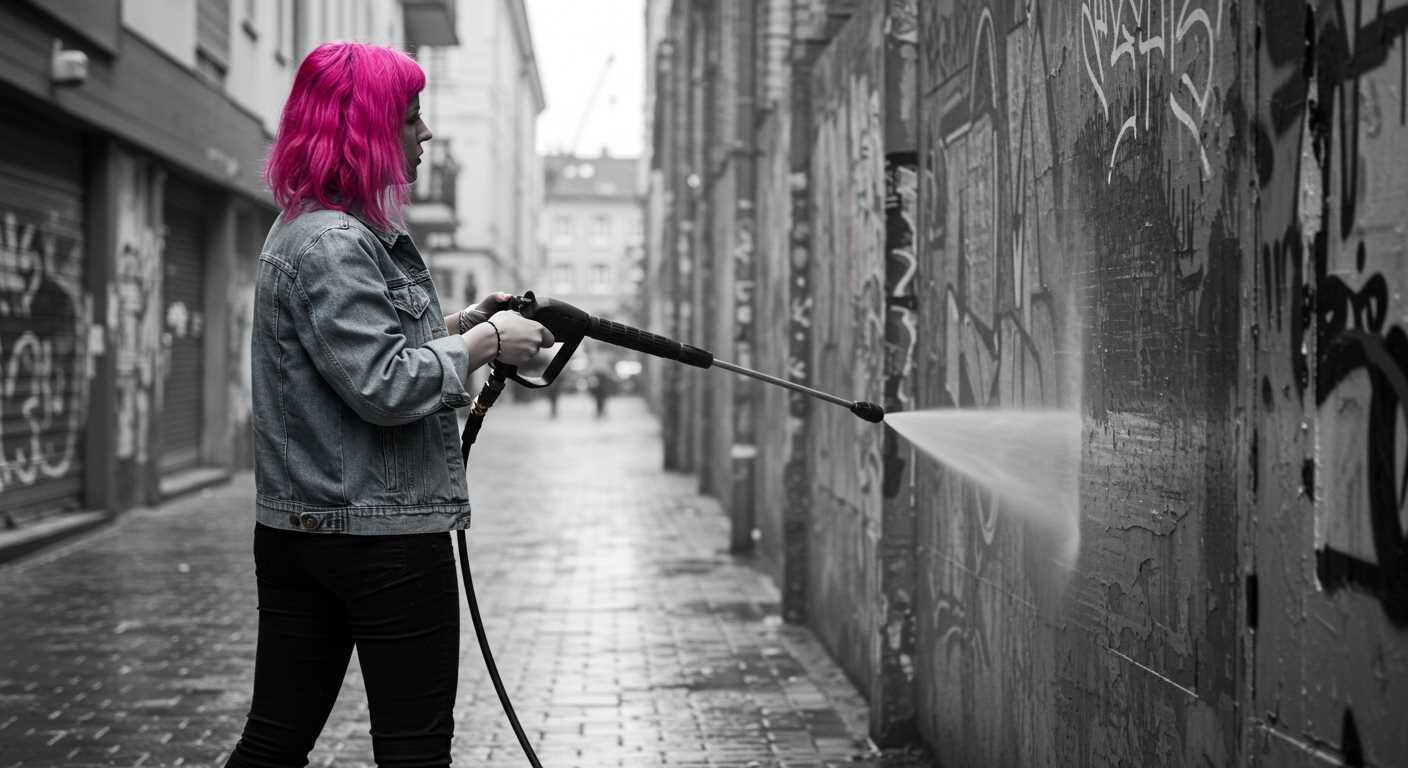
Begin by placing the equipment on a flat surface. Ensure it’s stable to prevent any accidents while in use.
Connecting the Hoses
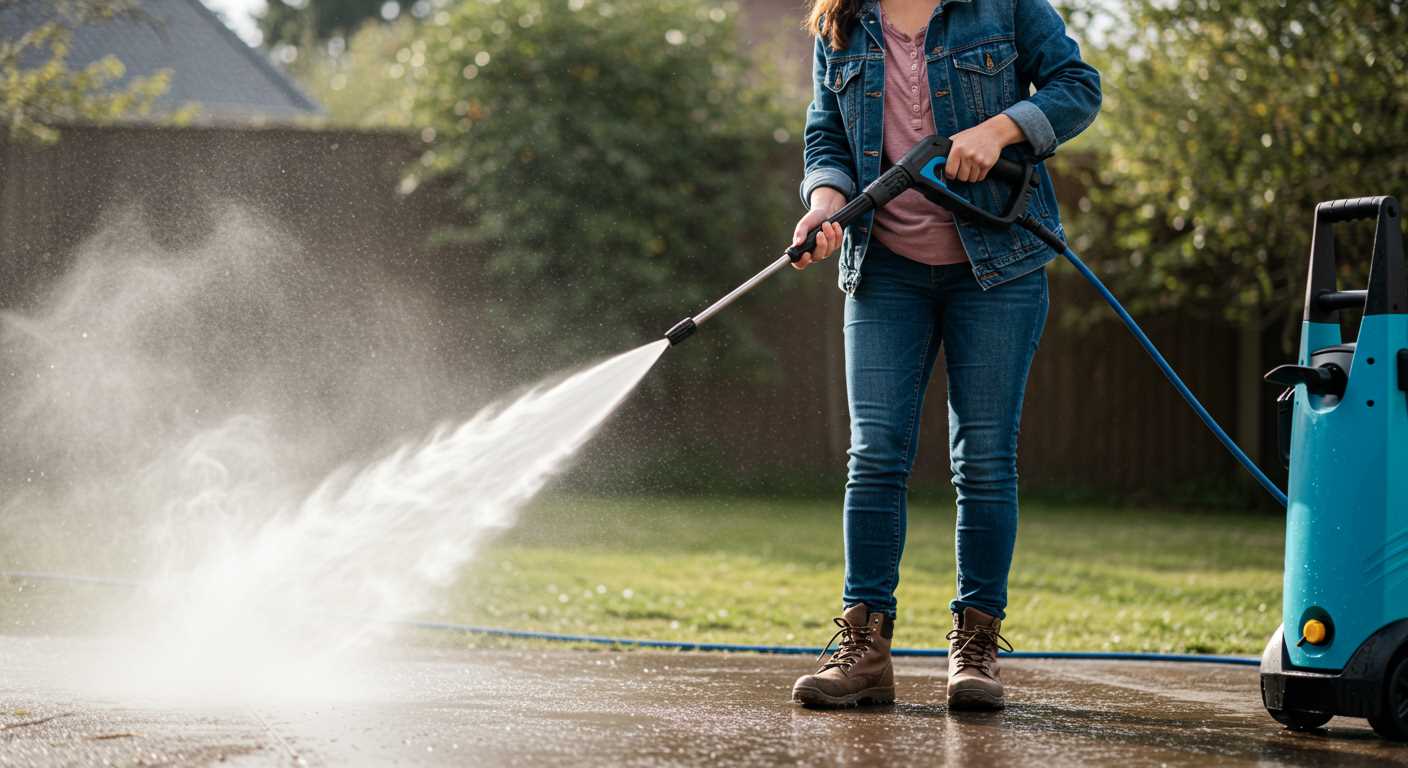
Attach the high-pressure hose securely to the outlet on the cleaner. Ensure it’s tightly fitted to prevent leaks during operation. Connect the garden hose to the water inlet, making sure the connection is firm. Always check the hose for any kinks or damage before connecting it, as this can impede water flow.
Water Supply and Quality
Ensure access to a clean water source with sufficient pressure. A pressure of at least 1 bar is advisable for optimal operation. If the water has high mineral content, consider using a water filter to prevent clogging and damage within the system. Always check for any debris or particles that could disrupt cleaning tasks.
Power Source Check
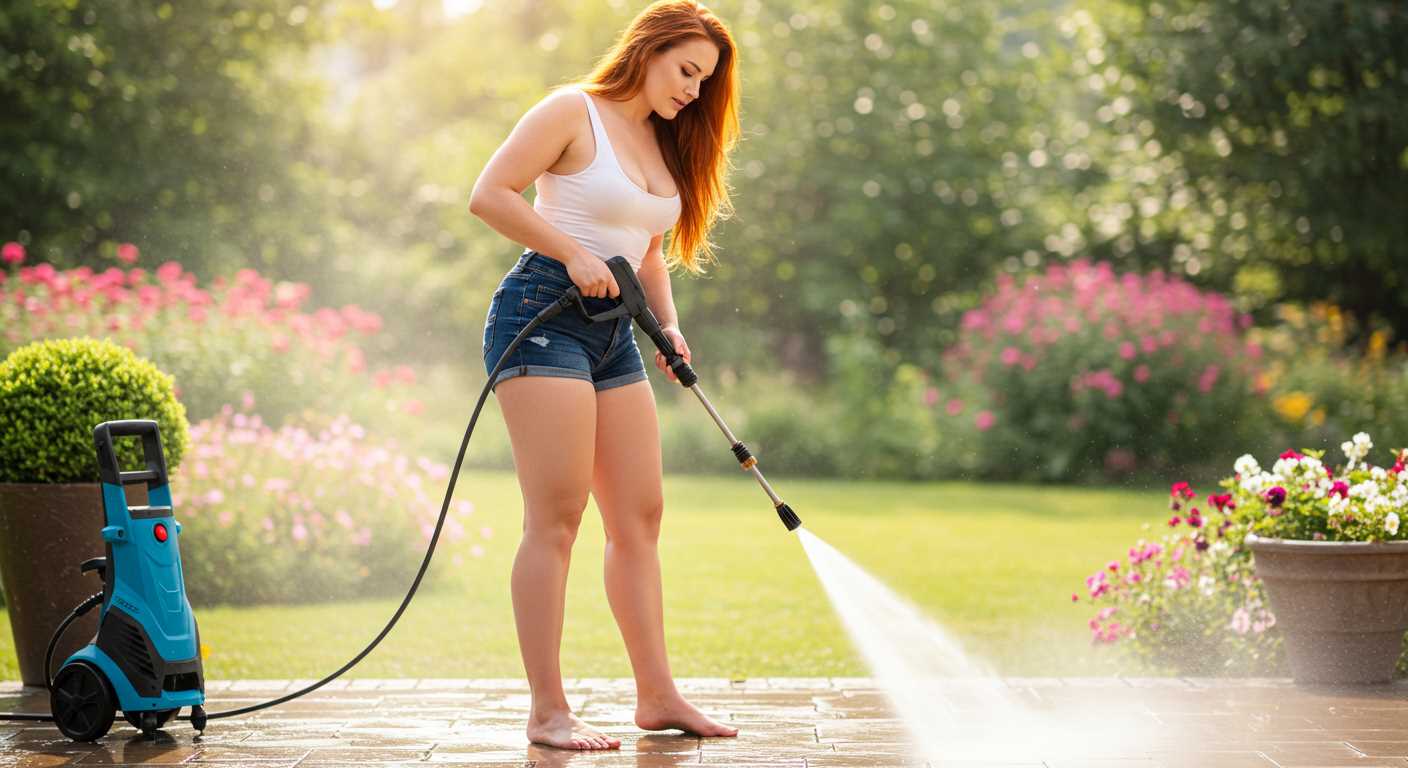
- Electric models should be plugged into a suitable electrical outlet, avoiding extension cords for safety and performance.
- For gas units, check the fuel level and fill it with high-quality petrol. Ensure all connections are secure and there’s no leakage.
Nozzle Selection
Select the appropriate nozzle to match the task. A narrow-angle nozzle is ideal for tough stains, while a wider-angle one is suitable for cleaning large surfaces. Test different options to find the best fit for your task at hand.
Initial Run
Before diving into a cleaning project, run the unit briefly without any attachments. This initial run helps to purge air from the system and ensures everything functions correctly. Pay attention to any unusual noises or vibrations that could signal issues.
Pressure Settings
Adjust the settings according to the surface type. Hard surfaces require higher settings, while delicate ones necessitate a lower pressure to avoid damage. Familiarise yourself with the machine to fully utilise its capabilities for various cleaning scenarios.
Regular maintenance is key. Keep the unit clean and perform periodic checks on hoses and nozzles to ensure longevity and uninterrupted performance. Following these steps sets the stage for a smooth and efficient cleaning experience.
Techniques for Using a High-Pressure Cleaner on Different Surfaces
For delicate surfaces like wood or painted areas, use a wider nozzle (25 to 40 degrees) and maintain a distance of at least two feet. Begin with a low-pressure setting, gradually increasing it if necessary. Always wash in the direction of the grain to avoid damage.
When tackling concrete or brick, a 15-degree nozzle works best. Keep the nozzle within six to twelve inches of the surface. For stubborn stains, let the detergent sit for a few minutes before rinsing. Move the nozzle in a consistent, sweeping motion to prevent stripes.
For vehicles, utilise a foam cannon attachment with a mild detergent, avoiding high pressure to protect the paint. Rinse off the soap with a gentle spray while maintaining a distance of at least two feet. Use a soft brush for meticulous areas.
On tiles or vinyl siding, use a 25-degree nozzle and start from the top, working your way down. This method prevents streaks and ensures thorough cleaning. Hold the gun at a 45-degree angle to direct water towards the gutter instead of against it.
For decking, opt for a no-splash technique. Adjust the spray angle to avoid flinging dirt and debris. Use vertical strokes along the boards, taking care to avoid excessive force that could separate the planks.
Lastly, always test a small, inconspicuous area before proceeding with larger sections to avoid any unwanted damage. Adjustments in pressure and distance can make all the difference in achieving optimal results.
Maintaining Your Cleaning Device for Longevity
Regular maintenance is crucial to extend the lifespan of your cleaning device. Here are specific actions I recommend:
- Flush After Use: After each session, run plain water through the system to wash out detergent residues and dirt.
- Check the Filter: Inspect and clean or replace the water inlet filter frequently to avoid clogs.
- Inspect Hoses and Connections: Look for wear or cracks. Replace damaged hoses to prevent leaks.
- Lubricate Moving Parts: Apply suitable lubricant to the motor and pump components according to manufacturer recommendations.
- Store Properly: Keep the unit in a dry, sheltered space, ideally at room temperature to prevent freezing in colder months.
Follow the manufacturer’s guidelines for specific upkeep tasks. This will enhance reliability and help maintain optimal performance for years.
Keep an eye on the detergent used; incorrect choices can lead to build-up and corrosion. Using high-quality products tailored for your machine ensures effective cleaning without damaging components.
Lastly, schedule professional servicing annually. This not only addresses potential issues but also assures your equipment runs smoothly and efficiently.
Common Troubleshooting Tips for Pressure Washer Issues
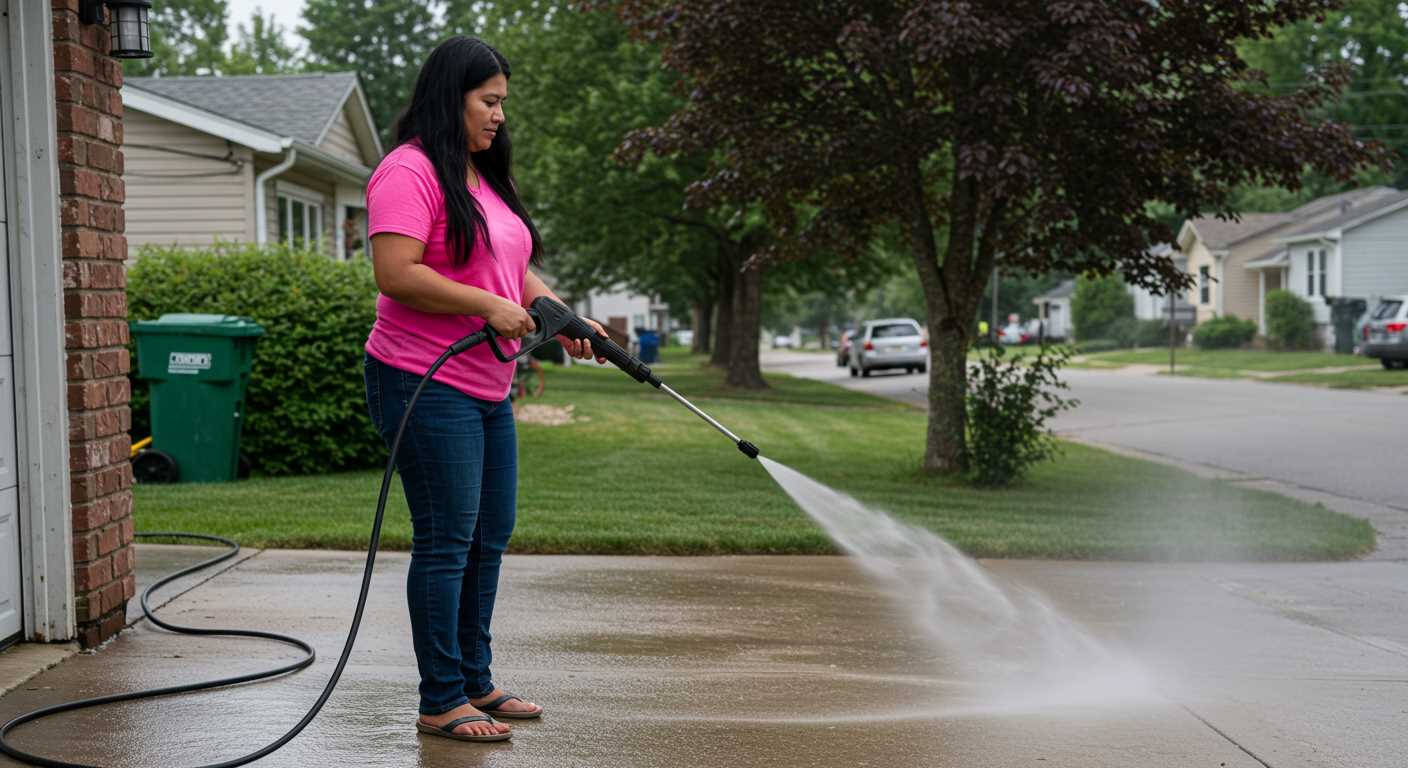
Check the power source first. Ensure that the electrical outlet functions properly and that the extension cord is rated for your unit. If the motor won’t start, inspect the reset button or thermal switch for tripping.
If your machine loses pressure, examine the water supply. It should be free of kinks and blockages. A clogged filter can hinder performance, so clean or replace it as needed.
Inspect the hose for leaks. Any cracks or punctures will lead to significant pressure loss. If damage is detected, consider replacing the hose entirely.
Should the nozzle be blocked, performance will be affected. Detach and clean it thoroughly; use a needle to clear any debris from the orifice.
If foam or detergent isn’t being drawn correctly, check the siphon tube and ensure it isn’t obstructed. Verify that the detergent isn’t too thick or improperly diluted.
For engines having trouble idling smoothly, examine the oil level. Low oil can lead to performance issues, and regular maintenance is key for optimal functioning.
Lastly, listen for unusual noises during operation. Uncommon sounds might indicate a mechanical issue that requires immediate attention or professional evaluation.
FAQ:
What are the first steps to set up a pir pressure washer?
To set up a pir pressure washer, begin by ensuring you have a stable and flat surface for it to sit on. Connect the water inlet to a hose that supplies a consistent water source—it’s crucial that the water is clean and free of debris. Next, attach the high-pressure hose to the washer and the spray gun. Ensure all connections are tight to prevent leaks. Finally, check that the power cord is plugged in securely, and if it has a start switch, turn it on to get ready for operation. Make sure to consult the manual for any additional setup requirements specific to your model.
How do I maintain my pir pressure washer for longevity?
Maintaining your pir pressure washer is key to ensuring it lasts a long time. After each use, it’s good practice to flush the water system by running clean water through the machine for a few minutes. This helps to remove any soap or dirt residue. Regularly check and clean the filter to prevent blockages. Store the pressure washer in a dry place and avoid leaving it outside. Additionally, check the hoses and connections for any signs of wear and replace them when necessary. Following the manufacturer’s guidelines for maintenance can also help in preventing potential issues.
What type of cleaning tasks can a pir pressure washer handle?
A pir pressure washer is versatile for various cleaning tasks around the home and garden. It excels at cleaning patios, driveways, and decking by effectively removing dirt, grime, and algae with high-pressure water jets. It can also be used for washing cars, although it’s advised to use a lower pressure setting to avoid damage to the vehicle’s paint. Additionally, outdoor furniture, fencing, and brickwork can benefit from the concentrated cleaning power of the washer. Always refer to the manual for recommended pressures and cleaning solutions suitable for different surfaces to avoid damage.


