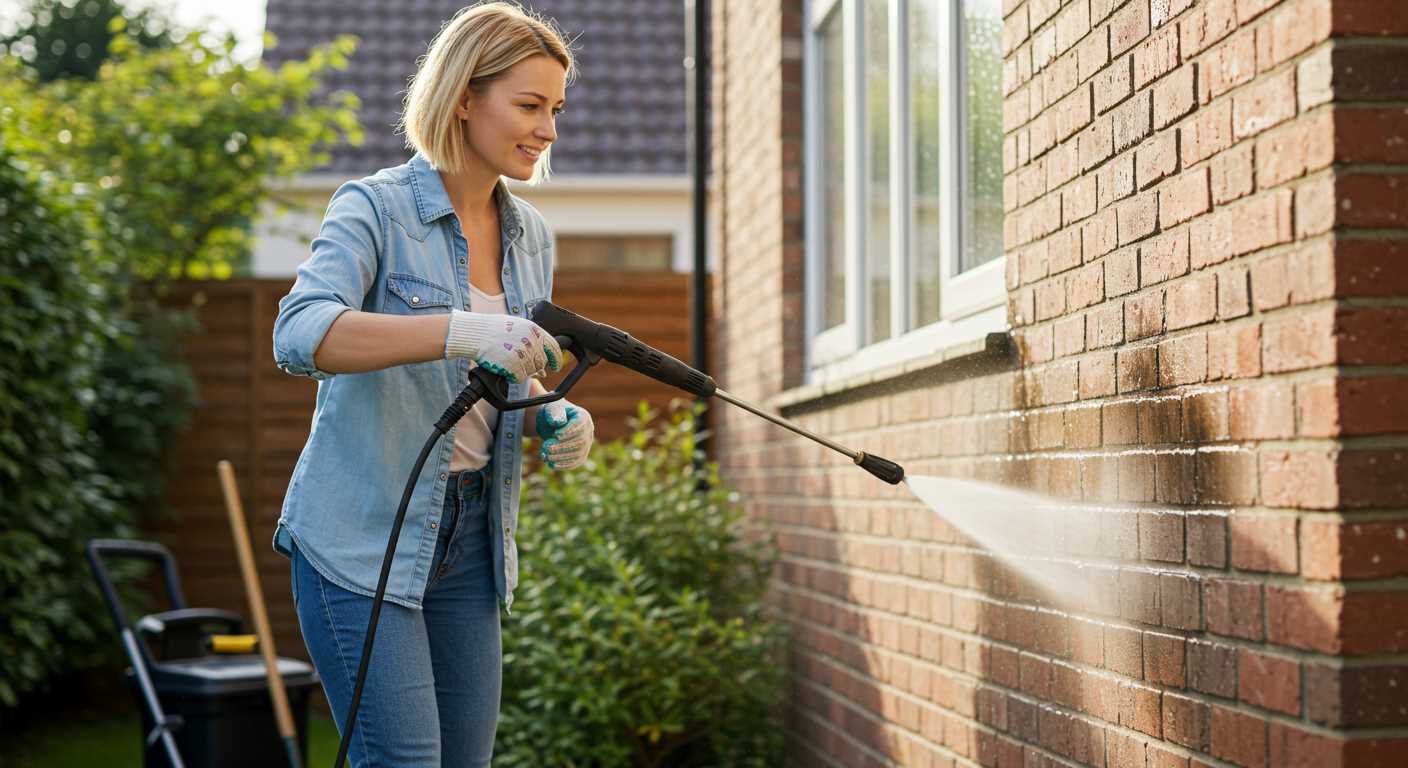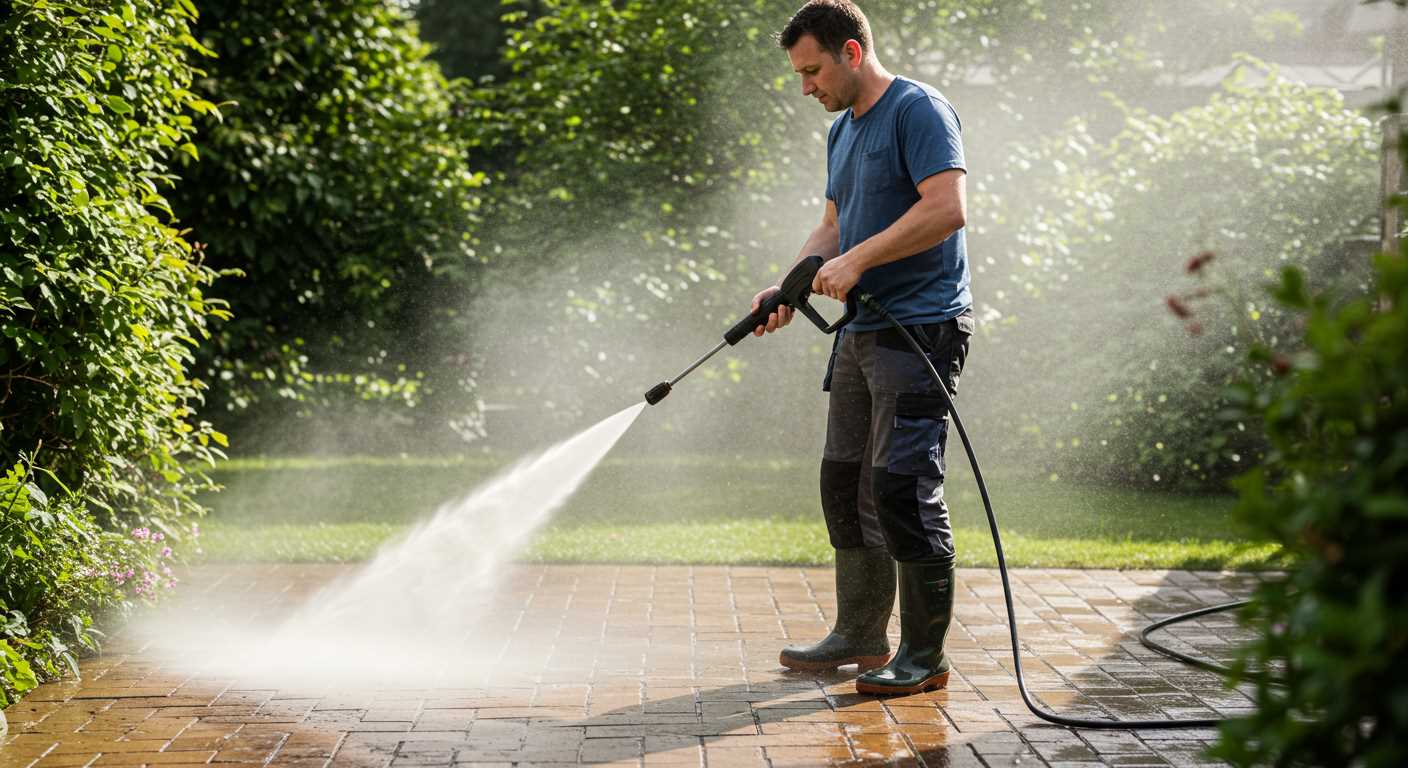


For tackling stubborn grime, moss, and mildew, nothing beats a high-pressure solution. With the right attachment, these machines excel in various applications, from revitalising outdoor surfaces to prepping areas for paint and restoration work. I have witnessed the remarkable transformation of patios, driveways, and even vehicles with a simple blast of pressurised water.
In my extensive experience within the cleaning equipment industry, I discovered their prowess in removing oil stains from concrete and cleaning garden furniture. A targeted approach can strip away years of buildup in mere minutes, allowing homeowners to restore their property’s curb appeal without the need for harsh chemicals. This eco-friendly benefit paired with efficiency makes it a practical choice for many homeowners and businesses alike.
In addition to typical uses, these machines also shine in commercial environments, where time is money. Restaurants, warehouses, and service stations find them invaluable for maintaining hygiene standards and creating safe, clean working environments. Whether it’s cleaning kitchen exteriors or stripping machinery, the versatility and potent action of pressurised systems offer unmatched results that save significant labour costs.
Cleaning Driveways and Patios
Utilising a high-pressure cleaning unit is the most effective method to restore driveways and patios to their original condition. The power behind the water jet removes stubborn stains, grime, and moss without the need for harsh chemicals. A nozzle with a wider spray is typically optimal for larger areas, while a narrower cone is perfect for targeting tough stains.
Preparation Steps
Before proceeding, ensure the surface is free from large debris such as stones or branches. It’s recommended to conduct a pre-treatment with a suitable cleaning solution for embedded stains, allowing it to sit briefly before using the machine. Wearing safety goggles is crucial to protect eyes from debris.
Technique and Tips
| Tip | Description |
|---|---|
| Distance Control | Maintain a distance of about 30 cm from the surface to avoid damage. |
| Consistent Motion | Move the nozzle in a consistent motion to prevent streaking; avoid lingering in one spot. |
| Adjust Pressure | Lower the pressure for delicate surfaces to avoid etching or damage. |
Regular cleaning, ideally every six months, can prevent the buildup of grime and prolong the lifespan of outdoor surfaces. Embracing this practice keeps patios and driveways looking pristine and enhances curb appeal. For optimal results, one must choose the right model and pressure settings suited to specific materials, ensuring a meticulous clean every time.
Washing Vehicles Without Scratches
Utilising the right technique and equipment is crucial for achieving a flawless clean without inflicting damage on your vehicle’s finish. First, choose a unit with adjustable pressure settings. Ideally, you should opt for a washer that allows a lower pressure, around 1200 to 1900 PSI, which is less likely to mar surfaces.
Next, invest in a nozzle that produces a fan-shaped spray. A wide-angle fan minimizes the risk of concentrated force that can erode paint or create scratches. Using the 25-degree or 40-degree nozzle often yields best results, as they distribute water more gently.
Preparation Steps
Begin by rinsing the vehicle with plain water to remove loose debris and dirt. This initial rinse is vital as it prevents particles from scratching the surface during subsequent cleaning. Always maintain a distance of at least 2-3 feet from the surface to avoid any accidental damage.
Consider pre-soaking areas with a dedicated car shampoo before using high-pressure cleaning. This helps to break down stubborn grime and protects the paint. Apply the solution with a foam cannon or a spray bottle, allowing it to sit for a few minutes.
Cleaning Technique
.jpg)
When starting the actual washing process, move the nozzle in a consistent, sweeping motion from top to bottom. This technique, along with keeping the nozzle at a suitable distance, ensures that no area receives excessive pressure. Concentrate on one section at a time, thoroughly rinsing each before moving to the next.
To achieve optimal results, follow up the rinsing with a gentle drying process using a microfiber towel. This material is soft and absorbent, minimising any risk of scratches during drying. Remember, a careful approach transforms cleaning into a pleasant, scratch-free experience!
Removing Grime from Outdoor Furniture
To eliminate dirt and stains from outdoor furniture, I recommend using a medium-pressure setting, typically around 1500 to 2000 PSI. This pressure efficiently removes grime without damaging materials like plastic, wood, or metal. Always maintain a safe distance–about 2 feet–from the surface to avoid any potential harm.
Preparation Steps
Before beginning, make sure your furniture is free from loose debris. A quick sweep or wipe with a cloth can help. Ensure that all cushions are removed to prevent any water damage or soiling. For wooden furniture, applying a wood cleaner before using high-pressure equipment can further enhance the cleaning process.
Technique for Effective Cleaning

Start from the top and work your way down, focusing on one section at a time. Move the nozzle in a sweeping motion to cover all surfaces evenly. For stubborn spots, applying a suitable detergent that is compatible with your type of furniture can assist in breaking down dirt. After washing, rinse thoroughly with clean water to ensure no soap residue remains, which could lead to unsightly streaks.
Preparing surfaces for painting

Before commencing any painting project, ensuring surfaces are thoroughly cleaned is paramount. Utilising high-pressure cleaning equipment can significantly enhance adhesion and longevity of the paint. It effectively removes dirt, old paint, grease and mould that may hinder proper application.
Recommended Cleaning Techniques

Begin with applying detergent specifically designed for the surface type. Allow it to sit for a few minutes to break down tough grime. Next, using a nozzle that provides a wide spray pattern, rinse the area from a distance of about two feet. Gradually move closer as the surface becomes cleaner, ensuring not to damage the substrate.
Post-cleaning Steps
After rinsing, allow the surface to dry completely. Patch any imperfections and sand down rough areas to create a smooth finish. Inspect the surface thoroughly for remaining contaminants; a final wipe with a clean cloth can catch any spots that may have been missed. This preparation is key – it lays the foundation for an impeccable paint job that will stand the test of time.
Cleaning roofs and gutters safely
Utilising a high-powered cleaning tool for rooftops and drainage systems can yield impressive results while preventing damage. Focus on the following steps to ensure effective and safe cleaning:
- Choose the right nozzle: A wider fan nozzle (25-40 degrees) minimises the risk of dislodging shingles or damaging tiles.
- Adjust the pressure: Set the device to a low psi, typically between 1500-2000 psi, to prevent harm to surface materials.
- Use a gentle technique: Maintain a distance of at least 2-3 feet from the rooftop surface. Move the wand in a back-and-forth motion, never focusing on one area for too long.
- Clean from the top down: Start at the peak of the roof and work your way down to ensure debris flows downwards and doesn’t clog gutters.
- Use a cleaning solution: For stubborn stains or moss, consider a mixture specifically designed for rooftops. Apply it with a low-pressure setting before rinsing.
When addressing gutters, a different approach is necessary:
- Clear debris first: Remove leaves and twigs manually to prevent blockages before using the device.
- Utilise a gutter cleaning attachment: This can help reach deep into the gutter without you needing to climb up excessively.
- Flush with water: Start by rinsing the system after manual cleaning to ensure all debris has been dislodged and flows away.
These specific practices allow me to maintain rooftops and gutters effectively while prioritising safety and surface integrity. With attention to detail, impressive results follow.
Restoring Wooden Decks and Fences
Utilising a high-powered cleaning machine offers a remarkable solution for rejuvenating wooden decks and fences. Start with a low-pressure setting and a wide-angle nozzle to gently remove dirt without damaging the wood. Aim to keep the nozzle around 12 to 18 inches away from the surface, testing in an inconspicuous area first.
Employ a cleaning solution designed specifically for timbers to effectively eliminate mildew and algae. Apply this with a garden sprayer or tank sprayer before using the cleaning machine. After allowing the solution to sit for about 10-15 minutes, rinse thoroughly.
For heavily soiled areas, a turbo nozzle can provide enhanced cleaning power. However, exercise caution to prevent splintering the wood. Consider sealing or staining the wood after cleaning to prolong the restoration and protect against future wear. Proper upkeep will enhance the appearance and lifespan of your outdoor surfaces.


