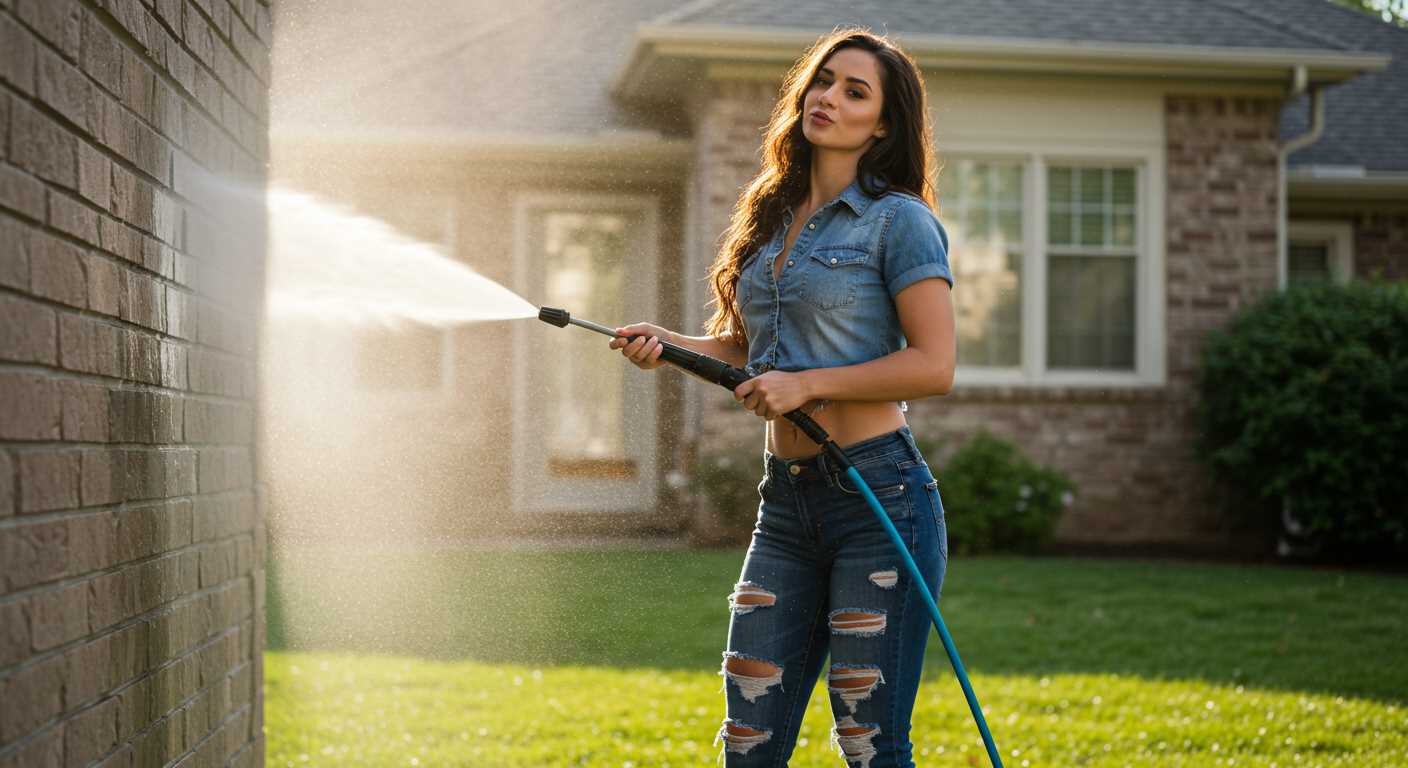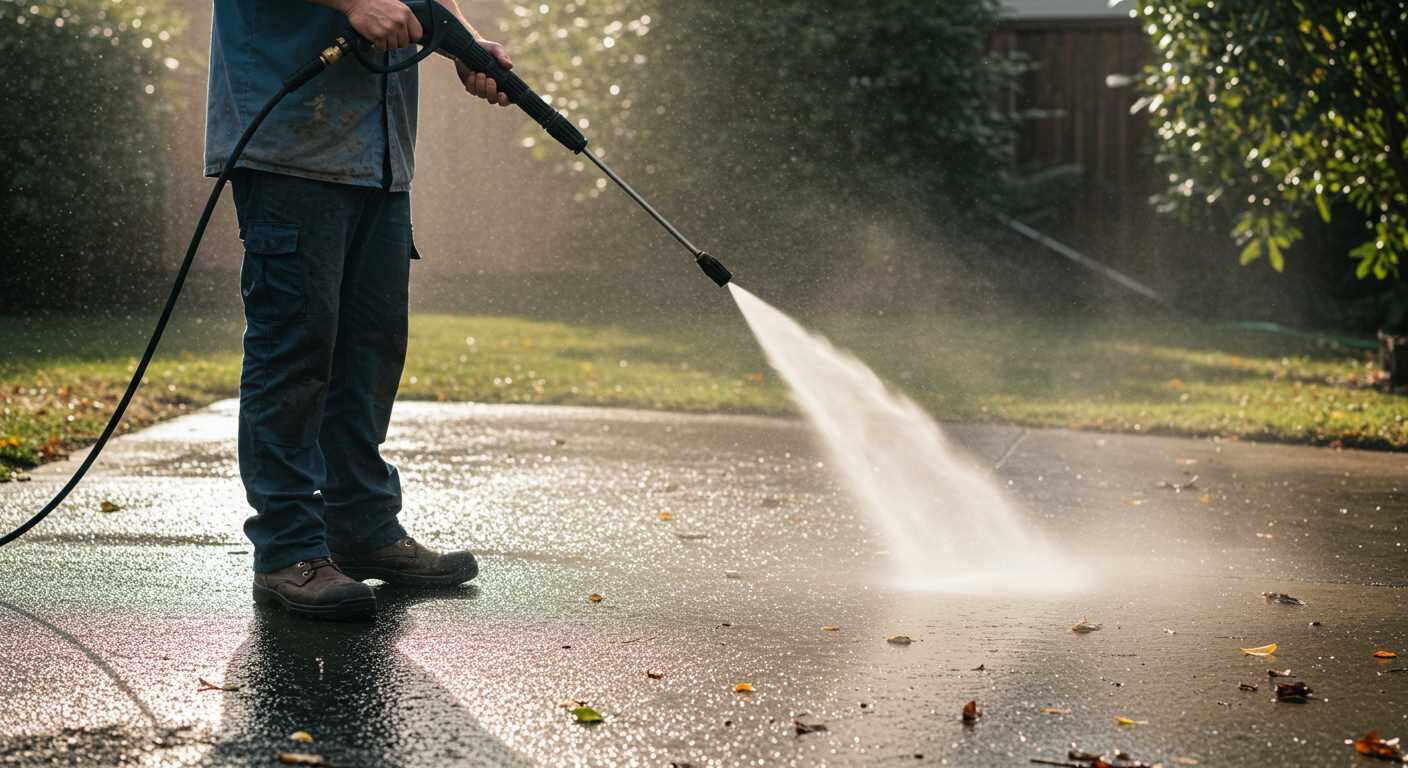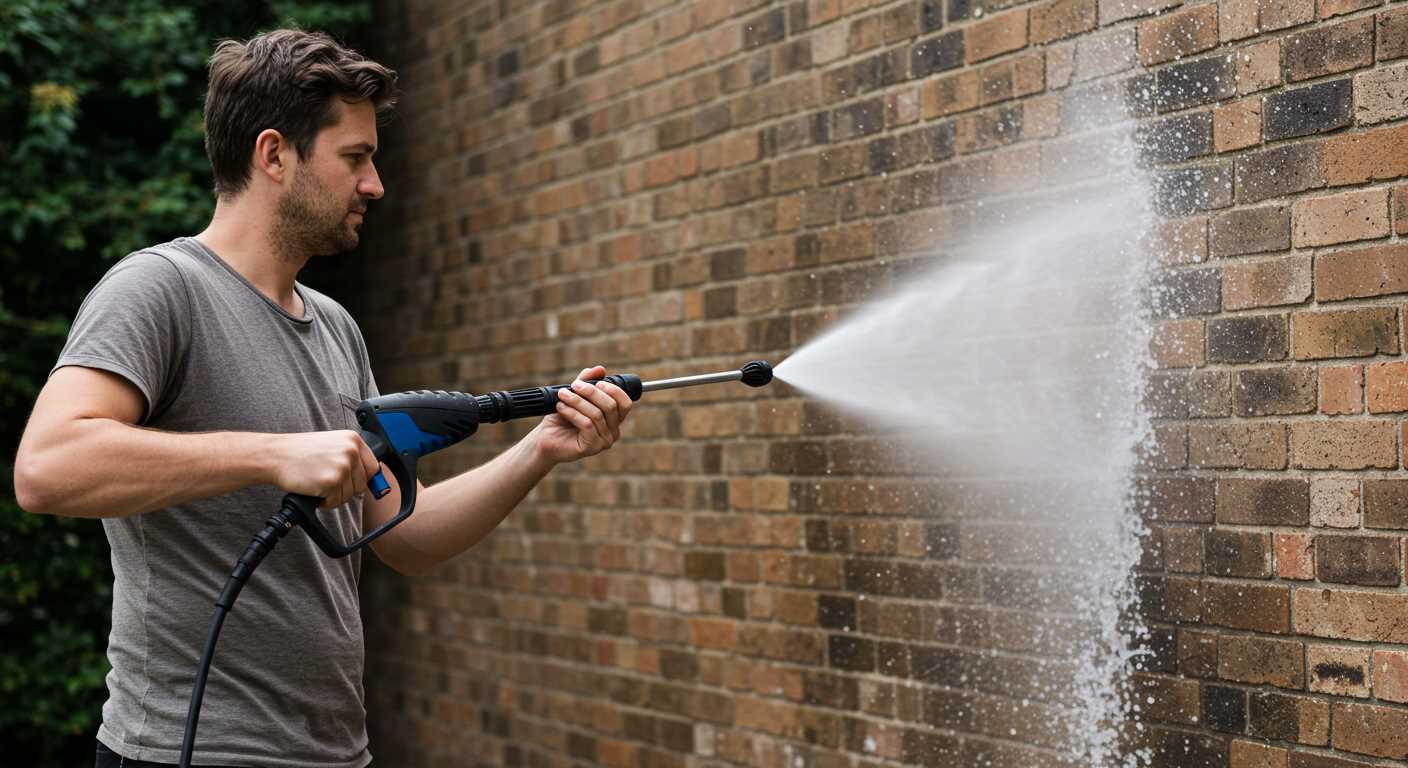


Beyond simple surface cleaning, this powerful tool excels at a myriad of tasks, from removing stubborn grime and mildew from outdoor surfaces to rejuvenating your patios and driveways. If you’ve been grappling with the challenges of maintaining the exterior of your home, employing such a device can transform your cleaning routine.
Utilise this remarkable equipment to strip paint from furniture or fences, delivering an efficient solution that provides excellent results without excessive manual labour. When tackling vehicles, it effortlessly dislodges dirt and debris, ensuring a spotless finish while protecting your paintwork when used responsibly.
Don’t overlook its capability for cleaning garden tools and heavy machinery. A quick high-pressure rinse can extend the lifespan of your equipment by removing corrosive elements that lead to rust and wear. Embrace the potential for deep cleaning around your property, making outdoor maintenance simpler and more efficient than ever.
Applications of a High-Pressure Cleaner

Exterior surfaces take a beating from weather, dirt, and grime. A high-pressure cleaner effectively removes buildup from driveways, patios, and siding. It’s highly effective for cleaning vehicles, ensuring that every nook and cranny is washed, instead of just the visible areas.
Specific Tasks
Decks and fences benefit significantly from the concentrated stream, removing mildew and stains. In gardens, these devices can revitalise tools and remove dirt from garden furniture, preparing them for seasonal use. Additionally, they excel at cleaning outdoor grills, contributing to better hygiene when cooking.
Commercial Uses
Businesses utilise these machines for maintaining storefronts and enhancing curb appeal. Fleet services take advantage of this technology to keep vehicles in pristine condition, directly impacting customer perceptions. Even construction sites leverage them for cleaning heavy machinery and equipment.
Cleaning Driveways and Patios
Transforming driveways and patios can be achieved with a high-powered cleaning machine, making these outdoor surfaces look brand new. This method effectively removes stubborn stains, dirt, and mildew that accumulate over time. Opt for a model with adjustable pressure settings to accommodate the surface material. For concrete driveways, a pressure range of 2500 to 3000 PSI works wonders, while patios may require a gentler approach around delicate materials.
Preparation Steps
Before starting, clear the area of furniture, plants, and debris. A thorough sweep will help identify problem spots. Applying a suitable surface cleaner can enhance results, especially for oil stains. Let it dwell according to the product instructions for maximum effectiveness. Always wear safety goggles and non-slip footwear for protection.
Technique for Optimal Results
Maintain a consistent distance of around 12 to 18 inches from the surface while washing. Use overlapping strokes to ensure complete coverage, and start from the highest point, working downwards. This prevents dirty water from running onto already cleaned areas. Rinse thoroughly to eliminate any remaining detergent residue, leaving the surface clean and revitalised.
Washing Cars and Motorbikes
Start by selecting a model with an adequate pressure rating, ideally between 1200 to 1900 PSI for vehicles. This level provides a thorough clean while preventing damage to the paintwork. If your transportation is more delicate, like motorbikes, lean towards lower pressures.
Before getting underway, ensure all windows and doors are closed; this eliminates the risk of water entering the interior. Remove loose dirt and debris with a brush to prevent scratches during cleaning.
Utilising an adjustable nozzle is imperative. Switch to a wide-angle spray pattern, which disperses water evenly and reduces the chances of causing harm to surfaces. Work from top to bottom to ensure dirt and grime flow downwards and away from areas already cleaned.
Select a suitable automotive detergent for effective grime removal. Mix it according to the manufacturer’s instructions, and apply with a foam cannon or attachment, allowing it to dwell for a few minutes before rinsing.
Following a thorough rinse, drying with a microfiber cloth helps prevent water spots and streaks. This final touch adds an impressive finish to your vehicle’s appearance.
Regular maintenance using this method not only enhances your vehicle’s aesthetic but also protects the paint and can prolong its lifespan significantly.
Removing Mold and Mildew From Surfaces

To effectively eliminate mould and mildew, consider using a high-pressure cleaning device set at a minimum of 1500 PSI. This power is sufficient to tackle stubborn growth on concrete, wood, and various outdoor surfaces.
Prior to commencing, ensure to cover any nearby plants or delicate features to prevent damage from the cleaning solution. A mixture of water and a suitable mould remover will enhance the effectiveness. Apply it generously to the affected areas, allowing the solution to penetrate for about 10-15 minutes.
Once the solution has had time to work, direct the nozzle at the affected spots, maintaining a distance of approximately 12 inches. Use a sweeping motion to lift the mould and mildew away. Focus on problem areas, but avoid prolonged exposure to a single spot to prevent surface damage.
After cleaning, rinse the surface thoroughly with clean water to remove any residue from the cleaning solution. This step is crucial to prevent any potential regrowth of mould or mildew.
Inspect the area for any remaining spots that may need additional attention. Repeat the cleaning process if necessary until surfaces are clear. Regular maintenance every few months can help prevent future growth, preserving both the appearance and longevity of your outdoor spaces.
Preparing Surfaces for Painting or Staining
Thoroughly cleaning surfaces before applying paint or stain is vital for achieving optimal adhesion and longevity. Begin with a pressure cleaning method to eliminate dirt, grime, and previous coatings that may compromise paint adherence.
Wood and metal surfaces require specific approaches. For wood, ensure any loose or peeling paint is removed beforehand. An adjustable nozzle should be utilized to control water pressure–keep it low to prevent damage. For metal surfaces, rust should be addressed, and a higher pressure might be necessary for effective cleaning.
In concrete or masonry preparation, pressure cleaning helps to remove contaminants such as oil stains, mould, and mildew, allowing for better bonding of coatings. Use a surface cleaner attachment for consistent results over large areas.
| Surface Type | Recommended Technique | Pressure Setting |
|---|---|---|
| Wood | Low pressure, 25-40 degrees nozzle | 1000-1500 PSI |
| Metal | Moderate pressure, 15-25 degrees nozzle | 1500-2500 PSI |
| Concrete | High pressure, surface cleaner attachment | 2500-3500 PSI |
Once cleaned, allow the surfaces to dry completely. This ensures the paint or stain sets properly, enhancing both appearance and durability. Applying a primer after this process can further improve adhesion, especially on porous surfaces.
Revitalising Garden Furniture

To breathe new life into your outdoor seating and tables, begin with a thorough rinse to eliminate loose debris. Next, a focused clean with a nozzle suitable for delicate surfaces efficiently removes stubborn dirt and grime.
Adjust the water pressure to a lower setting to prevent damages, particularly on wood and wicker. Keep the nozzle at a safe distance of around 30-36 inches to prevent any splintering or stripping of finishes. For intricate patterns or tough stains, a rotating brush attachment can be beneficial, enhancing the cleaning process.
After the intensive clean, allowing the furniture to dry completely is paramount before applying any sealant or protective coating. This prevents moisture entrapment, which can lead to rot or mildew.
Consider using a protective cover or storing your items indoors during inclement weather to prolong their lifespan. Regular maintenance can minimise the need for deep cleans and ensure your garden furniture remains inviting and functional.
Cleaning Gutters and Roofs
For a thorough clean of gutters and roofing, a high-powered model with adjustable pressure settings is fundamental. Effective results rely on the right nozzle; a 25-degree or 40-degree nozzle is usually optimal for delicate areas. Always work from the top down to prevent debris from clogging gutters that have already been cleaned.
Tips for Gutter Cleaning
- Ensure safety by using a sturdy ladder or invest in a gutter cleaning attachment.
- Position the nozzle at an angle to direct water flow and lift debris out of the gutters.
- Check downspouts for blockages; use a narrow nozzle if necessary to clear them.
Roof Cleaning Techniques
- Assess roof materials before cleaning; different surfaces require tailored pressure levels.
- Remove loose debris by hand before employing the washer to avoid scratches.
- Start at the peak and work your way down in overlapping rows to maintain uniformity.
Maintain a safe distance while cleaning, particularly on delicate materials like asphalt shingles. A strategic approach reduces the risk of damage while ensuring efficient debris removal. Regular maintenance keeps gutters flowing freely and roofs looking their best. Regular chores can prolong lifespan and minimise costly repairs. Regular cleaning not only enhances the aesthetics but also protects your property’s integrity.
Stripping Old Paint and Stains
A highly effective method for removing old paint and stubborn stains is through high-pressure cleaning equipment. This technique can drastically reduce the manual effort required and provide superior results. When tackling this task, follow these guidelines to achieve the best outcome:
Preparation
- Ensure the work area is clear of furniture and obstacles.
- Protect surrounding vegetation and surfaces using tarps or plastic sheeting.
- Wear appropriate personal protective equipment, such as goggles and gloves.
Steps to Strip Paint

- Select a nozzle with the right angle, typically a 15-degree nozzle works best for paint stripping.
- Maintain a distance of about 12-18 inches from the surface to prevent damage.
- Start at the top and work your way down, moving the wand in a steady, side-to-side motion.
- For multiple layers of paint, consider using a chemical paint remover beforehand to soften the layers.
- Adjust the pressure setting as necessary; some surfaces may require lower pressure settings to avoid damage.
After the paint removal is complete, wash the stripped area with clean water to eliminate any residue. Allow the surface to dry thoroughly before proceeding with any new coatings or treatments.
This approach not only revitalises surfaces but also prepares them effectively for new paint or finishes, ensuring a smooth and long-lasting result.


