


Experience the transformation of outdoor spaces as dirt and grime are removed effortlessly from a variety of surfaces. These robust devices excel in revitalising decks and patios, stripping away years of weathering, thus revealing their original beauty. By utilising specific nozzles and techniques, I have achieved remarkable results, turning neglected spaces into welcoming areas for family and friends.
For vehicle maintenance, a robust solution is invaluable. I recommend using powerful jets to cleanse cars, trailers, and even motorcycles, ensuring that every corner is attended to without the risk of damage from abrasive methods. Regular maintenance with these machines not only enhances the aesthetic appeal but also prolongs the lifespan of your vehicles.
Looking to tackle gardening tools and equipment? These handy devices make light work of soil and residue removal, ensuring that tools remain in optimal condition for future use. Additionally, those tackling home renovations will find that removing stubborn stains from siding or brickwork is a straightforward task, often leading to impressive before-and-after results.
Never underestimate the power of these cleaning units for larger scale projects as well, such as cleaning roofs and driveways. The strength of the water jets easily removes moss, algae and other contaminants, contributing to both safety and appearance. Engaging in periodic maintenance with this equipment preserves aesthetics and increases longevity, making it a worthy investment for your home.
Cleaning Driveways and Patios
Choosing the right nozzle is crucial for removing dirt and stains from driveways and patios. A zero-degree nozzle provides a concentrated jet, ideal for tough stains like oil or grime. For general cleaning, a 15 or 25-degree nozzle works effectively without damaging surfaces.
Before starting, clear the area of furniture, pots, and debris. This ensures unobstructed access and safety during the cleaning process. Wetting the surface lightly can help loosen dirt, making the subsequent wash more efficient.
Maintaining a steady distance of about 12 inches from the surface prevents damage while still delivering powerful cleaning results. Use sweeping motions to cover the area evenly, ensuring no streaks or missed spots appear. For stubborn algae or moss, consider applying a specialised cleaning solution beforehand to enhance effectiveness.
After cleansing, rinse the area thoroughly to remove any residual detergent or debris. This not only improves the appearance but also helps maintain the integrity of the surfaces. Regular maintenance using this method can vastly extend the life of your driveway or patio, keeping them looking pristine year-round.
Washing Cars and Vehicles
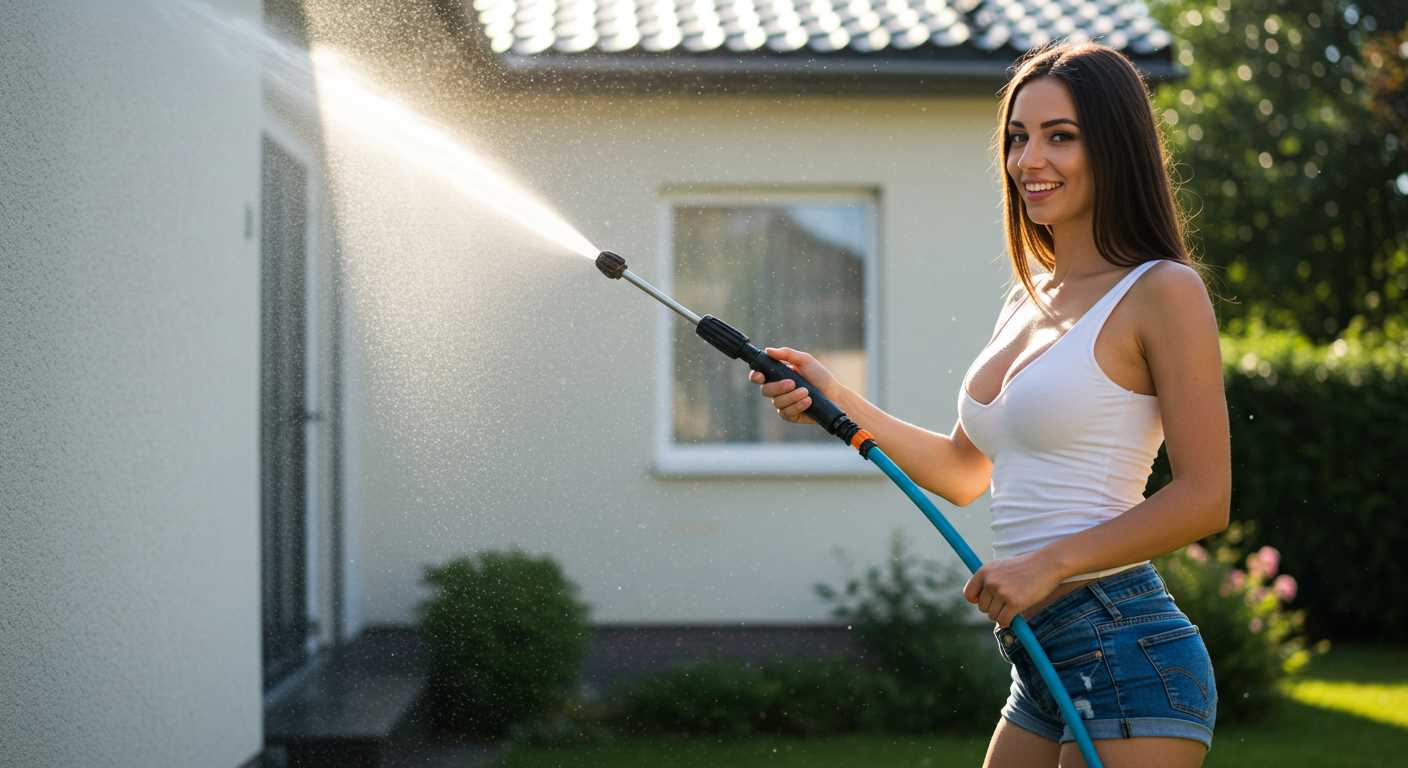
Utilising a power washer for cleaning automobiles is a highly effective method to achieve a flawless finish. Always begin by choosing a nozzle with a low-pressure setting, such as 25 or 40 degrees, to prevent any potential damage to the vehicle’s surface.
Begin with a thorough rinse to remove loose dirt, which helps in avoiding scratches during the deep clean. Make sure to maintain a distance of about 2 feet from the surface to concentrate the water effectively without causing harm.
For best results, use a specialised vehicle cleaning solution mixed with water in the detergent tank, applying it evenly across the car’s body. Allow the detergent to sit for a few minutes to break down grime, but don’t let it dry out.
After the dwell time, rinse thoroughly again, starting from the top and working your way down. This approach prevents dirty water from running down onto already cleaned areas. Pay special attention to wheel wells and undercarriages where dirt tends to accumulate. Using a rotating brush attachment can enhance the cleaning process in these tougher spots.
After rinsing, drying the car with a soft microfiber towel prevents water spots from forming. This final touch leaves a polished look and ensures your vehicle remains in prime condition.
Preparing Surfaces for Painting
Thoroughly cleaning surfaces before painting is paramount to achieving a flawless finish. Using a high-pressure device enables the removal of dirt, old paint flakes, and mildew that can interfere with adhesion. Begin by rinsing the area to eliminate loose debris.
Steps to Prepare Surfaces
- Select the Appropriate Nozzle: A 25-degree nozzle is generally ideal. It provides adequate pressure without damaging the surface.
- Maintain a Safe Distance: Keep the nozzle at least 12 inches away from the surface to prevent etching or gouging.
- Use Detergent for Stubborn Stains: If mildew or heavy grime is present, apply a detergent solution. Allow it to sit for a few minutes before rinsing off.
- Conduct a Final Rinse: Ensure every part is thoroughly cleaned to allow for proper paint adhesion.
Common Surfaces to Consider
- Wooden decks and fences
- Concrete walls and patios
- Metal siding
- Brick surfaces
After cleaning, inspect the surface for any imperfections or damage that requires attention. Repairs should be made prior to applying any paint, ensuring a smoother result. Finally, allow the surface ample time to dry completely before beginning the painting process. This preparation guarantees a professional-grade finish and longevity of the paint job.
Removing Mould and Mildew from Exterior Walls
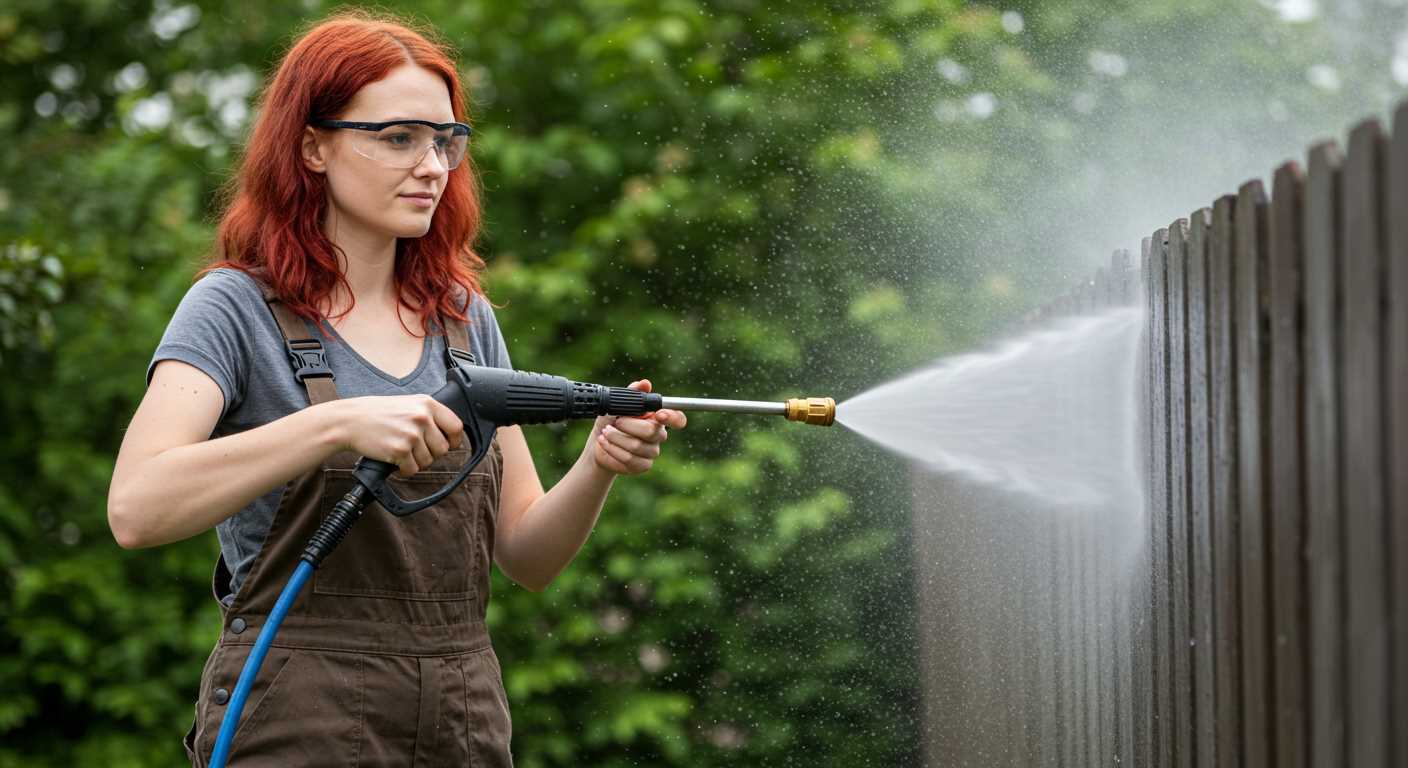
To tackle mould and mildew on exterior surfaces, I recommend using a solution that combines water with a suitable cleaning agent, such as bleach or a commercial mould cleaner. For the most effective removal, set the nozzle to a wide spray pattern, keeping the wand at least 2 feet away from the wall to avoid surface damage.
Preparation Steps
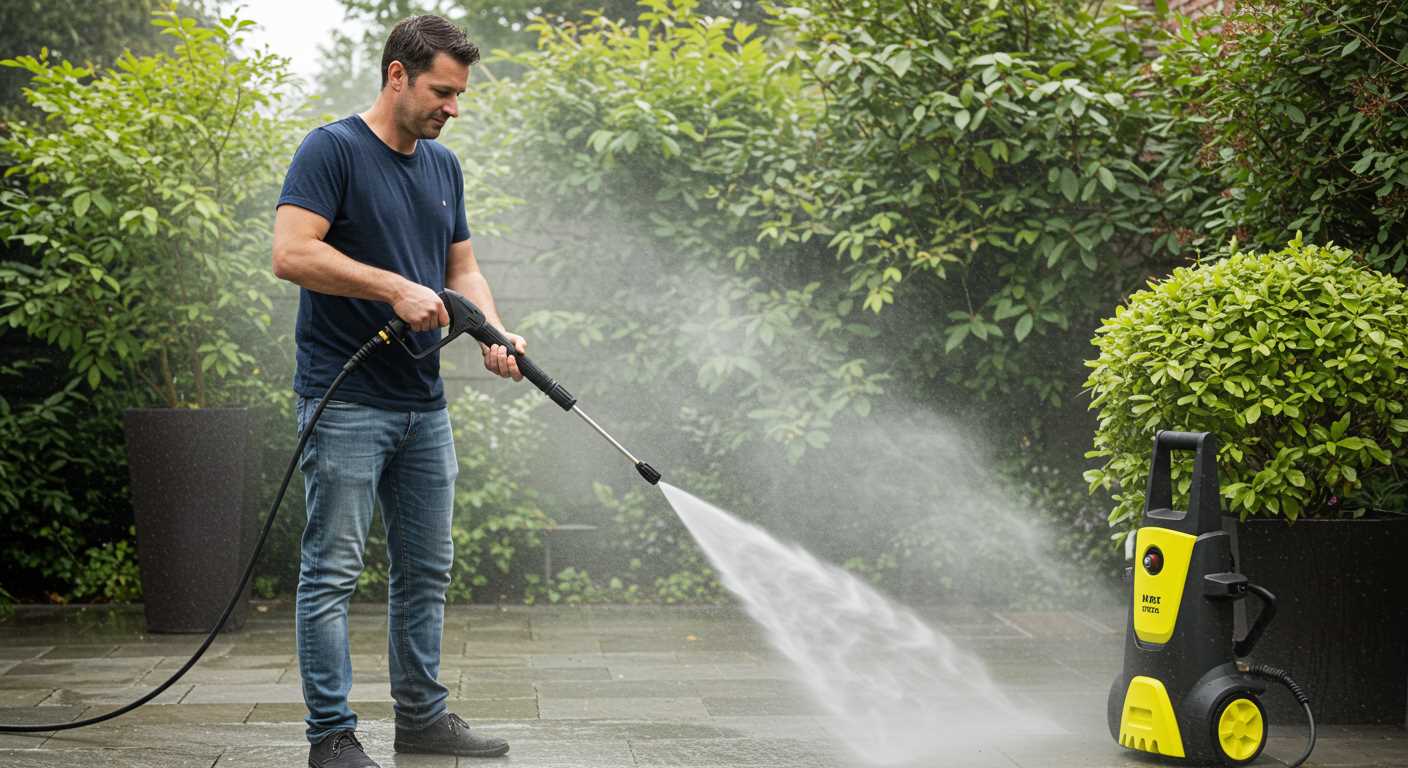
Before starting, it’s crucial to prepare the area. Cover nearby plants and furniture with tarps to protect them from overspray. Ensure to wear protective gear, including gloves and goggles, to shield against cleaning solutions and debris.
Technique for Effective Cleaning
Begin by applying the cleaning solution from the bottom upwards, allowing it to dwell for 5–10 minutes for penetration. After the dwell time, rinse thoroughly with clean water, working from top to bottom to prevent streaking. Pay particular attention to areas with heavy growth, possibly reapplying the solution as necessary.
Restoring Wooden Decks and Fences
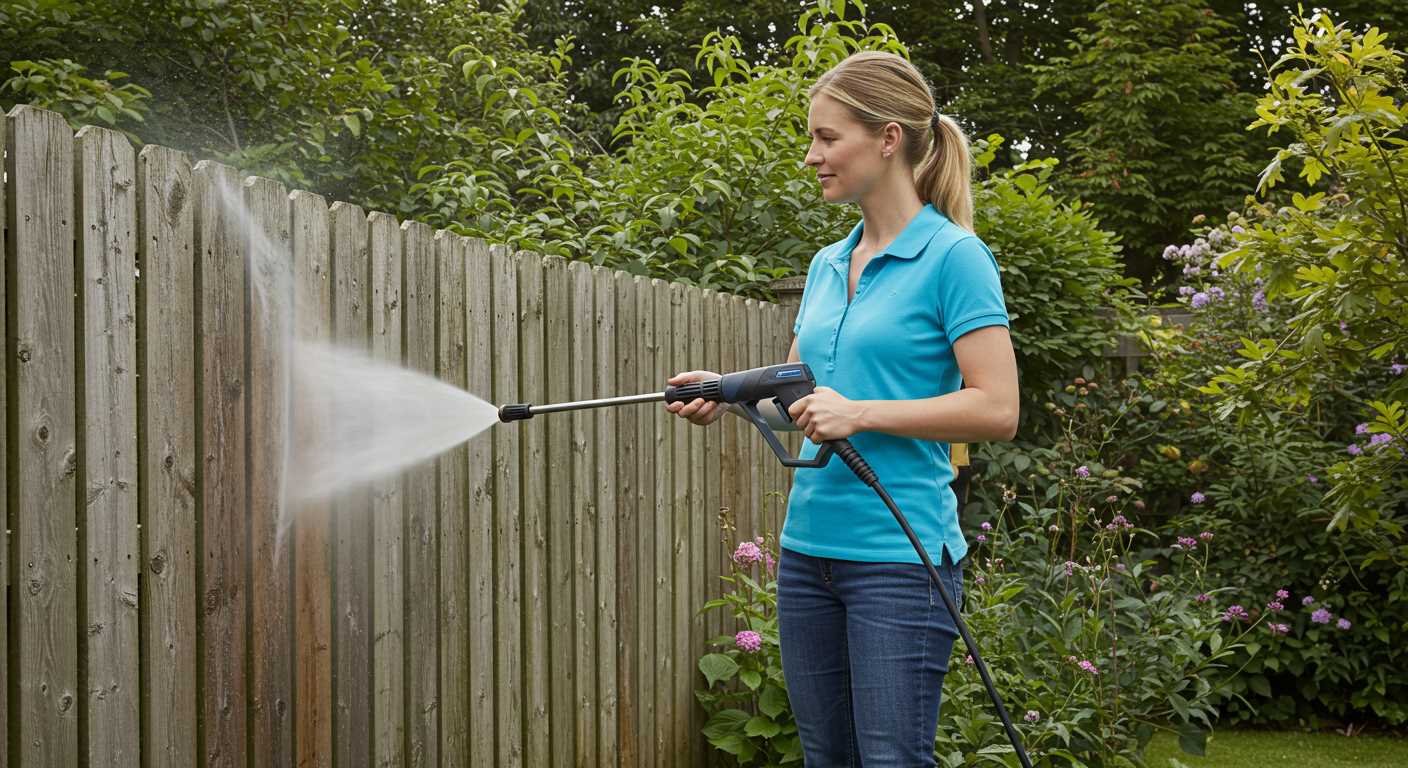
To restore wooden decks and fences, start with a thorough cleaning using a strong stream that effectively removes dirt, grime, and algae. Select a nozzle that provides a fan spray for wider coverage, usually between 25 to 40 degrees. Holding the wand at a consistent distance of about 12 to 16 inches from the surface prevents damage while still being powerful enough to strip away old finishes.
After cleaning, allow the wood to dry completely. This step is crucial before applying any sealant or stain, as moisture can trap contaminants and lead to peeling or discolouration. A drying period of 24-48 hours should suffice, but check for any damp areas.
Once dry, assess the condition of the wood. If there are signs of splintering or deep grooves, sanding may be required to smooth the surface before finishing. Choose a high-quality wood stain or sealant that provides protection against the elements, ensuring it is suitable for outdoor use. This enhances longevity and retains the wood’s natural beauty.
To prolong the life of your deck or fence, consider regular maintenance with light cleaning every few months to prevent build-up and reapply sealant annually. This routine keeps your wooden structures in great shape, preserving their appeal and function for years to come.
Cleaning Garden Furniture
Start cleaning garden furniture by using a pressure cleaner on wooden, metal, or plastic surfaces to remove dirt, grime, and mould. For optimal results, follow these steps:
Preparation
.jpg)
- Remove cushions or any other detachable parts.
- Clear the area around the furniture to prevent debris from accumulating elsewhere.
- Inspect the furniture for any signs of damage or loose parts.
Cleaning Process
- Set the machine to a low-pressure setting (around 1200-1500 PSI) to avoid damaging delicate surfaces.
- Adjust the nozzle to a fan spray pattern for even coverage.
- Begin at the top of the furniture and work downward to prevent dirt from running over cleaned areas.
- Use a cleaning solution specifically designed for the material of your furniture for stubborn stains, allowing it to sit for a few minutes before rinsing.
- Rinse thoroughly with clean water, ensuring no soap residue remains.
Dry the furniture with a microfiber cloth to prevent water spots and protect it from rust or corrosion. For wooden items, consider applying a wood preservative after cleaning for added longevity.
Unclogging Gutters and Downpipes
For clearing blocked gutters and downpipes, a high-powered cleaning device is invaluable. Direct a narrow spray nozzle into the gutter, ensuring the water flow is concentrated for maximum impact. The pressure generated effectively dislodges leaves, debris, and mud accumulated over time.
Start this task safely from the ground rather than climbing a ladder. A telescoping wand allows for reach without risking falls. It’s crucial to inspect the area first; look for nests or larger blockages that require manual removal prior to pressure cleaning.
| Steps | Description |
|---|---|
| Step 1 | Use a suitable nozzle, commonly referred to as a turbo or rotary nozzle, for concentrated force. |
| Step 2 | Position the nozzle at the highest point of the gutter, angling it slightly to direct water flow towards the downpipe. |
| Step 3 | Activate the device, employing short bursts of water for better control, avoiding any risk of damage to the gutter material. |
| Step 4 | Check the downpipe for blockages, using the same technique to clear any lingering debris. |
Regular maintenance, ideally twice a year, will prevent severe clogs and ensure proper water drainage. This practice not only aids in protecting your roof and foundation but also enhances the lifespan of your drainage system.


