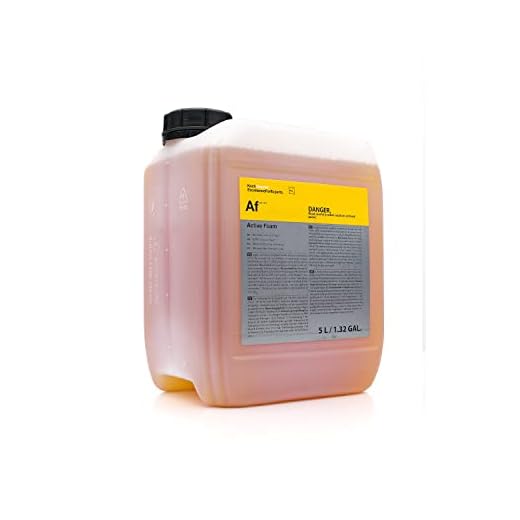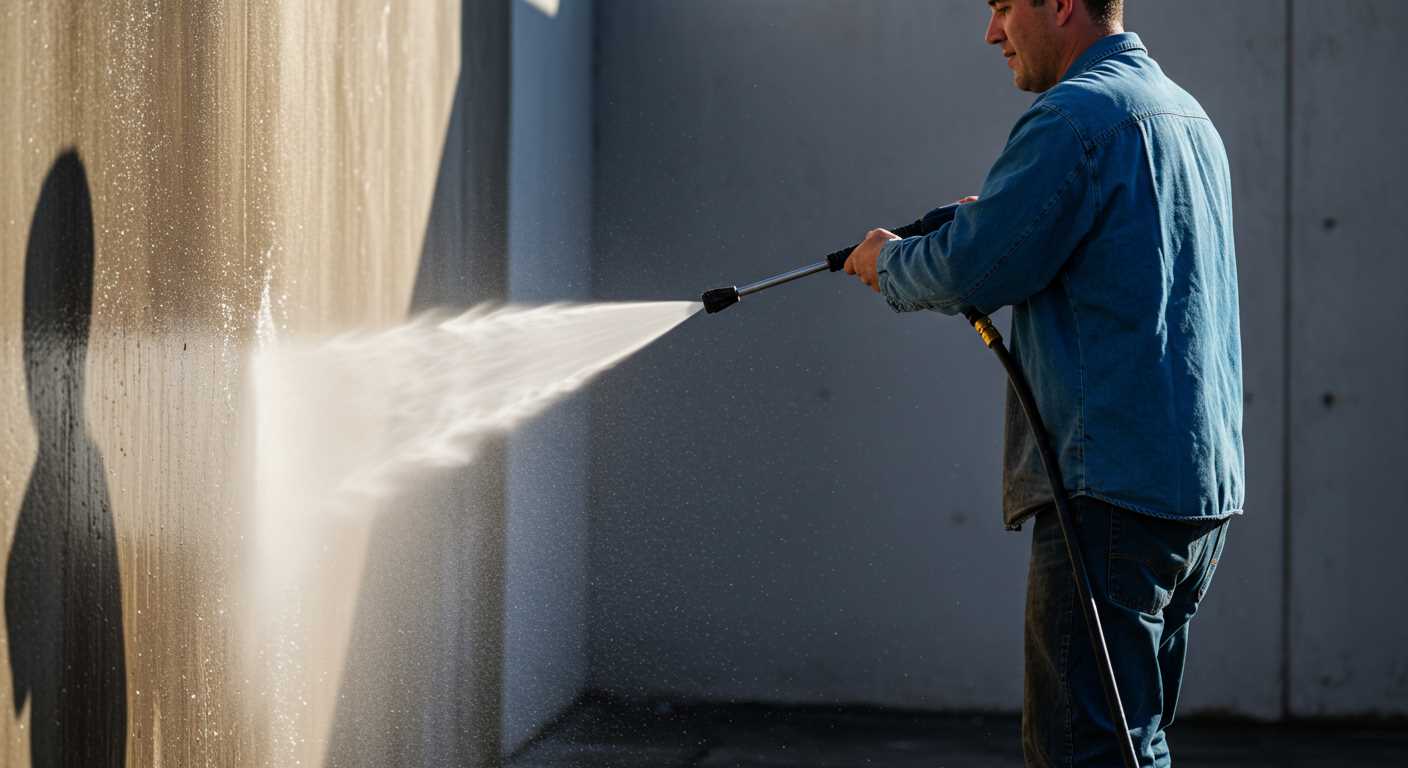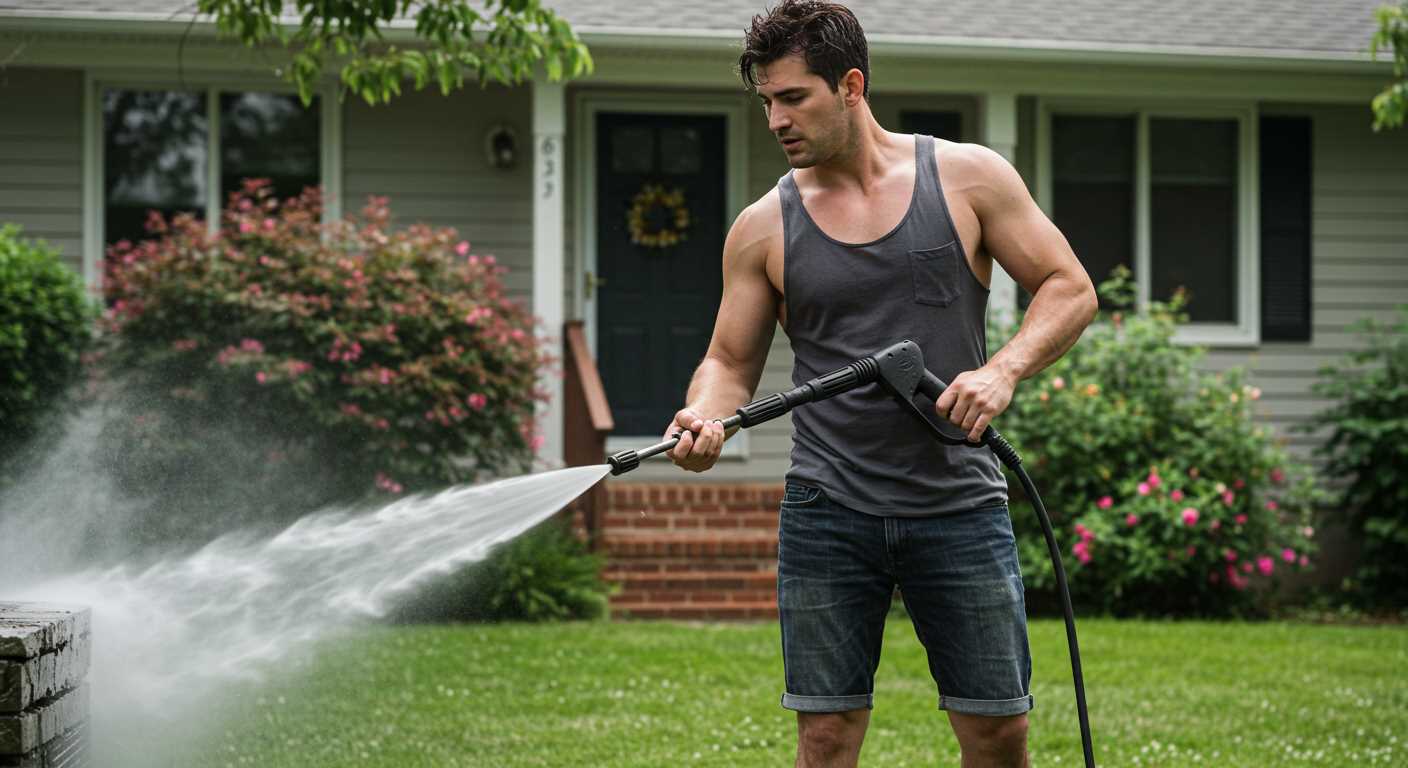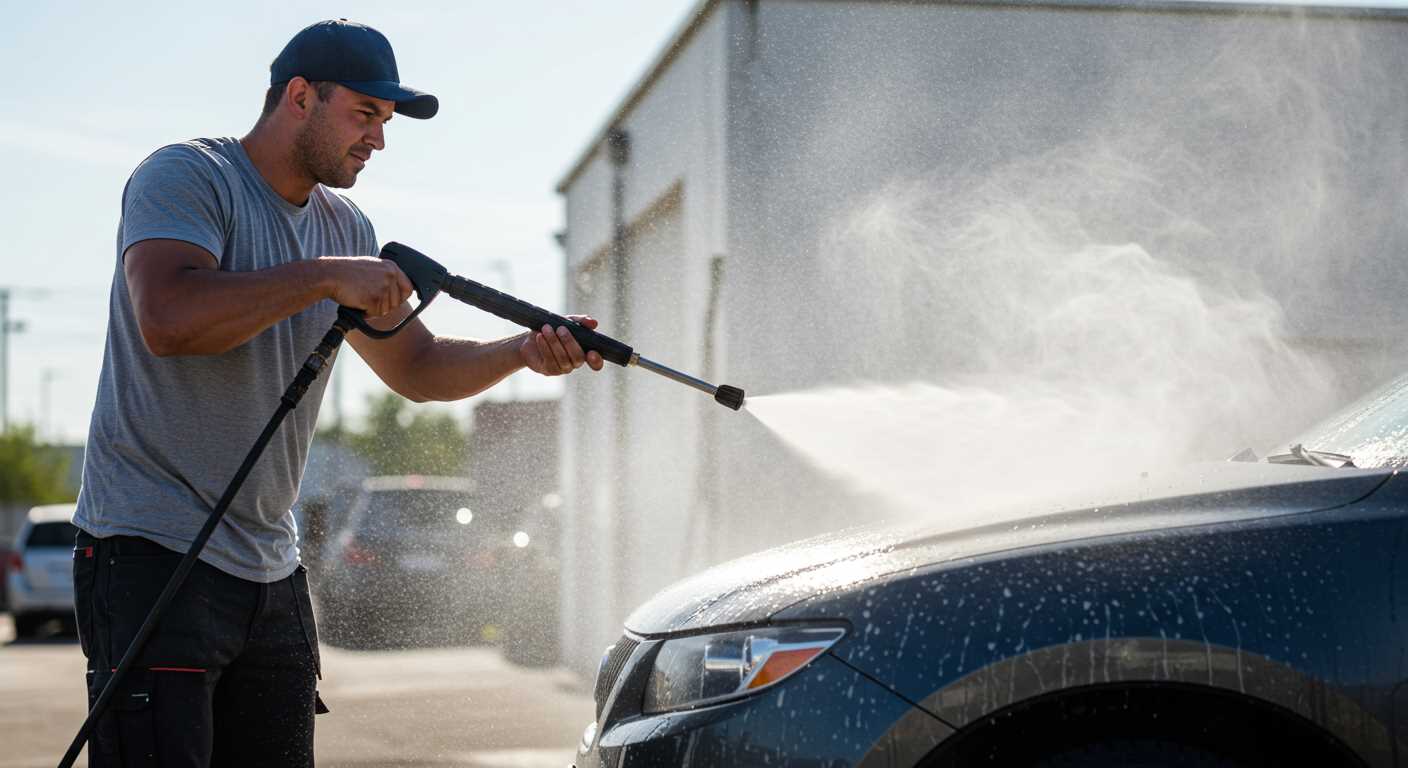

For optimal results, I highly recommend using a specifically formulated cleaning agent that is safe for exterior surfaces. Look for a product designed for use with high-pressure equipment to ensure it effectively lifts grime without causing damage. Many of these cleaners are specially blended to tackle tough stains such as mould, mildew, and dirt accumulation.
When selecting a product, check the pH level. A neutral or slightly alkaline solution works well for most surfaces, including wood, stone, and masonry. Be cautious with acidic options as they can erode delicate materials. Additionally, a biodegradable option is not only effective but also an environmentally friendly choice, reducing chemical runoff.
For those tackling tougher jobs, consider a concentrate that can be diluted before application. This allows flexibility depending on the level of staining and the type of surface being treated. Alternatively, pre-mixed solutions offer convenience for quick sessions. Be sure to follow the manufacturer’s instructions regarding dilution ratios and application methods for the best results.
Always remember to test the chosen solution on a small, inconspicuous area first to ensure compatibility. Each surface responds differently, and a quick spot test can prevent any adverse reactions. With the right cleaning agent and approach, achieving a pristine and well-maintained exterior becomes straightforward.
Recommended Solutions for Outdoor Cleaning Machines
I firmly recommend using specially formulated solutions designed for outdoor cleaning machines. Look for products labelled as “multi-surface cleaner” or “outdoor cleanser.” These are effective in eliminating mildew, dirt, and grime from various surfaces, including siding, patios, and driveways.
For textured surfaces, such as brick or stone, a thick, gel-based option adheres better and provides a deeper clean. Brands like Zep and Simple Green offer reliable choices that are widely available and proven to work efficiently. Always check the label to ensure compatibility with your particular machine model.
Another excellent choice is a biodegradable cleaner, which is safer for plants and pets. Products like EcoSMART and Krud Kutter maintain effectiveness while being environmentally friendly. This can be an attractive option for those conscious of their ecological footprint.
When mixing solutions, I advise starting with the manufacturer’s recommendations regarding dilution. Typically, a 1:4 ratio works well, but make adjustments based on the severity of dirt. A gentle scrub with a brush may enhance results before rinsing.
To achieve optimal results, allow the cleaning agent to dwell on the surface for approximately 5-10 minutes before rinsing. This enables the chemistry to break down tough stains effectively. Always test a small, inconspicuous area first to ensure no damage occurs to the underlying material.
Lastly, investing in a good-quality foaming nozzle can enhance application, creating a thicker layer of cleaner that stays on the surface longer. This results in a more thorough cleaning and saves time and effort during the process.
Choosing the Right Type of Detergent for Your Surface

Prioritise compatibility with the material you’re treating. For vinyl siding, opt for a non-corrosive cleaner that won’t strip the finish. A surfactant-based solution effectively removes grime without causing damage.
Wood requires a unique approach. Use a gentle formula specifically engineered for timber to protect against discolouration and warping. Look for products that include ingredients to fend off mould and mildew.
For stone or masonry, a powerful formulation can effectively break down tough stains and dirt. Alkaline-based cleaners are particularly suited for these surfaces, ensuring a thorough cleanse without etching the material.
Glass surfaces benefit from a streak-free solution. Select a cleaner designed for windows to ensure clarity and shine following the cleaning process.
For vehicles and painted surfaces, avoid harsh chemicals. A mild, pH-balanced cleaner will maintain the finish while effectively removing dirt and grime.
Always check the manufacturer’s recommendations before choosing a solution, ensuring you achieve the best results while safeguarding the integrity of the surface you’re tackling.
Understanding the Ingredients in Pressure Washer Detergents

From my extensive experience in the field, I’ve seen the impact of various components in cleaning solutions specifically designed for high-powered sprayers. Key elements often include surfactants, which interact with dirt and grime, effectively breaking them down for easier removal. This reaction not only speeds up the process but also enhances the overall cleaning capability.
Another common ingredient is bleach, typically used for mould and mildew elimination. It’s vital to use these formulations cautiously, particularly on sensitive surfaces, as strong chemicals may cause damage. Opting for lower concentrations can be a wise choice for natural stone or painted areas.
Phosphates are often present as well, acting as water softeners, which can improve the performance of the cleaning solution in hard water conditions. However, it’s essential to be aware of local environmental regulations, as high phosphate levels can be harmful to aquatic ecosystems.
Enzymatic cleaners incorporate enzymes that target specific types of stains and organic matter. These are beneficial for tackling substances like grease and food residues. Furthermore, using biodegradable options not only provides effective results but also aligns with eco-friendly practices.
Always check compatibility with your equipment before using a new mix. Dilution ratios are also crucial; following the manufacturer’s recommendations ensures optimum performance and prevents damage to both the surface and the machine. In my testing, I’ve found that a balanced formulation tailored to the task can vastly improve outcomes, making a significant difference in cleanliness and appearance.
How to Dilute Cleaning Solutions for Optimal Results
For maximum efficacy, I typically recommend a dilution ratio of 1:10 for most cleaning agents. This means one part of the cleaning concentrate to ten parts of water. Always check the manufacturer’s instructions for specific products, as some may require different ratios.
Step-by-Step Dilution Process
1. Start by measuring the required amount of concentrate using a measuring cup or similar device to ensure accuracy.
2. Pour the concentrate into a clean container or mixing bucket.
3. Gradually add water to the container, allowing it to mix evenly. Stir gently to avoid creating excessive foam.
4. Transfer the mixed solution into the detergent tank of the equipment, ensuring not to exceed the fill line.
Tips for Best Results
Test a small, inconspicuous area before applying the mixture extensively, especially on delicate surfaces. Adjust the dilution if necessary–more stubborn grime may require a stronger concentration, while lighter dirt can be tackled with a more diluted solution. Always wear appropriate protective gear, such as gloves and goggles, to safeguard against splashes.
Best Practices for Applying Detergent with a Pressure Washer

I highly recommend always starting with a surface test. Choose a small inconspicuous area to gauge how the selected solution interacts with the material. This practice ensures that no undesirable reactions occur.
Application Techniques
Employ the following techniques to achieve optimal cleaning results:
- Low Pressure Setting: Utilize a low pressure setting for the initial application. This prevents overspray and allows the solution to adhere effectively.
- Even Coverage: Use a wide-angle nozzle or foam cannon to apply a consistent layer. Overlapping strokes will help ensure every spot is covered uniformly.
- Timing: Allow the solution to dwell for the recommended time, usually around 5-10 minutes. This enhances the action against grime and stains. However, avoid letting it dry out on the surface.
- Rinsing: After the dwell time, switch to a higher pressure nozzle for rinsing. Start from the top and work your way down to prevent streaks of residue.
Safety Precautions
Implement these safety tips during the process:
- Always wear proper personal protective equipment, including gloves and safety goggles.
- Ensure good ventilation if working in enclosed areas, as some solutions may release fumes.
- Be mindful of plants or delicate surfaces to avoid damage from chemical exposure or high pressure.
This systematic approach will facilitate achieving a clean and streak-free finish while maintaining the integrity of various surfaces.
Safety Considerations When Using Detergents
Always wear personal protective equipment (PPE) such as gloves and safety goggles to shield against splashes and skin irritation. Chemical formulations can be harsh, so minimising direct contact is paramount.
- Test Surfaces: Before applying any solution broadly, perform a patch test on a small, inconspicuous area to check for adverse reactions.
- Read Labels: Thoroughly review the product label for specific safety warnings and recommended precautions provided by the manufacturer.
- Ventilation: Ensure proper airflow in the area to prevent the buildup of potentially harmful fumes during application.
Consider the environment. Avoid runoff into gardens, lawns, or water bodies, as chemicals can harm plants, wildlife, and water quality. Use a containment method, such as wetting down surrounding areas before application to reduce the risk of chemical dispersion.
- Proper Storage: Store cleaning agents in a cool, dry place, away from children and pets. Ensure containers are sealed tightly to prevent leaks.
- Emergency Measures: Familiarise yourself with first aid practices and have an emergency kit available. In case of an accident, follow the appropriate response protocols.
Select environmentally friendly options when feasible. Numerous products come with biodegradable ingredients that lessen environmental impact while maintaining cleaning efficacy.
Regularly clean and maintain your equipment. Residue build-up can cause malfunction and potentially pose safety hazards during operation. Rinse nozzles and connections to prevent clogging and ensure even application.
In case of a spill, act quickly to contain it using absorbent materials. Dispose of waste according to local regulations to prevent pollution.
By adhering to these safety measures, I can ensure not only effective cleaning but also a safe working environment for myself and those around me.
Comparing Store-Bought vs. Homemade Solutions
Store-bought formulas typically offer a consistent cleaning ability and are designed for specific applications. Many are formulated to effectively tackle mildew and grease, ensuring a thorough clean. Commercial options often contain surfactants that help lift dirt from surfaces, making them efficient for extensive cleaning needs.
In contrast, homemade mixtures can provide a cost-effective alternative. I often recommend using simple ingredients like vinegar, baking soda, or dish soap, mixed with water. These are less harsh on surfaces and the environment. However, effectiveness may vary based on the proportions used and the type of grime being addressed.
Performance and Effectiveness
The performance gap between pre-made and DIY mixtures can depend significantly on the situation. For quick touch-ups, homemade solutions often suffice. However, for large projects or tough contaminants, relying on professionally formulated options may save time and effort. I’ve observed that while homemade blends can be gentle and safe, they sometimes fall short against more persistent stains or mildew.
Convenience and Cost
Convenience plays a key role in the decision-making process. Store-bought products are ready to use, while my homemade mix requires preparation and careful measuring. If efficiency is a priority, choosing a commercial item can streamline the process. On the other hand, crafting your own cleaner is economical and allows full control over the ingredients, making it appealing for those conscious about their environmental impact.
Tips for Maintaining Your Pressure Washer After Use
After each session, rinse the machine’s components directly to remove any residue. Pay close attention to the nozzle and hoses, ensuring no solution lingers that could damage the parts.
Regular Checks and Maintenance
Inspect the oil levels frequently, and replace it based on the manufacturer’s schedule. A clean air filter is essential; check it routinely and replace if necessary to keep the engine running smoothly.
Long-Term Storage
Before putting the equipment away for an extended period, flush through a bit of fresh water to ensure any remaining cleaner is eliminated. Use a frost protection solution if you’re in a colder climate to prevent freeze damage.
| Maintenance Task | Frequency |
|---|---|
| Inspect hoses for wear | Every use |
| Check oil levels | After 5–10 hours of use |
| Clean air filter | Every 20 hours |
| Flush system with water | After each use |
| Store properly | End of season |
By implementing these steps, the longevity and performance of your equipment will significantly improve, ensuring it’s always ready for action.
FAQ:
What type of detergent should I use for my pressure washer?
When selecting a detergent for your pressure washer, it’s important to choose one specifically designed for pressure washing tasks. Most manufacturers recommend using detergents that are biodegradable and safe for the environment. For general cleaning purposes, a multi-surface cleaner works well on vinyl, concrete, and wood. If you’re targeting specific stains, such as mould or grease, look for a detergent formulated for those issues. Always check the compatibility of the detergent with your pressure washer model before use.
Can I make my own detergent for pressure washing?
Yes, many people choose to create their own detergent for pressure washing to save money and control the ingredients. A simple homemade mixture can be made using white vinegar, baking soda, and water. For added cleaning power, you can incorporate a small amount of dish soap. However, be cautious and avoid harsh chemicals that could damage surfaces or harm the environment. Always test a small area first to ensure your homemade detergent does not cause any adverse effects on the surface being cleaned.
Is it necessary to use detergent while pressure washing?
Using detergent is not always necessary, but it can significantly enhance the cleaning process, especially for tough stains and dirt accumulation. Detergents help break down grime, allowing the pressure washer to clean more efficiently. For basic rinsing or light dirt, plain water may suffice. However, for tasks involving mildew, oil, or grease, a good detergent will help achieve better results. Assess the level of dirt and the material you’re cleaning to determine if detergent is required for your task.


