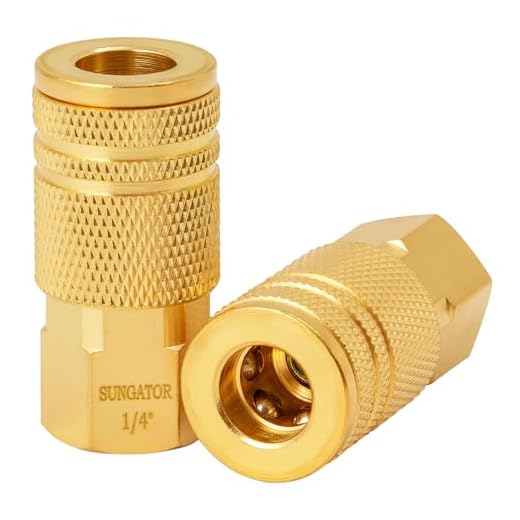


Regular maintenance is key to keeping high-pressure cleaning equipment running smoothly and effectively. Make it a priority to conduct thorough inspections to identify potential wear and tear. Check hoses for cracks, leaks, or any signs of damage; replace them if necessary, as they play a crucial role in maintaining the performance and safety of the equipment.
The pump is the heart of the machine and requires special attention. Look for signs of oil leaks, and ensure that the oil level is adequate. Flushing the pump with fresh fluid can help extend its lifespan. You should also examine the inlet filter; a clean filter guarantees optimal water flow, improving overall performance during operation.
Regular cleaning of nozzles and spray tips is essential as well. These components can become clogged with debris, affecting the pressure and the pattern of the spray. Use a small wire brush or a needle to clear any blockages, ensuring that the machine functions at its best. While servicing, it’s also wise to check and replace any worn-out or damaged accessories to enhance efficiency.
Don’t overlook annual deep cleans of the entire system, including flushing out the chemical injection system if applicable. This can prevent buildup that may lead to future operational issues. Following a structured maintenance routine not only prolongs the life of your cleaning unit but also maximises its effectiveness, ensuring that it meets cleaning demands efficiently.
Pressure Equipment Maintenance Guidelines
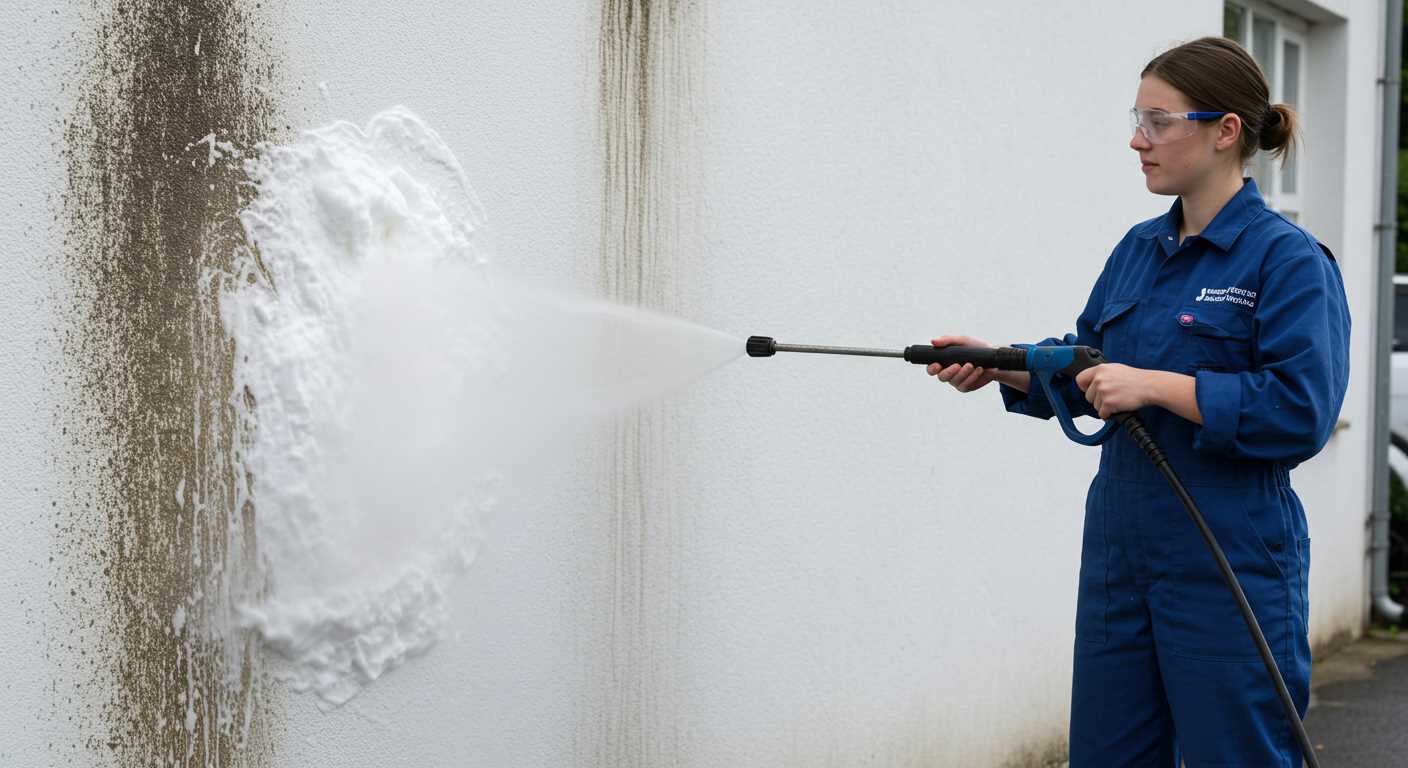
Regular maintenance is crucial for the longevity of these machines. Begin by inspecting all hoses for cracks or leaks. Replace any damaged sections immediately to prevent further issues. Next, check the gun and nozzle for blockages; clean them to ensure a smooth flow of water. Ensure that the inlet filter is free from debris, as this can significantly affect performance.
Fluid Checks
Inspect the oil levels in the engine. Replace oil according to the manufacturer’s recommendations, typically every 50 hours of use. Use the appropriate type of oil to avoid potential damage. Additionally, monitor the water supply; clean any filters near the water source to prevent contaminants from entering the system.
Electrical Components Audit
For electric units, examine the power cord for any signs of wear or damage. Ensure the plug is intact and free from rust or corrosion. Check all connections to guarantee a secure fit. For gas-operated models, inspect the spark plug and air filter; replace them as needed to maintain optimal performance.
Checking and Replacing High-Pressure Hoses

Examine hoses for wear and tear every few months. Look for cracks, abrasions, or bulges, as these can lead to ruptures under pressure. If any defects are found, replace the hose immediately to avoid safety hazards.
Steps for Checking High-Pressure Hoses
- Disconnect the hose from both the machine and the spray gun.
- Inspect the entire length for signs of damage, paying attention to the fittings.
- Check for any kinks or twists that could restrict water flow.
- Use a pressure gauge to test the hose under normal operating conditions.
Replacing High-Pressure Hoses
Should a replacement be necessary, follow these guidelines:
- Source a hose that matches the specifications of your unit, including diameter and pressure rating.
- Carefully remove the old hose by unscrewing the fittings, ensuring that you do not damage the connectors.
- Attach the new hose, securing it firmly to prevent leaks.
- Run the unit for a few minutes to check for any potential issues, making sure there are no leaks at the connections.
Regular inspection and timely replacement of high-pressure hoses extend the lifespan of your equipment and enhance safety during usage. Stay proactive in maintaining your cleaning system to prevent costly repairs or accidents.
Inspecting and Cleaning Nozzles and Sprays
Regular inspection and cleaning of nozzles and sprays ensures optimal performance and extends the life of your equipment. Begin by detaching the nozzle from the lance. Examine it for clogs, debris, or damage. A simple way to check for blockages is to hold the nozzle up to a light source; any obstructions will be evident. Clean nozzles using a mixture of warm water and a few drops of detergent, or utilise a soft brush to dislodge stubborn particles.
Cleaning Techniques
For precise cleaning, consider using a pin or needle to clear the spray holes; this is particularly effective for stubborn blockages. Avoid using metal tools that can scratch or widen the holes. An alternative method involves soaking the nozzle in vinegar for 30 minutes to dissolve mineral deposits. After soaking, rinse thoroughly with clean water.
Choosing the Right Nozzle
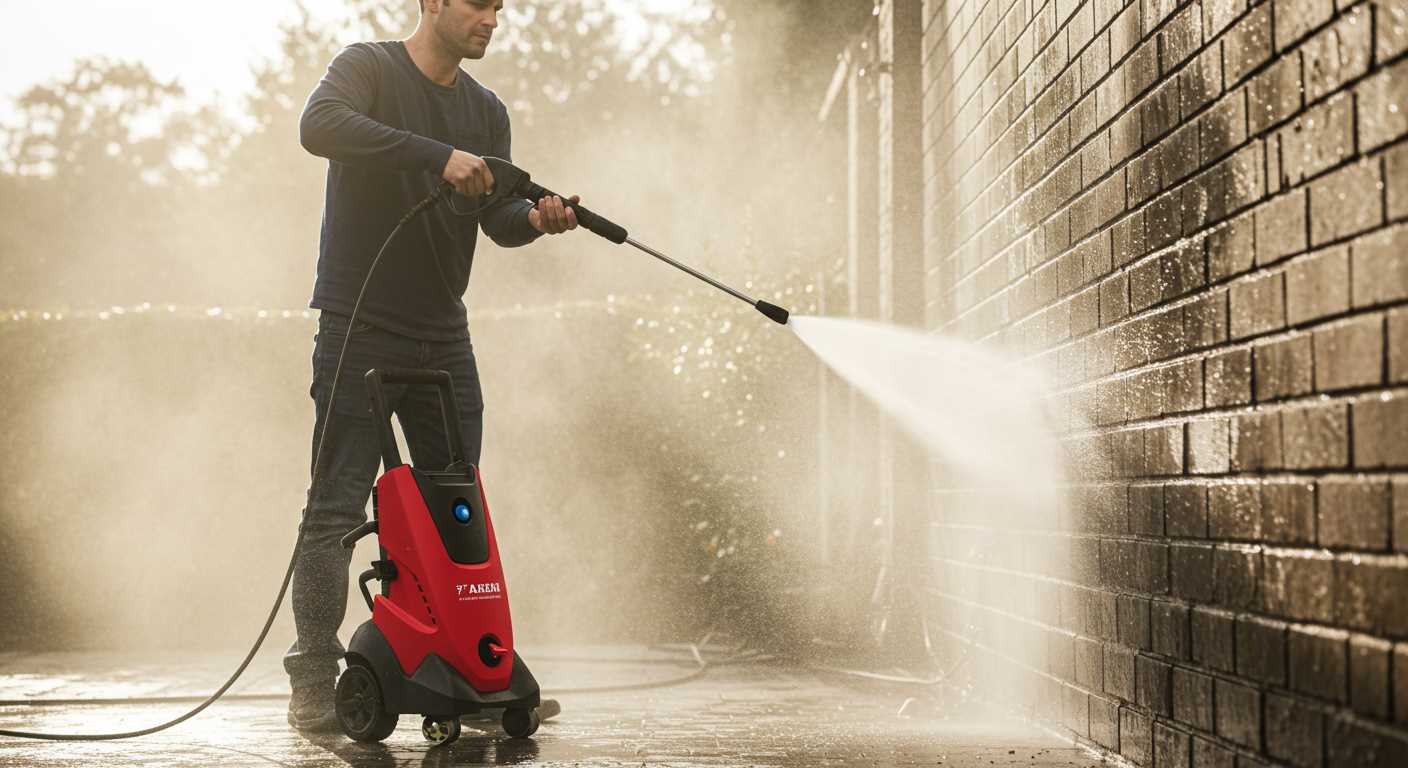
Selecting the appropriate nozzle for specific tasks can significantly impact efficiency. Different nozzles produce various spray patterns and pressures–detergent nozzles, for instance, are wider, while those for concentrated sprays create more force. Always ensure you’re using the right one for the job to avoid wasting resources and to prevent unnecessary wear on the unit.
Examining the Pump for Leaks or Damage
The first step in ensuring optimal performance is to inspect the pump for any signs of leaks or damage. Begin by checking the exterior of the pump for any visible cracks or signs of wear. Pay special attention to seals and gaskets, as these components are prone to degradation over time.
Identifying Common Issues
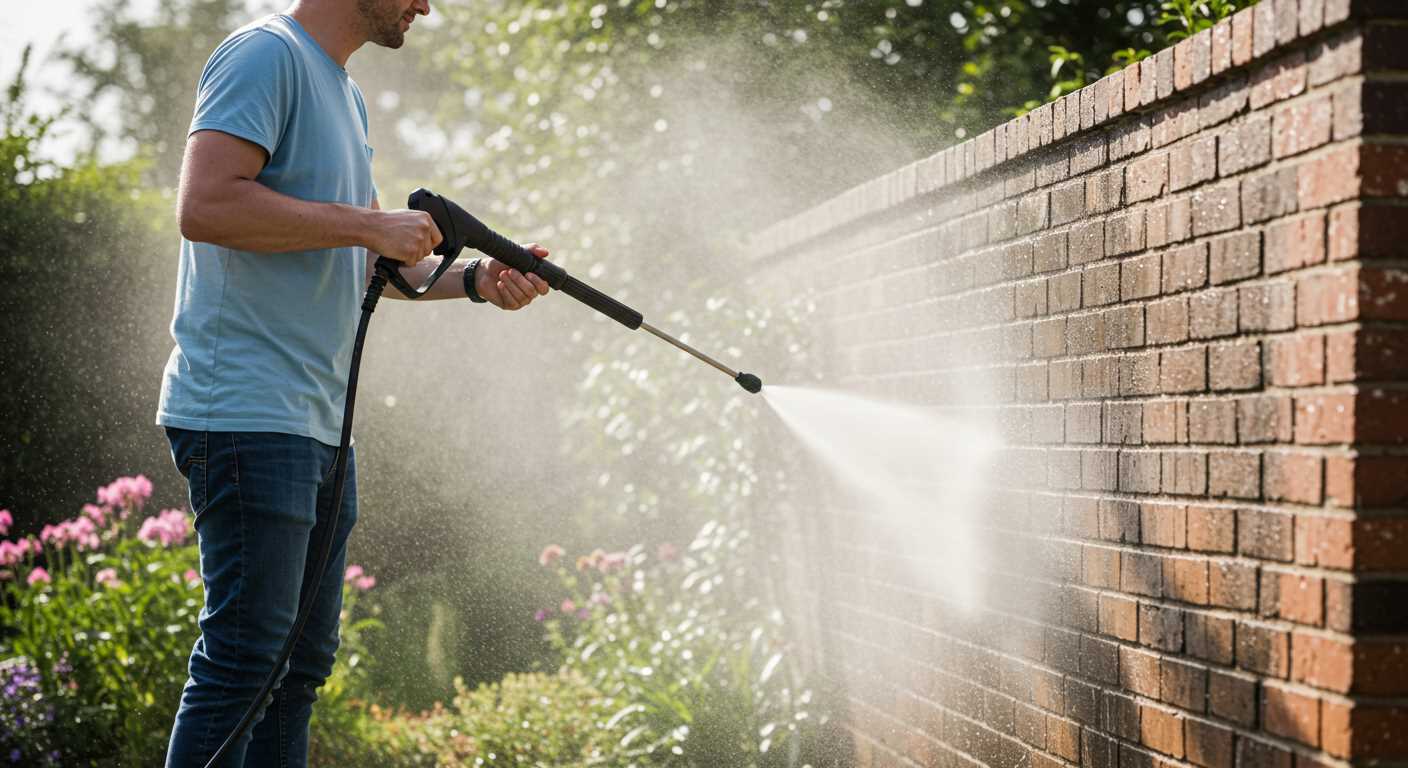
While examining, look for the following common indications of a malfunctioning pump:
- Visible water leakage around the pump casing.
- Unusual noises during operation, such as grinding or whining.
- Inconsistent pressure output.
If any of these issues arise, it may indicate internal damage or a failing seal. Addressing these problems early can prevent more significant repairs later.
Testing and Maintenance Procedures
To further assess the pump’s condition, follow these steps:
- Disconnect power and water supply before beginning any inspection.
- Remove the casing if necessary to gain access to the internal components.
- Inspect the drive belt for signs of wear. A frayed belt may indicate a need for replacement.
- Verify the functionality of the valves by manually actuating them to feel for any resistance.
Once identified, potential leaks can often be rectified with a simple seal replacement or tightening of fittings. For severe damage, consult a professional technician.
| Issue | Possible Cause | Solution |
|---|---|---|
| Visible leaks | Worn seals or fittings | Replace seals and tighten fittings |
| Unusual noise | Worn pump bearings | Inspect and replace bearings |
| Inconsistent output | Clogged filters | Clean or replace filters |
Regular checks on the pump can significantly extend its lifespan and enhance performance. Following these recommended procedures can save time and costs in the long run.
Testing and Replacing the Oil in the Engine
Regularly check the oil level in the engine before each usage. Ensure the machine is off and on a flat surface. Remove the dipstick, wipe it clean, reinsert it, and then check the level. If the oil appears dark or gritty, it’s time for a change.
How to Change the Oil
Gather the necessary tools: an oil pan, a wrench, and fresh oil. Locate the drain plug, typically found at the base of the engine. Place the oil pan underneath and remove the plug to let the used oil flow out completely. Replace the drain plug tightly once empty. Fill the engine with new oil through the designated opening using a funnel. Refer to the manufacturer’s specifications for the correct type and quantity of oil. Start the machine for a few minutes and then turn it off, allowing the new oil to circulate. Check the level again and top up if needed.
Signs of Oil Issues
Watch for unusual noises, smoke, or leaks that may indicate oil-related problems. If you notice any of these symptoms, inspect the engine immediately. Consistent maintenance will extend the life of the unit and ensure optimal performance.
Clearing Blockages in the Water Supply System
Regular inspection of the water supply line is paramount to maintain optimal functionality. First, ensure that the inlet filter is clean and free from debris. If sediment accumulates, this can drastically reduce water flow and pressure.
Next, check the hoses for kinks or twists. Such obstructions can impede water circulation, leading to performance issues. Before testing the unit, run water through the hose separately to identify clogs. This helps isolate the issue effectively.
Identifying and Removing Obstructions

If blockages are suspected, disconnect the water inlet from the machine and inspect the interior. A flexible cleaning brush can aid in removing any stubborn residues. In extreme cases, a mixture of vinegar and baking soda can dissolve mineral build-up clinging to the insides of the hoses.
After clearing potential blockages, reconnect the supply and run the pump briefly. This will help expel any remaining debris and confirm that normal flow is restored. Always verify the manufacturer’s guidelines for your equipment to avoid any damage during this process.
Preventative Measures
Implement regular maintenance routines by checking water sources. Using a filter can prevent larger particles from entering the system. Additionally, winterising your equipment during colder months can prevent freeze-related blockages. Keep your supply system as clear as possible to ensure longevity and peak performance.
Assessing Electrical Components and Connections
Begin by disconnecting the unit from the power source to ensure safety. Examine the power cord for any signs of wear or damage. Look for fraying, cuts, or exposed wires, as these can lead to electrical failures or hazards.
Inspecting the Connections
Check all electrical connections. Loose or corroded terminals can impede performance and create safety concerns. Use a multimeter to test voltage and continuity at key junctions. Make sure connections are secure and free from rust. If corrosion is present, clean it thoroughly or replace the affected components.
Testing the Switches and Control Panel
- Inspect the power switch for proper function. Toggle it on and off to confirm it engages correctly.
- Test any additional switches or controls to ensure they operate smoothly and without stickiness.
- Check indicator lights and display panels for functionality. Replace bulbs or screens that are faulty.
Pay attention to the microprocessor or control board, especially in advanced models. Look for any burnt or damaged components. If issues arise, consider consulting the manufacturer for replacement parts.
Periodically lubricate any movable parts within the electrical system to prevent wear. Follow the manufacturer’s guidelines on maintaining the control mechanisms.
If there’s any uncertainty regarding electrical testing or repairs, it’s advisable to consult a qualified technician to prevent further damage or safety risks. Prioritising these checks will enhance the reliability and longevity of your equipment.


