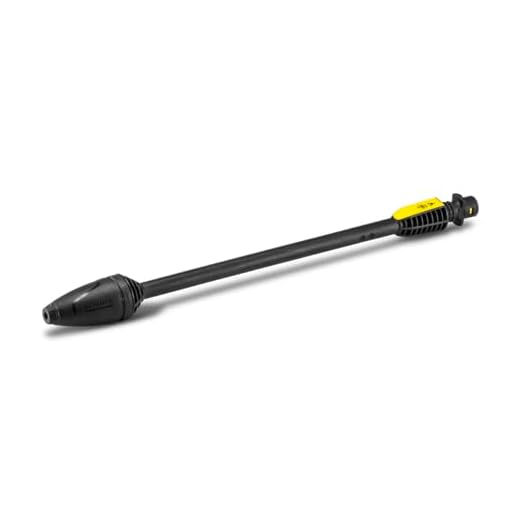

Start by examining the nozzle for clogs. A blocked opening can drastically reduce performance, causing uneven water flow or even a total halt. Regular cleaning with a small wire can prevent build-up and maintain efficient spray.
Next, pay attention to the adjustment mechanism. If the flow doesn’t change when altering settings, wear or damage might be present. I recommend inspecting the O-rings and seals, as these components are often the culprits when adjustments fail to respond.
In addition, inspect the attachment point closely. If there’s any wobbling or movement, it may indicate that debris has accumulated inside the connection. Ensure that all fittings are tightly secured to avoid unnecessary pressure drops.
Lastly, assess the length of the hose. If you experience consistent pressure loss, a damaged hose could be restricting flow or air might be entering the system. If that’s the case, replacing the hose could restore optimal functionality.
Common Mechanical Failures of a Vario Lance

Leaking connections at the nozzle or wand are frequently encountered issues. Over time, wear and tear can compromise the seals, leading to water escaping under pressure. Regular inspection and timely replacement of O-rings or gaskets can prevent this problem.
Stuck Adjustable Nozzle

Adjustable nozzles can become stuck due to debris buildup or corrosion. To tackle this, I recommend applying penetrating oil and gently twisting the nozzle back and forth. Keeping the lance clean and storing it properly can mitigate this occurrence.
Pressure Fluctuations
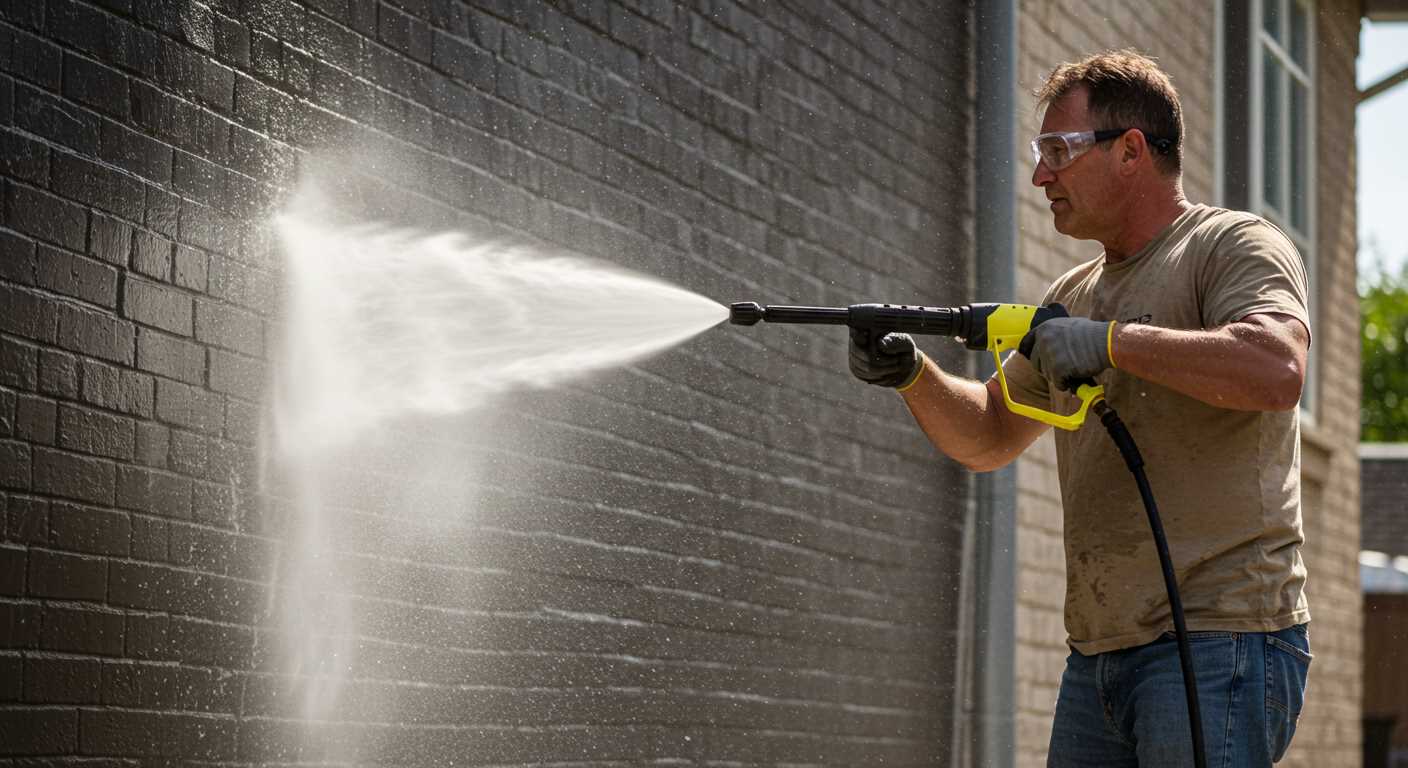
Inconsistent pressure during operation often points to blockages within the lance. Inspecting the interior for clogs from dirt or mineral buildup is essential. Occasionally, a deep cleaning or replacement of specific components may be necessary to restore optimal performance.
Identifying Compatibility Issues with Pressure Washer Models
Always verify the compatibility of your cleaning tool with specific models. Start by checking the manufacturer’s specifications, as they provide vital information regarding the recommended attachments and accessories for each unit.
Be cautious of universal claims. Many nozzles or accessories labelled as ‘universal’ may fit superficially but could lack proper functionality due to differences in pressure or water flow requirements. It’s wise to cross-reference user reviews and expert opinions before making any purchase.
Pay attention to the connection types. Models vary significantly in their connection fittings, whether it’s M22, 3/8″, or quick-connect systems. An improper fit can lead to leaks or reduced performance. Using adaptors may seem cost-effective, but they can introduce new issues such as wear and tear.
Consider pressure ratings. Different models operate under varying pressure levels. An attachment designed for low-pressure units may fail under high-pressure conditions, leading to potential damage. Always match the attachment specifications precisely with your tool’s ratings for optimal performance.
Check the length and diameter of hoses. An extension hose that is too long or of inappropriate diameter can restrict flow, impacting cleaning efficiency. It’s vital to choose hoses that match the designed parameters of the device.
Finally, consult compatibility charts available on manufacturers’ websites. These often provide detailed insights into which models work best with specific accessories, ensuring seamless integration and enhanced effectiveness during use.
Troubleshooting Low Pressure in the Vario Lance
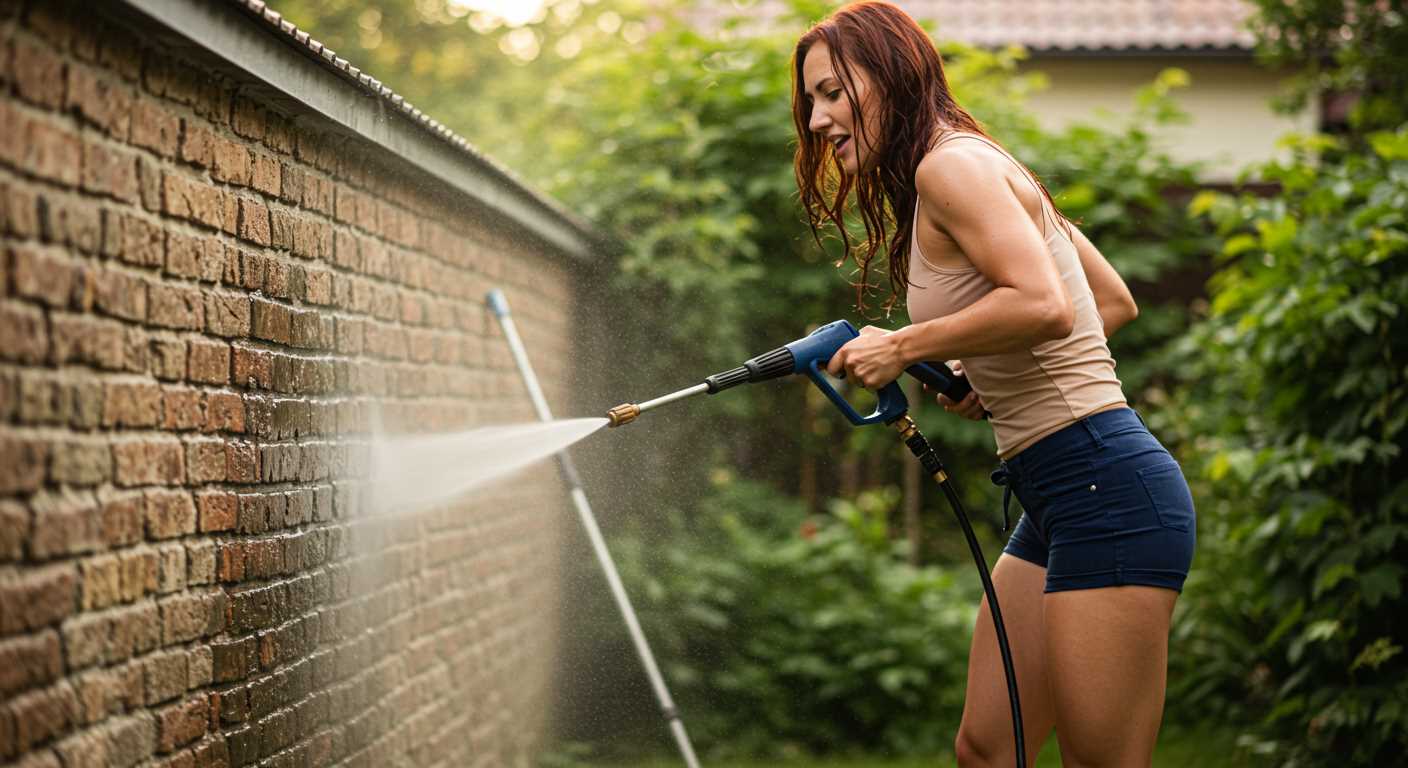
Begin by checking the water supply. Ensure that the hose is free from kinks and blockages, which can limit flow. Additionally, confirm that the water source is turned on fully.
If the supply is adequate, examine the nozzle for debris. To clean it, remove the nozzle and rinse it under running water. A clogged nozzle can significantly affect output strength.
Evaluate the fitting connections. Ensure they are tight and secure, as loose connections can lead to air leaks, impacting performance. Inspect all seals and O-rings for wear. Replace any damaged components.
Next, consider the trigger gun. If it is malfunctioning or damaged, it can disrupt the power delivery. Test the trigger for smooth operation and replace it if necessary.
If previous checks have not resolved the issue, assess the internal components for damage. Examine the lance for cracks or other signs of wear, which may require a full replacement.
Lastly, if compatibility with your specific cleaning system is in question, verify the manufacturer’s specifications to ensure seamless operation.
Follow these steps systematically to identify and rectify low pressure issues. Document which solutions were effective for future reference.
Signs of Wear and Tear in a Vario Lance

Regular examination is key to maintaining your cleaning device. Look out for visible cracks or splits in the body of the lance; these indicate deterioration from extended use. Pay attention to any unusual sounds during operation, which might signal internal damage.
Inspect the nozzle for signs of clogging or deposits. A steady stream should be ensured; irregular spray patterns suggest that the nozzle may require cleaning or replacement. Verify the connection points for signs of looseness or rust, which can lead to leaks and reduced performance.
The rubber seals at the joints are prone to wear over time. Cracked or brittle seals will result in pressure loss and should be replaced promptly. If the lance feels excessively warm during use, this could point to internal issues requiring immediate attention.
If you notice a decrease in functionality, like a weaker jet or limited adjustability, it may be time to consider repairs or replacements. Regular maintenance checks can preempt more significant issues and extend the lifespan of your lance.
Finally, ensure compatibility with your specific sprayer model. Mismatched components often lead to performance issues, and verifying compatibility can save you future headaches.
Maintenance tips to prevent lance problems
Regular inspections can catch issues early. Check for any cracks or signs of wear on the outer casing and the nozzle tip. Replace damaged components immediately to avoid further complications.
Lubricate the moving parts of the attachment periodically. Use a silicone spray or suitable lubricant recommended by the manufacturer to keep it functioning smoothly and prevent rust.
Flush the nozzle regularly. Blockages can cause a drop in performance, so rinsing it with clean water after each use helps maintain optimal flow. Avoid using any sharp objects that could damage the nozzle.
Ensure all connections are tight and secure. Loose fittings can lead to leaks, resulting in reduced efficiency. Tighten connections by hand and periodically check them for any signs of looseness.
Clean the filter at the water intake. A clogged filter can decrease water flow and affect the cleaning power. Remove and rinse it with water, ensuring no debris is left behind.
Store the equipment properly after use. Keep it in a dry place, away from direct sunlight or extreme temperatures, to extend the lifespan of all components. Always detach the lance for separate storage to prevent damage.
Use the correct pressure and flow settings as per the user manual for different cleaning tasks. High pressure on unsuitable surfaces or materials can lead to damage or excessive wear on the lance.
| Maintenance Task | Frequency |
|---|---|
| Inspection for wear | Monthly |
| Lubrication of moving parts | Every 3 months |
| Nozzle cleaning | After each use |
| Tightness check of connections | Bi-weekly |
| Filter cleaning | Monthly |
| Proper storage procedures | After each use |
| Correct pressure and flow settings | Each use |
When to Replace vs. Repair a Pressure Cleaning Wand

Assess the extent of damage before deciding on repair or replacement. Minor issues like a stuck nozzle or a leaking connection are often fixable with minimal investment. However, if critical components such as the lance body are cracked or if internal mechanisms show significant wear, replacement is advisable.
Evaluate the cost of repairs against the price of a new wand. If parts and labour exceed 50% of the cost for a new unit, I recommend opting for replacement, especially if the wand has already seen extensive use.
Consider frequency of use as well. If the equipment is for occasional tasks, repairing may suffice. For regular and heavy usage, investing in a new wand can enhance performance and reliability.
Compatibility concerns can also influence your decision. If your current model is obsolete or parts are hard to find, it’s practical to replace it with a model that suits your current cleaning equipment.
Finally, reflect on warranty status. If the wand is still under warranty, repairs are typically covered. If out of warranty, weigh repair costs carefully–persistent issues could indicate that replacement is the smarter long-term choice.


